Antares
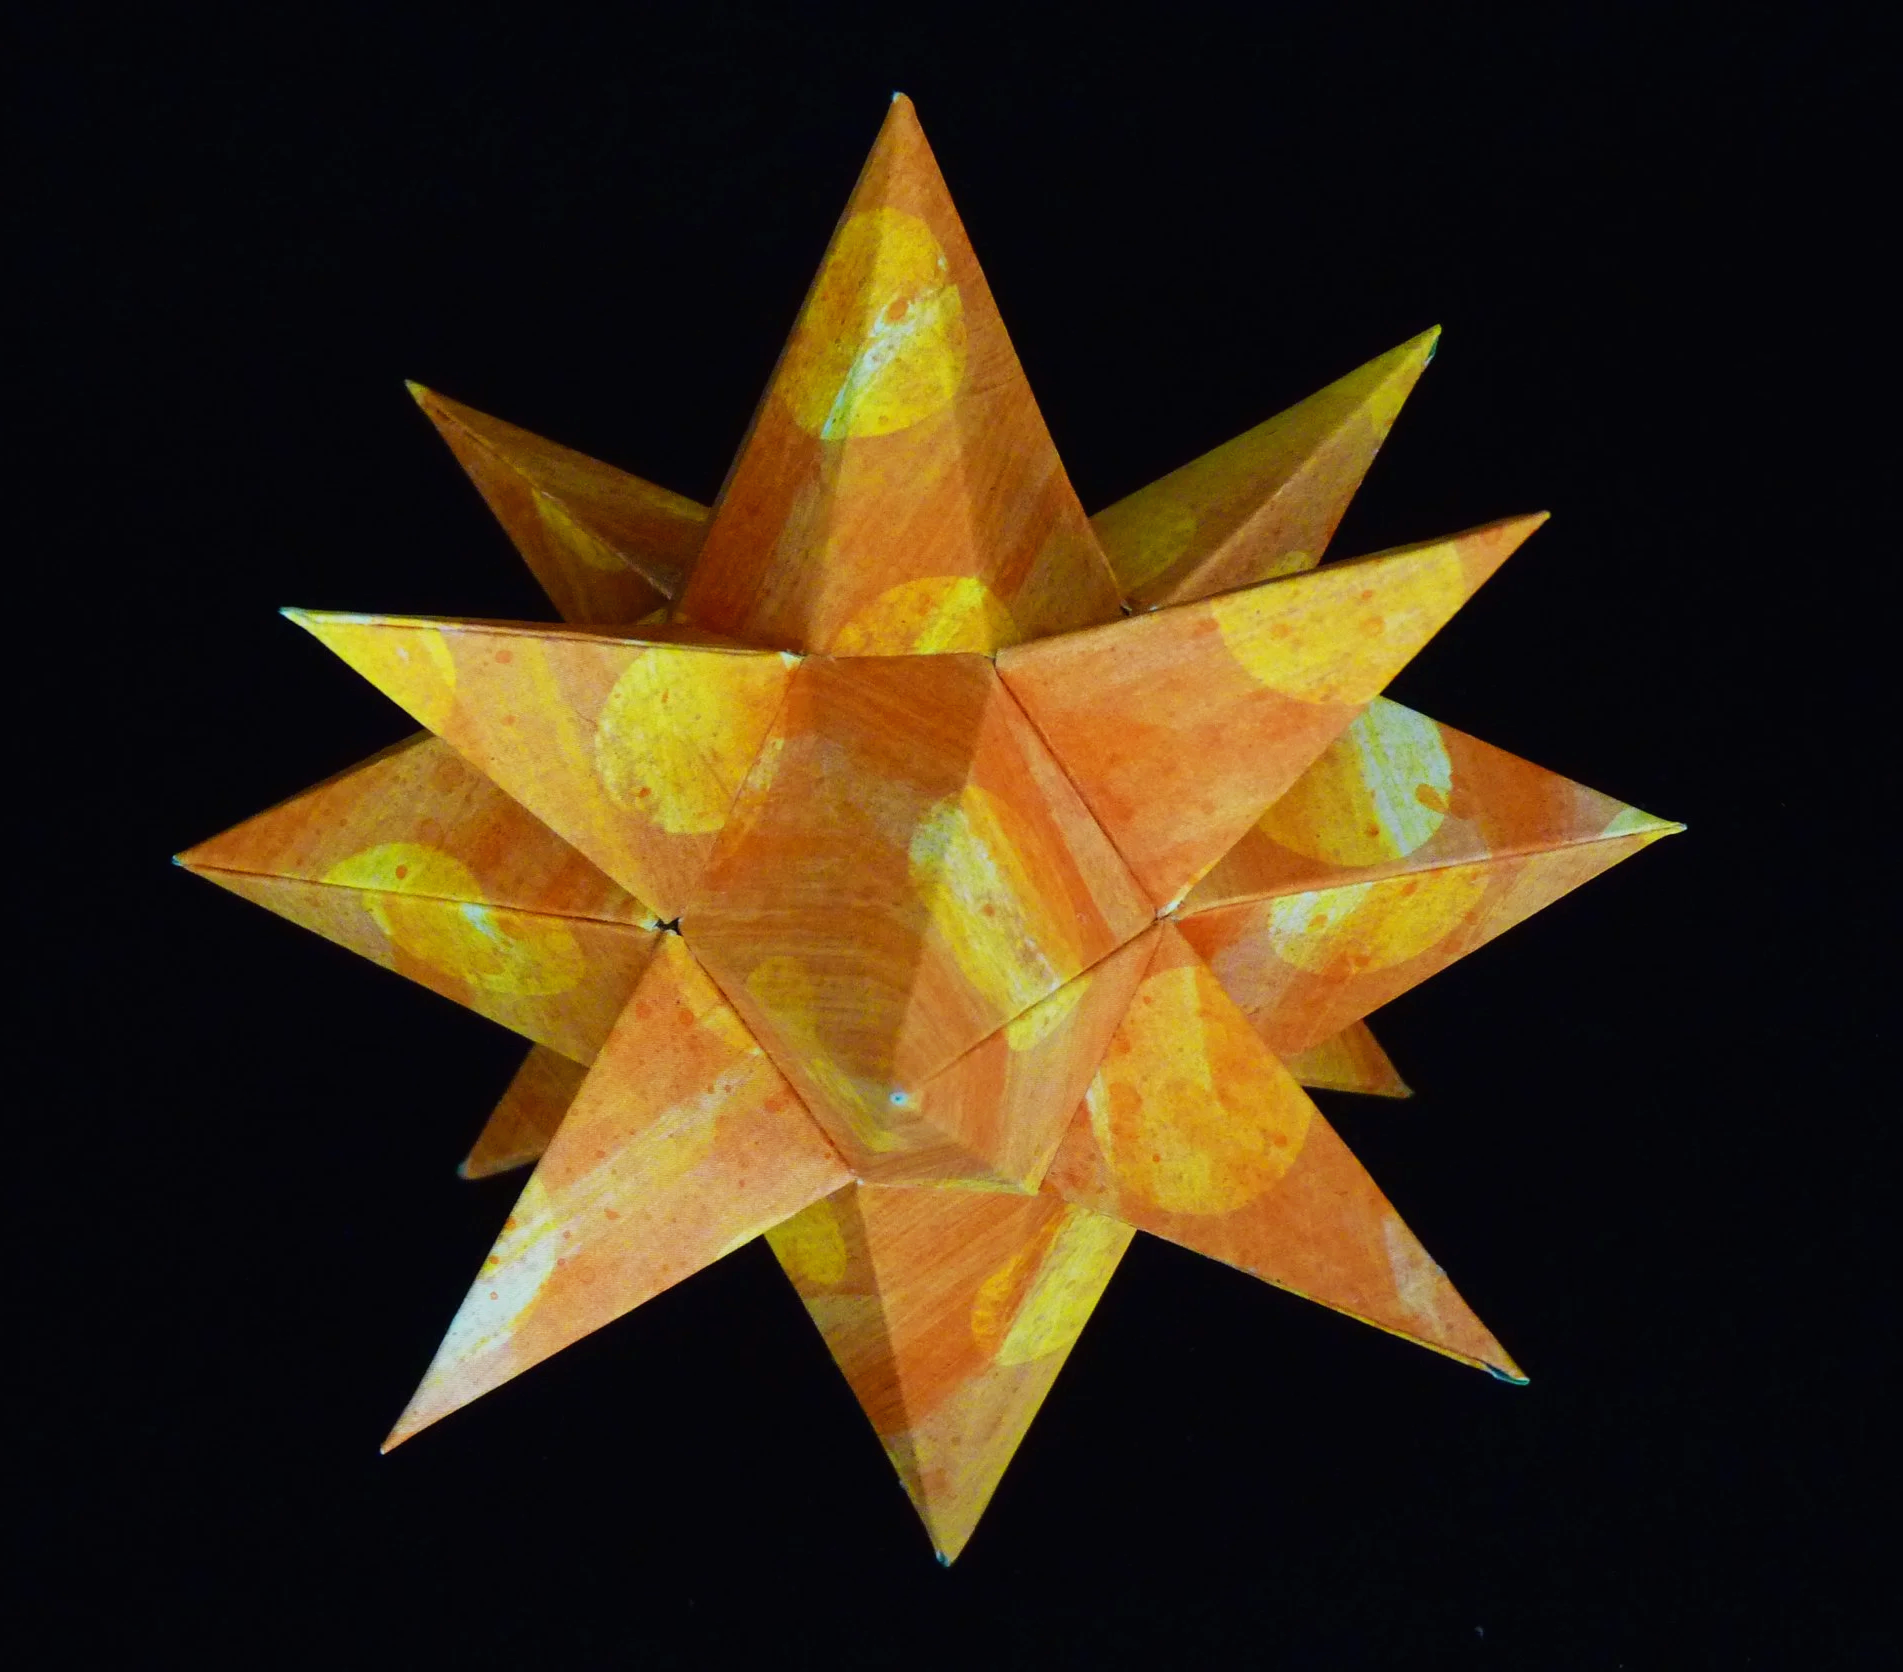
The heart of the scorpion. 10000 times brighter than the sun ! Craft your Antares today.
Project Info
Paper required: two sheets 8.5 x 11 inches (or A3)
Finished Project size: 4 inches (10cm)
Difficulty Level: Beginner
Click button below to get your free printable pattern !
Click button below to get your free printable pattern !
INSTRUCTIONS
STEP 1
Print the pattern onto the two paper sheets of your choice.
Read the pattern key included in the General Instructions.
Step 2
Cut out the fourteen parts by cutting on all black lines.
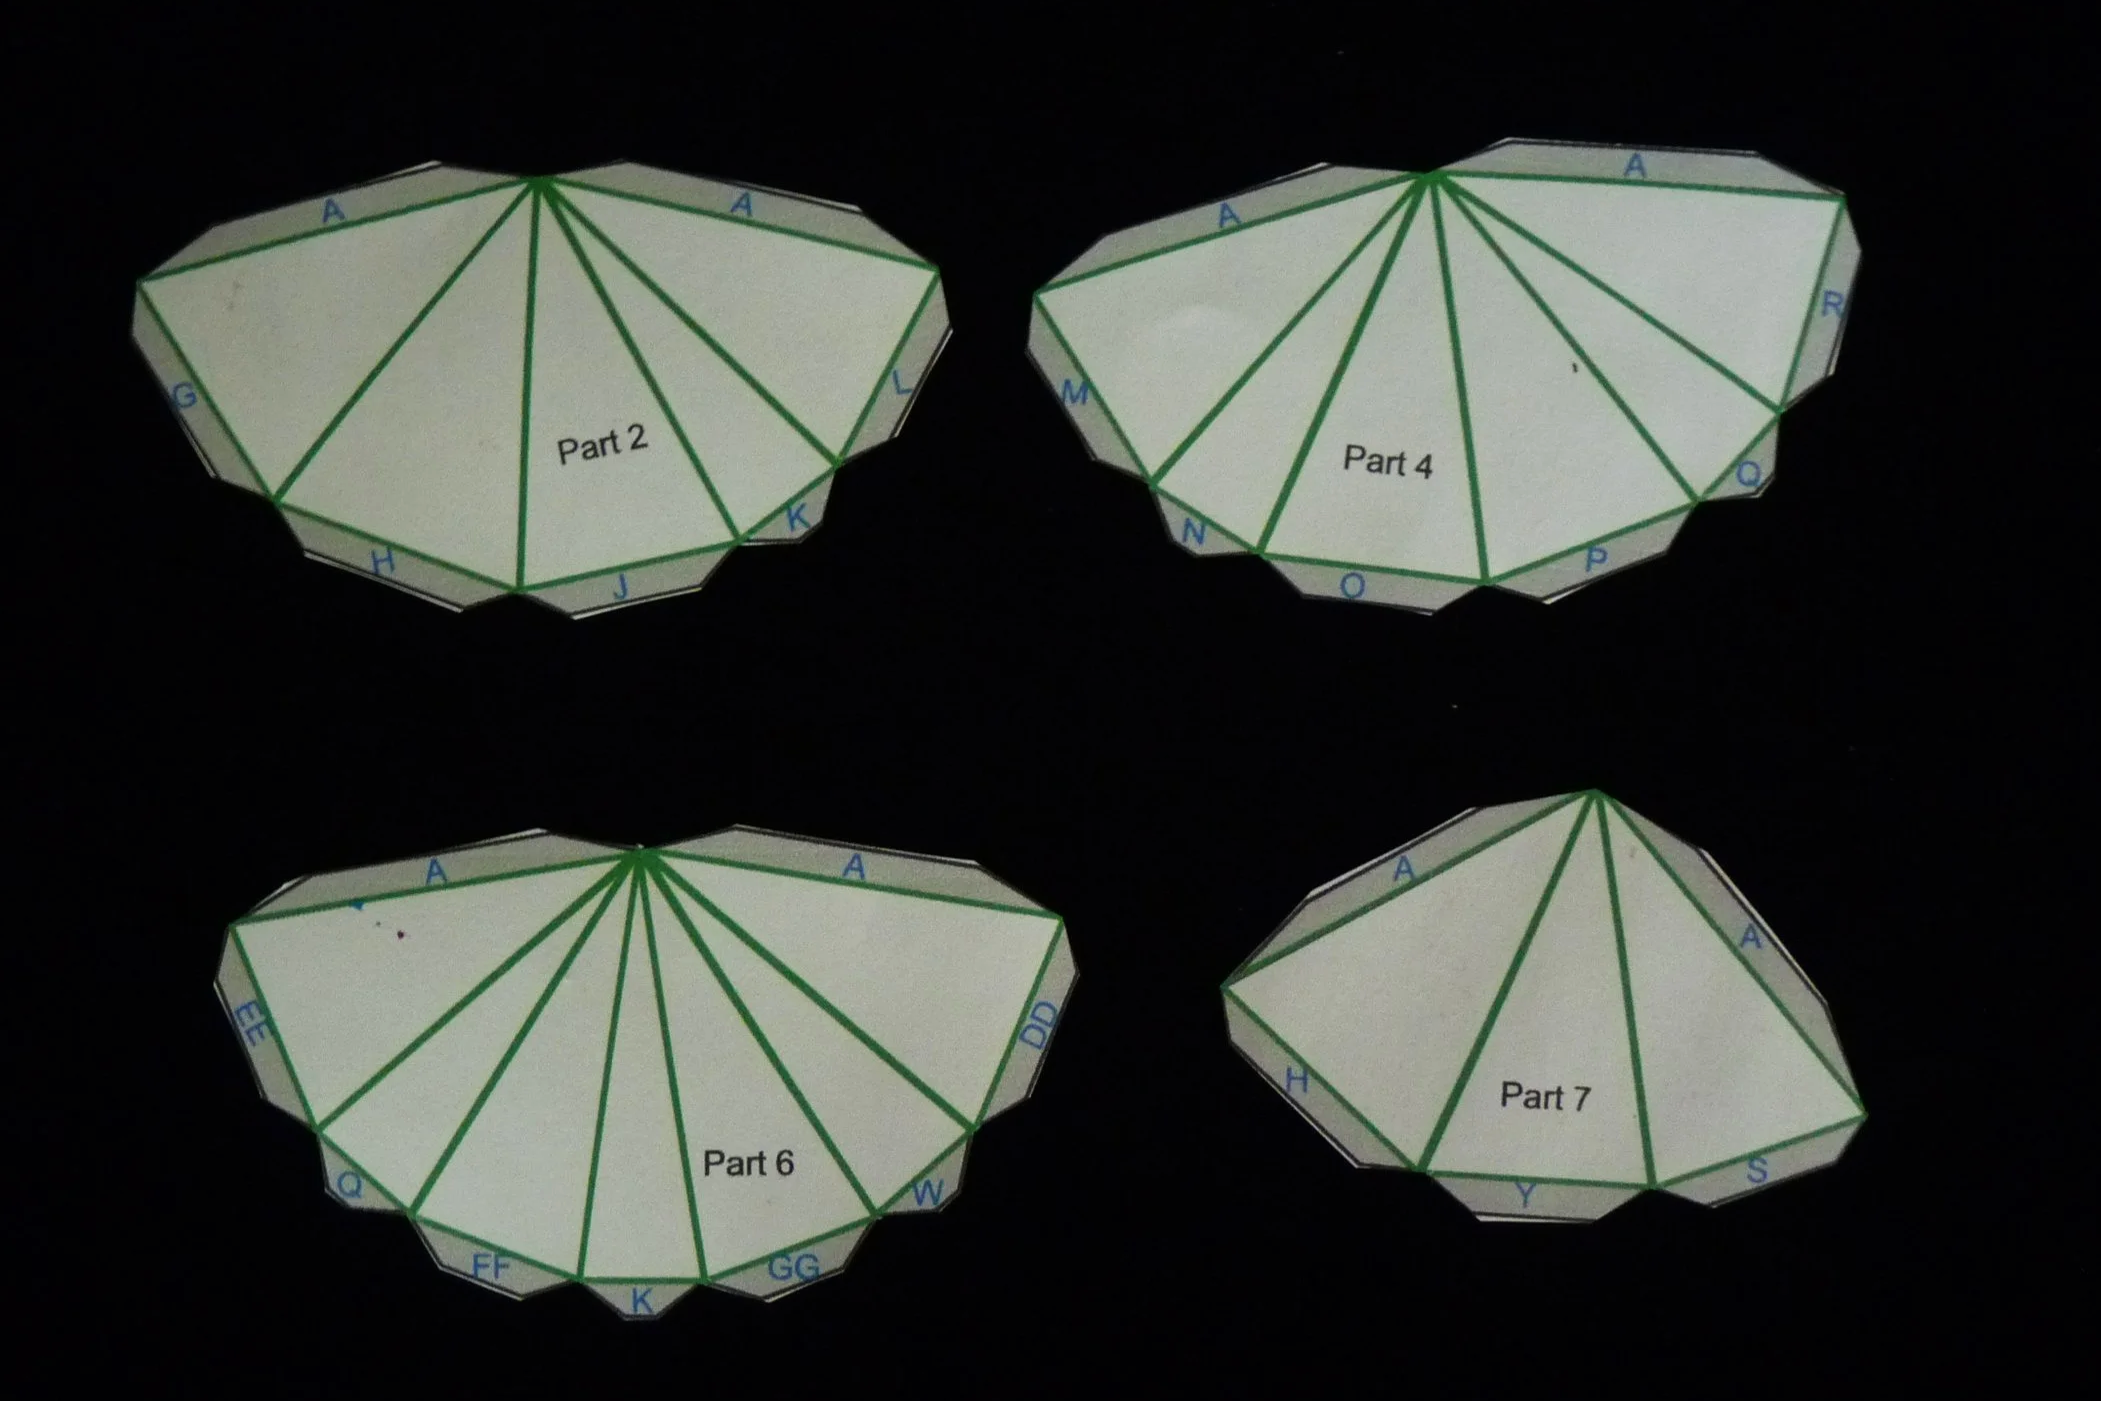
Photo 1. Back of Four Parts after Step 2
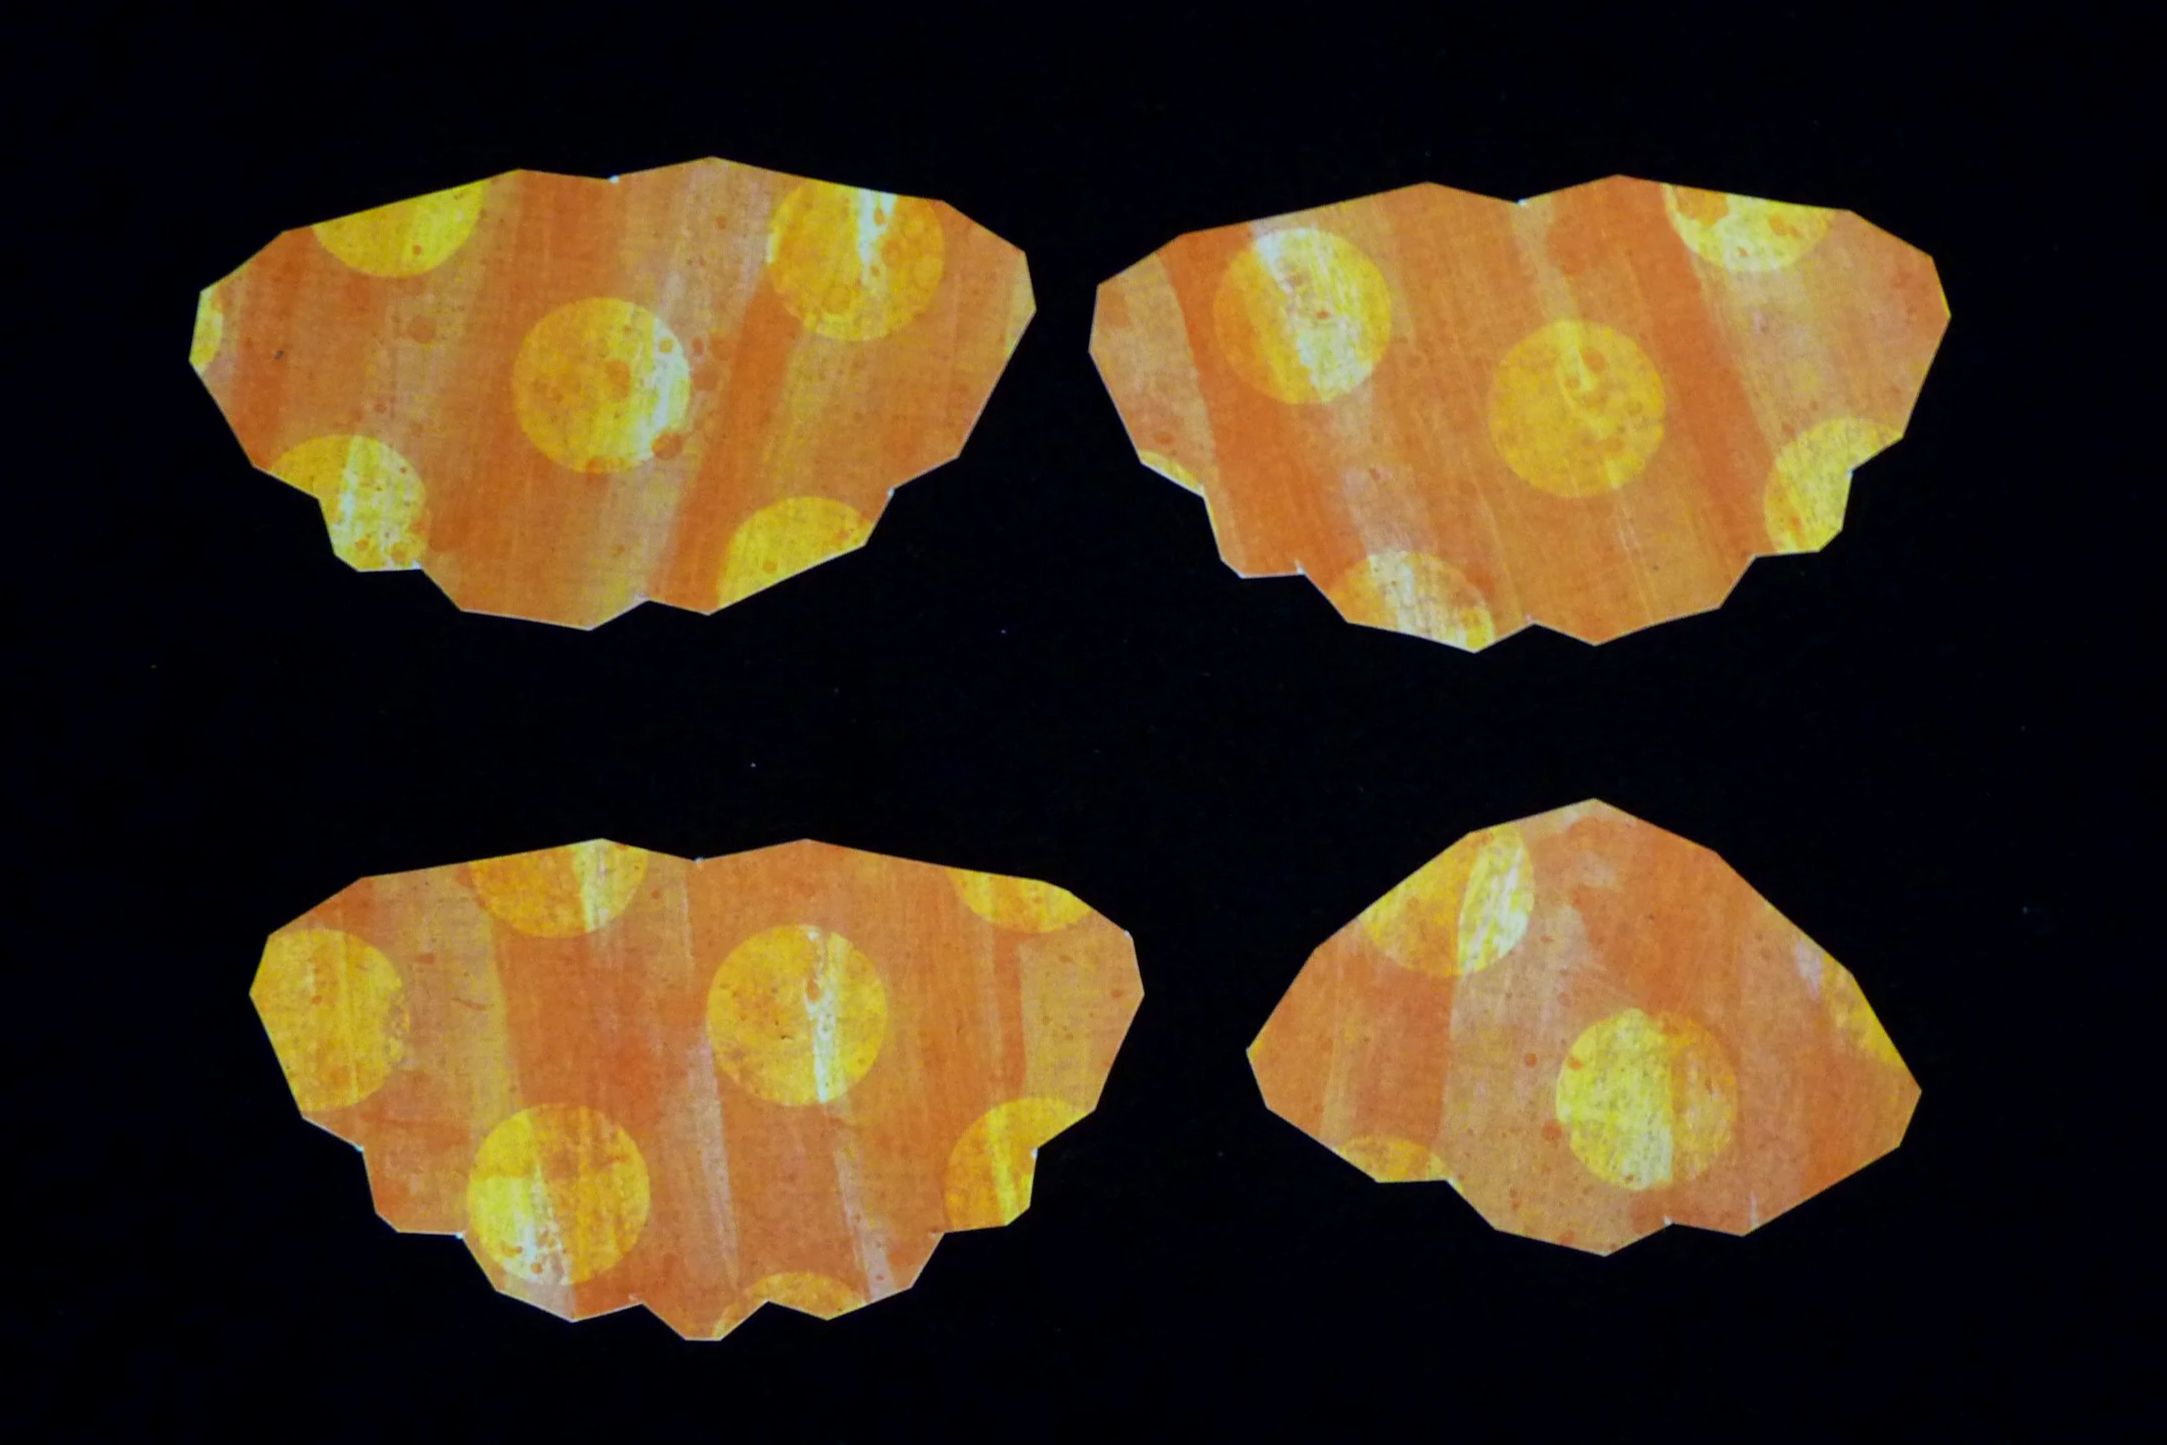
Photo 2. Front of Four Parts after Step 2
STEP 3
On all fourteen parts, fold green lines as valley folds and glue Flap A to the other Flap A.
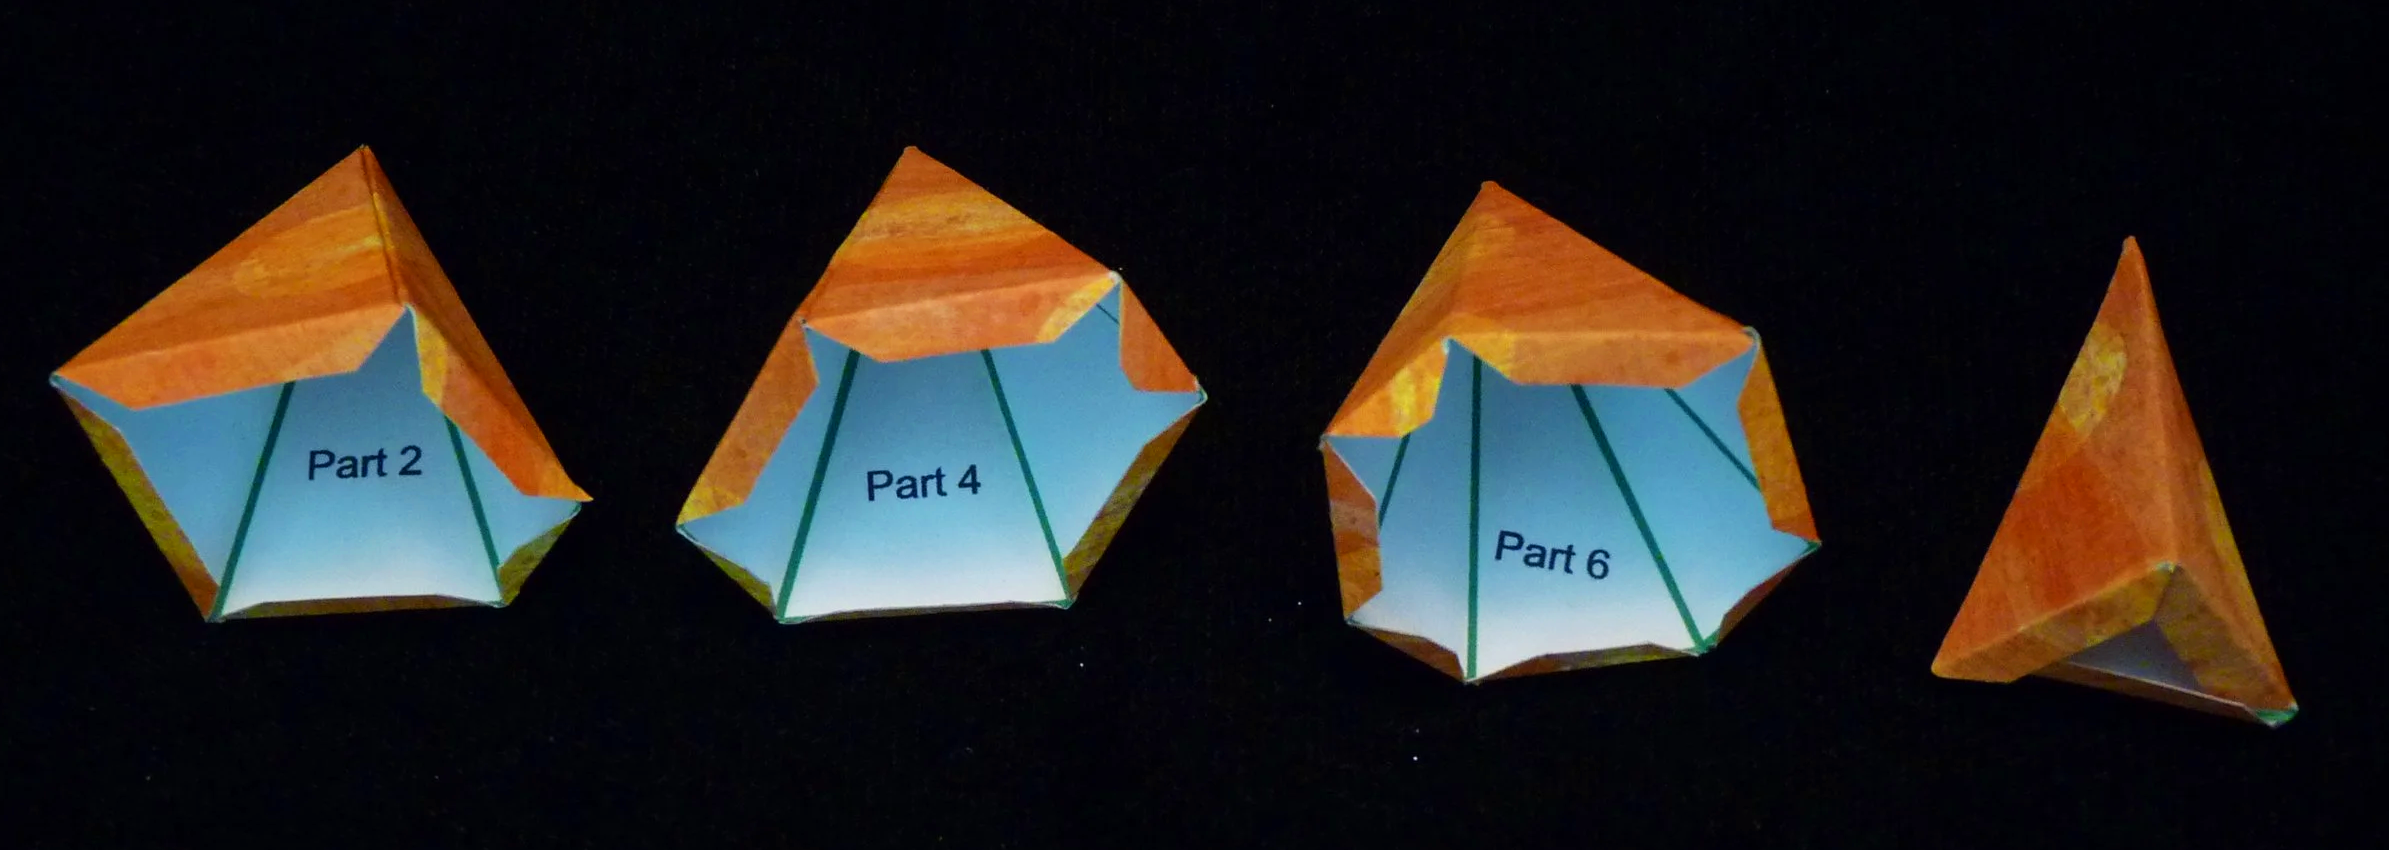
Photo 3. Inside of Four Parts after Step 3
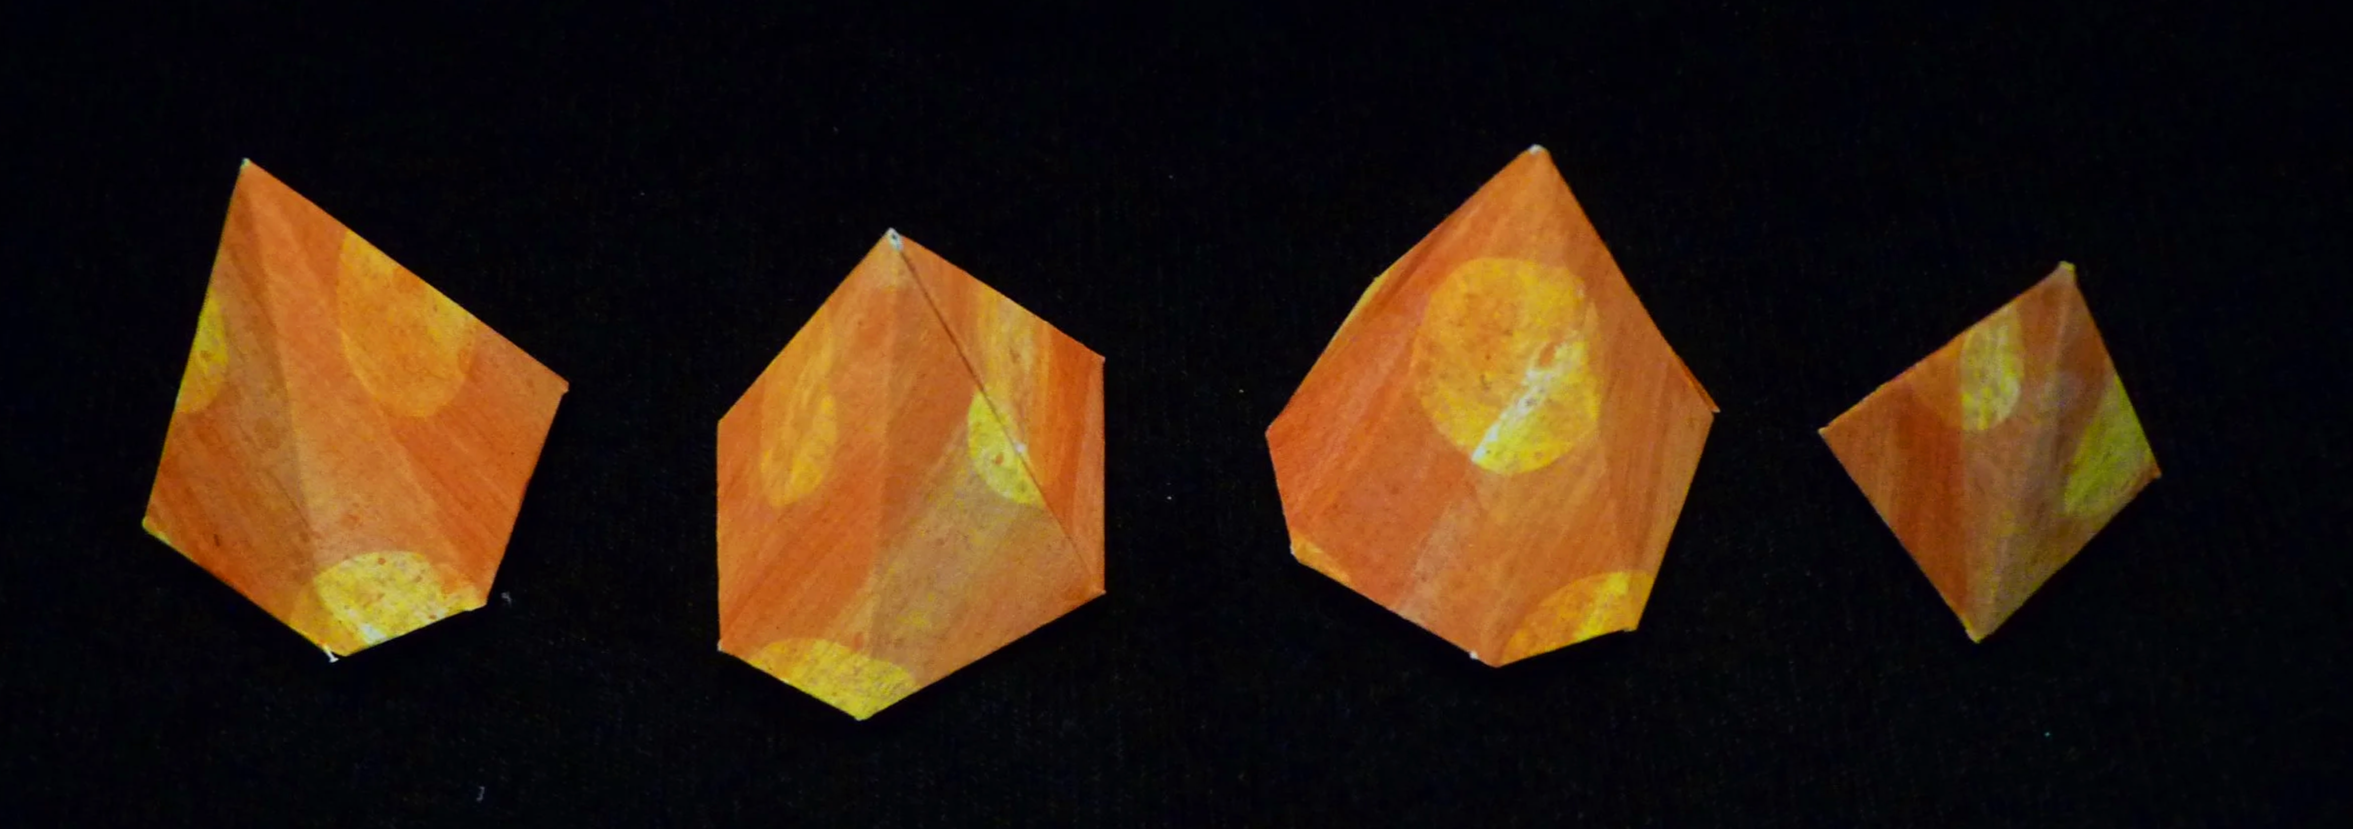
Photo 4. Outside of Four Parts after Step 3
Step 4
Connect a part to each of the five flaps of Part 2. Part 6 Flap K to Part 2 Flap K, Part 12 Flap J to Part 2 Flap J, Part 11 Flap L to Part 2 Flap L, Part 7 Flap H to Part 2 Flap H, and Part 8 Flap G to Part 2 Flap G.
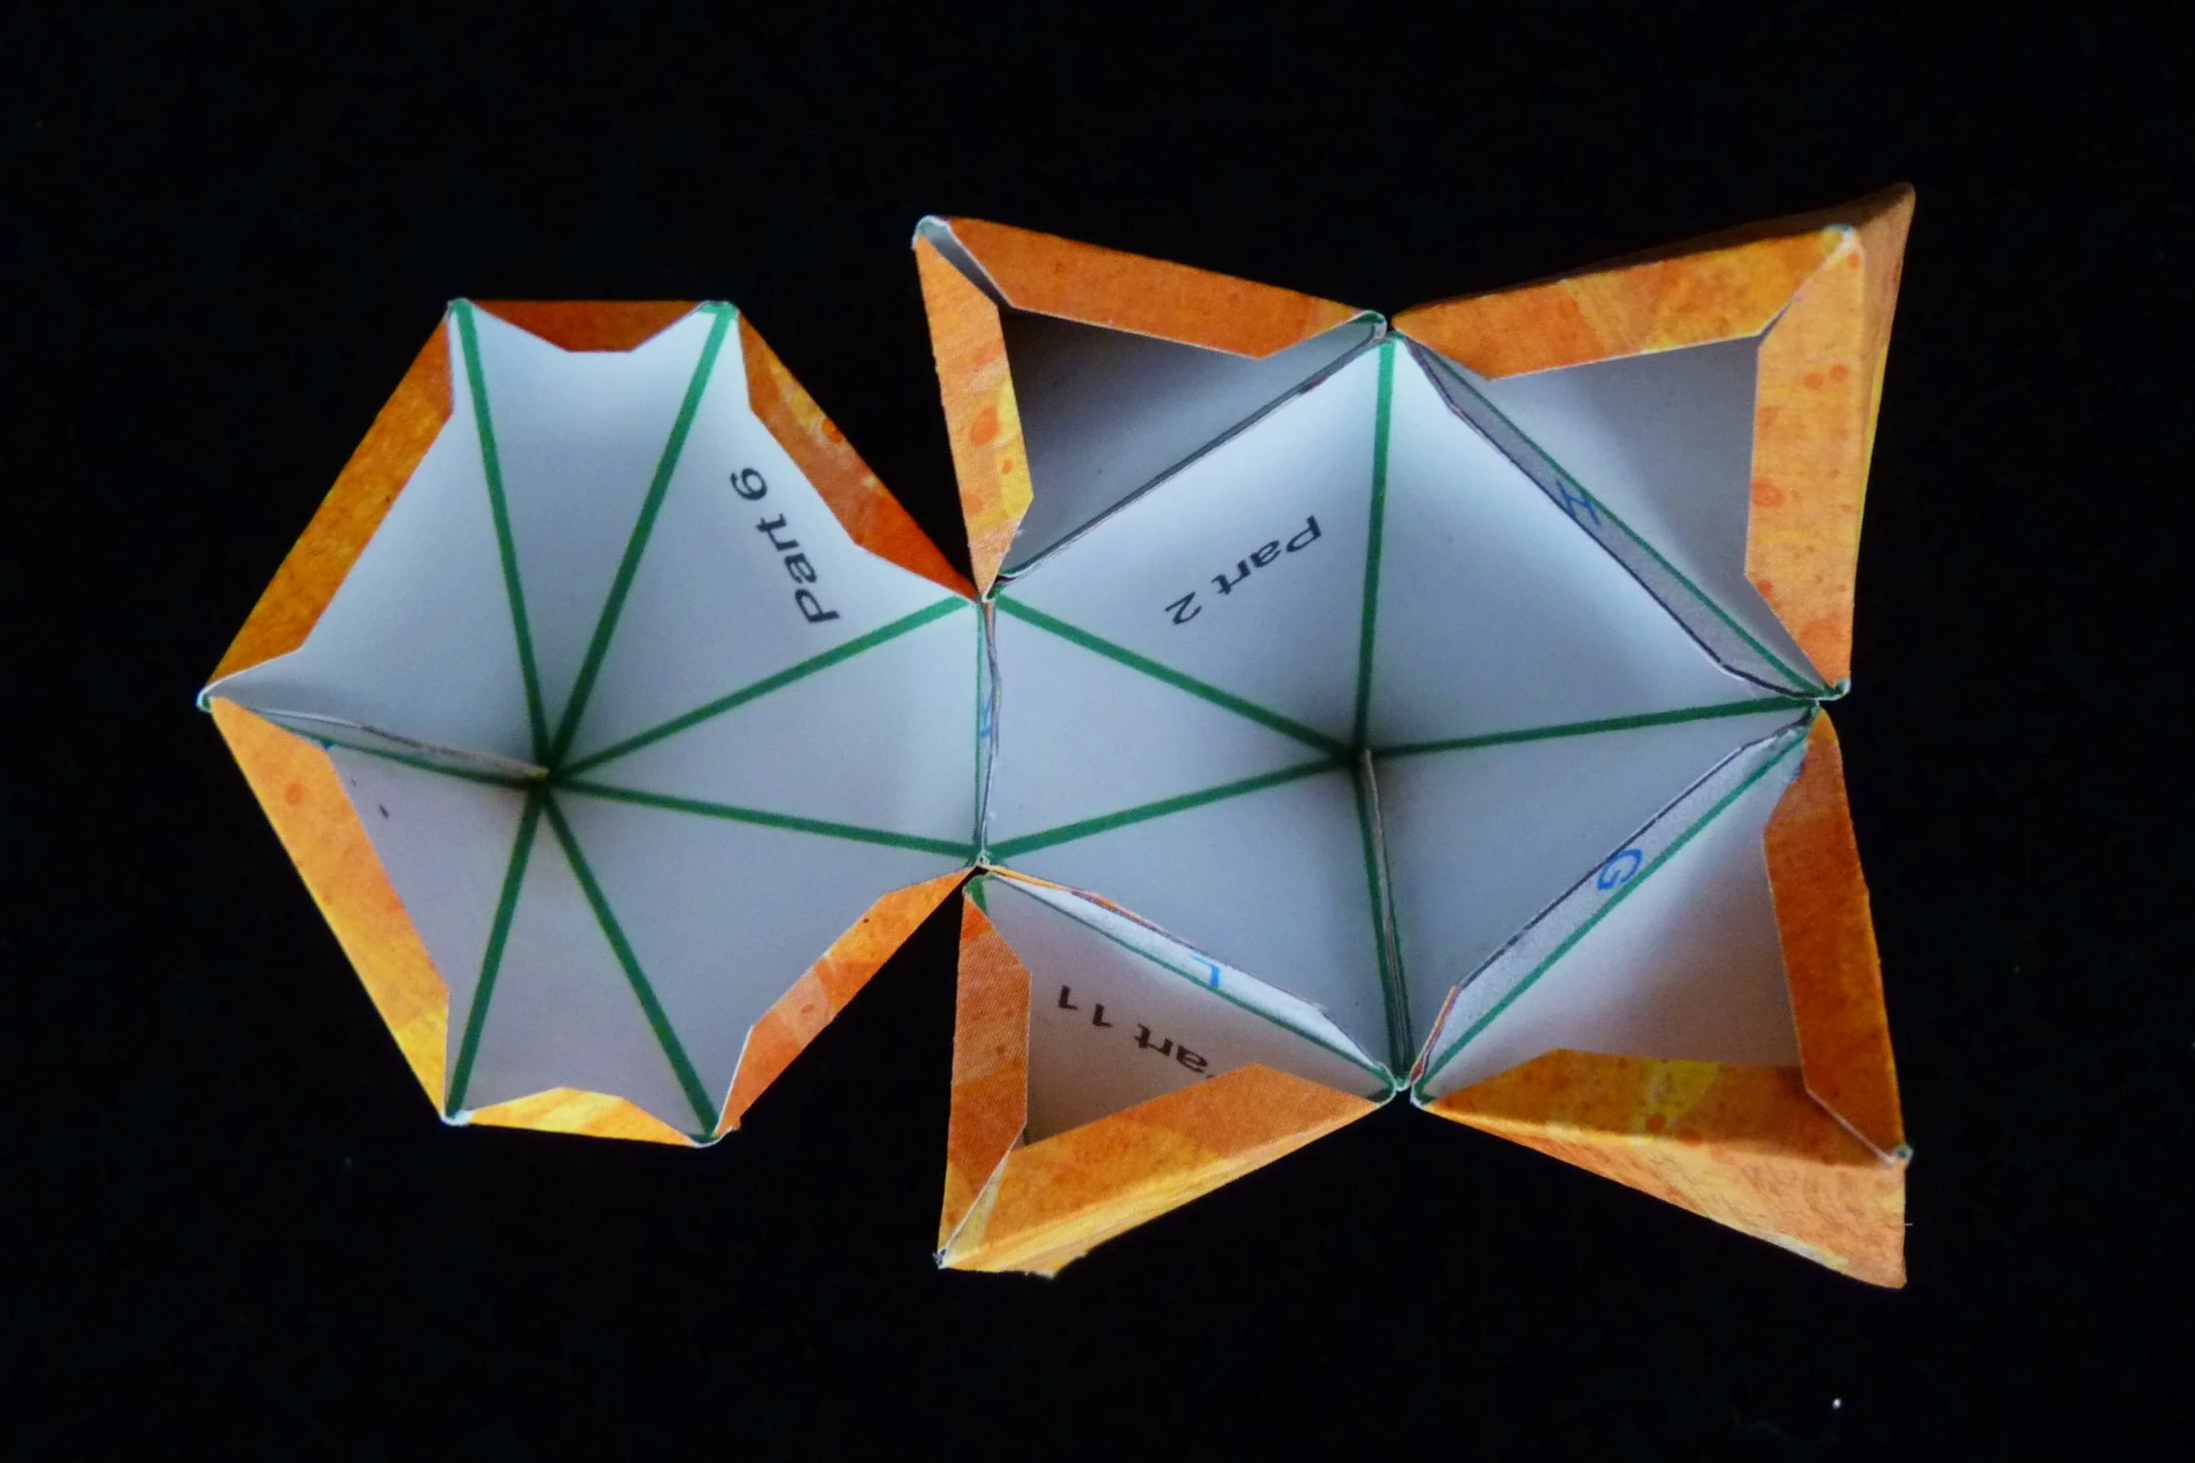
Photo 5. Inside of Project after Step 4
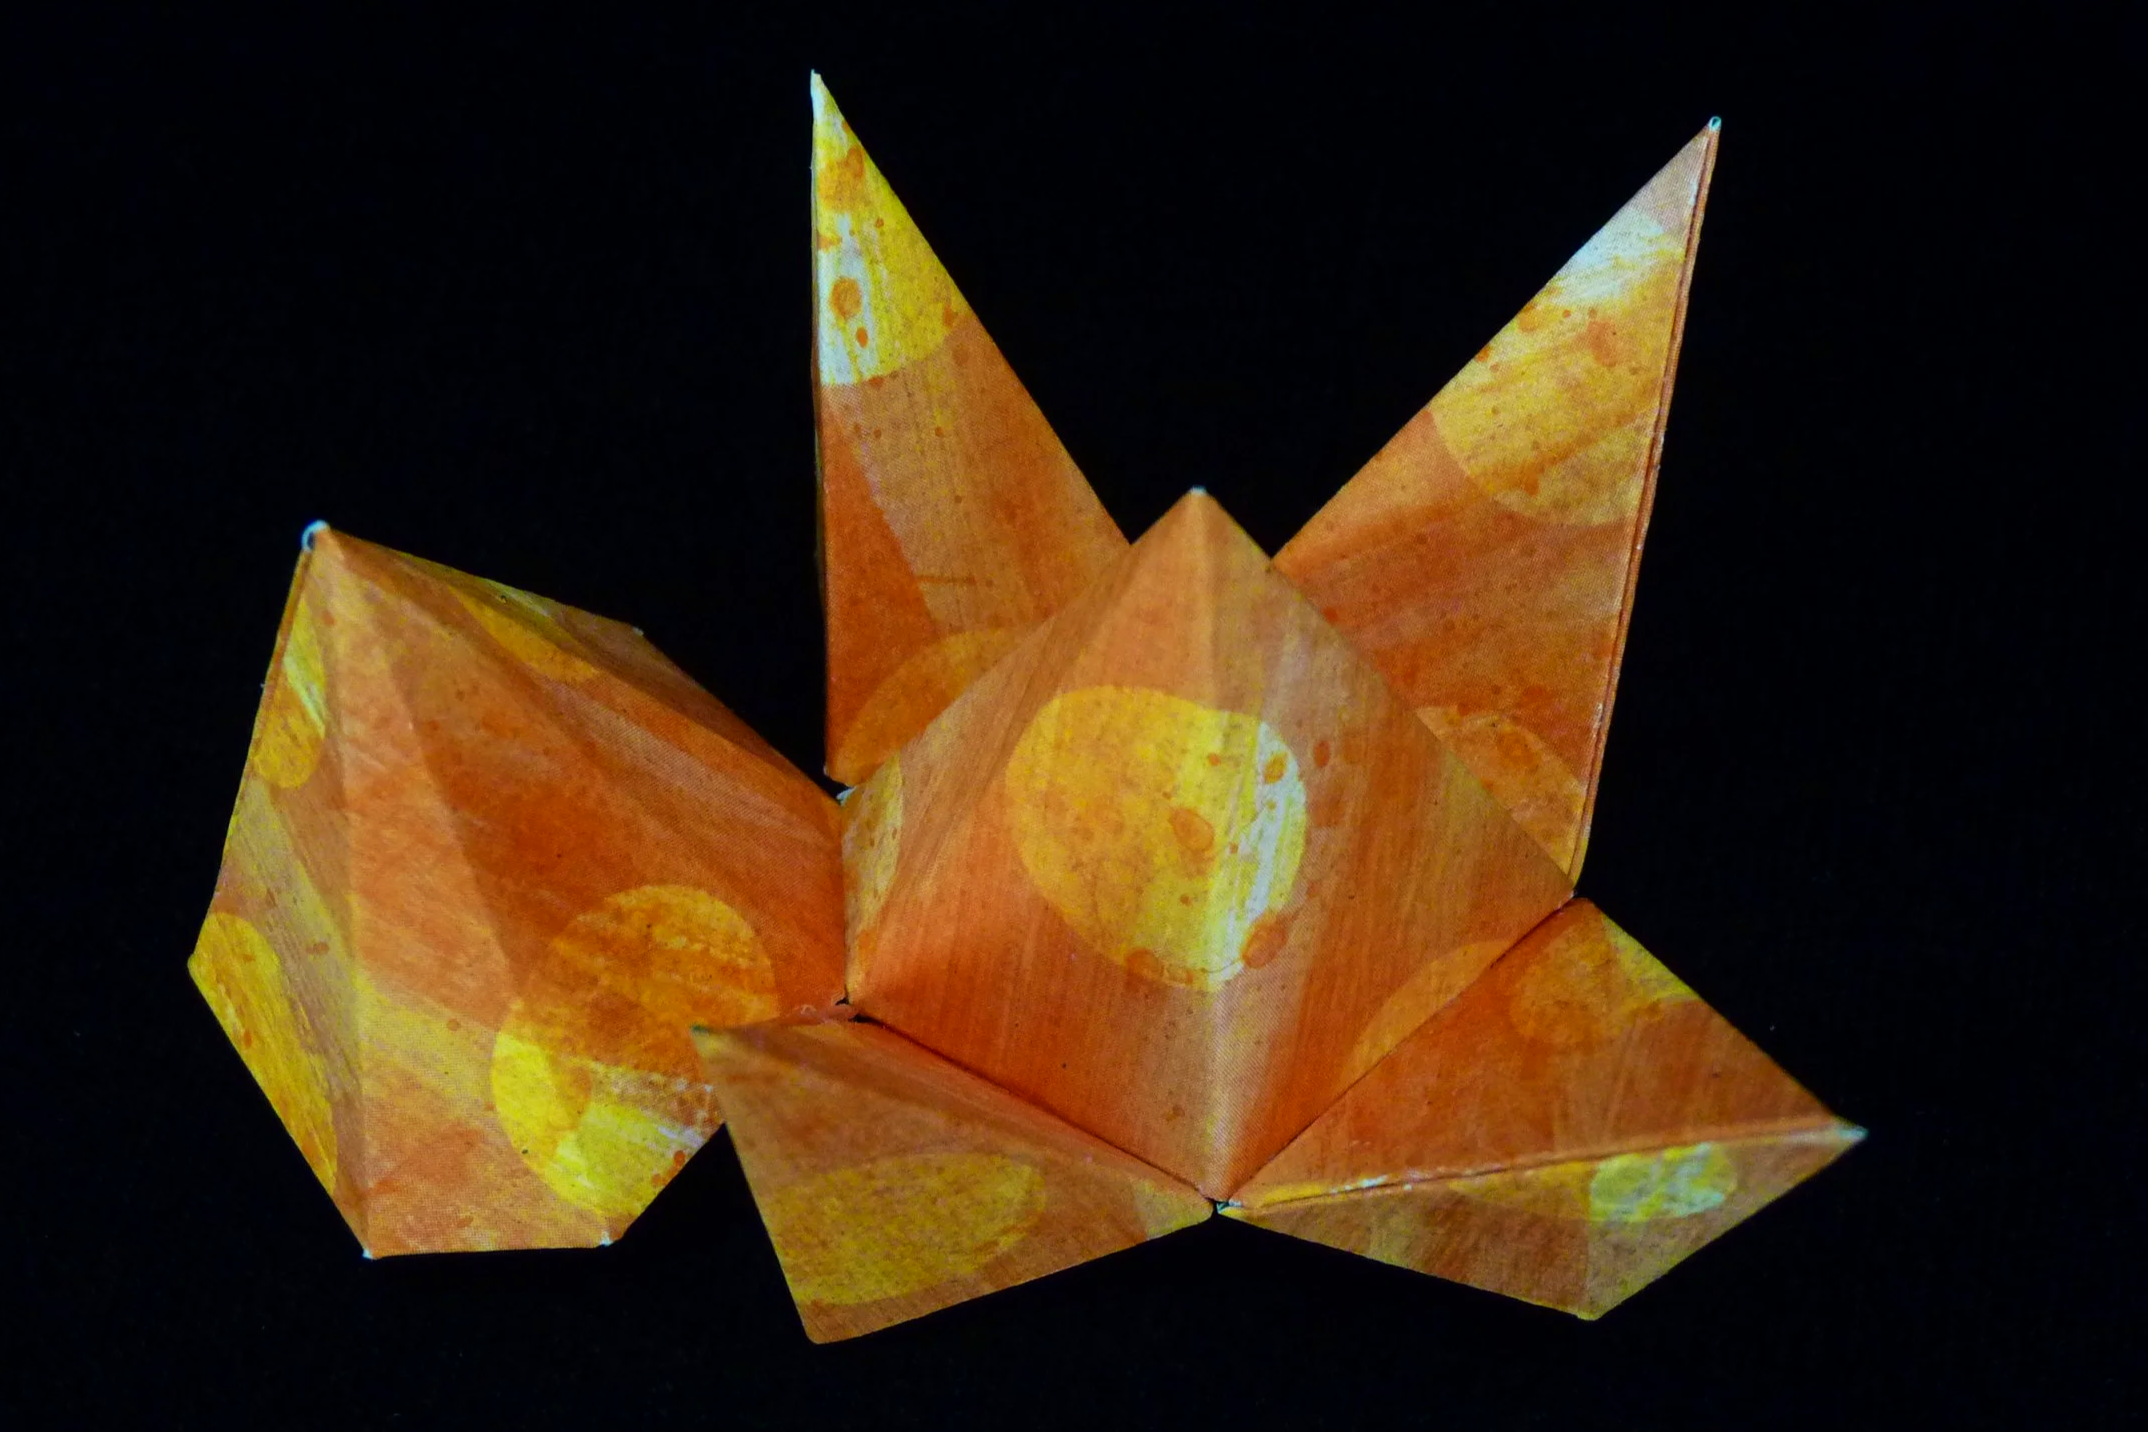
Photo 6. Outside of Project after Step 4
Step 5
Glue Part 6 Flap FF to Part 11 Flap FF. Glue Part 6 Flap GG to Part 12 Flap GG.
Add Part 4. Glue Part 4 Flap Q to Part 6 Flap Q. Glue Part 4 Flap P to Part 11 Flap P. Glue Part 4 Flap O to Part 8 Flap O.
Add Part 3. Glue Part 3 Flap W to Part 6 Flap W. Glue Part 3 Flap X to Part 12 Flap X. Glue Part 3 Flap S to Part 7 Flap S.
Add Part 5. Glue Part 5 Flap T to Part 3 Flap T. Glue Part 5 Flap Y to Part 7 Flap Y. Glue Part 5 Flap Z to Part 8 Flap Z. Glue Part 5 Flap N to Part 4 Flap N.
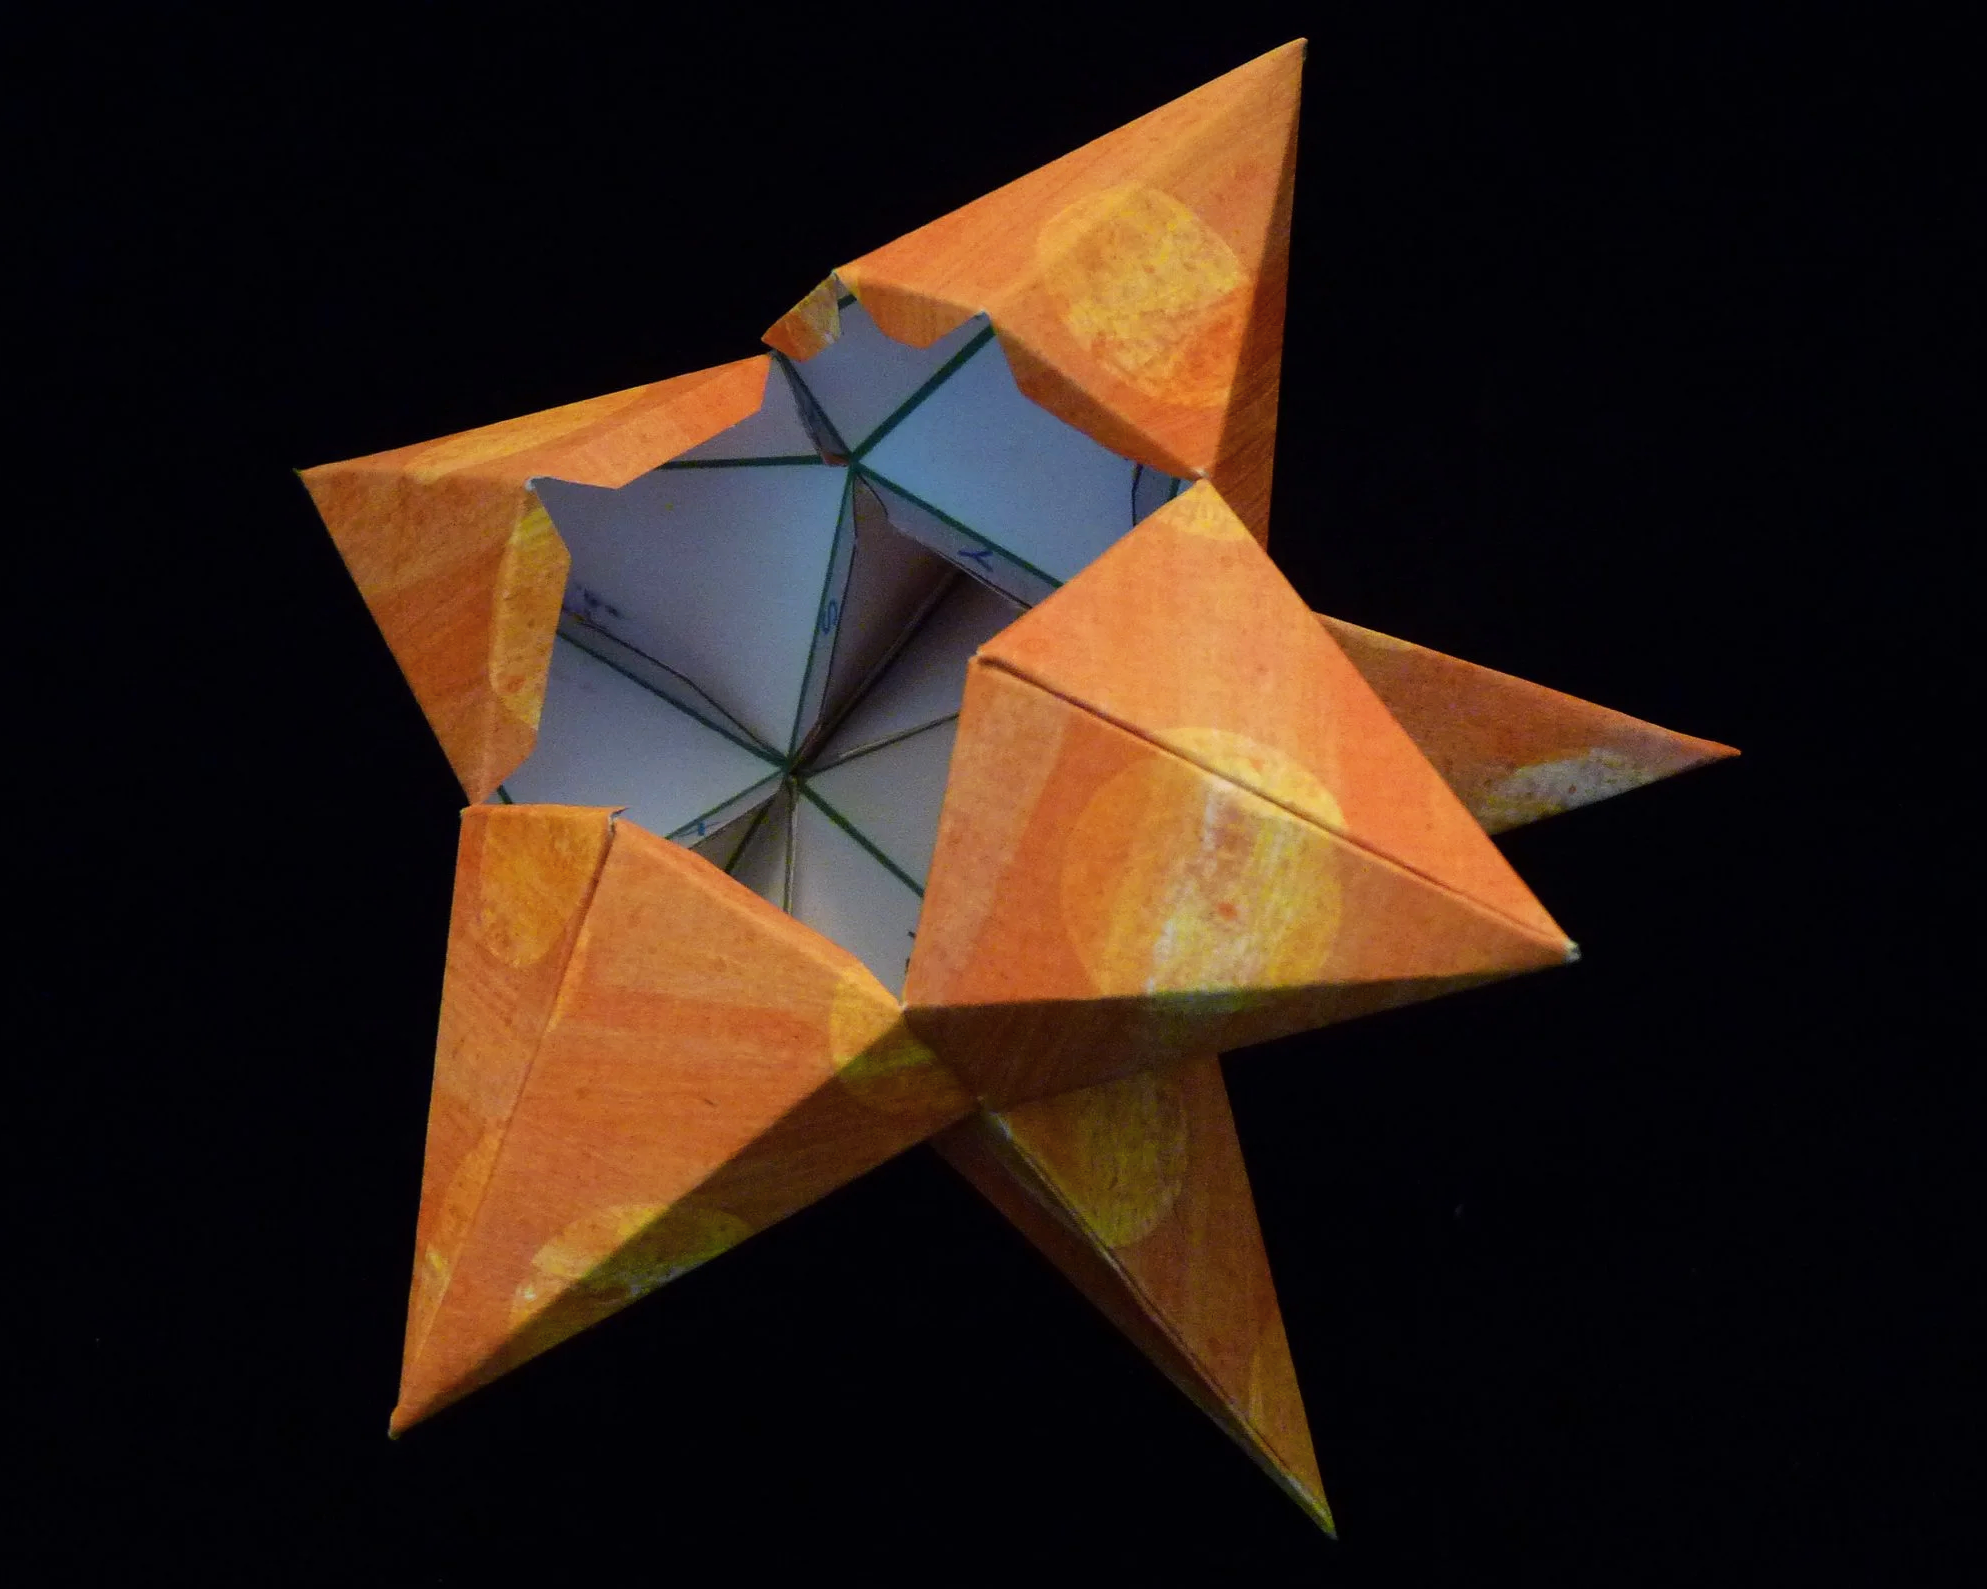
Photo 7. Project after Step 5 - View 1

Photo 8. Project after Step 5 - View 2
Step 6
Add Part 9. Glue Flaps EE and R on Part 9 to Flaps EE and R on the project.
Add Part 10. Glue Flaps DD and V on Part 10 to Flaps DD and V on the project.
Add Part 13. Glue Flaps BB and M on Part 13 to Flaps BB and M on the project.
Add Part 14. Glue Flaps CC and U on Part 14 to Flaps CC and U on the project.
Finally, add Part 1. Glue Flaps B, C, D, E, and F on Part 1 to Flaps B, C, D, E, and F on the project.
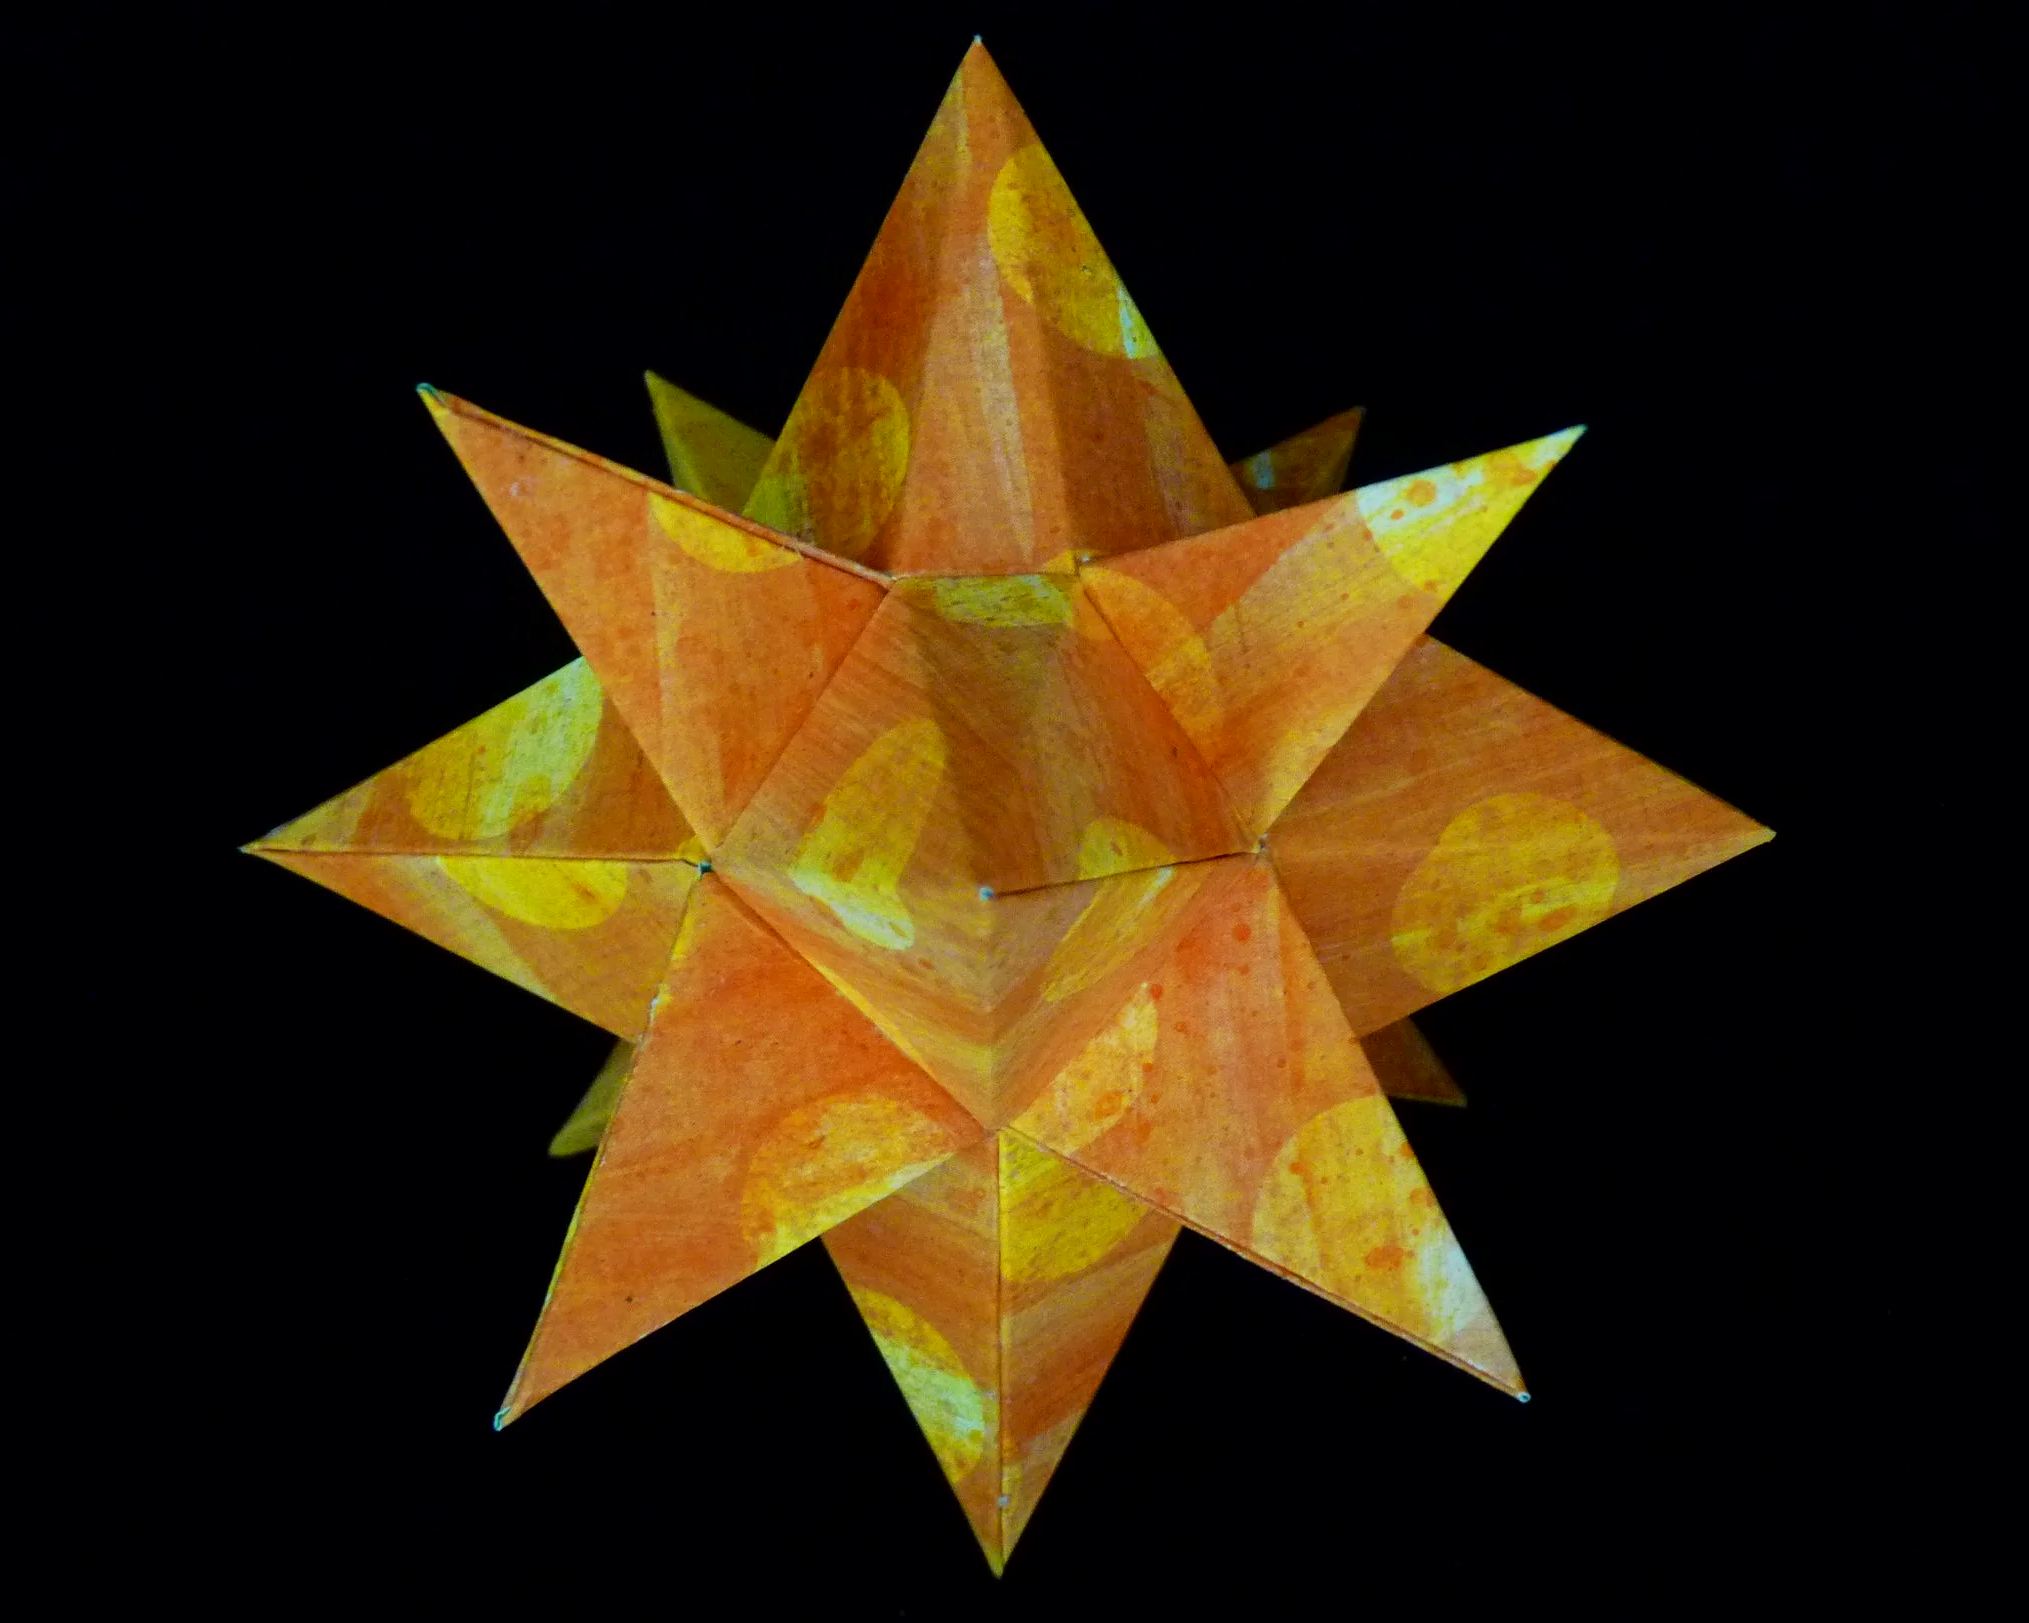
Photo 9. Completed Antares - View 1
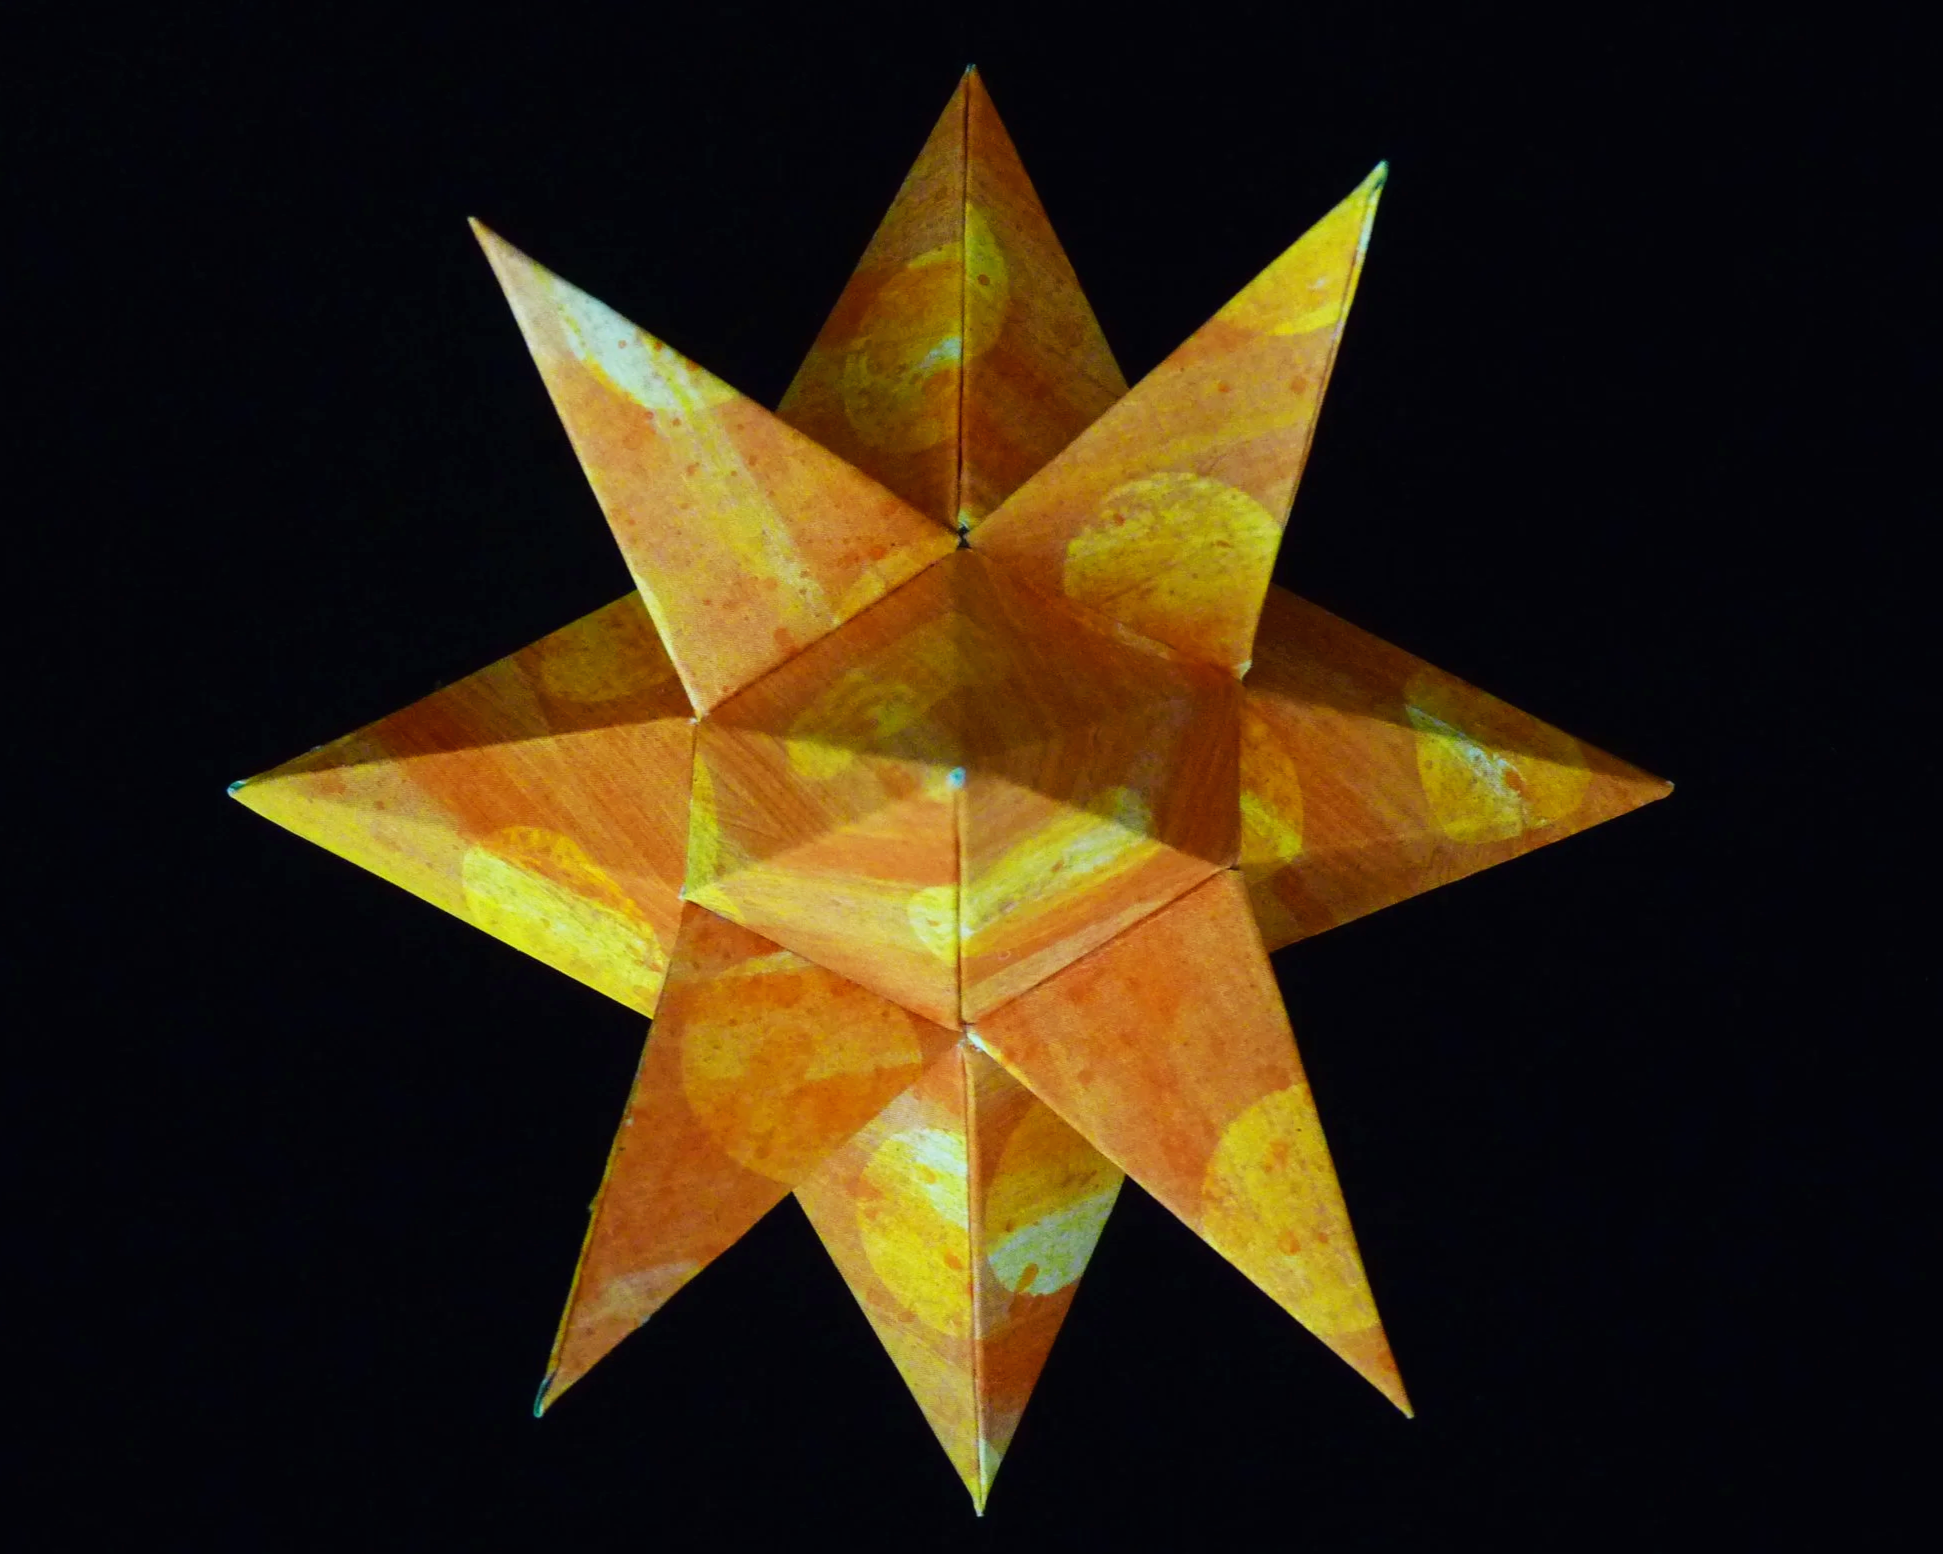
Photo 10. Completed Antares - View 2
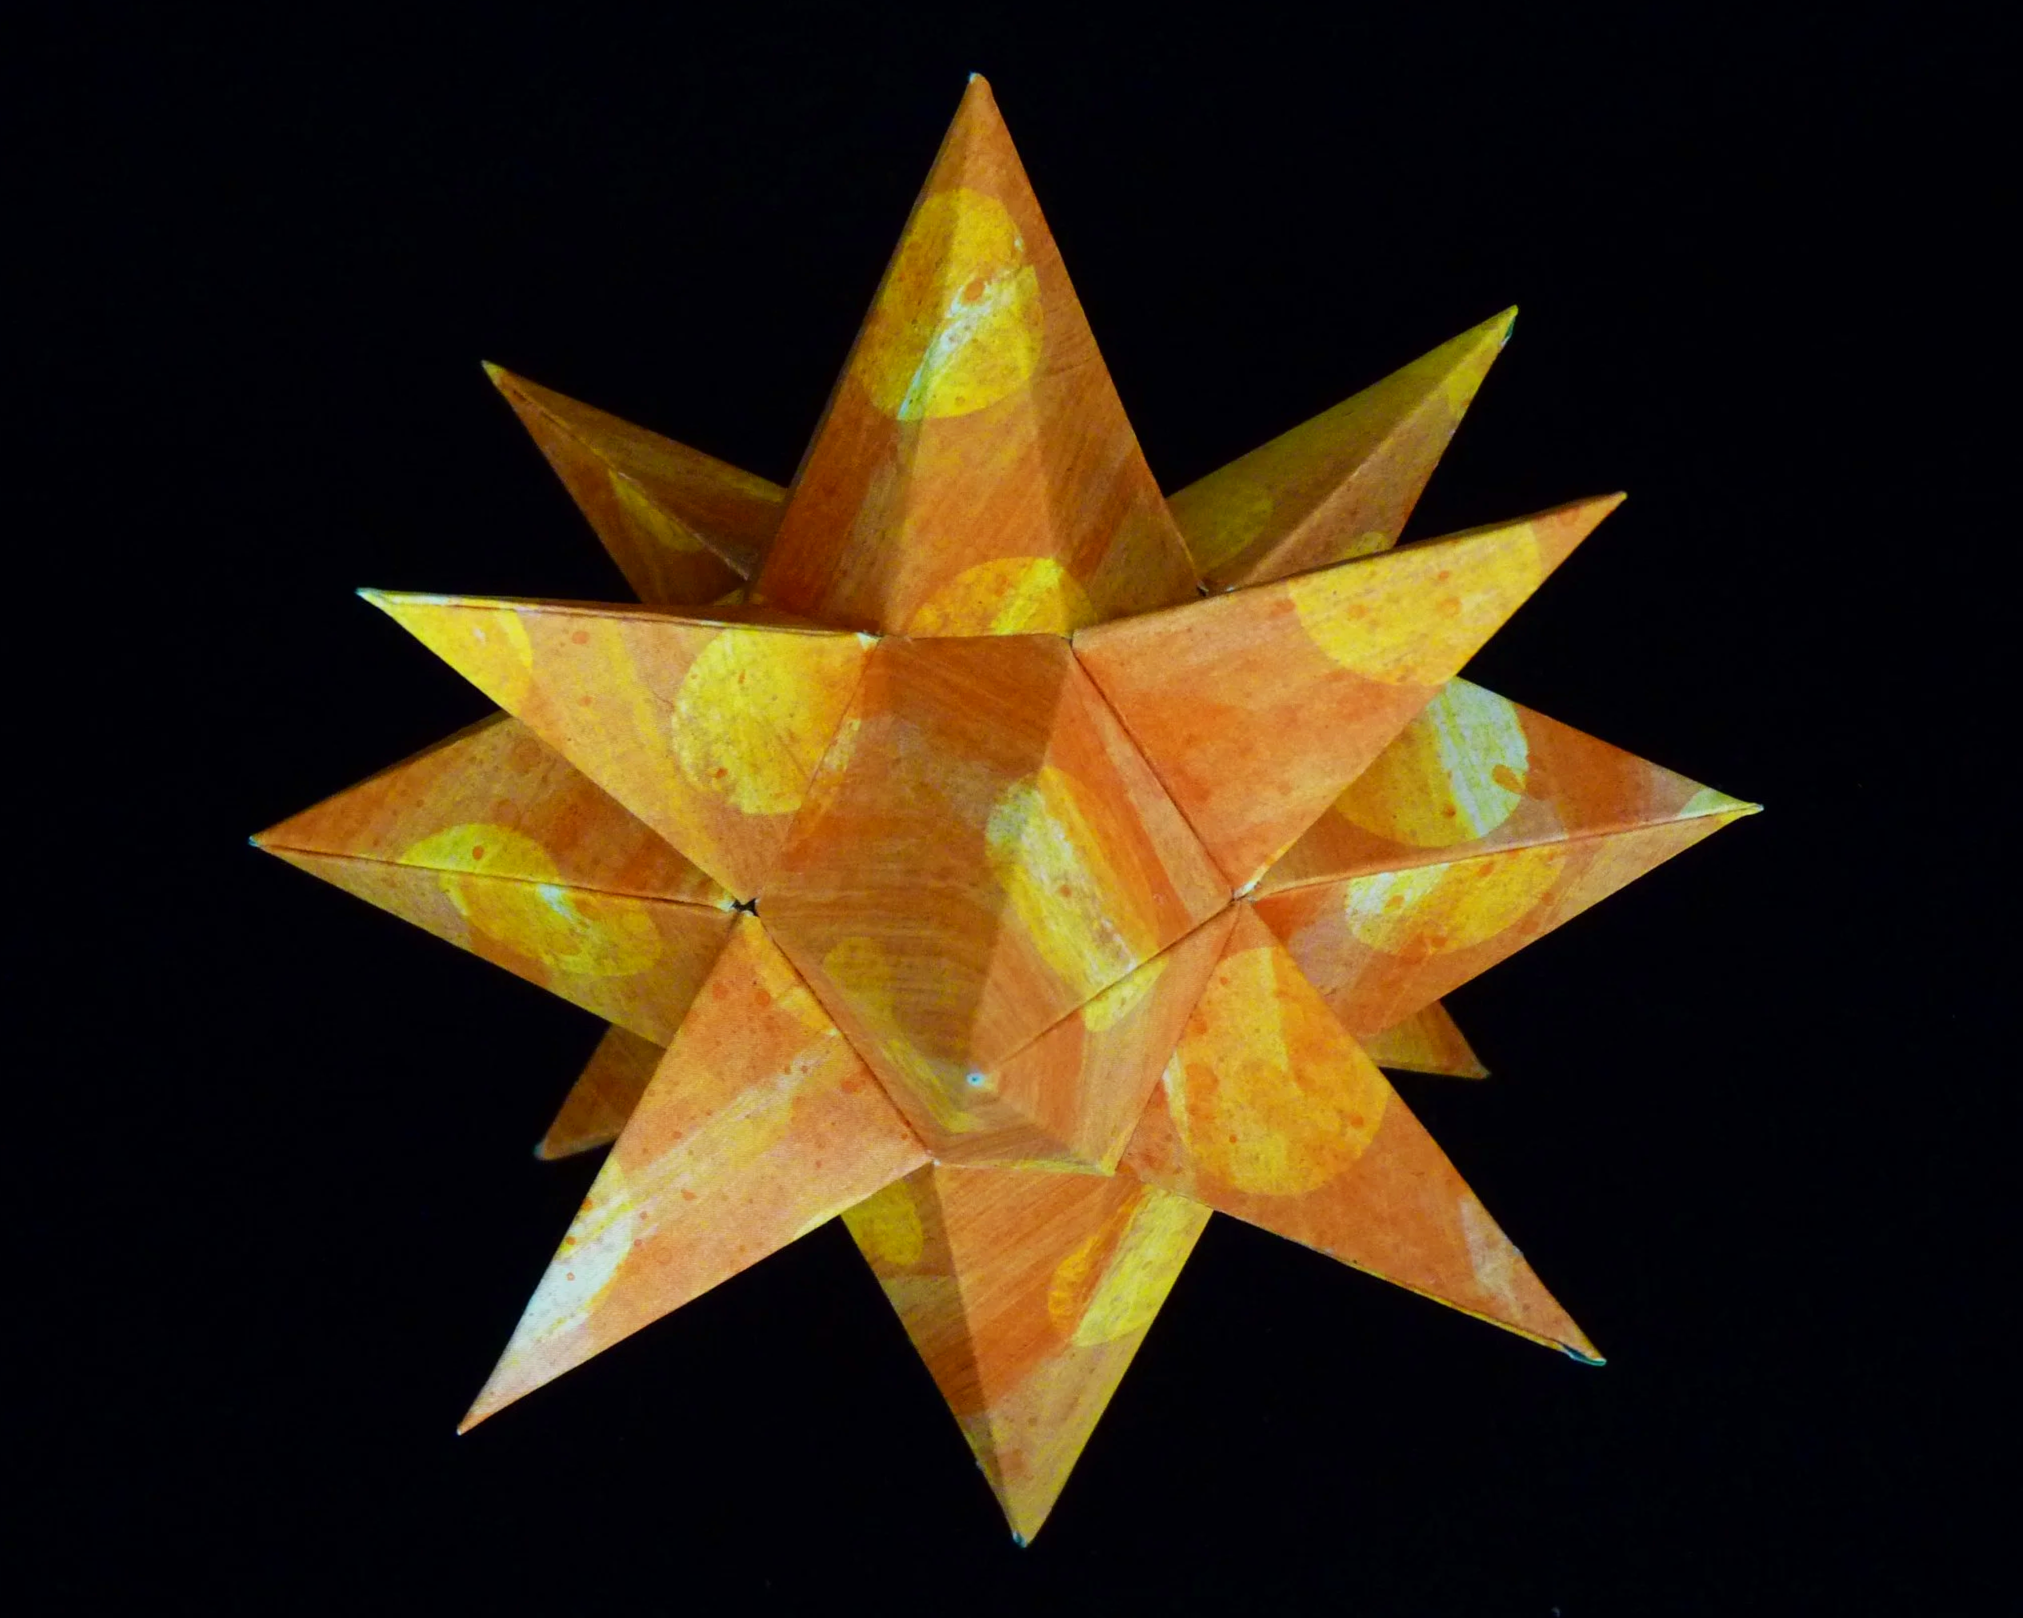
Photo 11. Completed Antares - View 3
This Antares star is built around a 14-sided polyhedron (tetradecahedron) that can be constructed by cutting the corners off (truncating) a cube; similar to a cuboctahedron or truncated cube. This tetradecahedron has two pentagon faces, two hexagon faces, two heptagon faces, and eight triangular faces.