Anti-Matter Blast
Small but powerful. Handle with care, please.
Project Info
Paper required: one sheet 8.5 x 11 inch (or A4)
Finished Project size: 3.5 inches (9 cm)
Difficulty Level: beginner
Click button below to get your free printable pattern !
Click button below to get your free printable pattern !
INSTRUCTIONS
STEP 1
Print the pattern onto the one paper sheet of your choice.
Read the pattern key included in the General Instructions.
Step 2
Cut out the ten parts by cutting on all black lines.
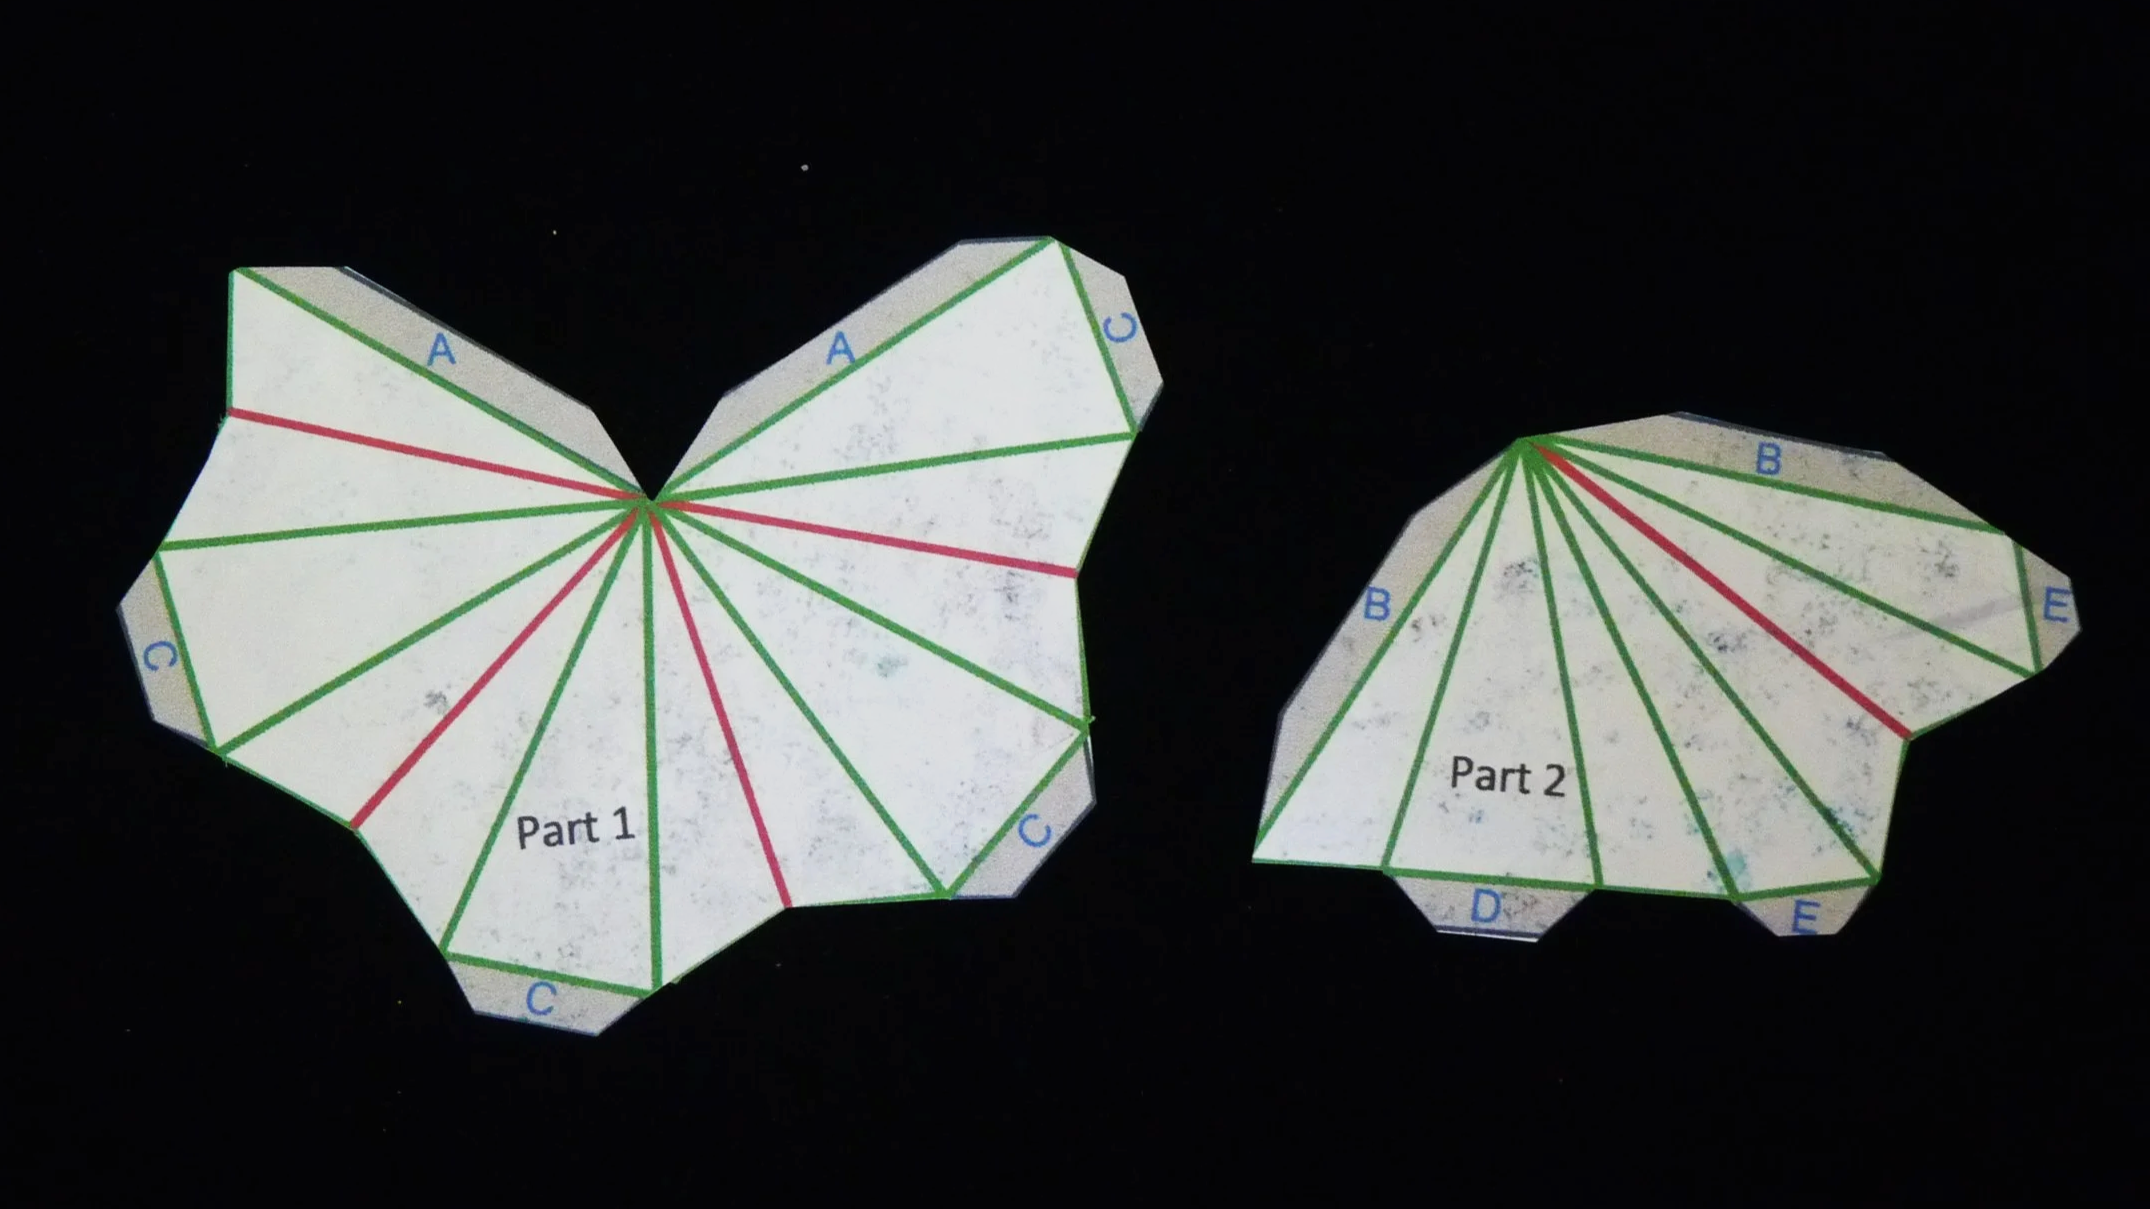
Photo 1. Back of Two Parts after Step 2

Photo 2. Front of Two Parts after Step 2
STEP 3
On all ten parts, fold red lines as mountain folds and green lines as valley folds. On Part 1’s, glue Flap A to the other Flap A. On Part 2’s, glue Flap B to the other Flap B.
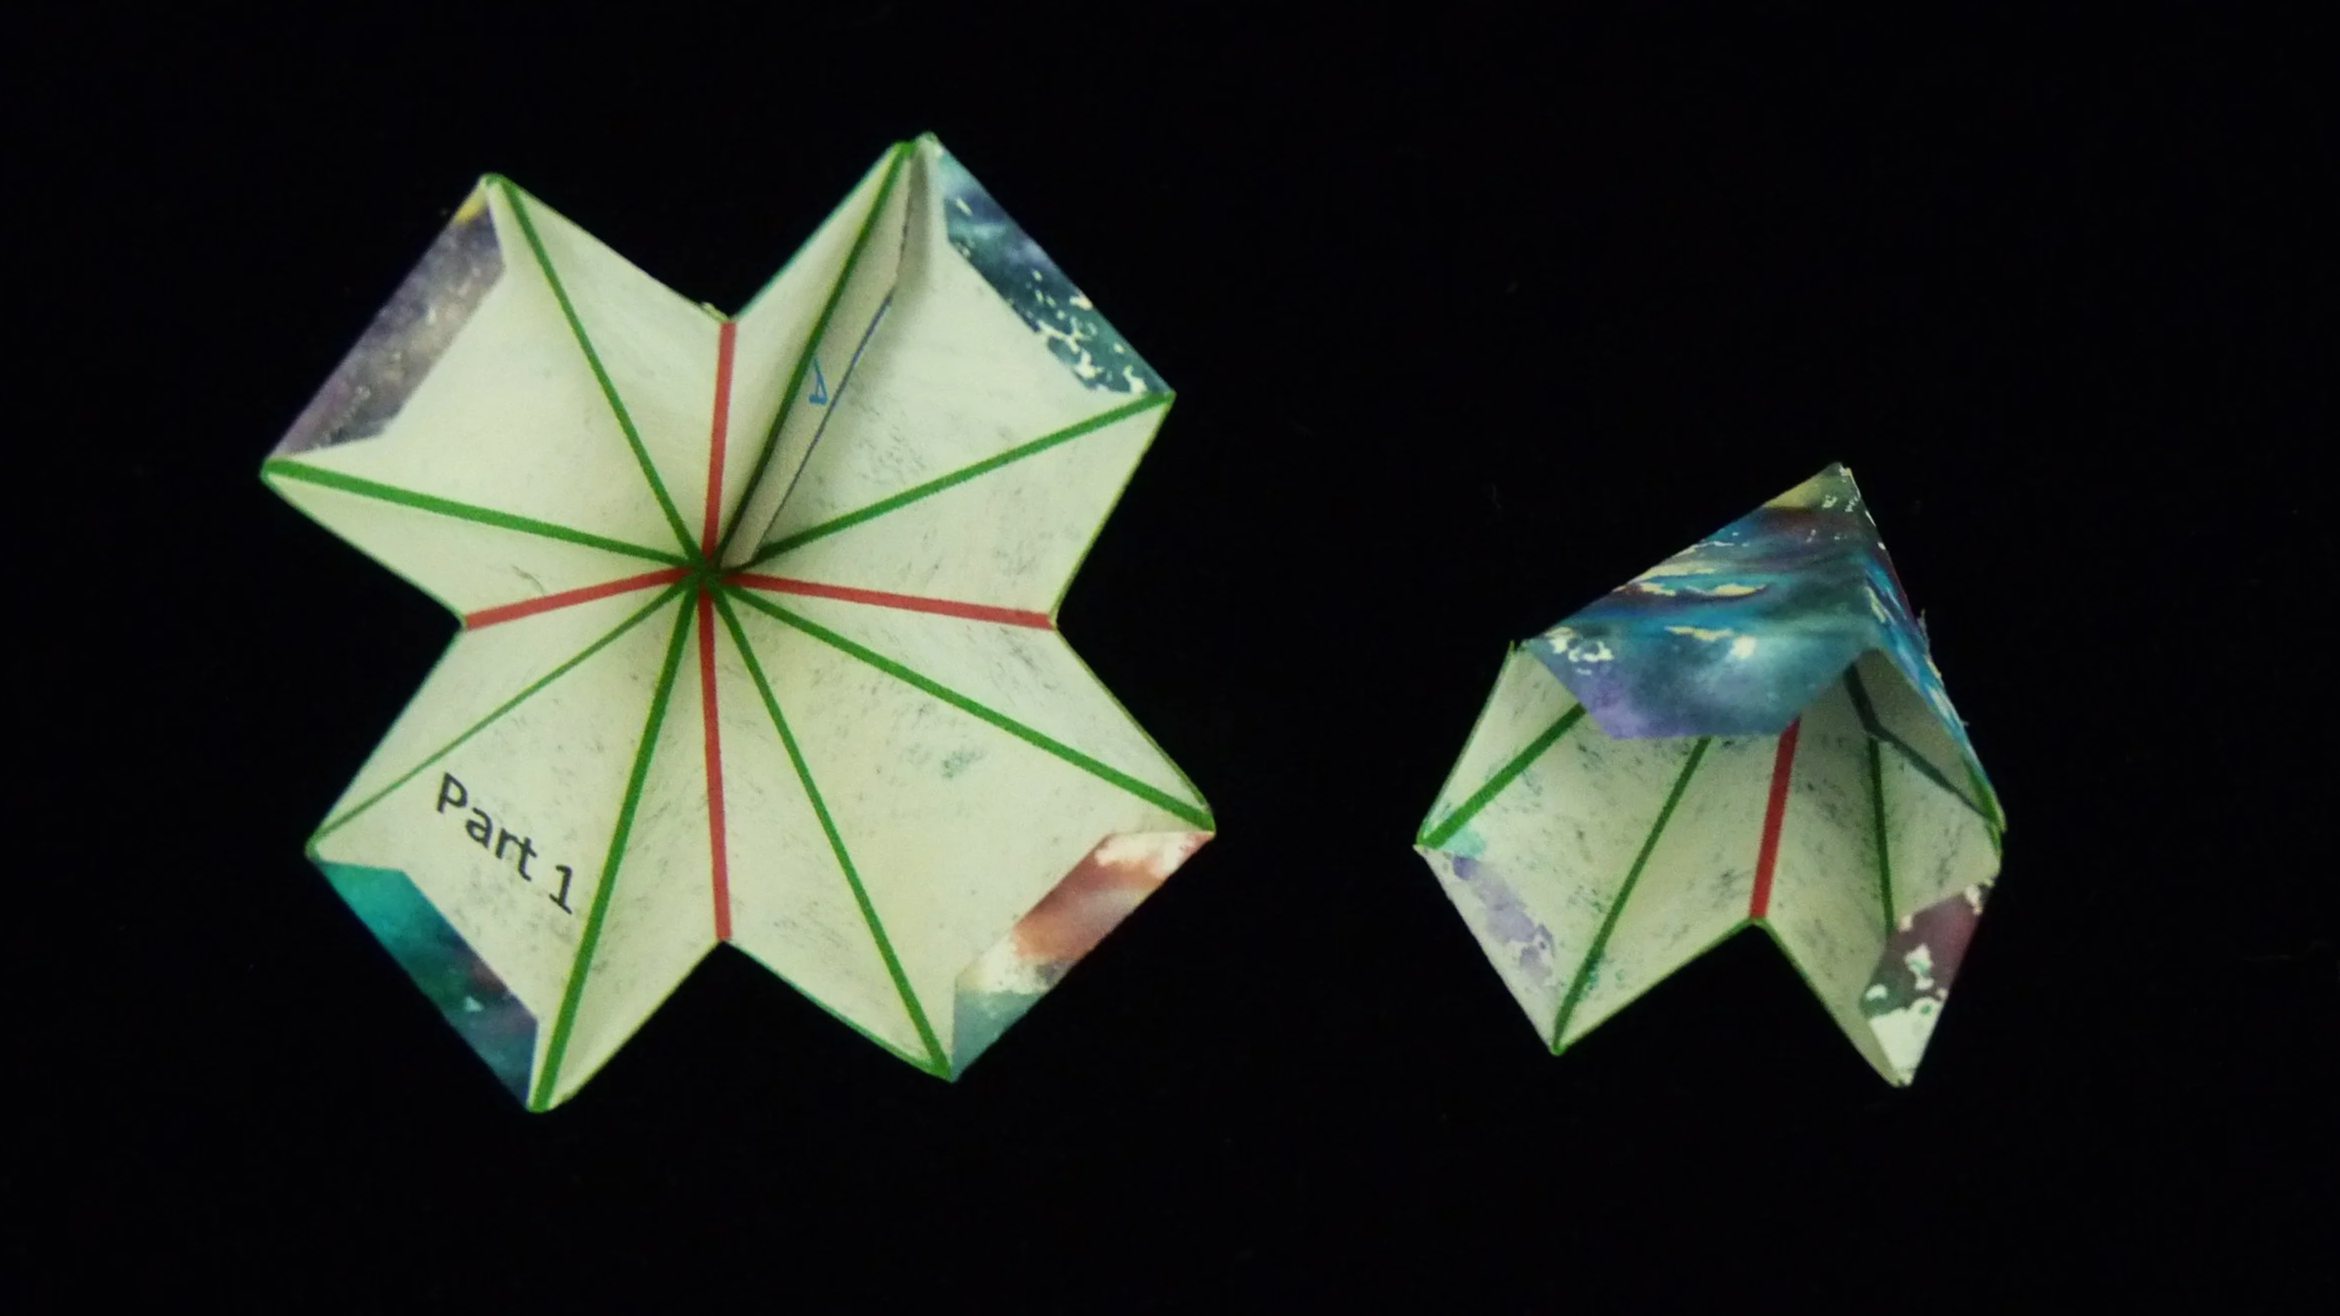
Photo 3. Inside of Two Parts after Step 3
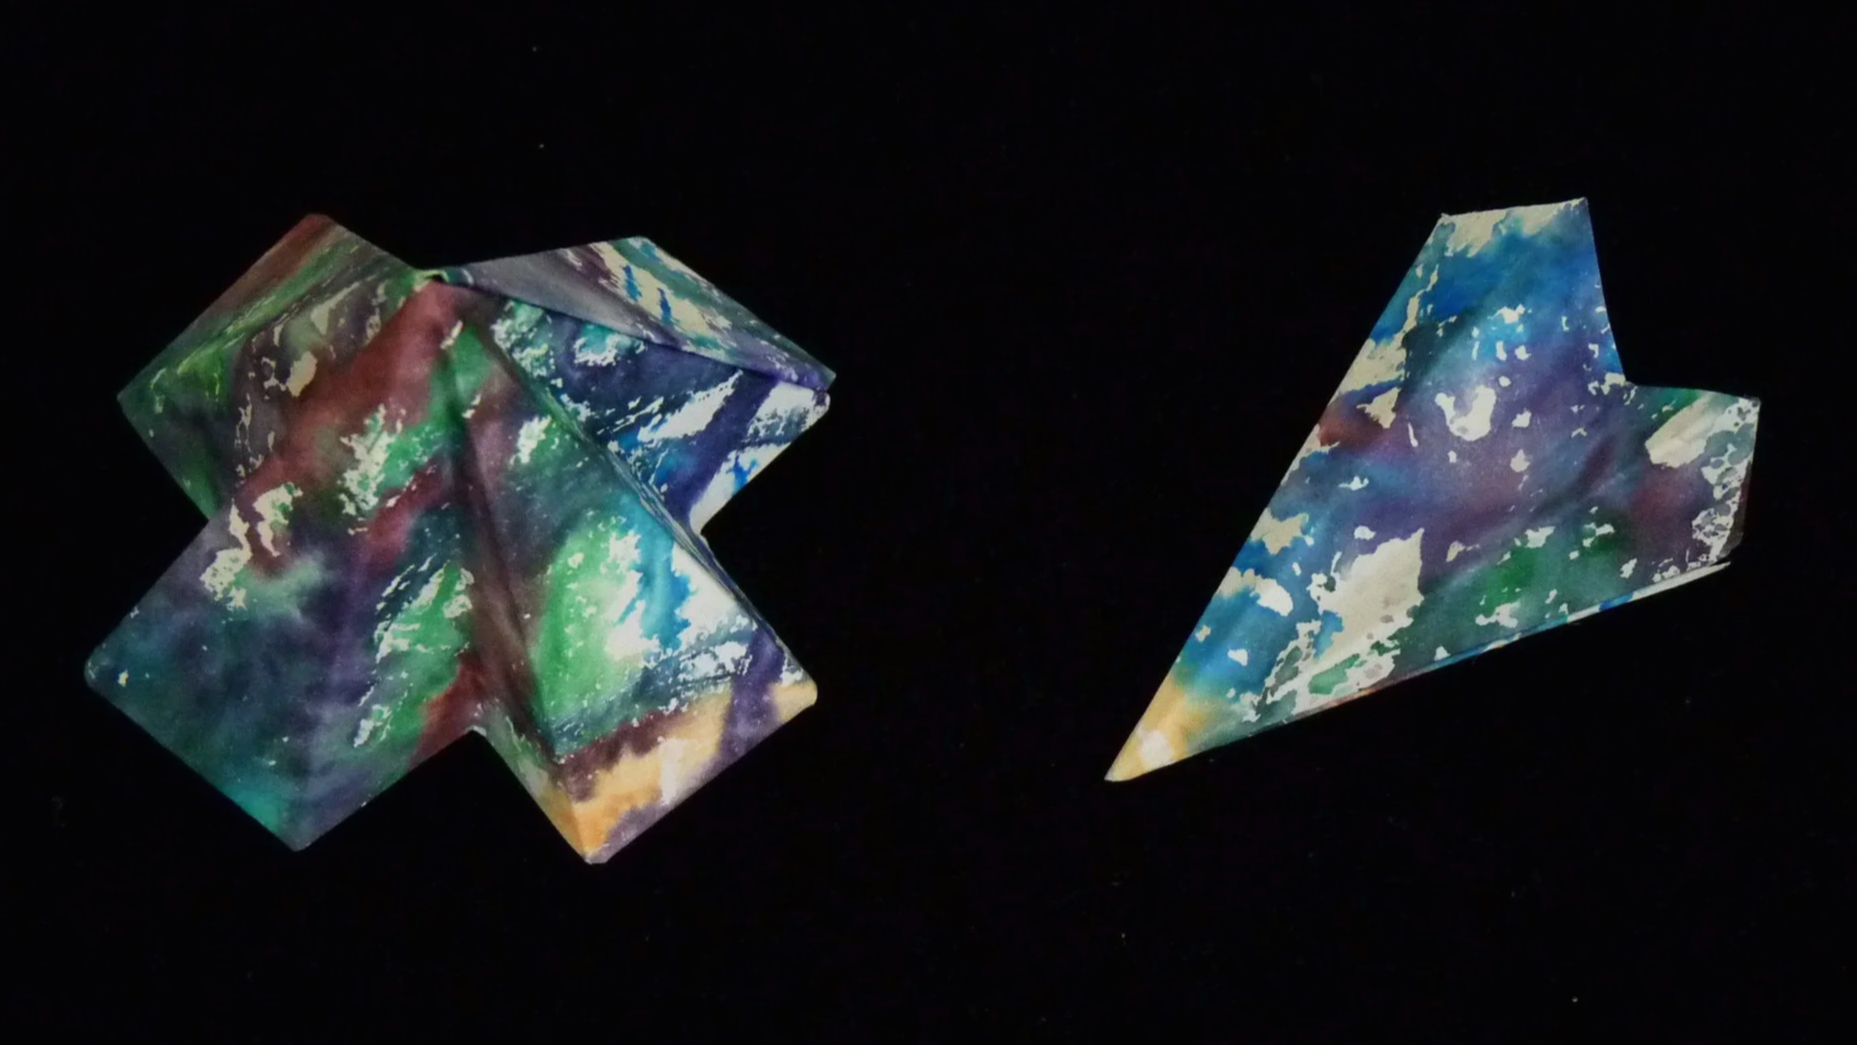
Photo 4. Outside of Two Parts after Step 3
Step 4
Make two modules. To make each module, connect four Part 2’s to a Part 1 by gluing the Flap D on each Part 2 to one of the Flap C’s on the Part 1.
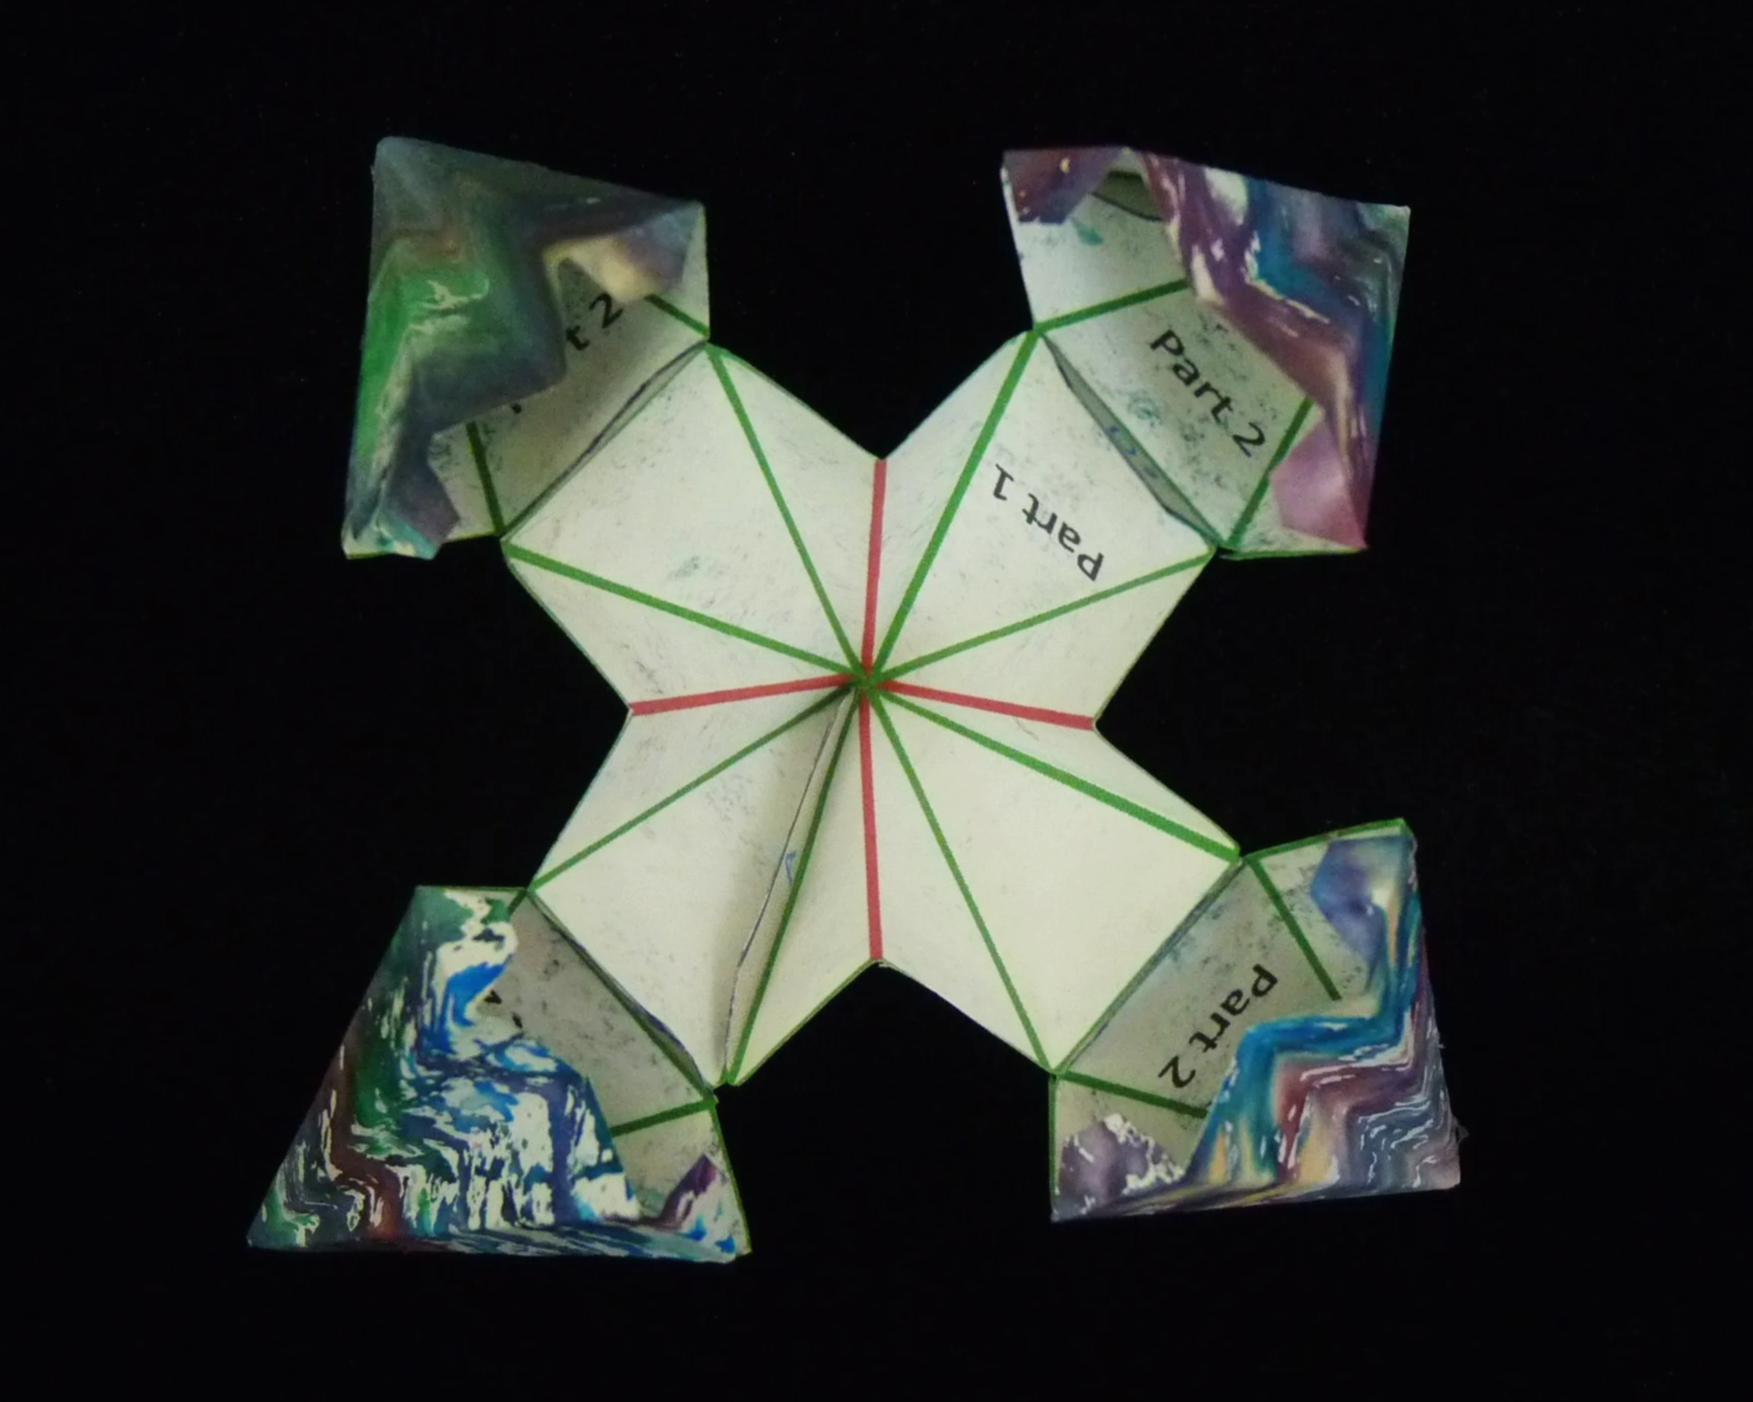
Photo 5. Inside of Module after Step 4
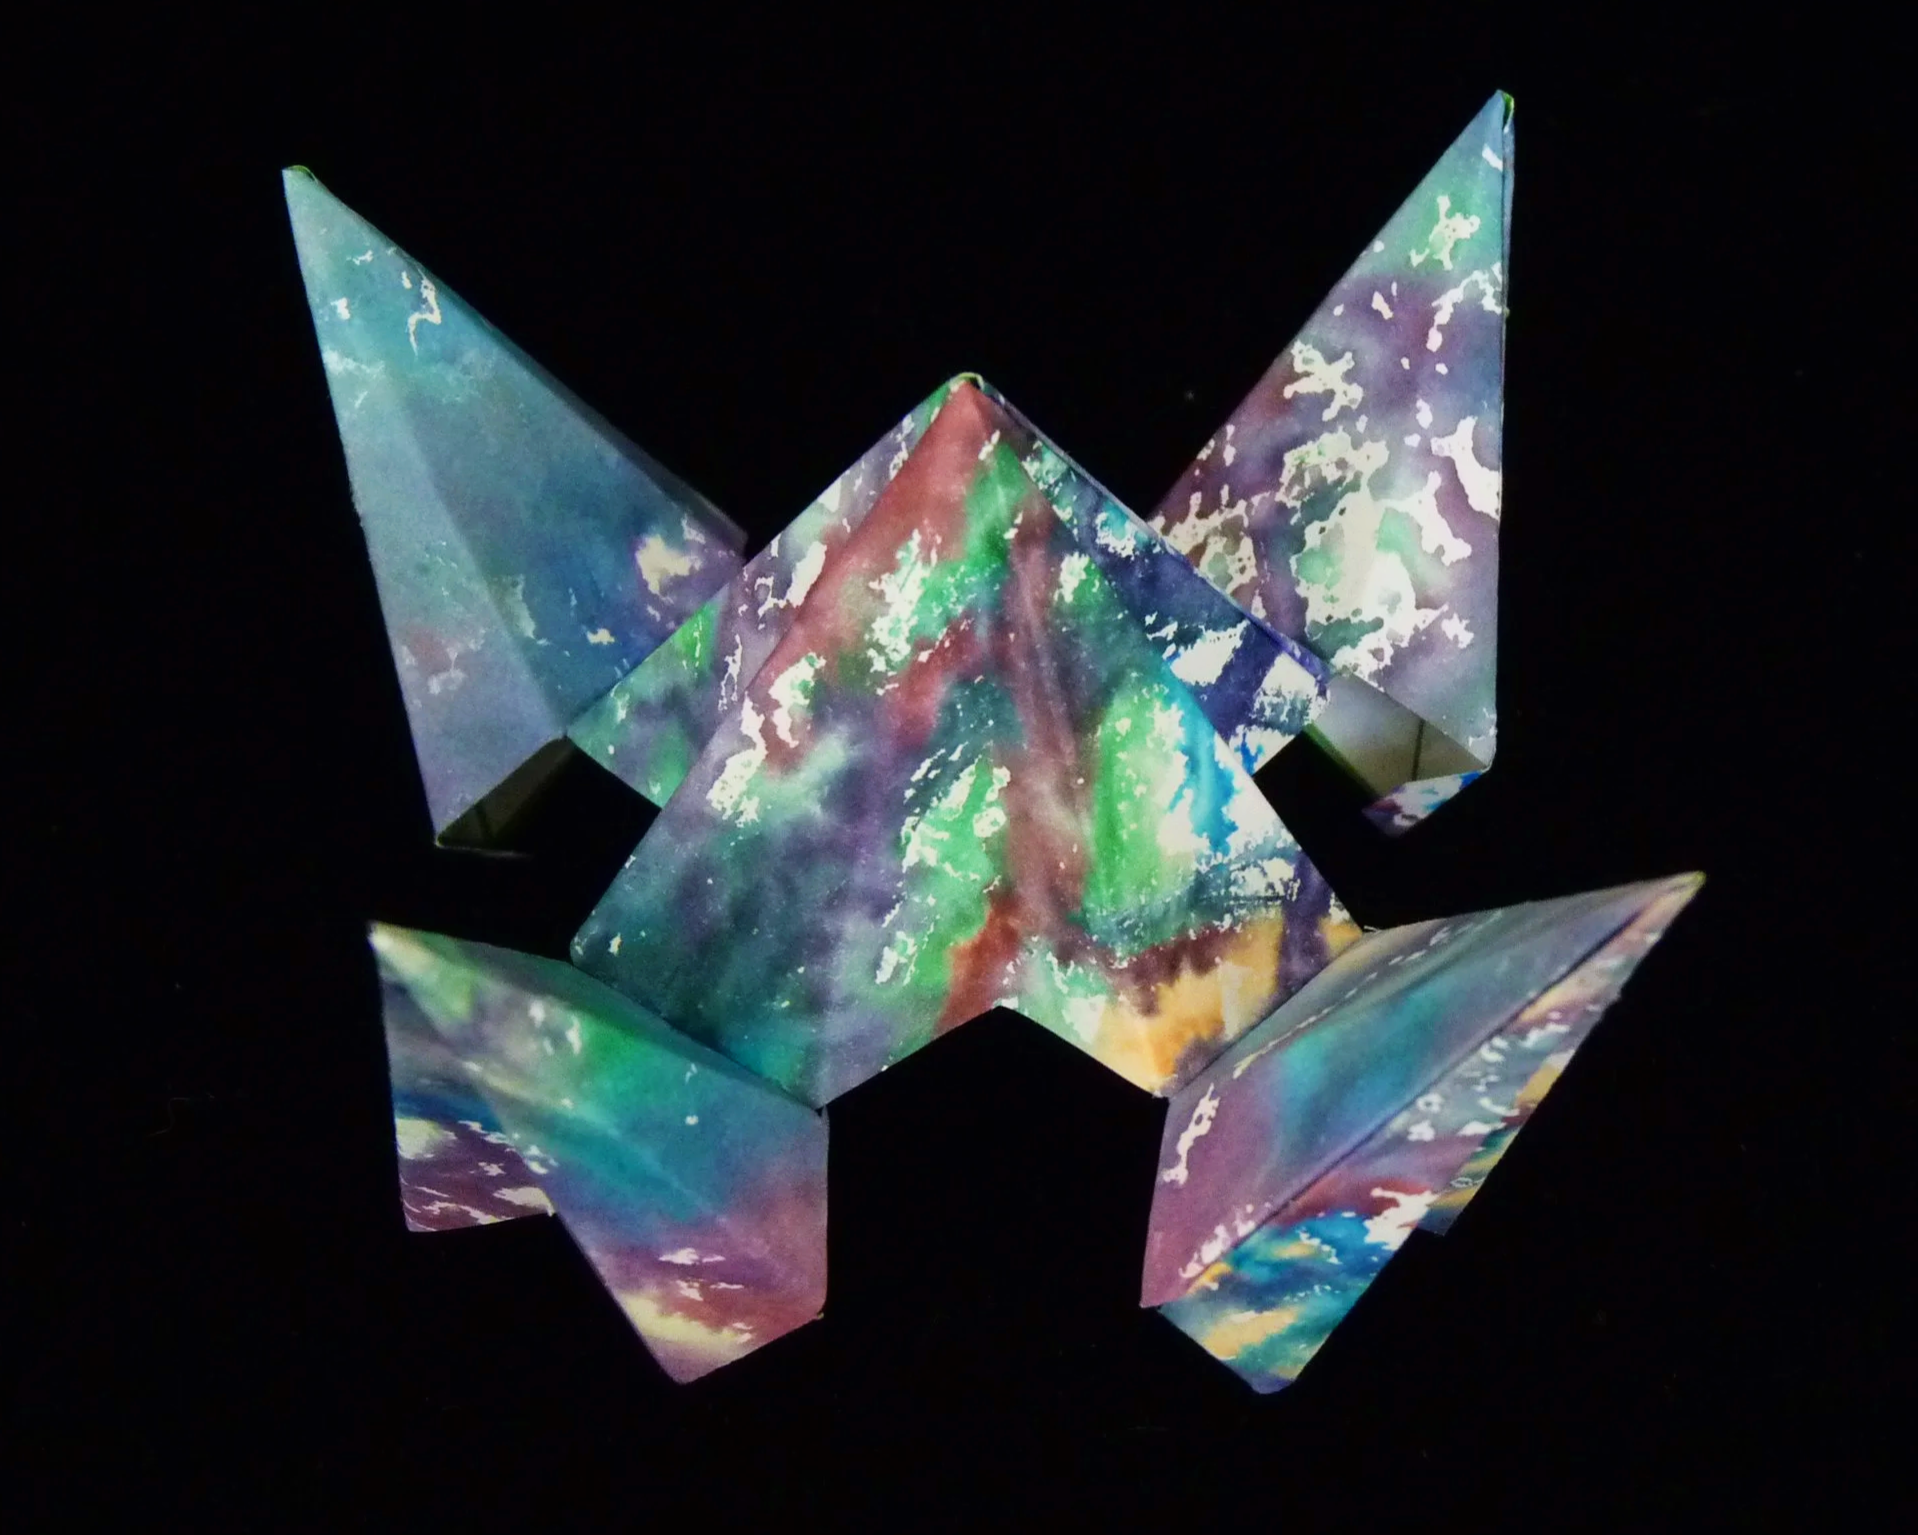
Photo 6. Outside of Module after Step 4
Step 5
Finish the Anti-Matter Blast by connecting the two modules together. Glue each of the eight Flap E’s on one module to one of the eight Flap E’s on the other module.

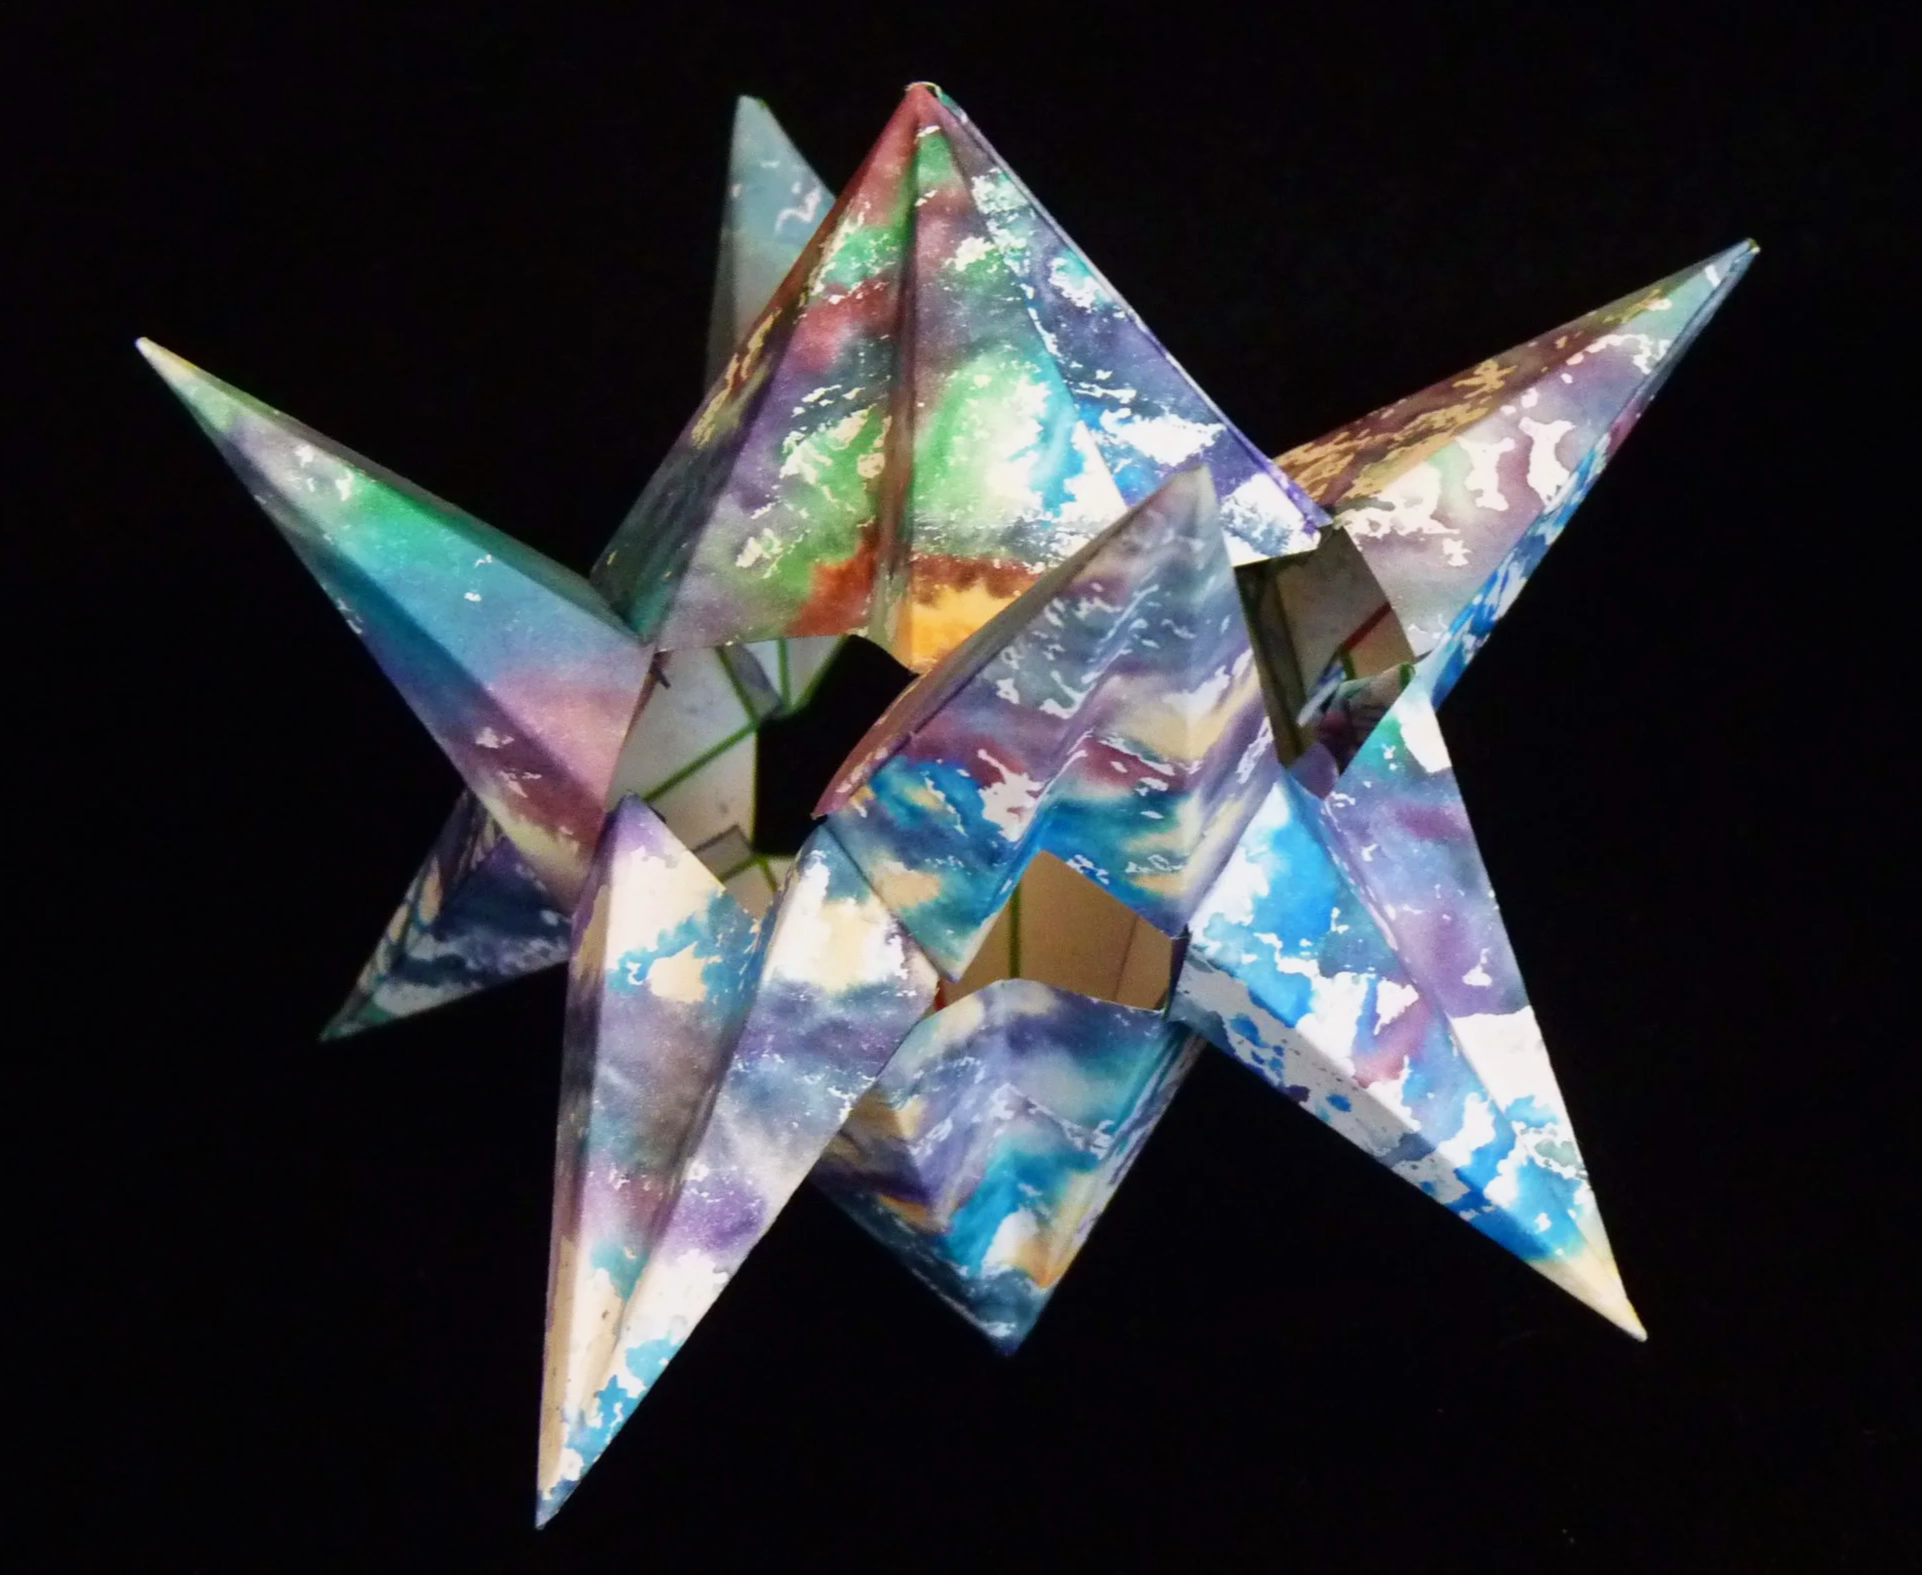
Photo 7. Completed Anti-Matter Blast - View 1
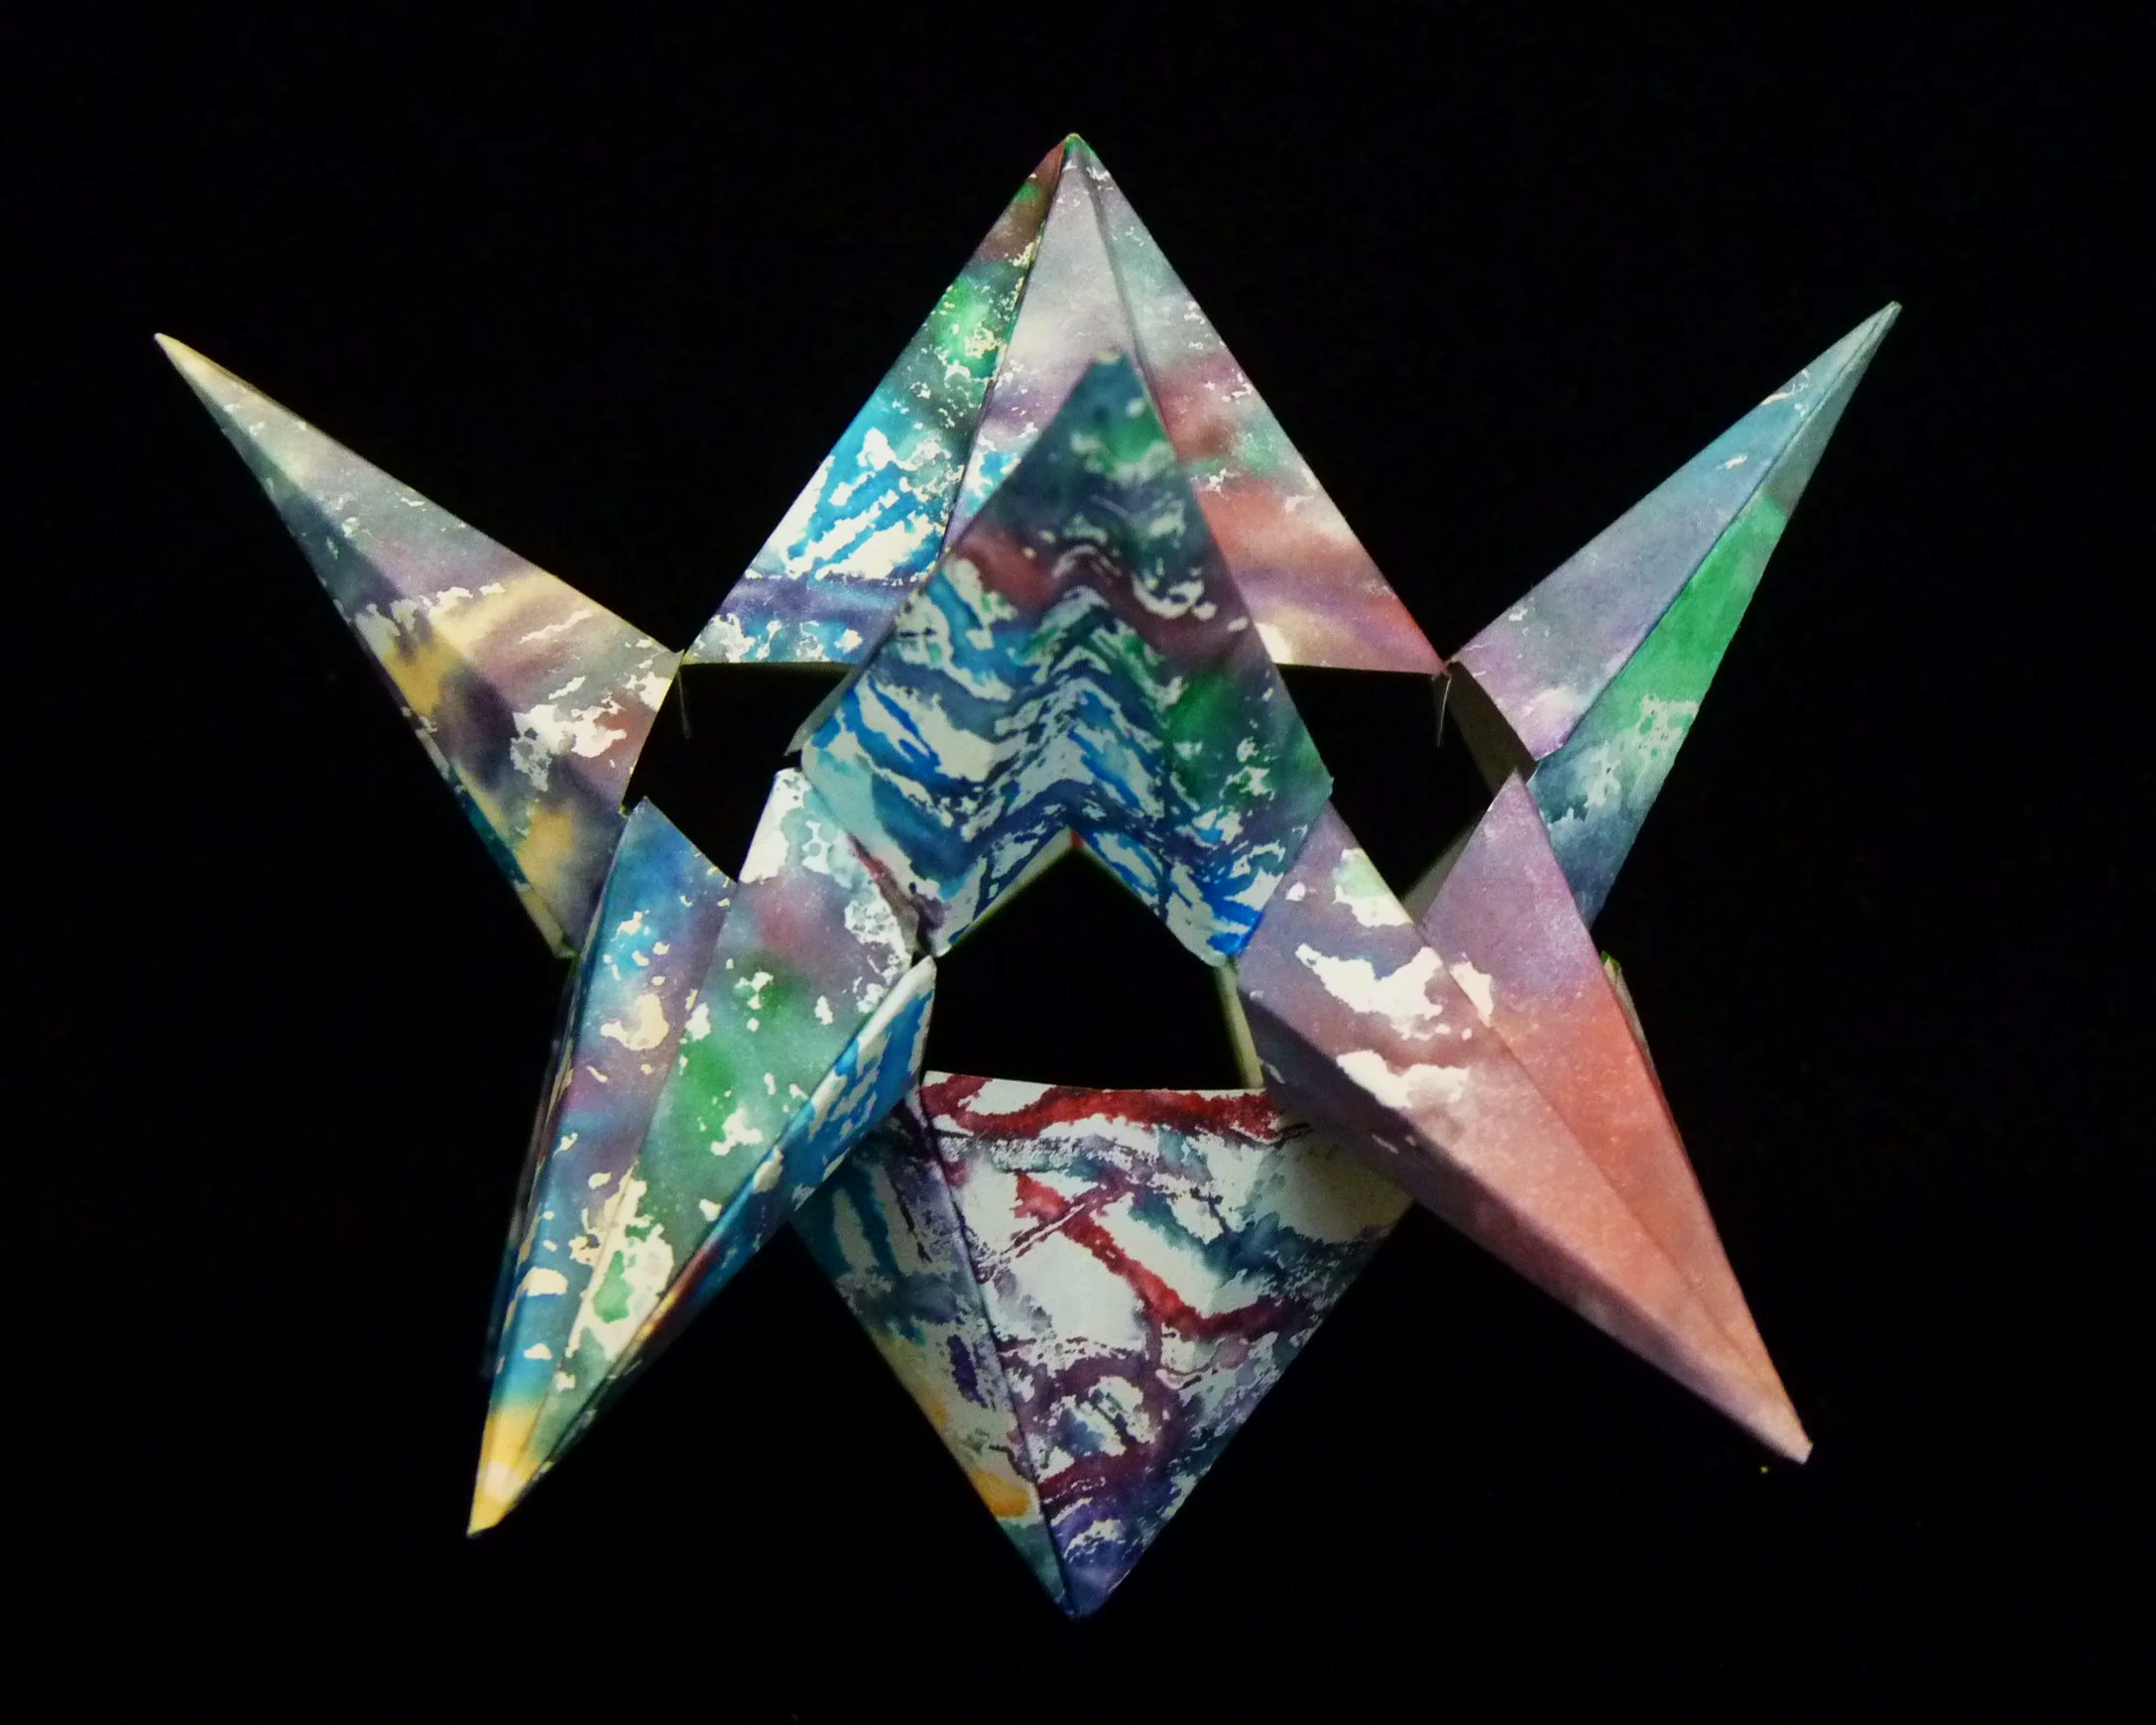
Photo 8. Completed Anti-Matter Blast - View 2
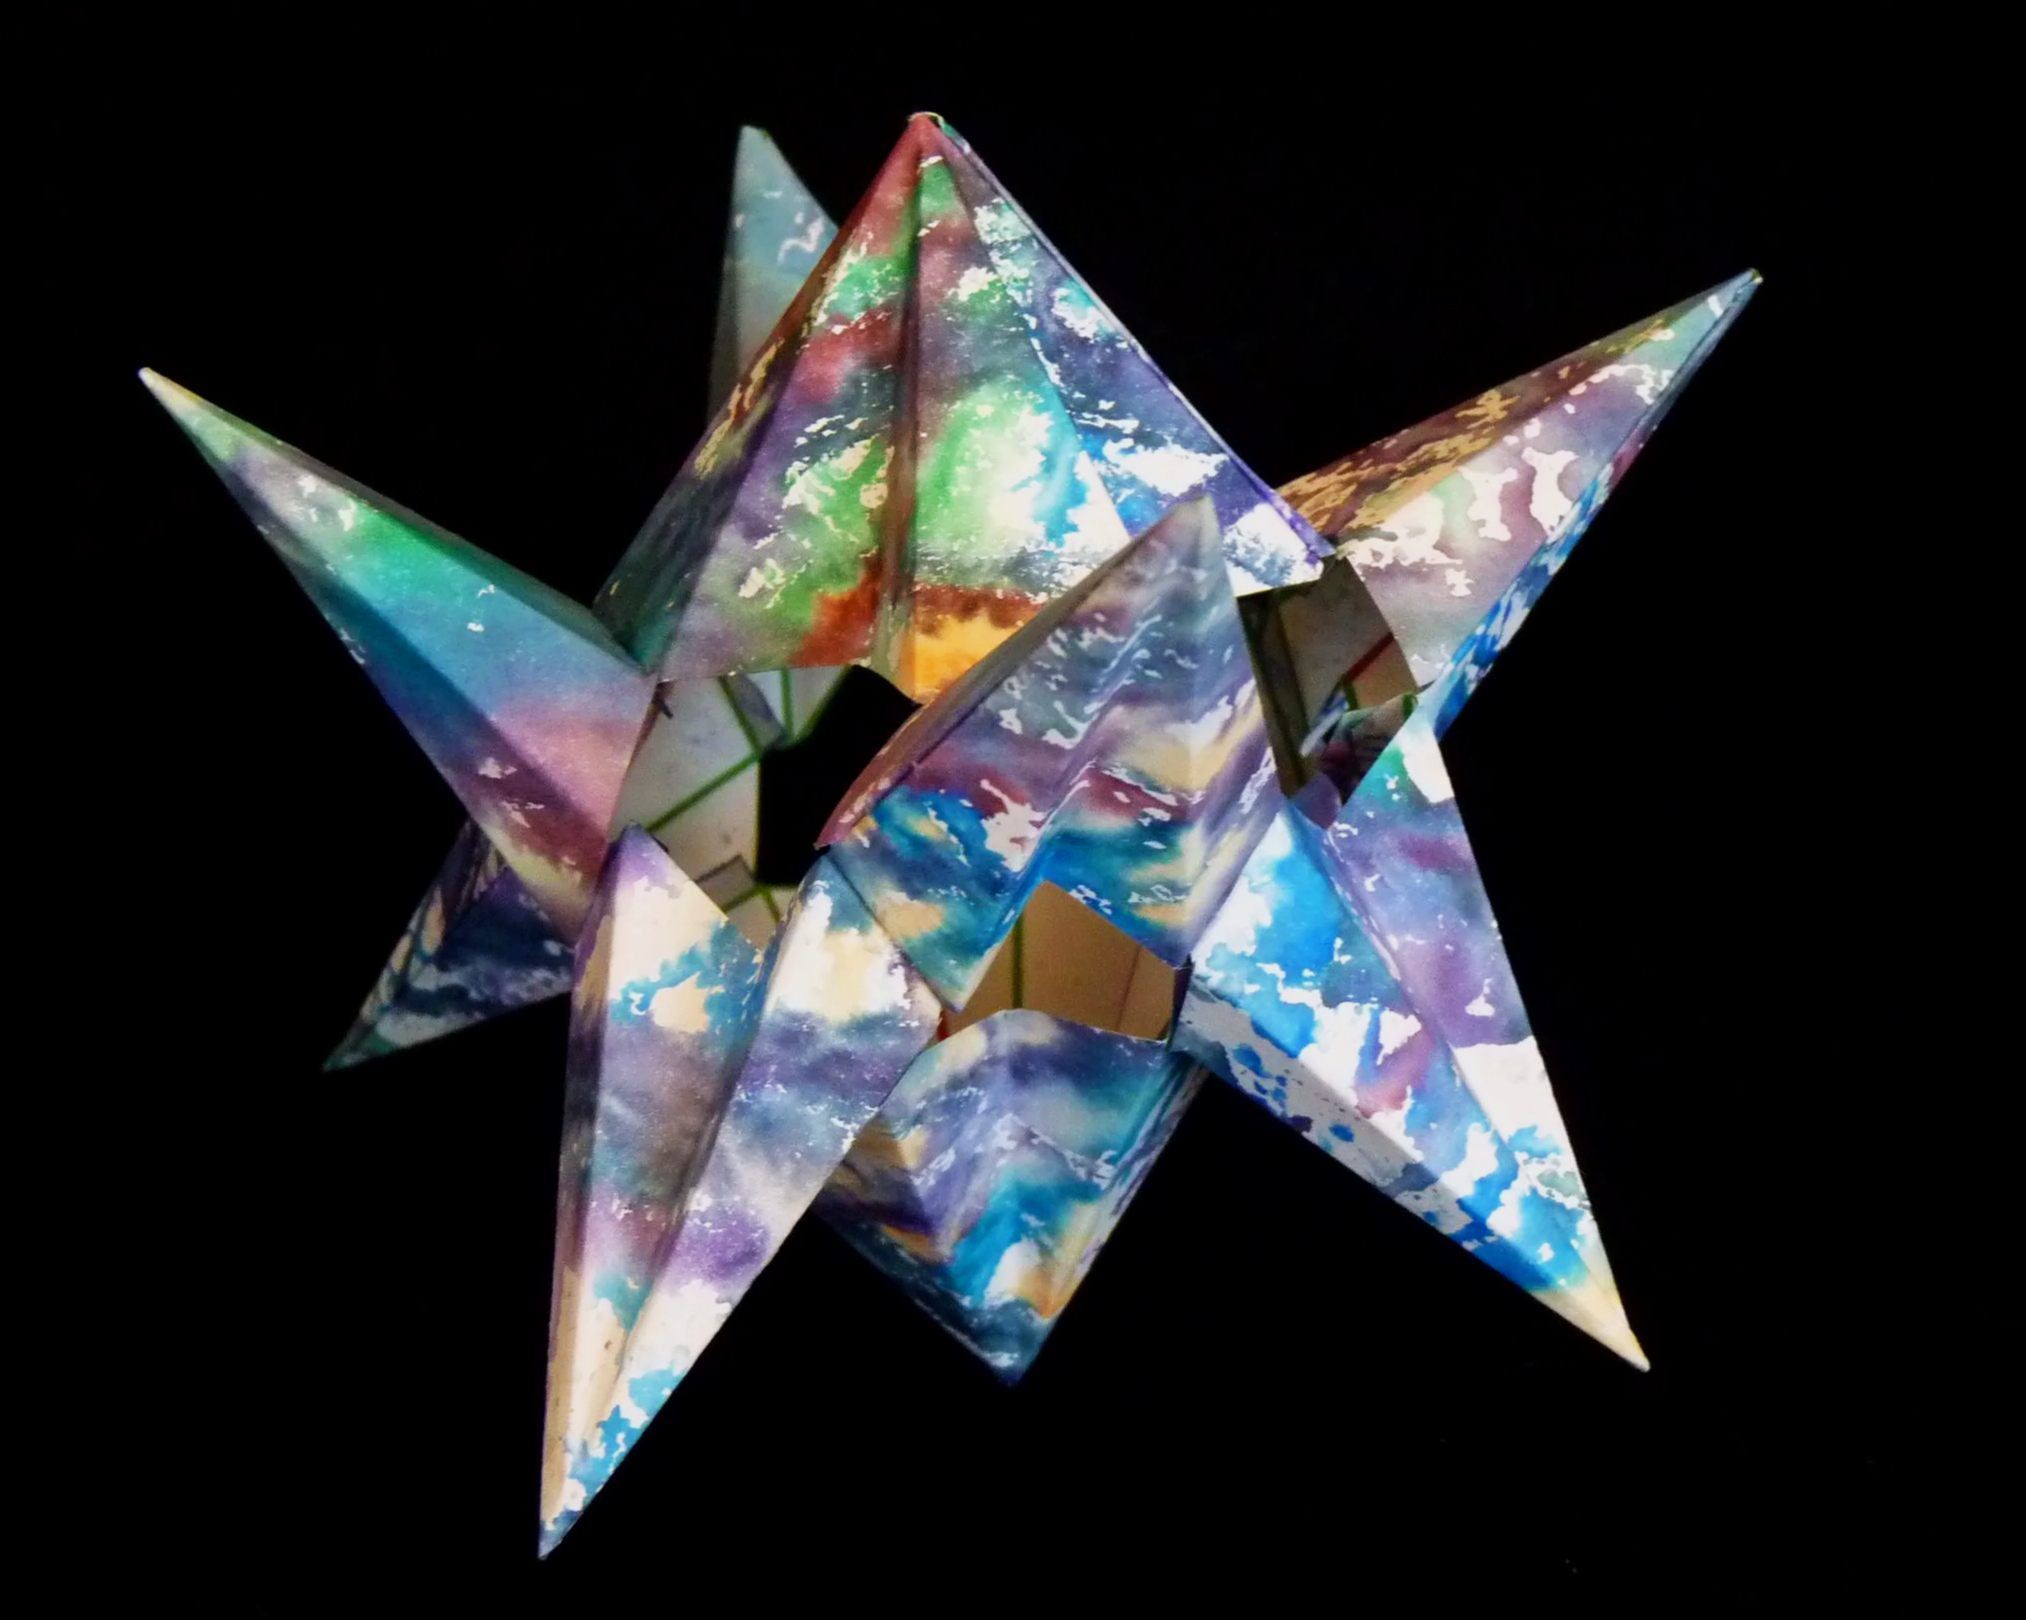
Photo 9. Completed Anti-Matter Blast - View 3
This Anti-Matter Blast is in the form of a stellated square anti-prism
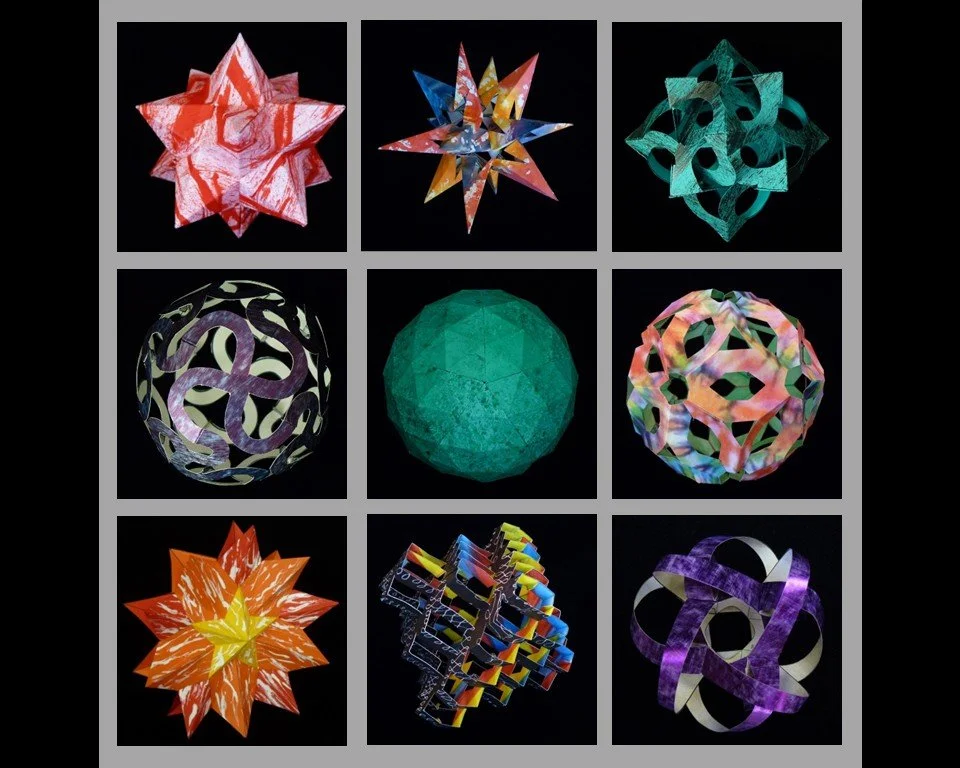
One sheet paper crafts are fast and fun. See a list of the other one sheet paper crafts on this website in the project index (click on link).