Dodecahedron Explosion
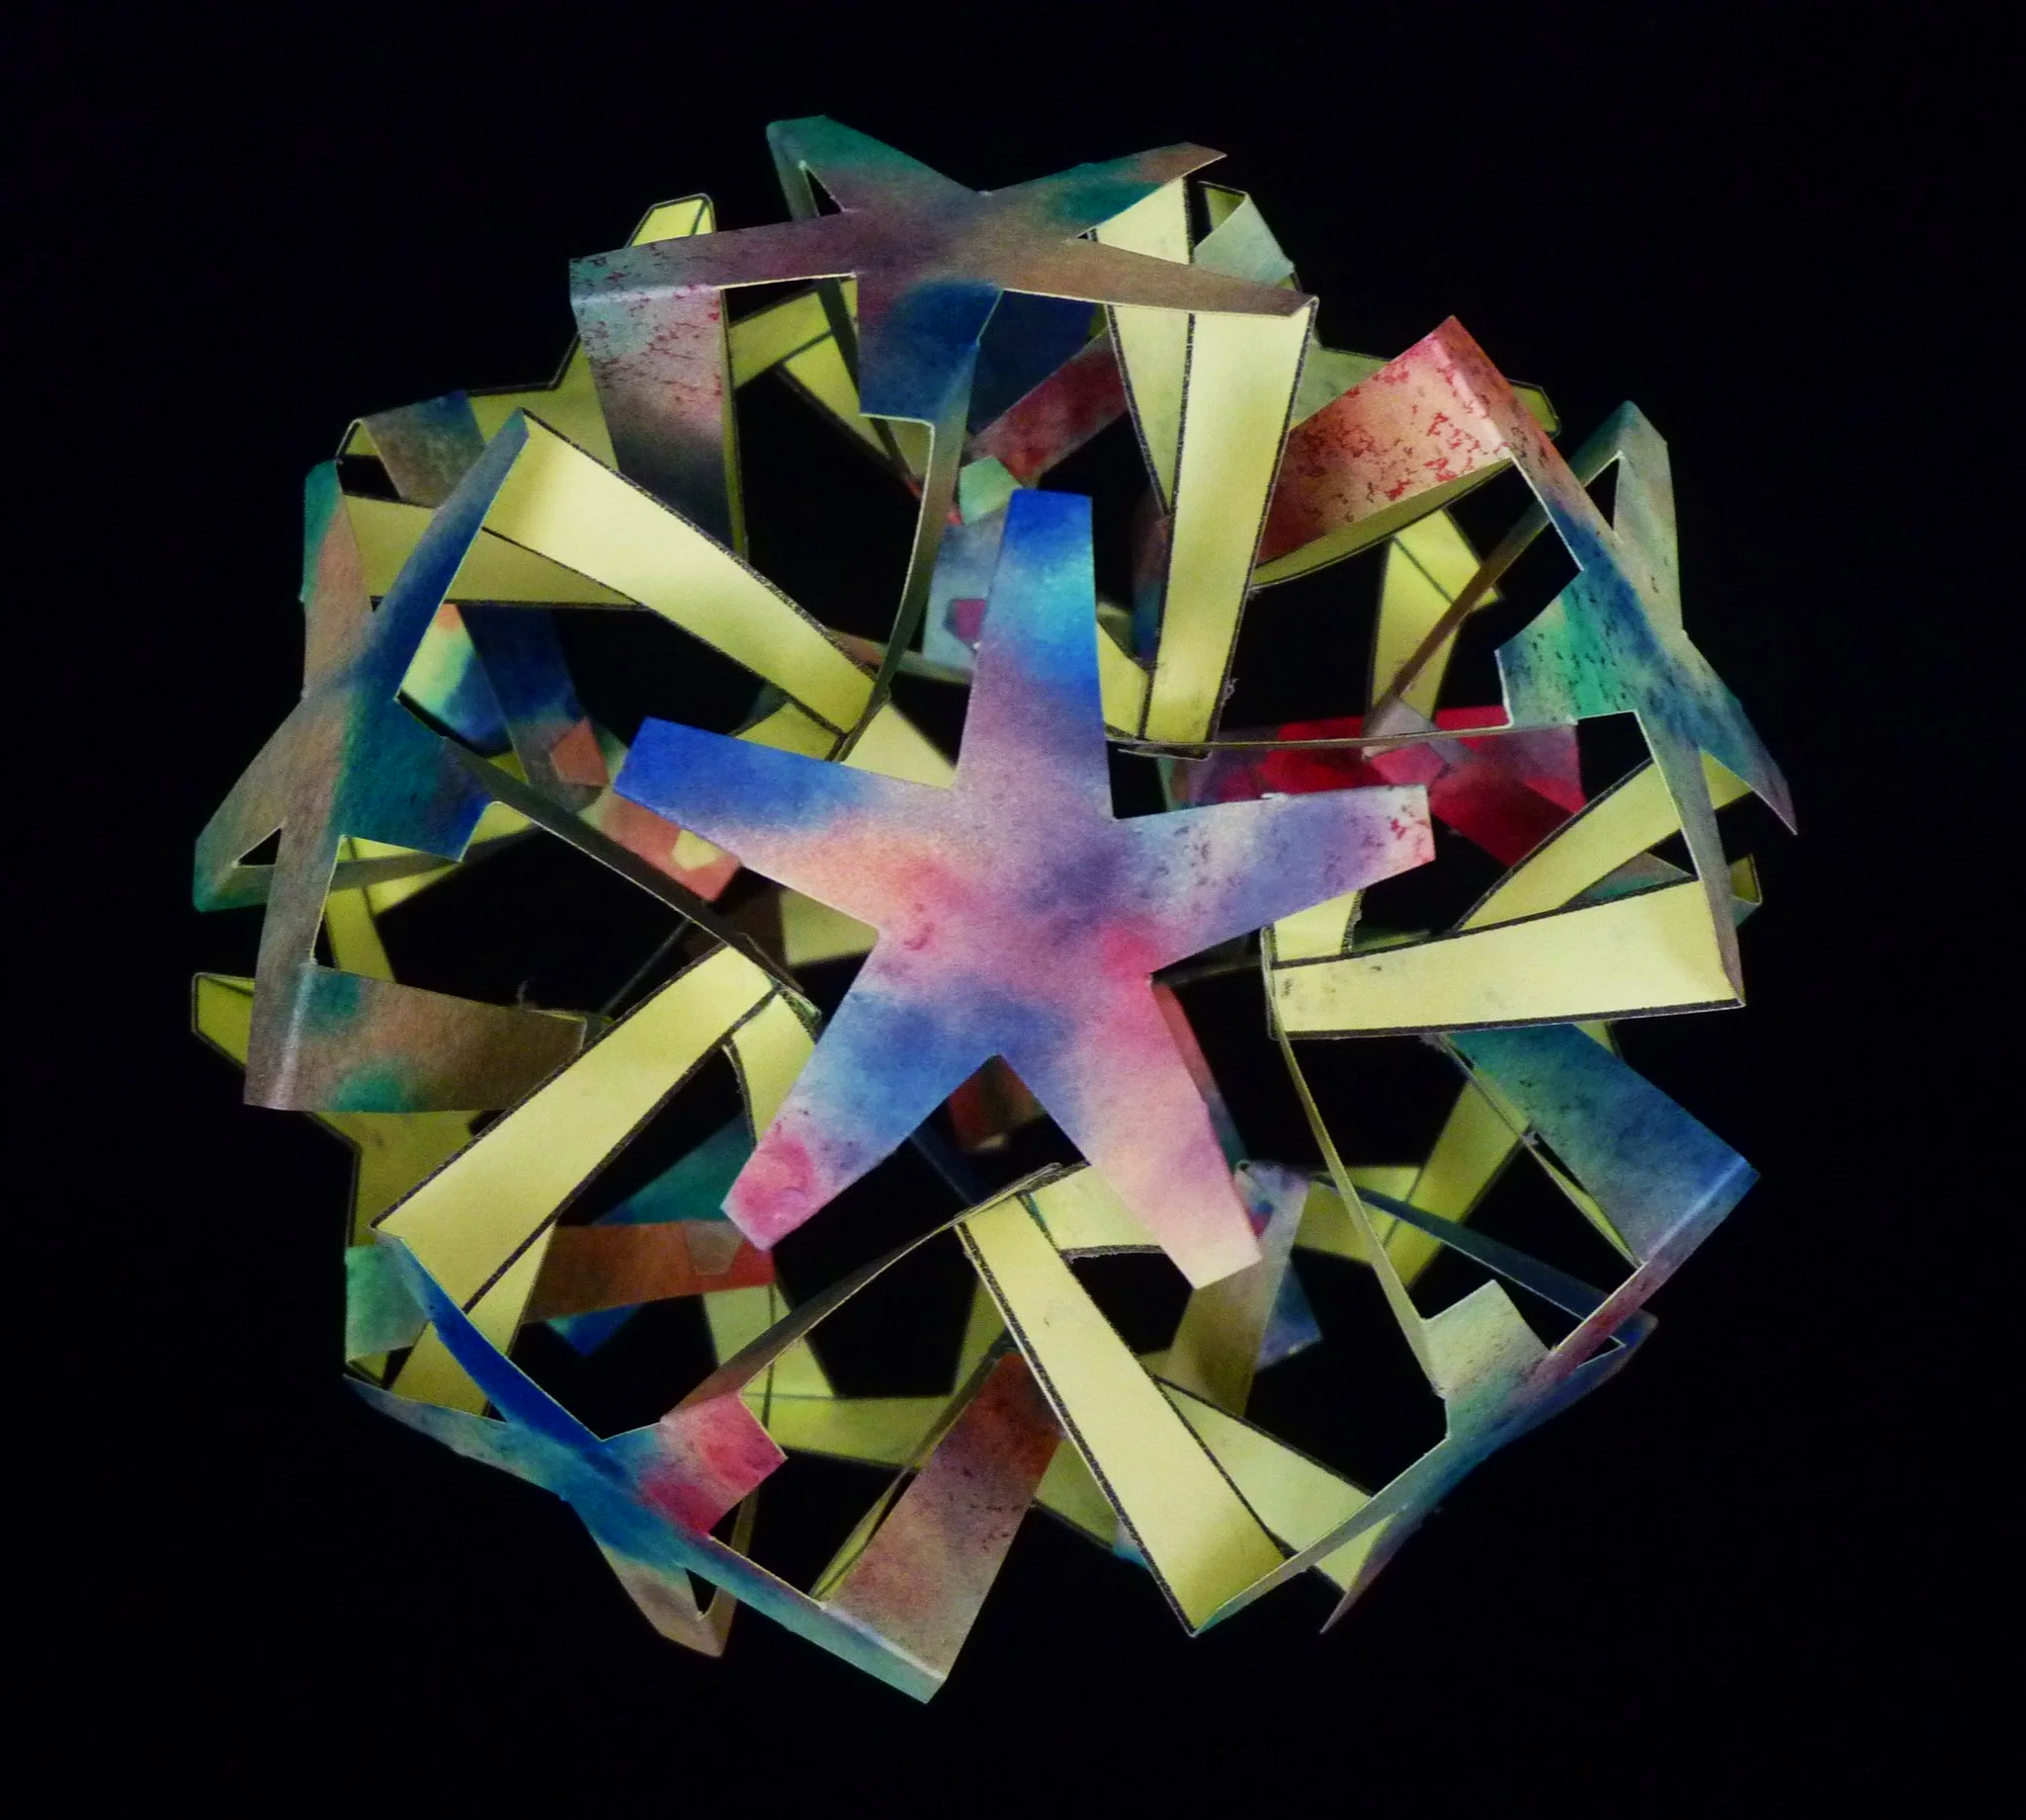
Make some fireworks ! Craft your explosion in 3D.
Project Info
Paper required: Two sheets 8 ½ x 11 inch (or A4)
Finished Project size: 4.5 inches (11 cm)
Difficulty Level: Advanced
Click button below to get your free printable pattern !
Click button below to get your free printable pattern !
INSTRUCTIONS
STEP 1
Print the pattern onto the two matching paper sheets of your choice. Both sides of the paper will be visible in this project.
Read the pattern key included in the General Instructions.
Step 2
Cut out the twelve parts by cutting on all black lines.
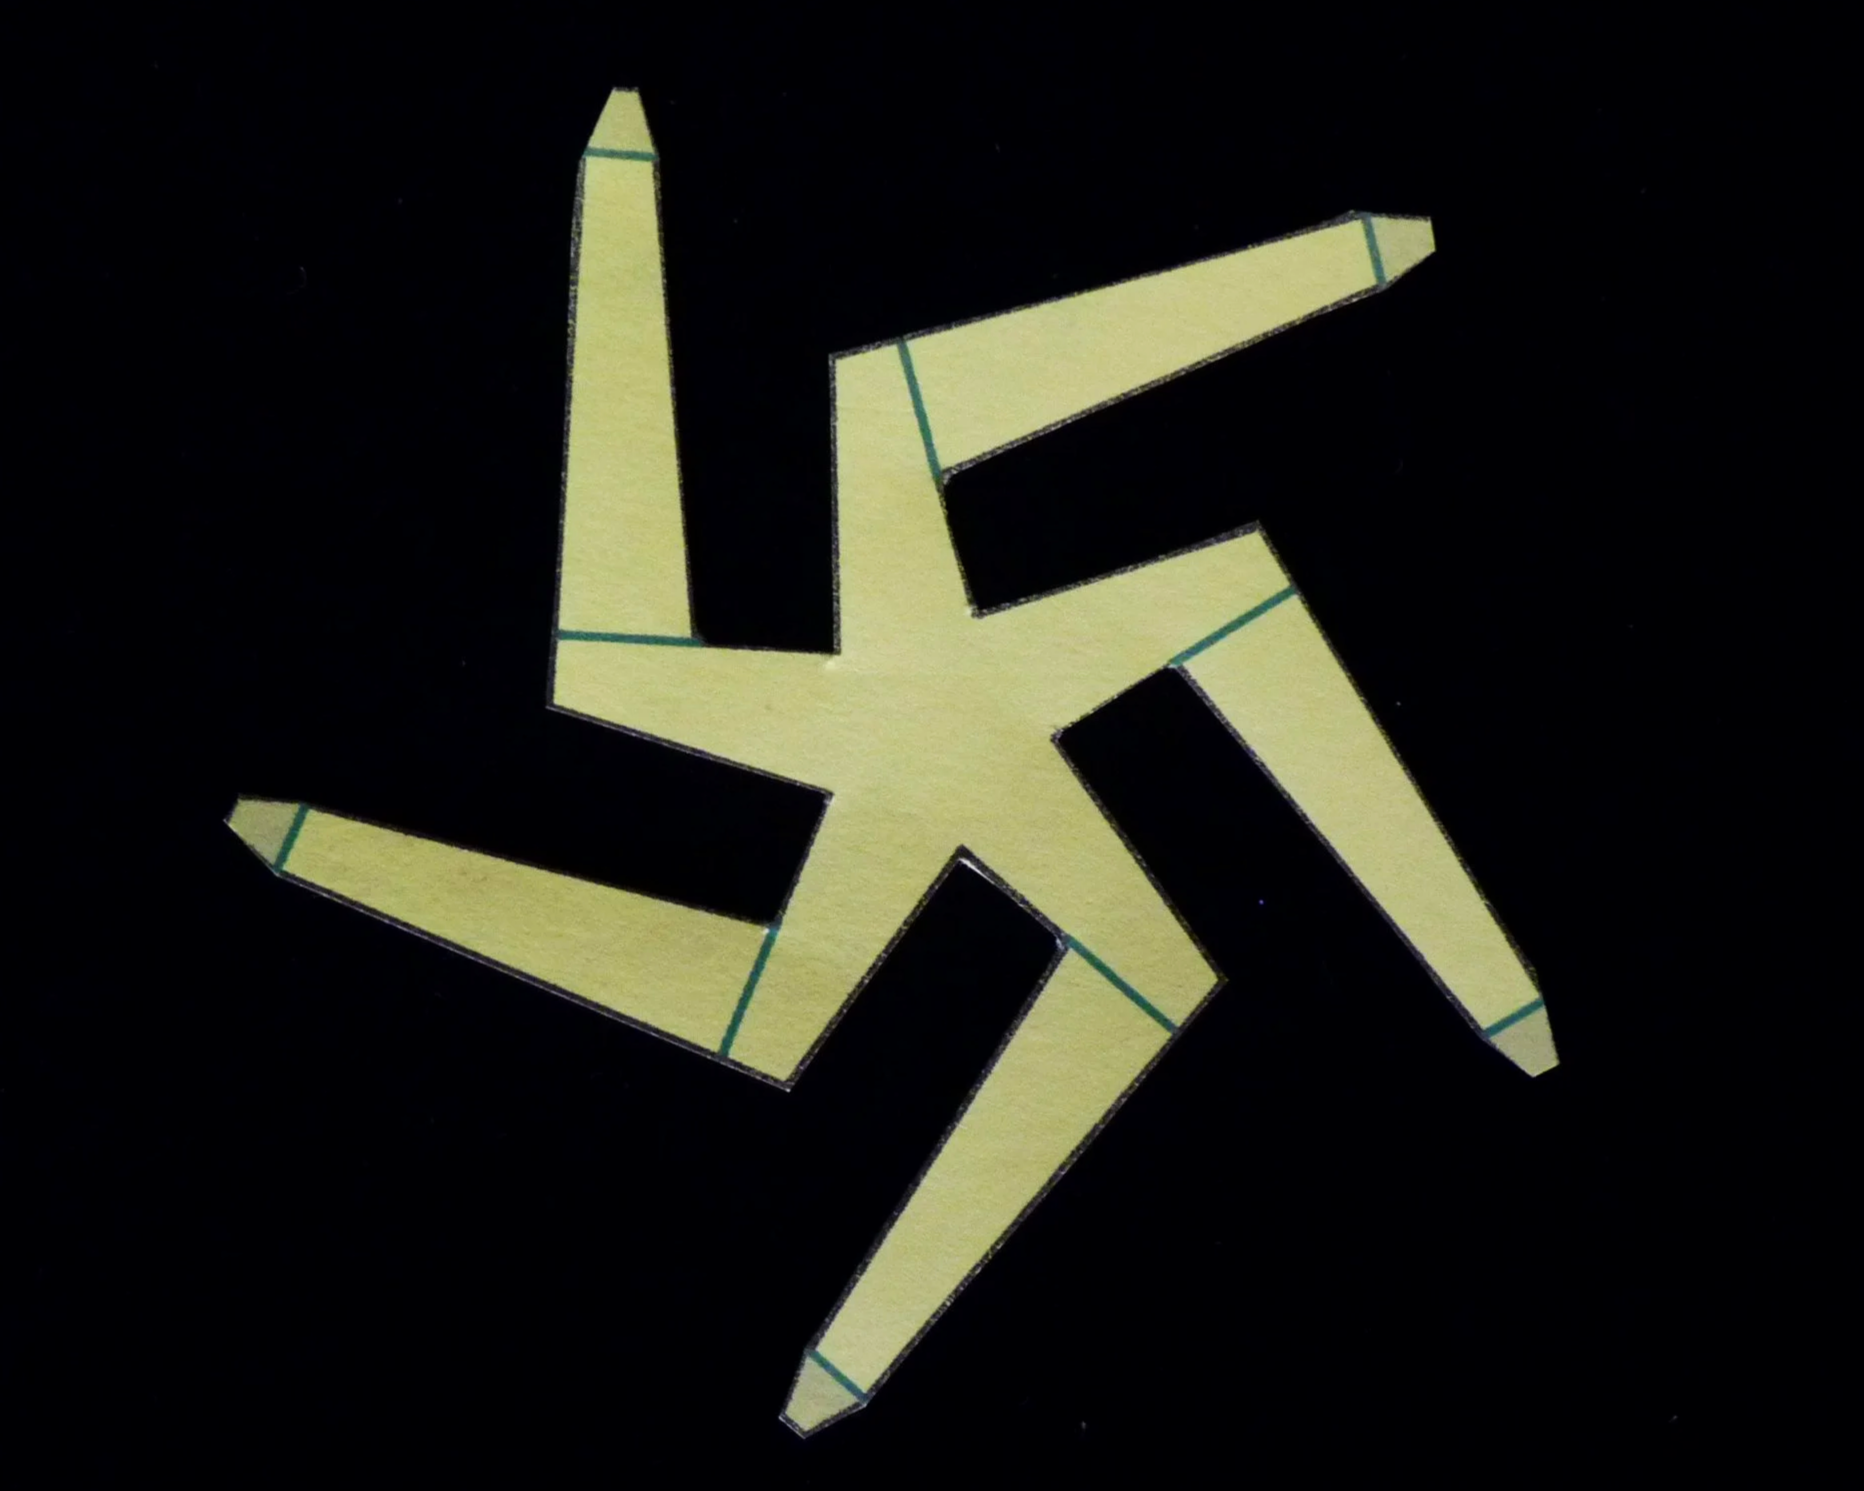
Photo 1. Back of a Part after Step 2
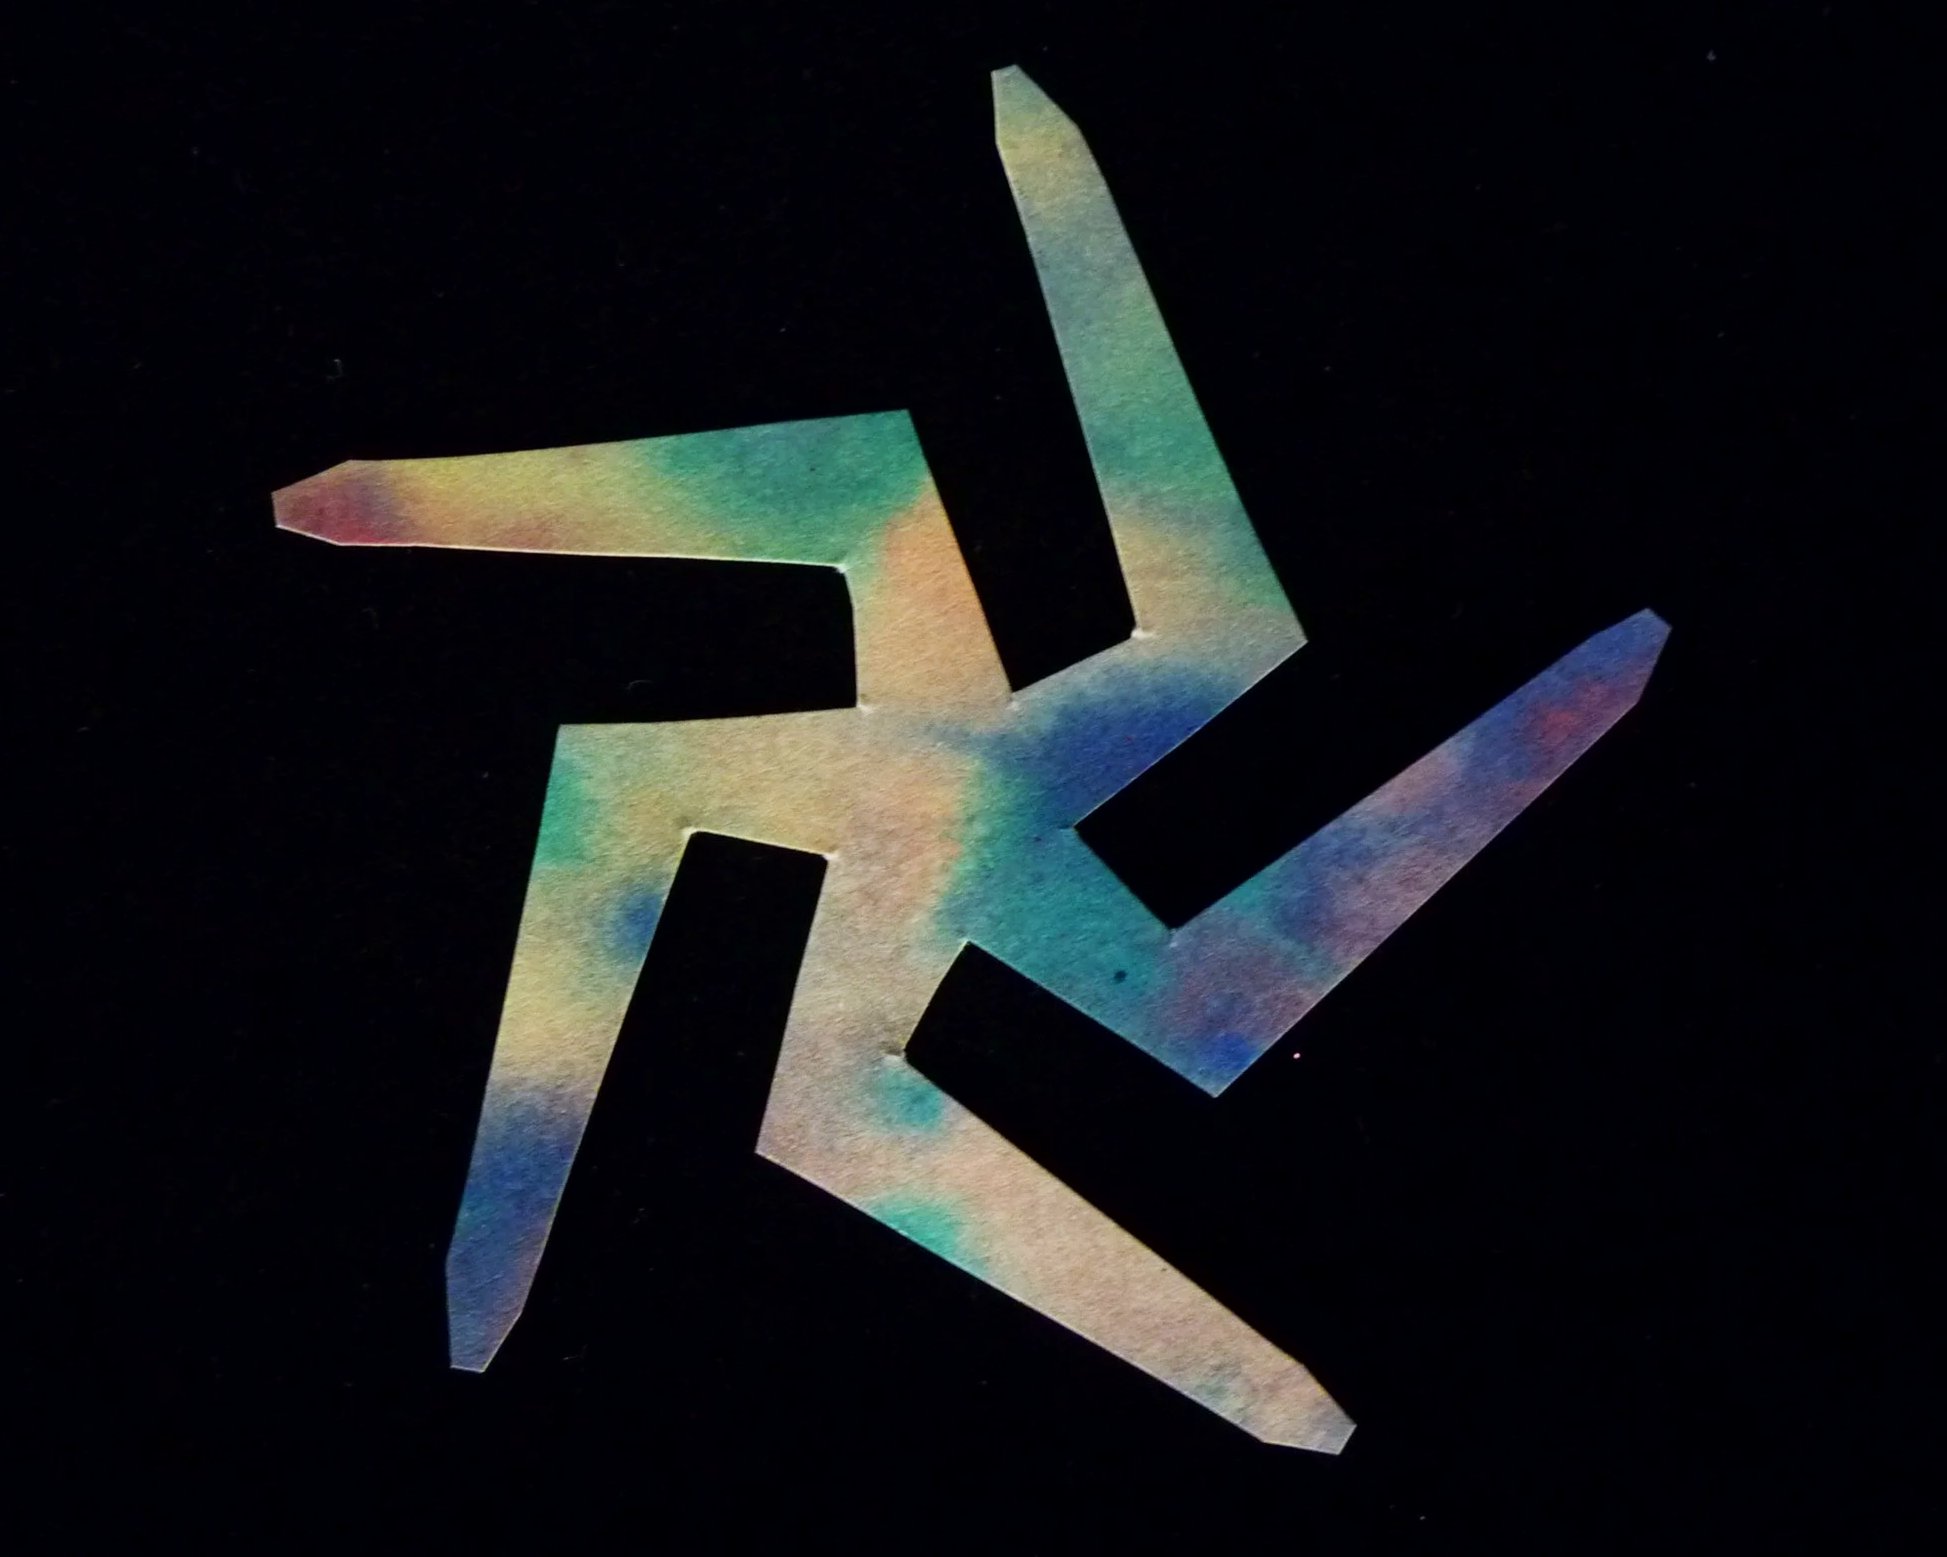
Photo 2. Front of a Part after Step 2
STEP 3
On all twelve parts, fold the green lines as valley folds, so that each part looks like a star-shaped 5-leg table.
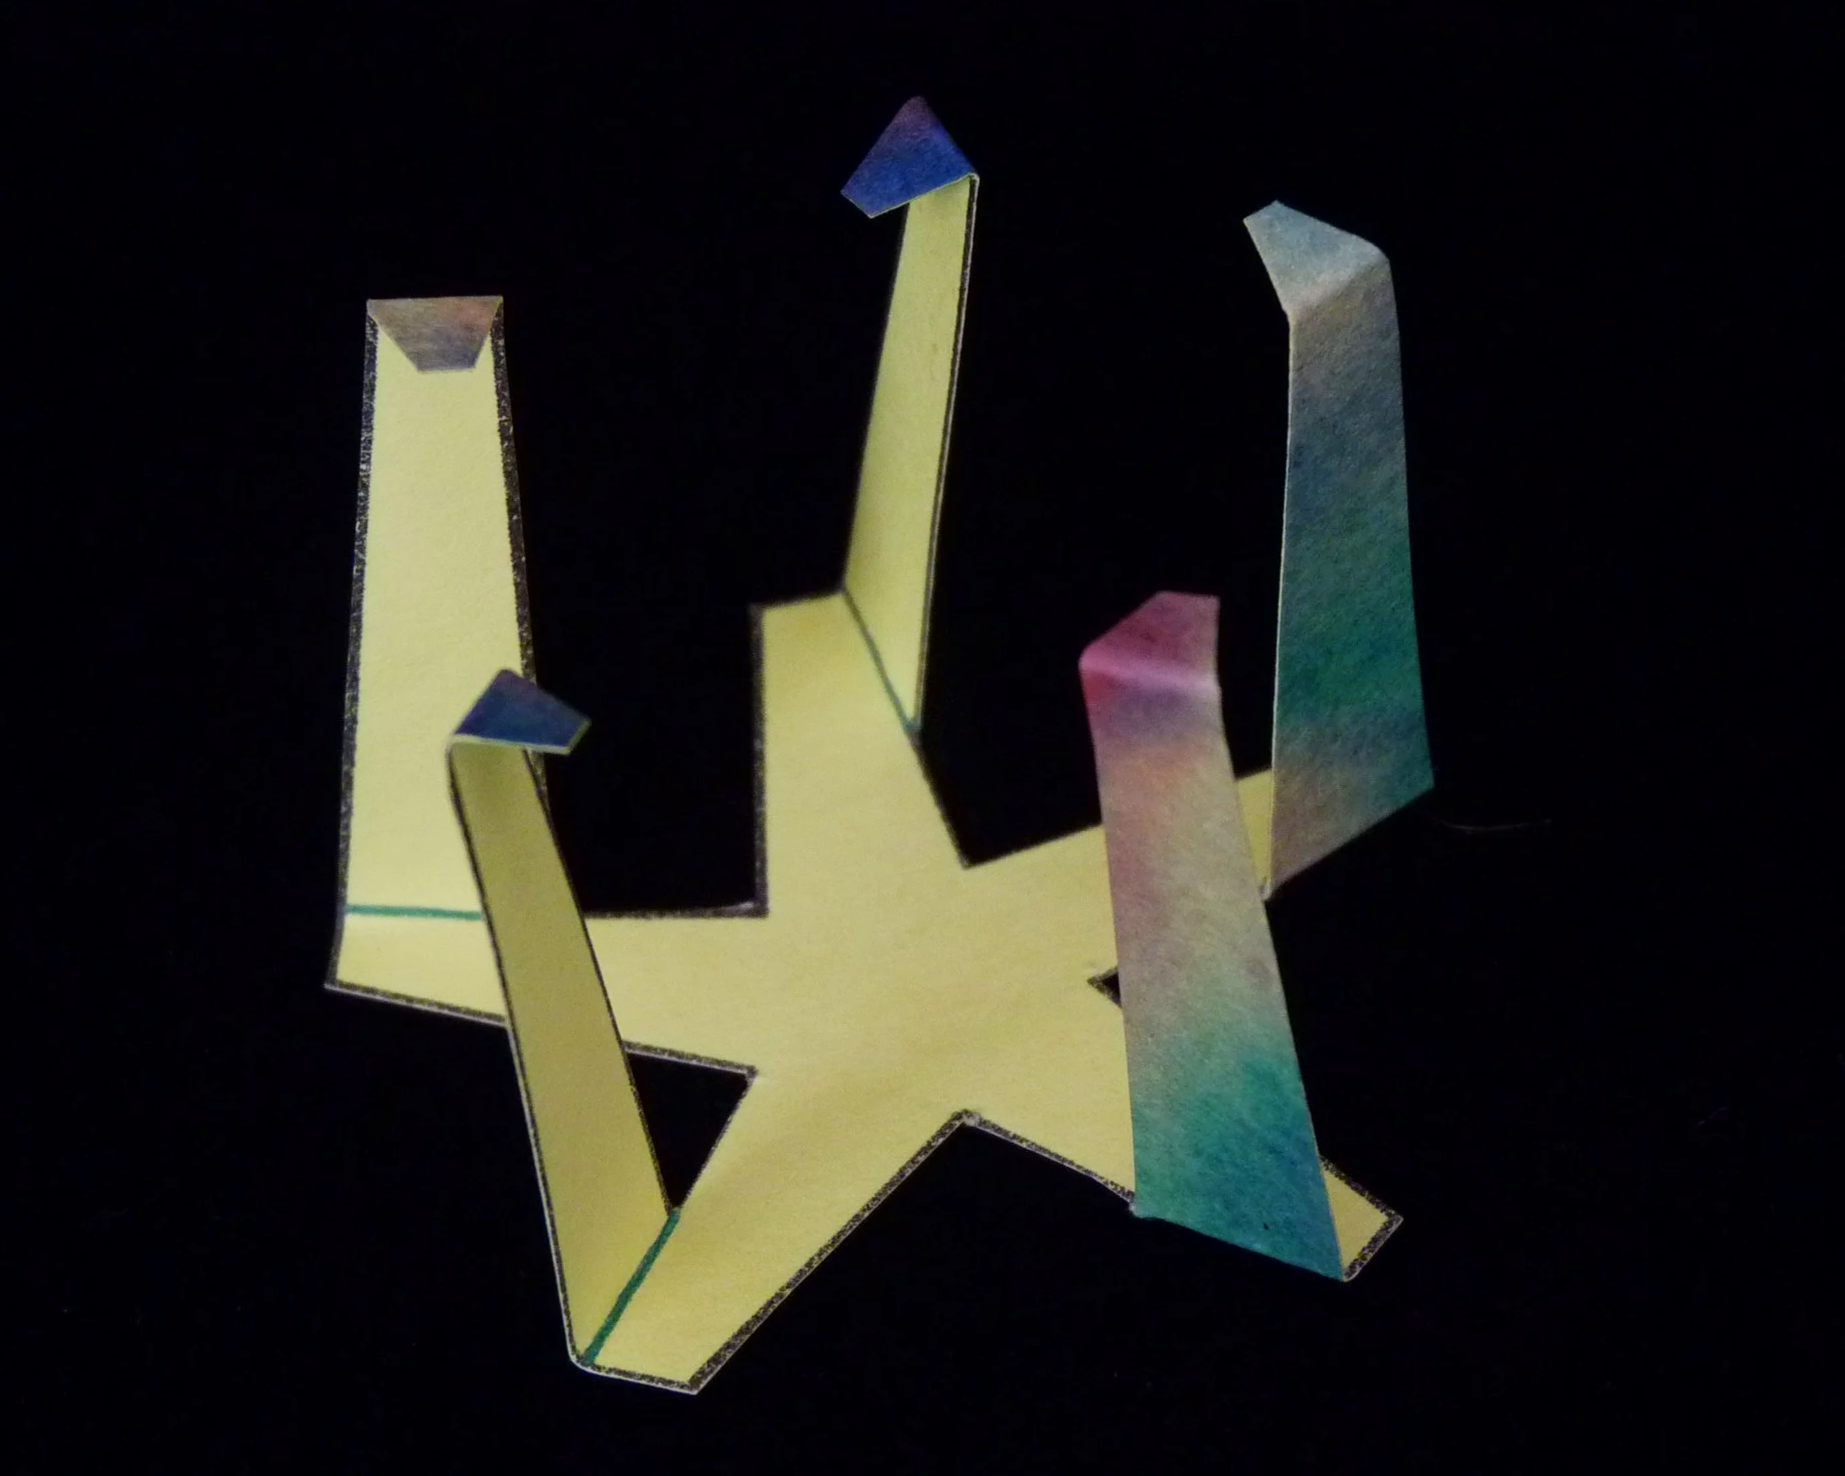
Photo 3. Inside of a Part after Step 3
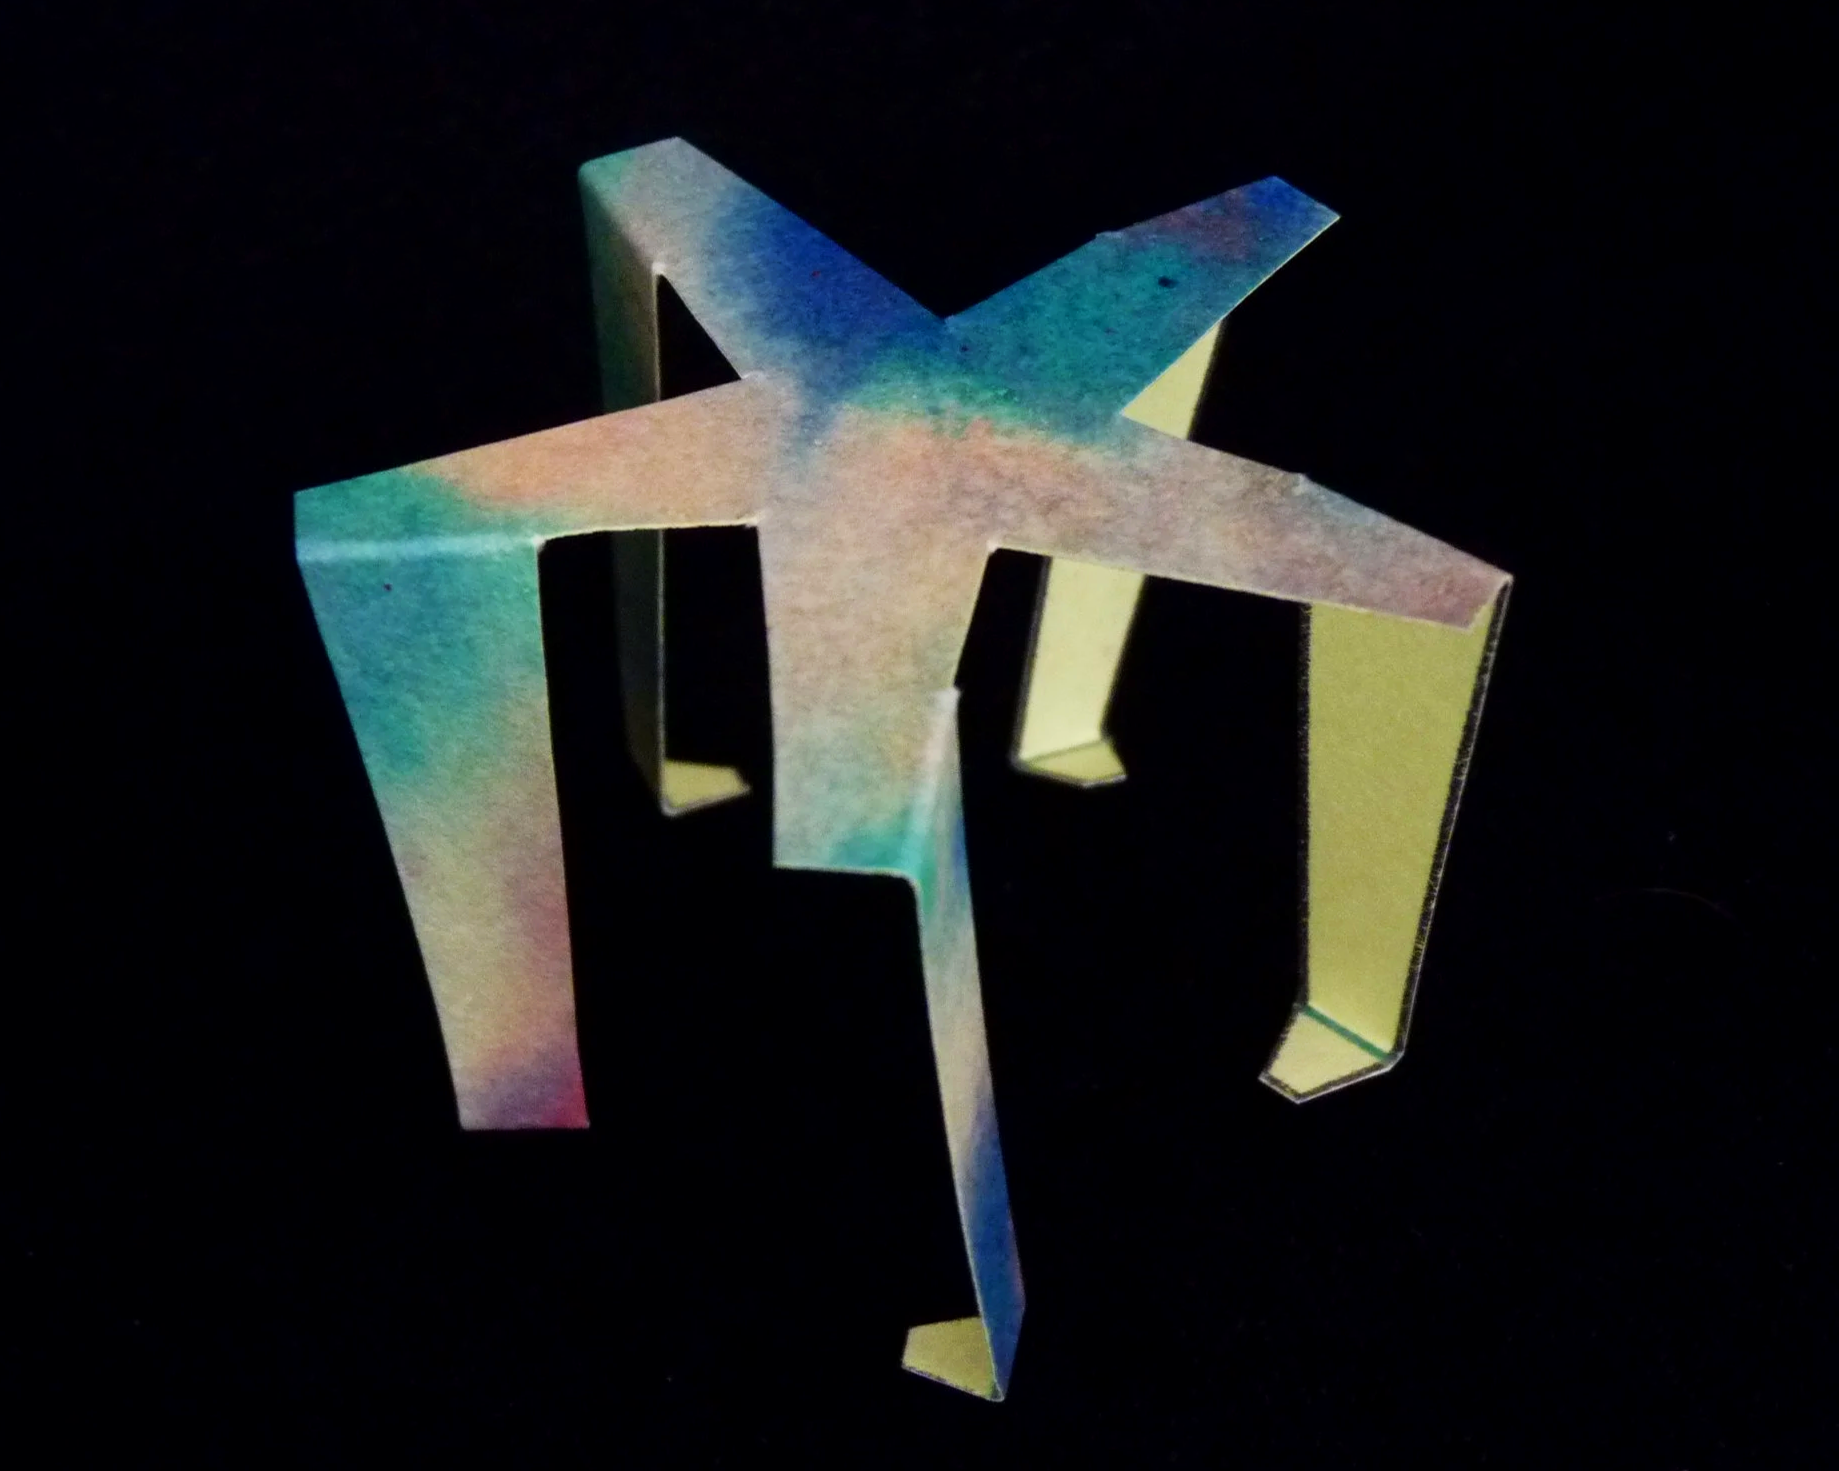
Photo 4. Outside of a Part after Step 3
Step 4
Connect three parts together at the ends of a table leg from each part. To make the attachments, the glue flap on the end of each leg is glued to the outside (non-pattern printed side) of the adjacent leg. See connection at the center of Photos 5 and 6.
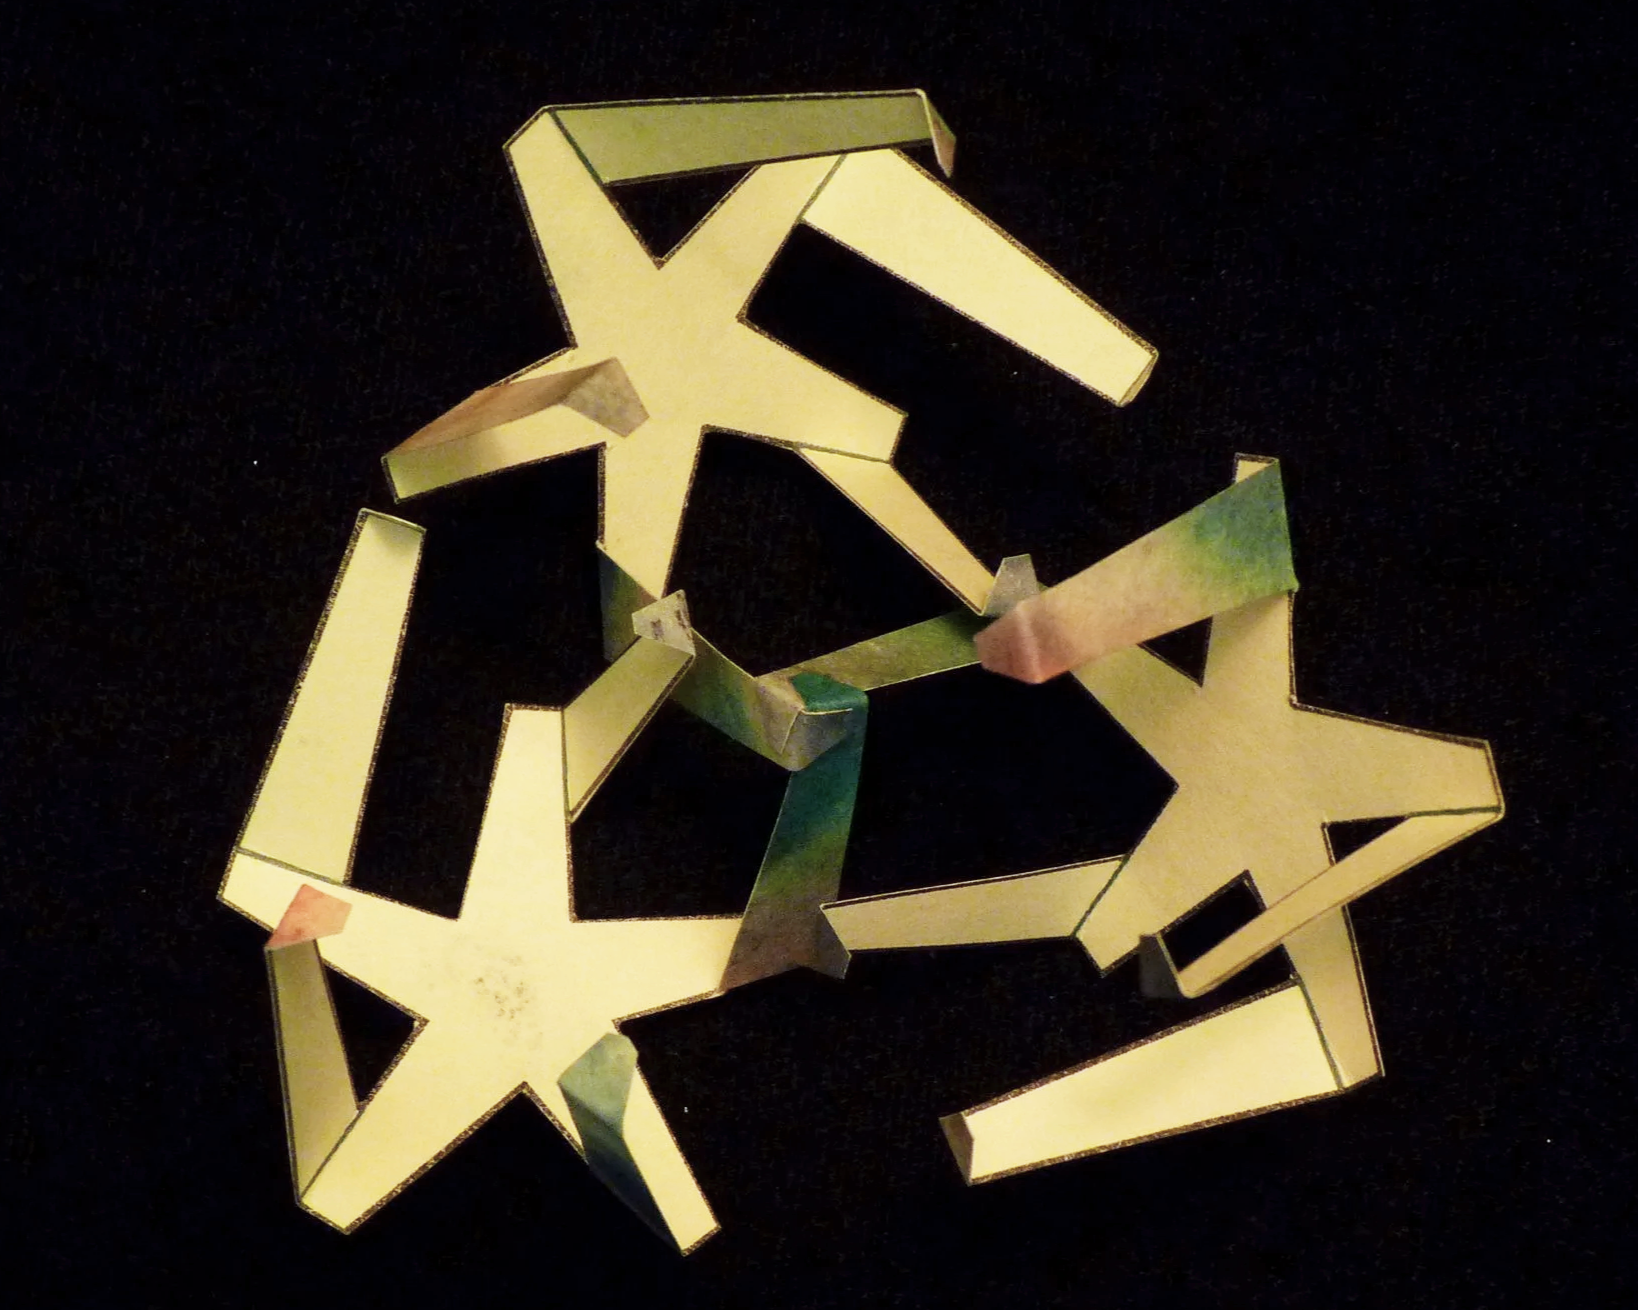
Photo 5. Inside of Project after Step 4
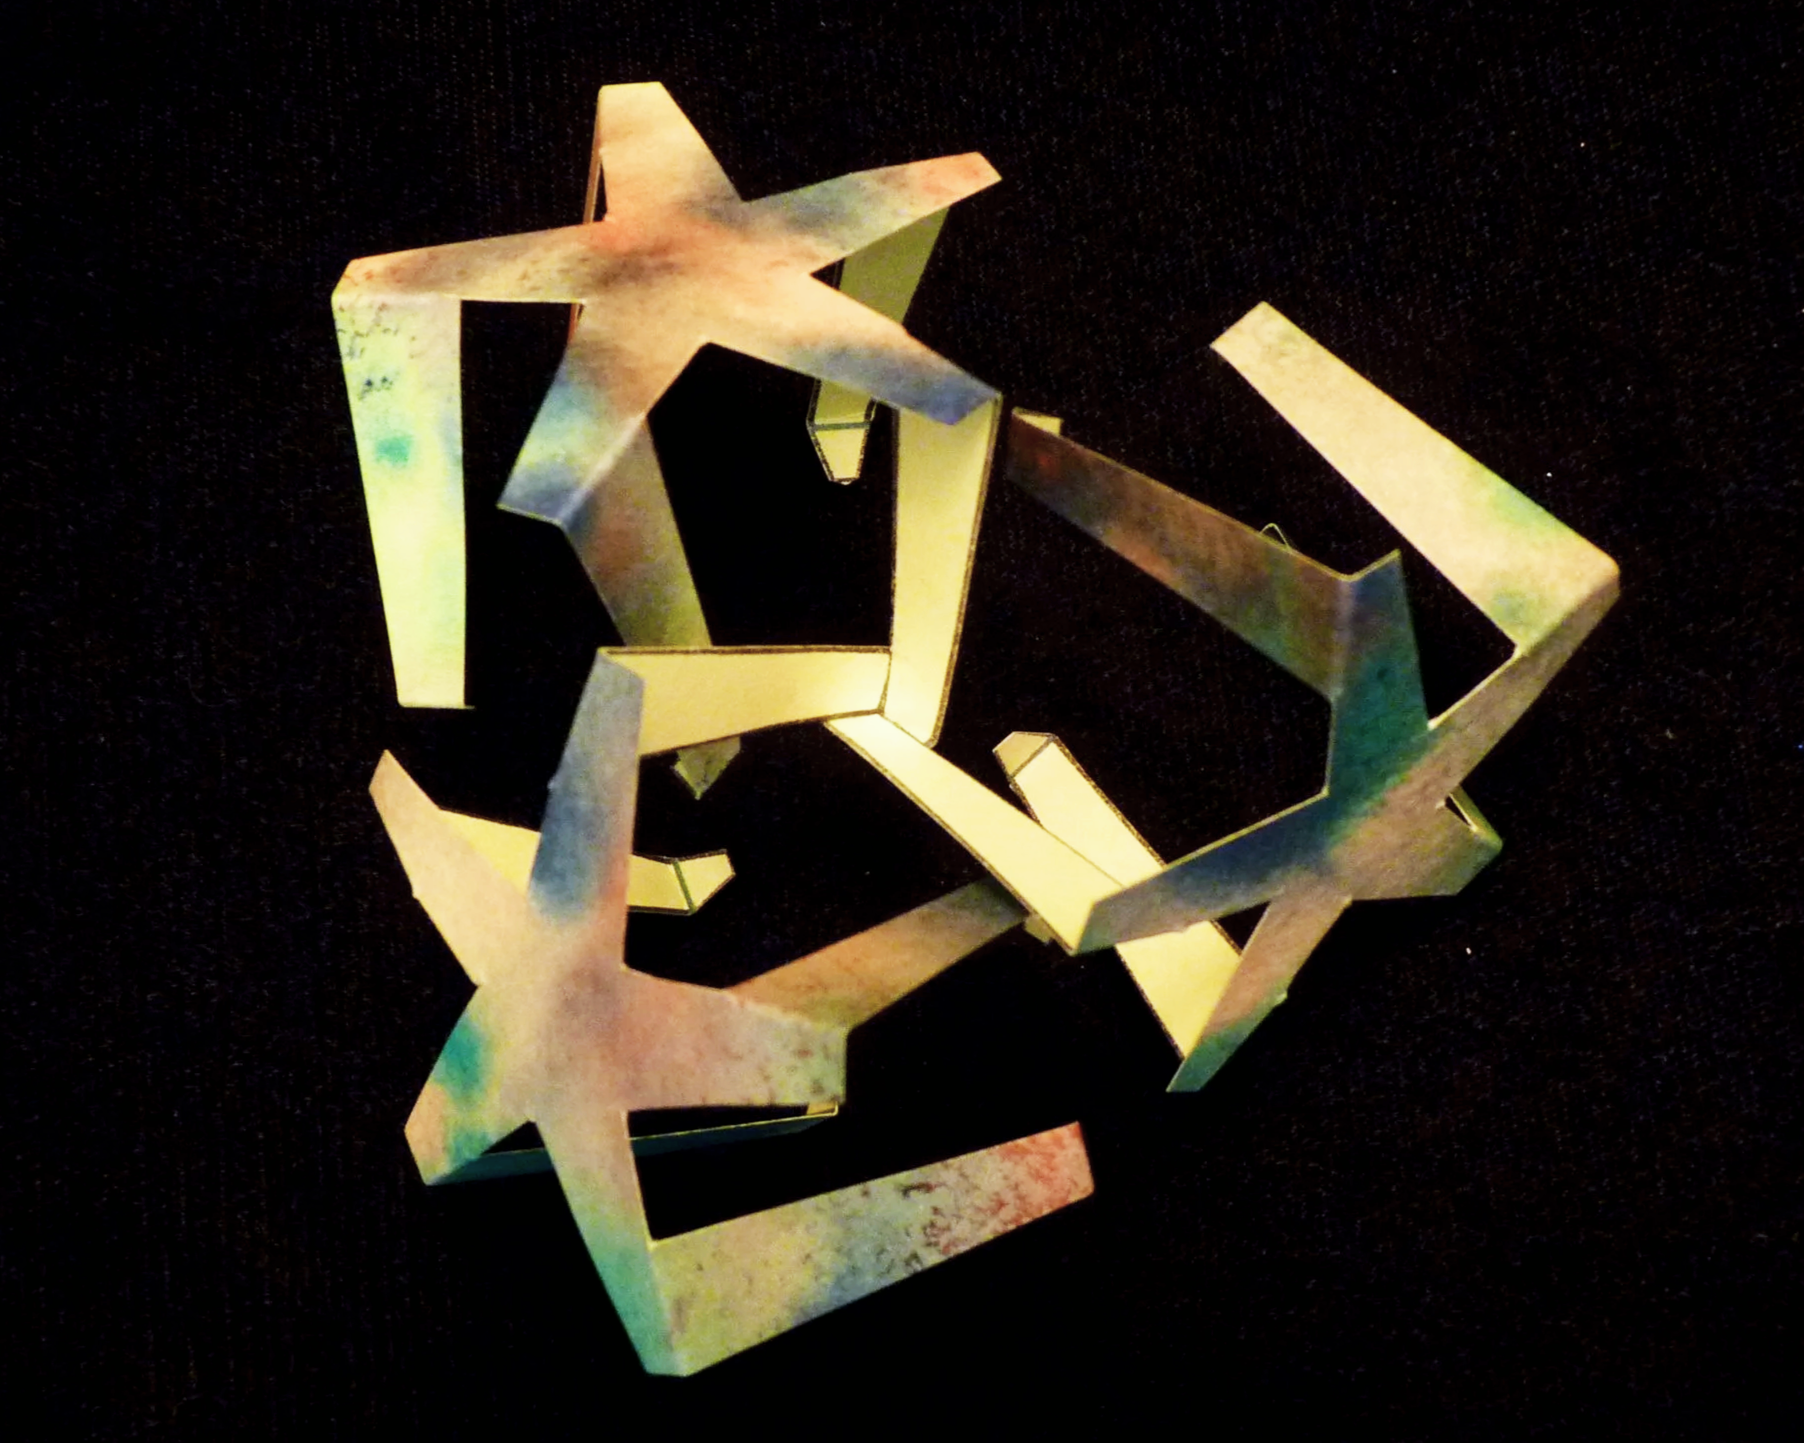
Photo 6. Outside of Project after Step 4
Step 5
Connect each of the three parts to each other at one more leg. As in Step 4, the glue flap on the end of each leg is glued to the outside (non-pattern printed side) of the adjacent leg. See detail in Photo 9.
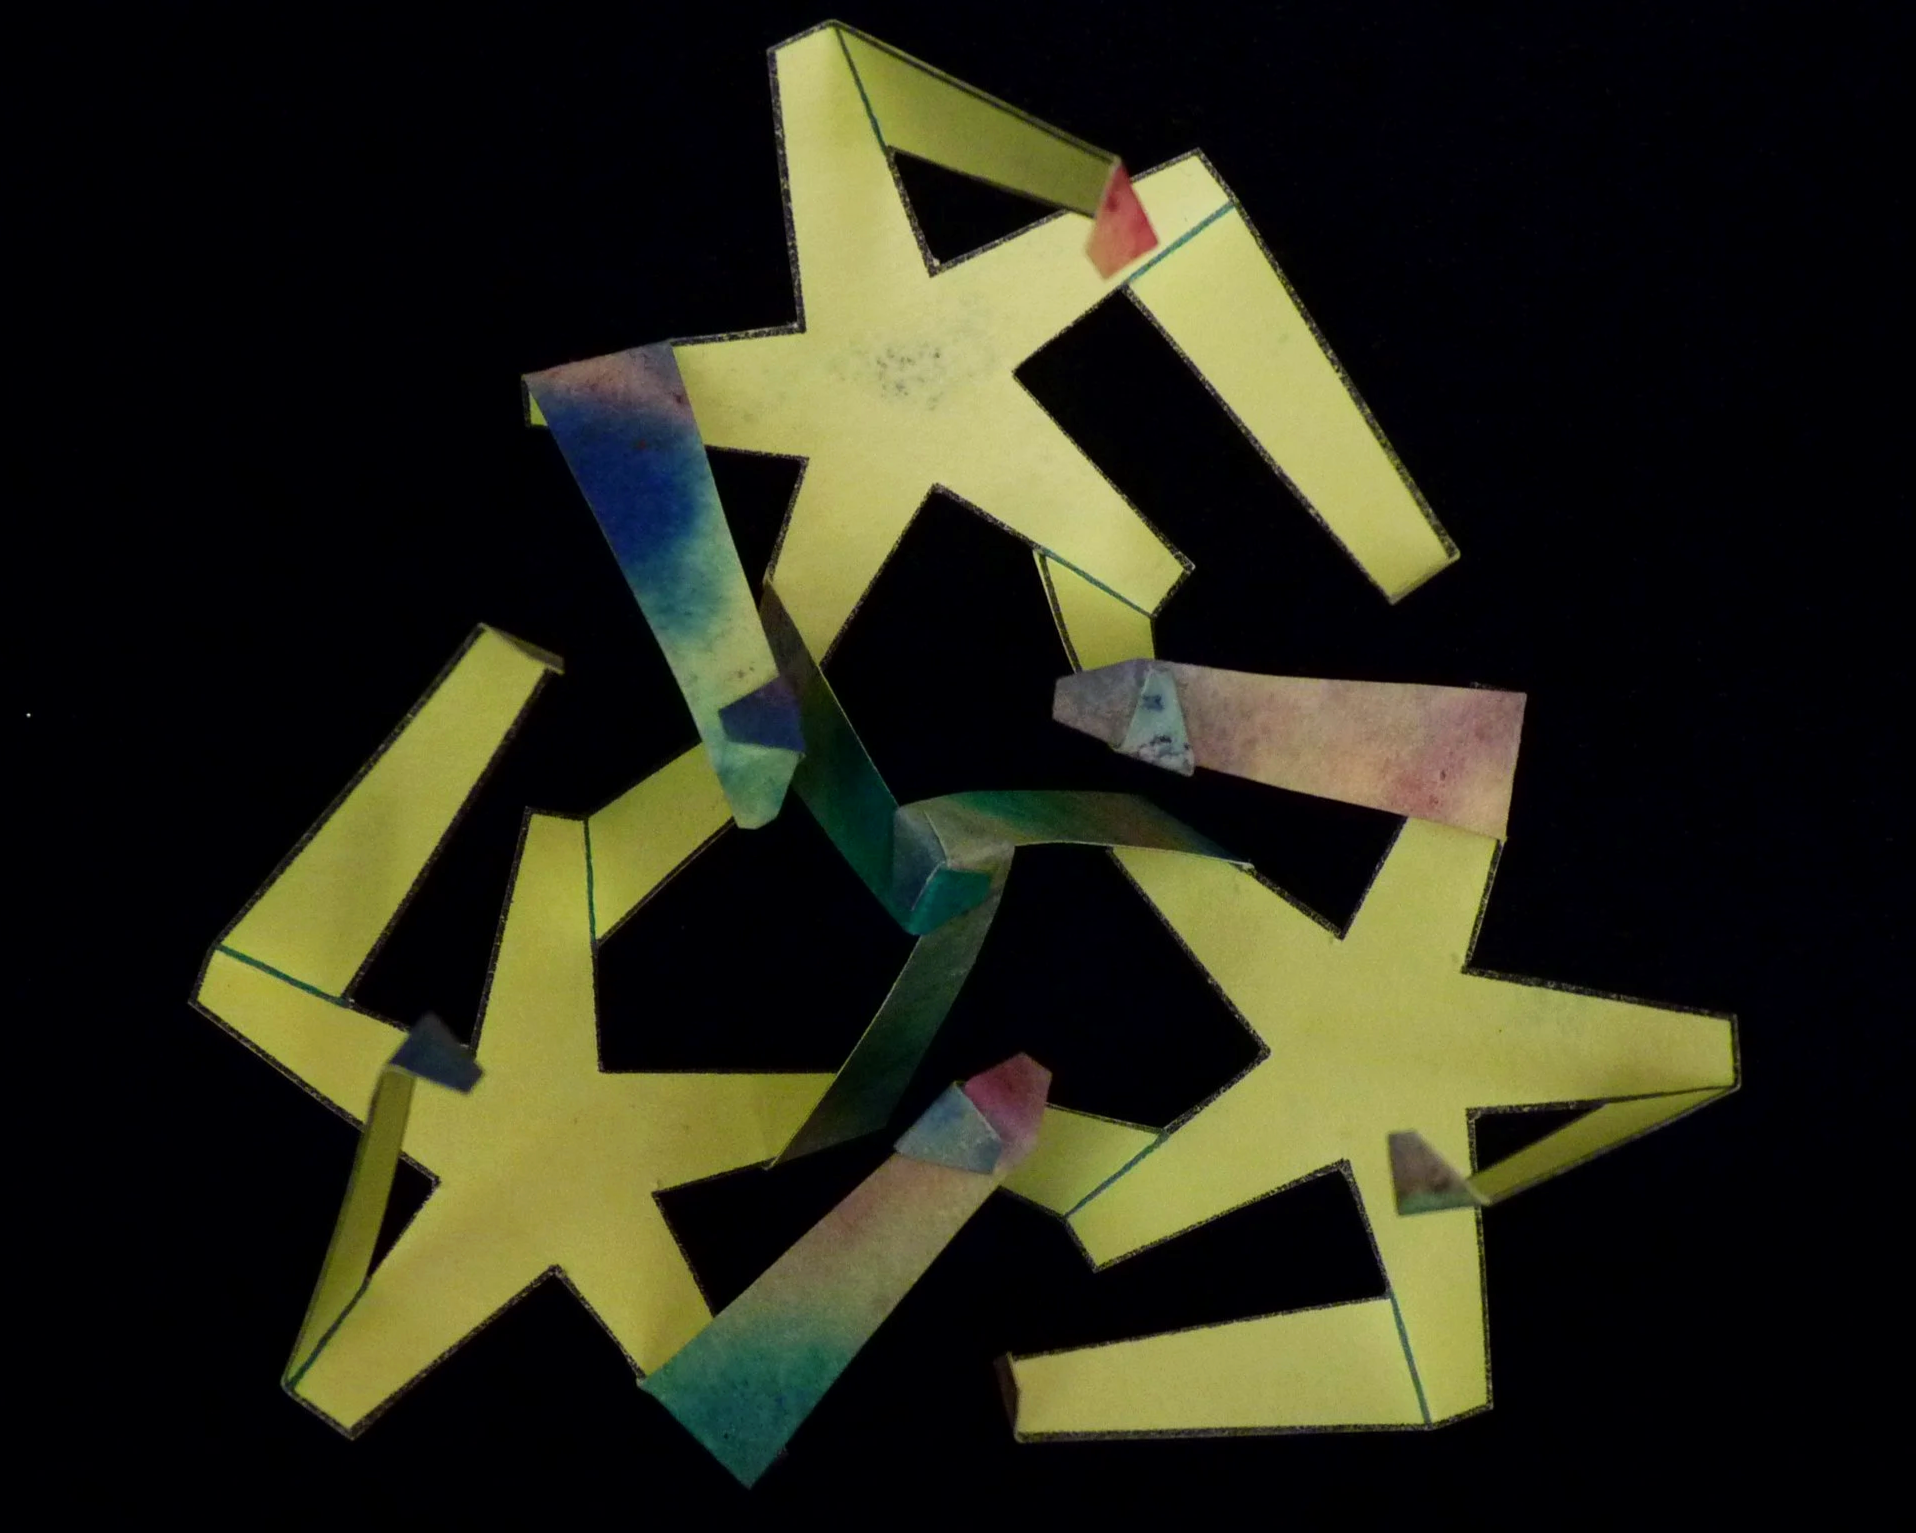
Photo 7. Inside of Project after Step 5
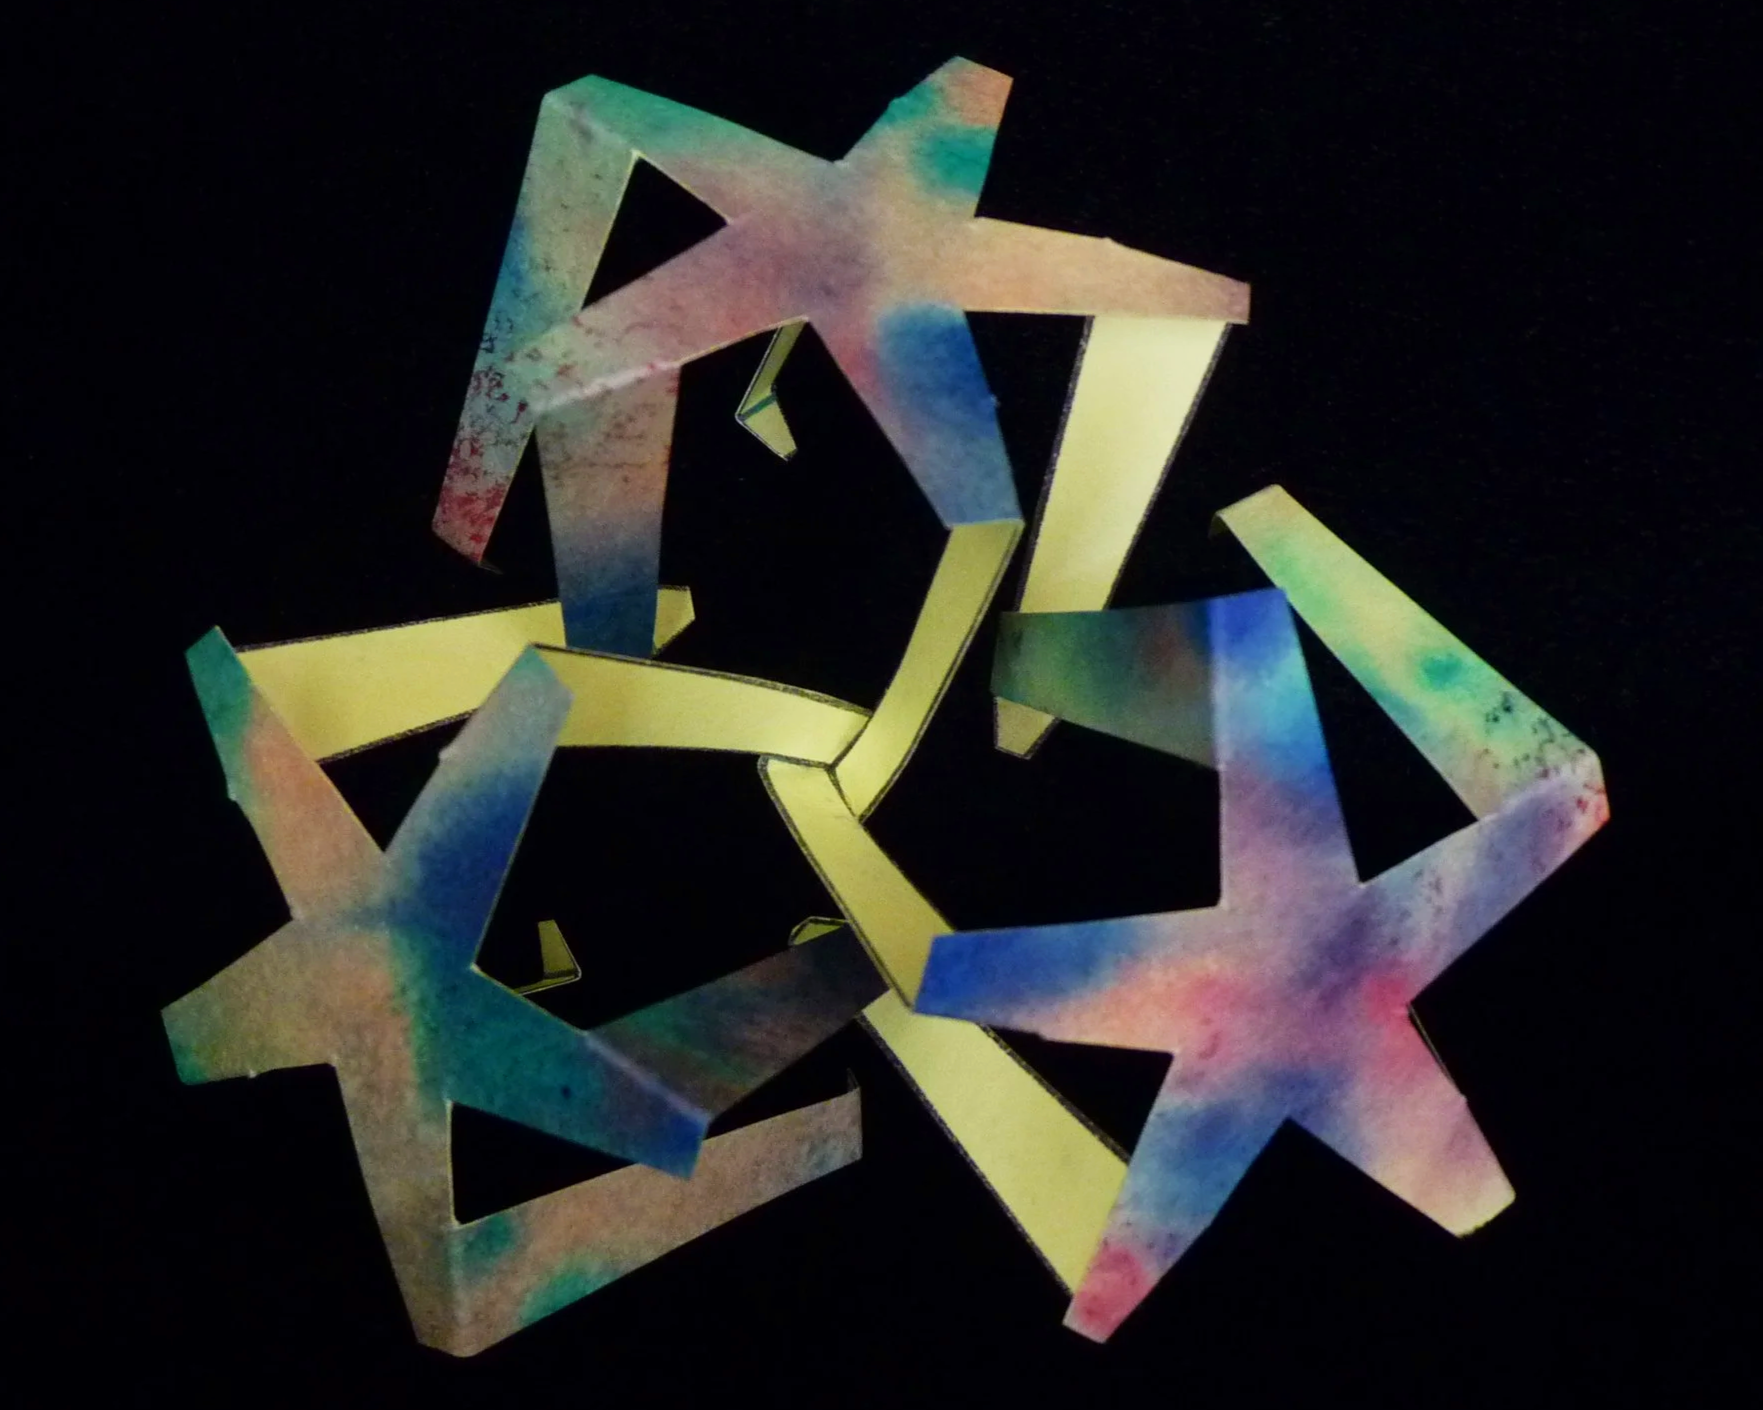
Photo 8. Outside of Project after Step 5
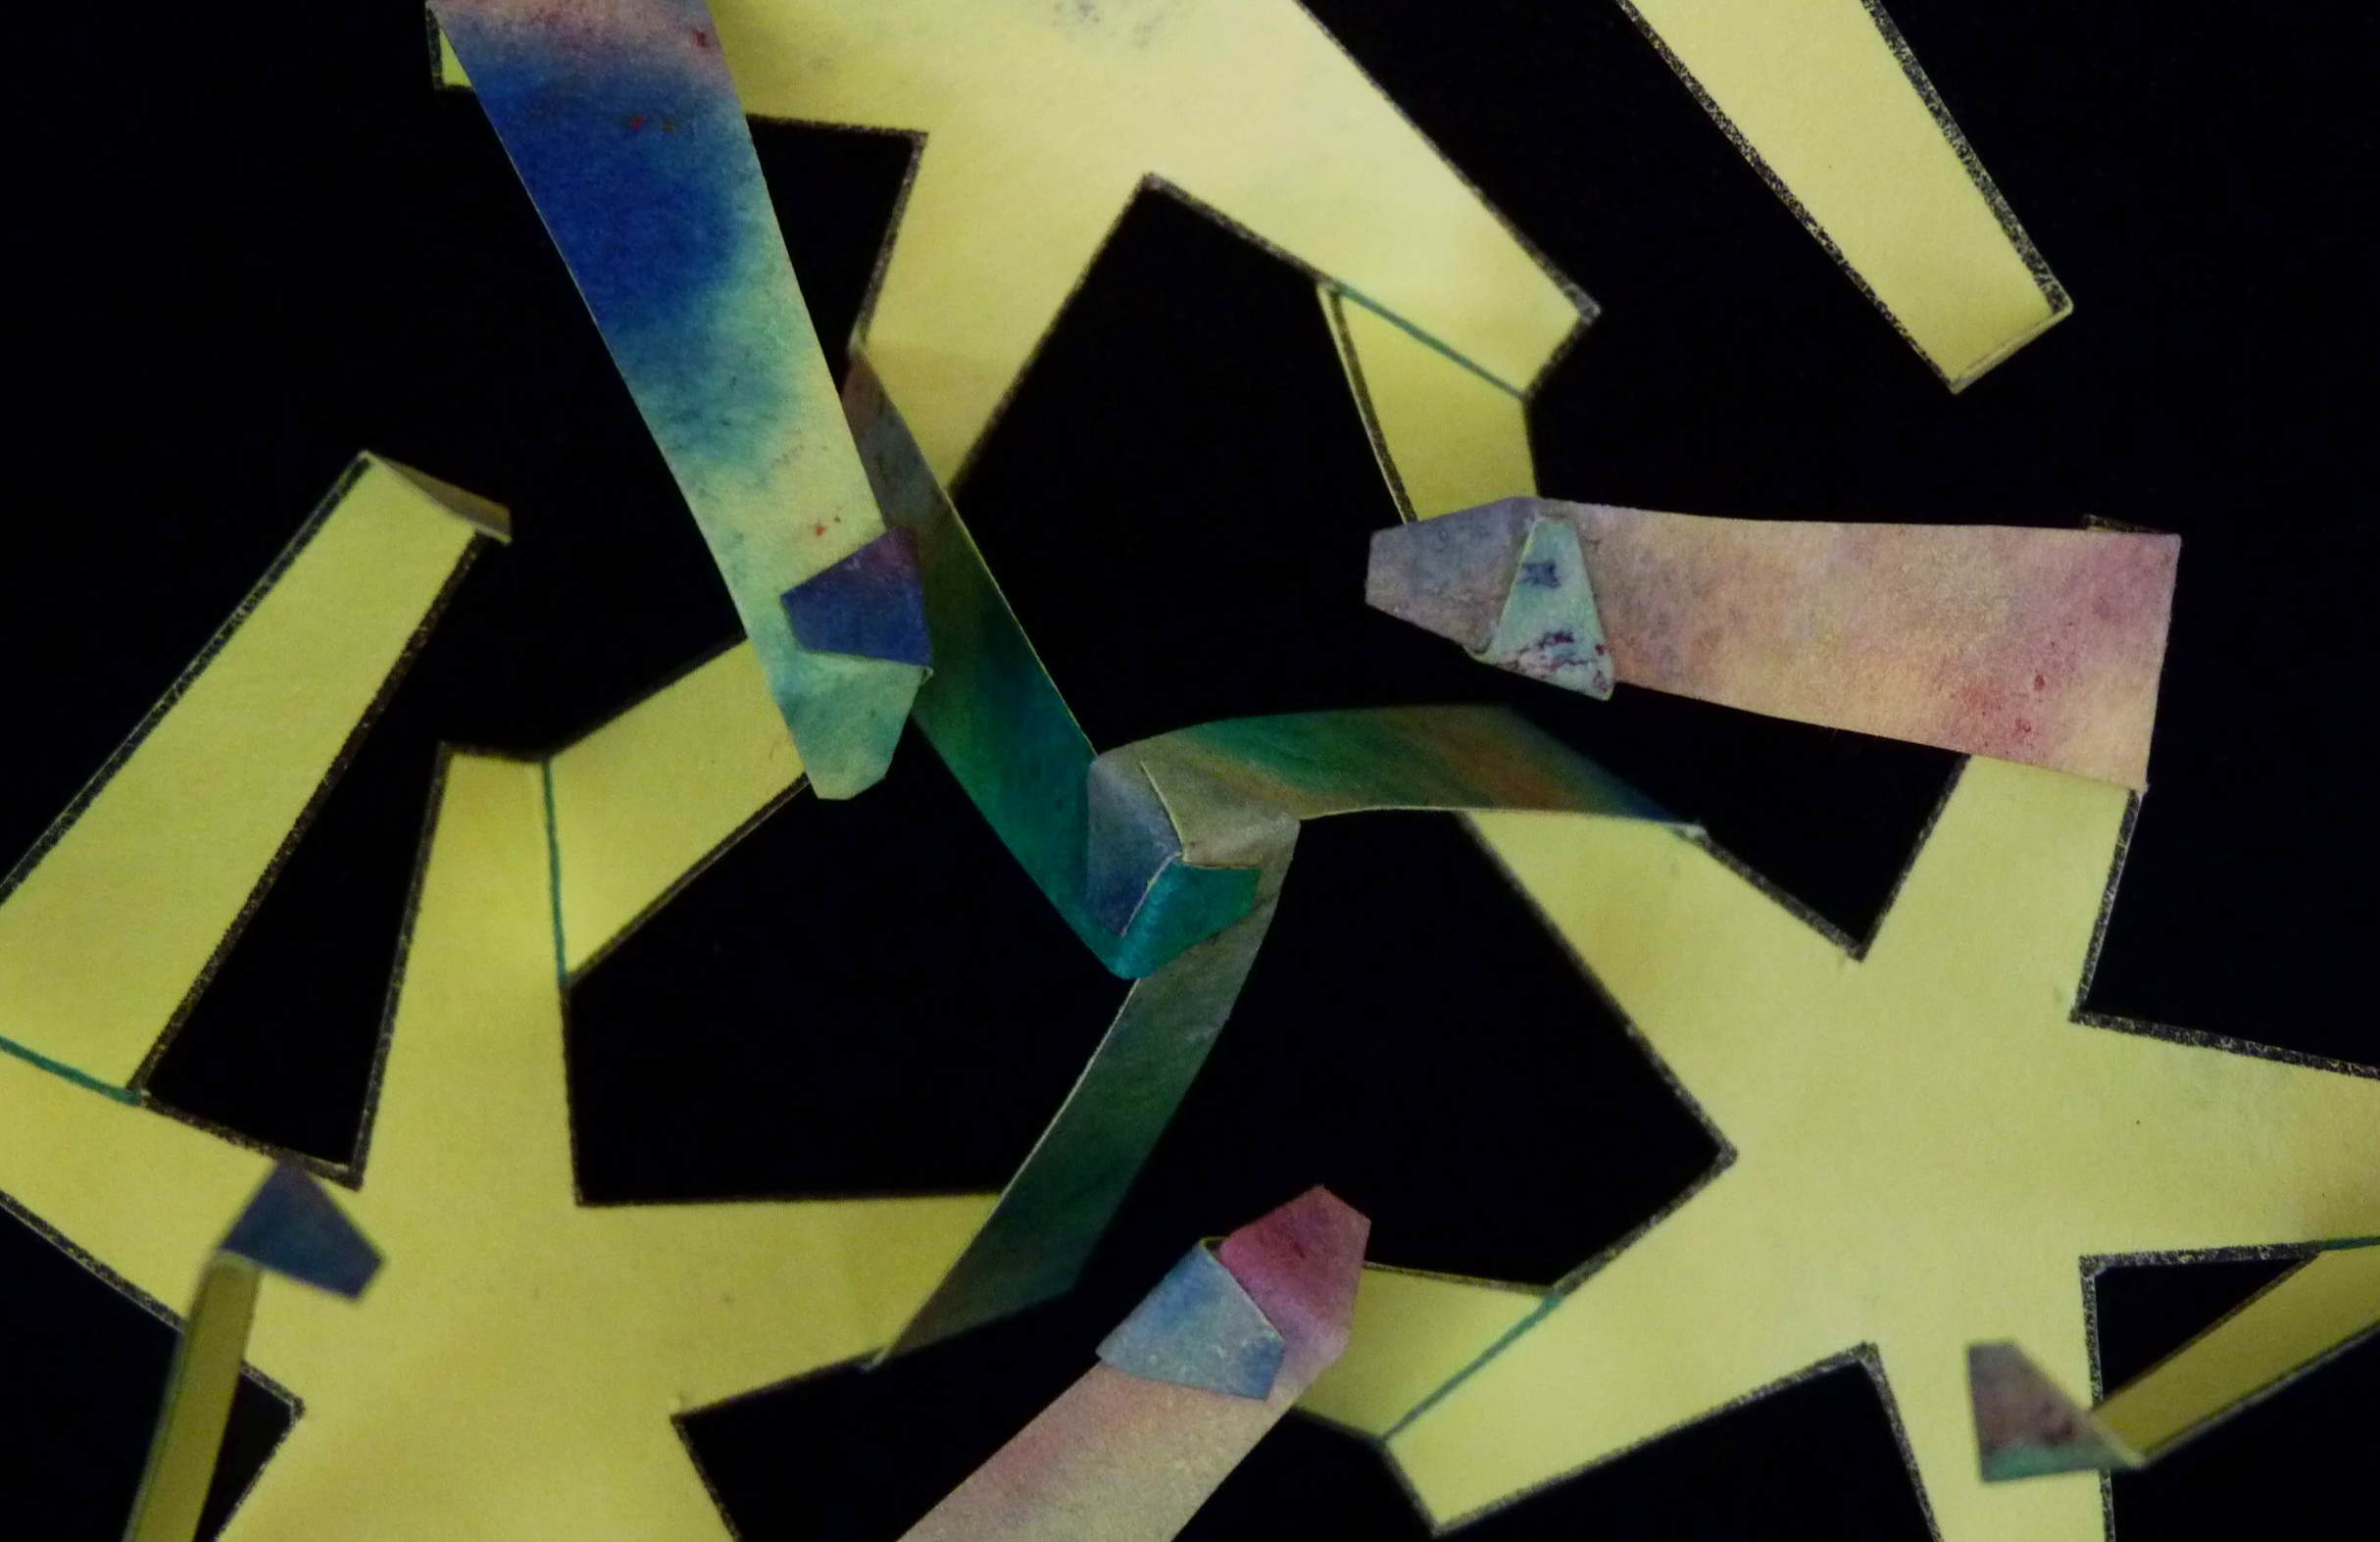
Photo 9. Detail of Joints after Step 5
Step 6
Add three more parts in the same way to form a ring of five parts surrounding a center part. The five joints of the center part will now be completed with three legs connected at each joint. The five surrounding parts will each have two legs connected to the center part, two legs connected to a leg of each neighboring part, and one free unconnected leg.
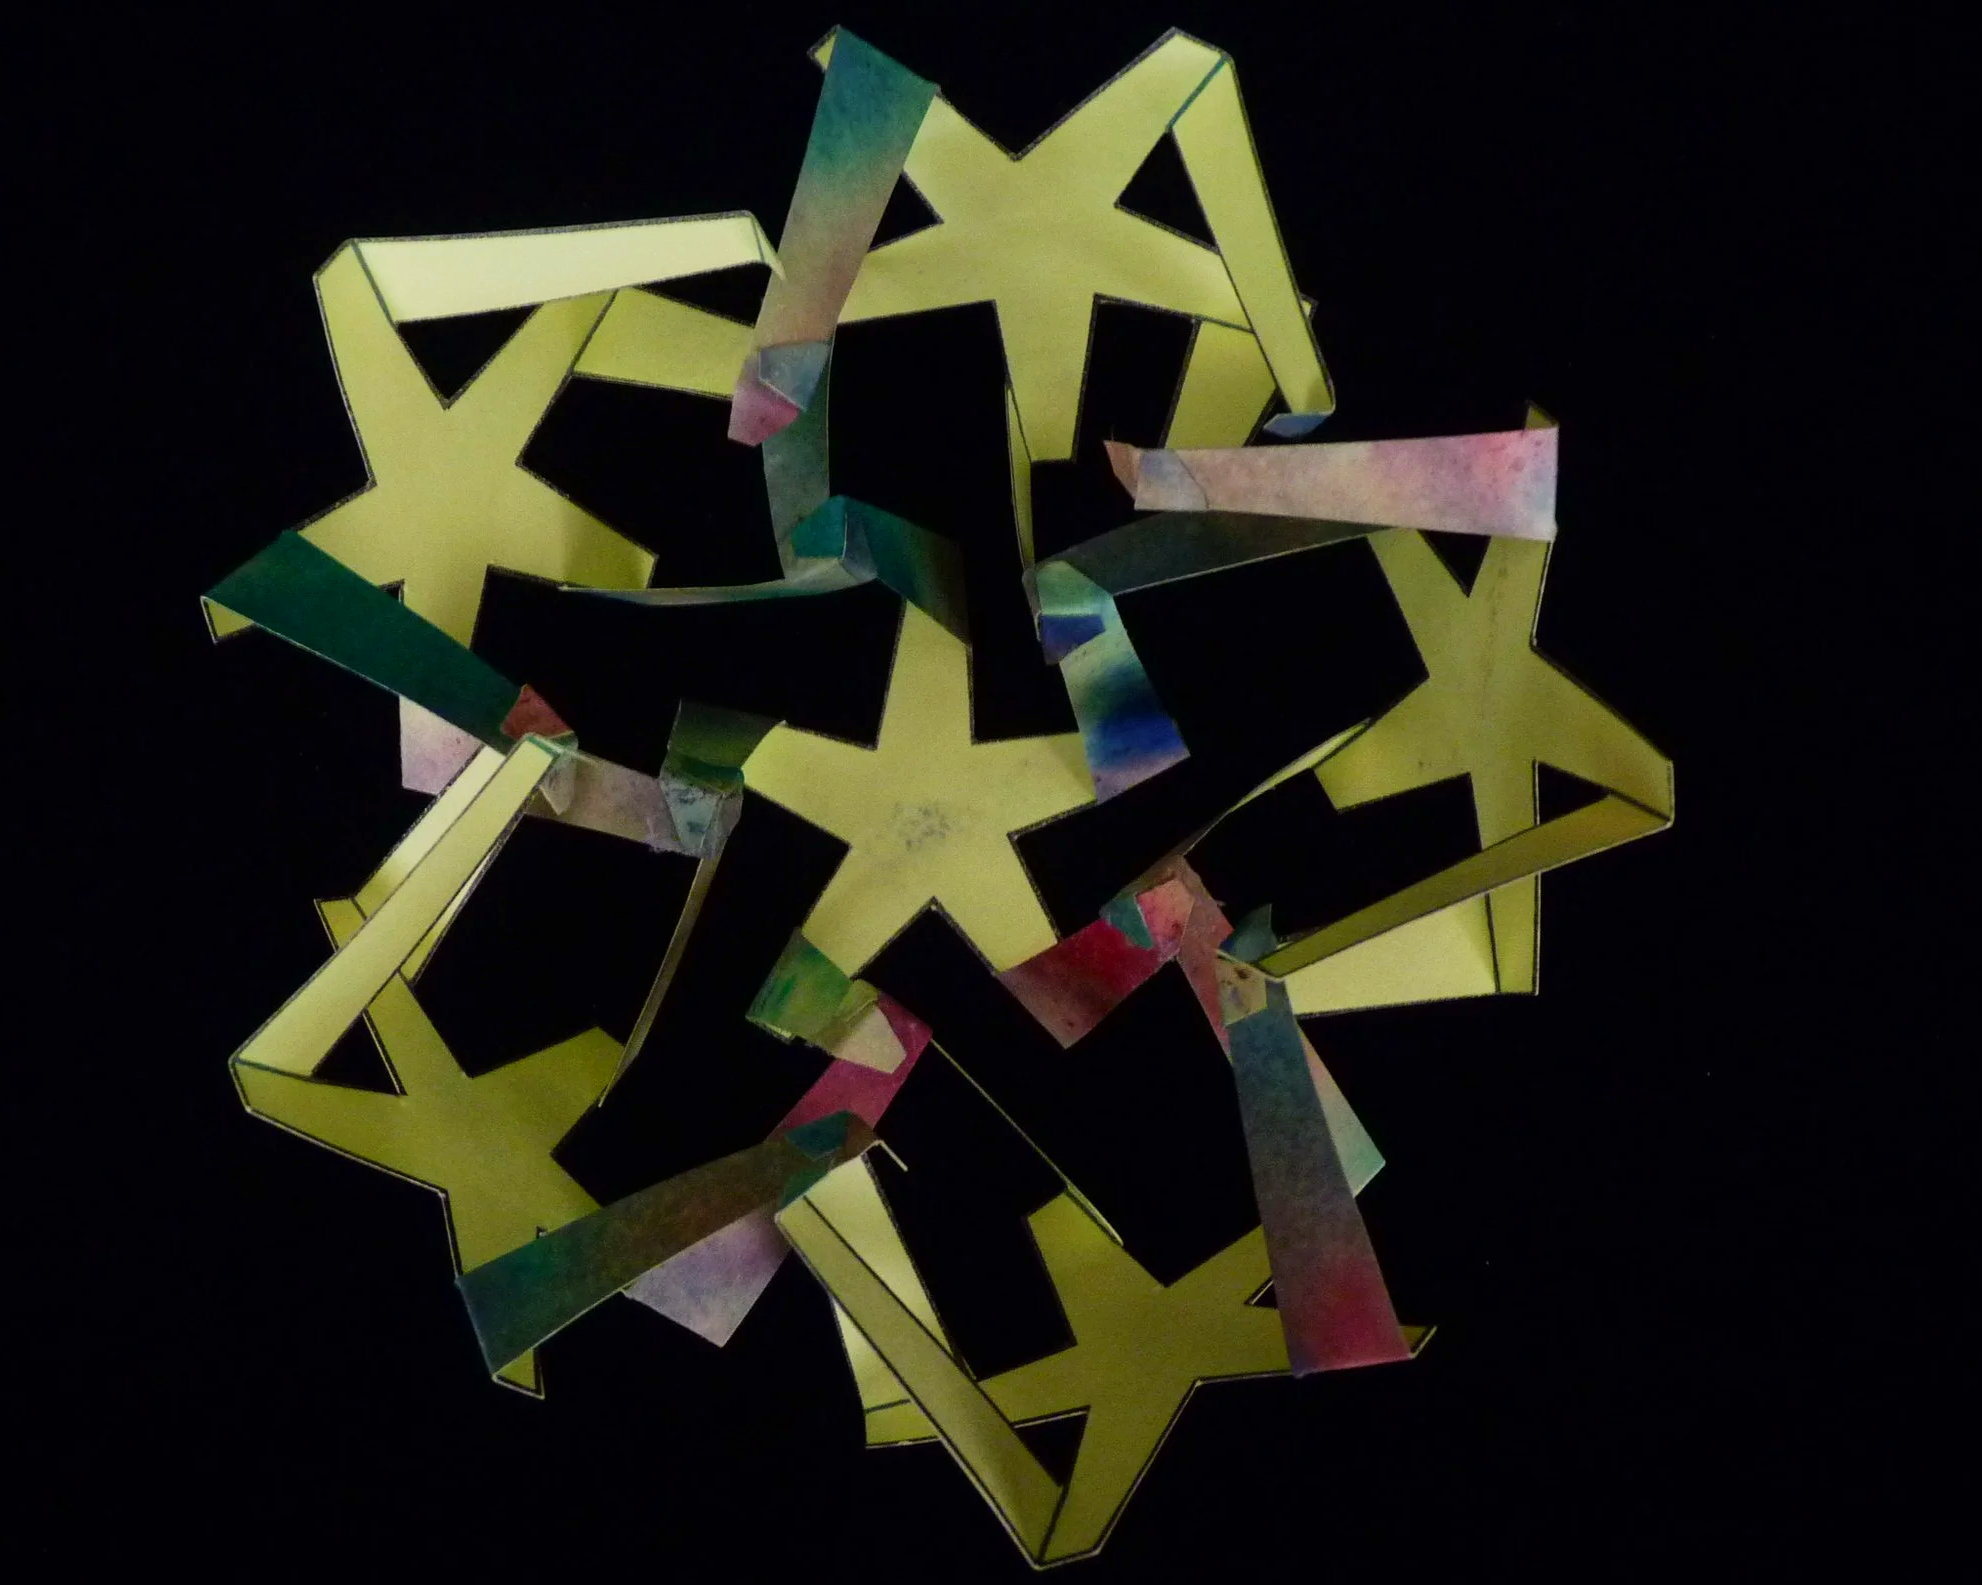
Photo 10. Inside of Project after Step 6
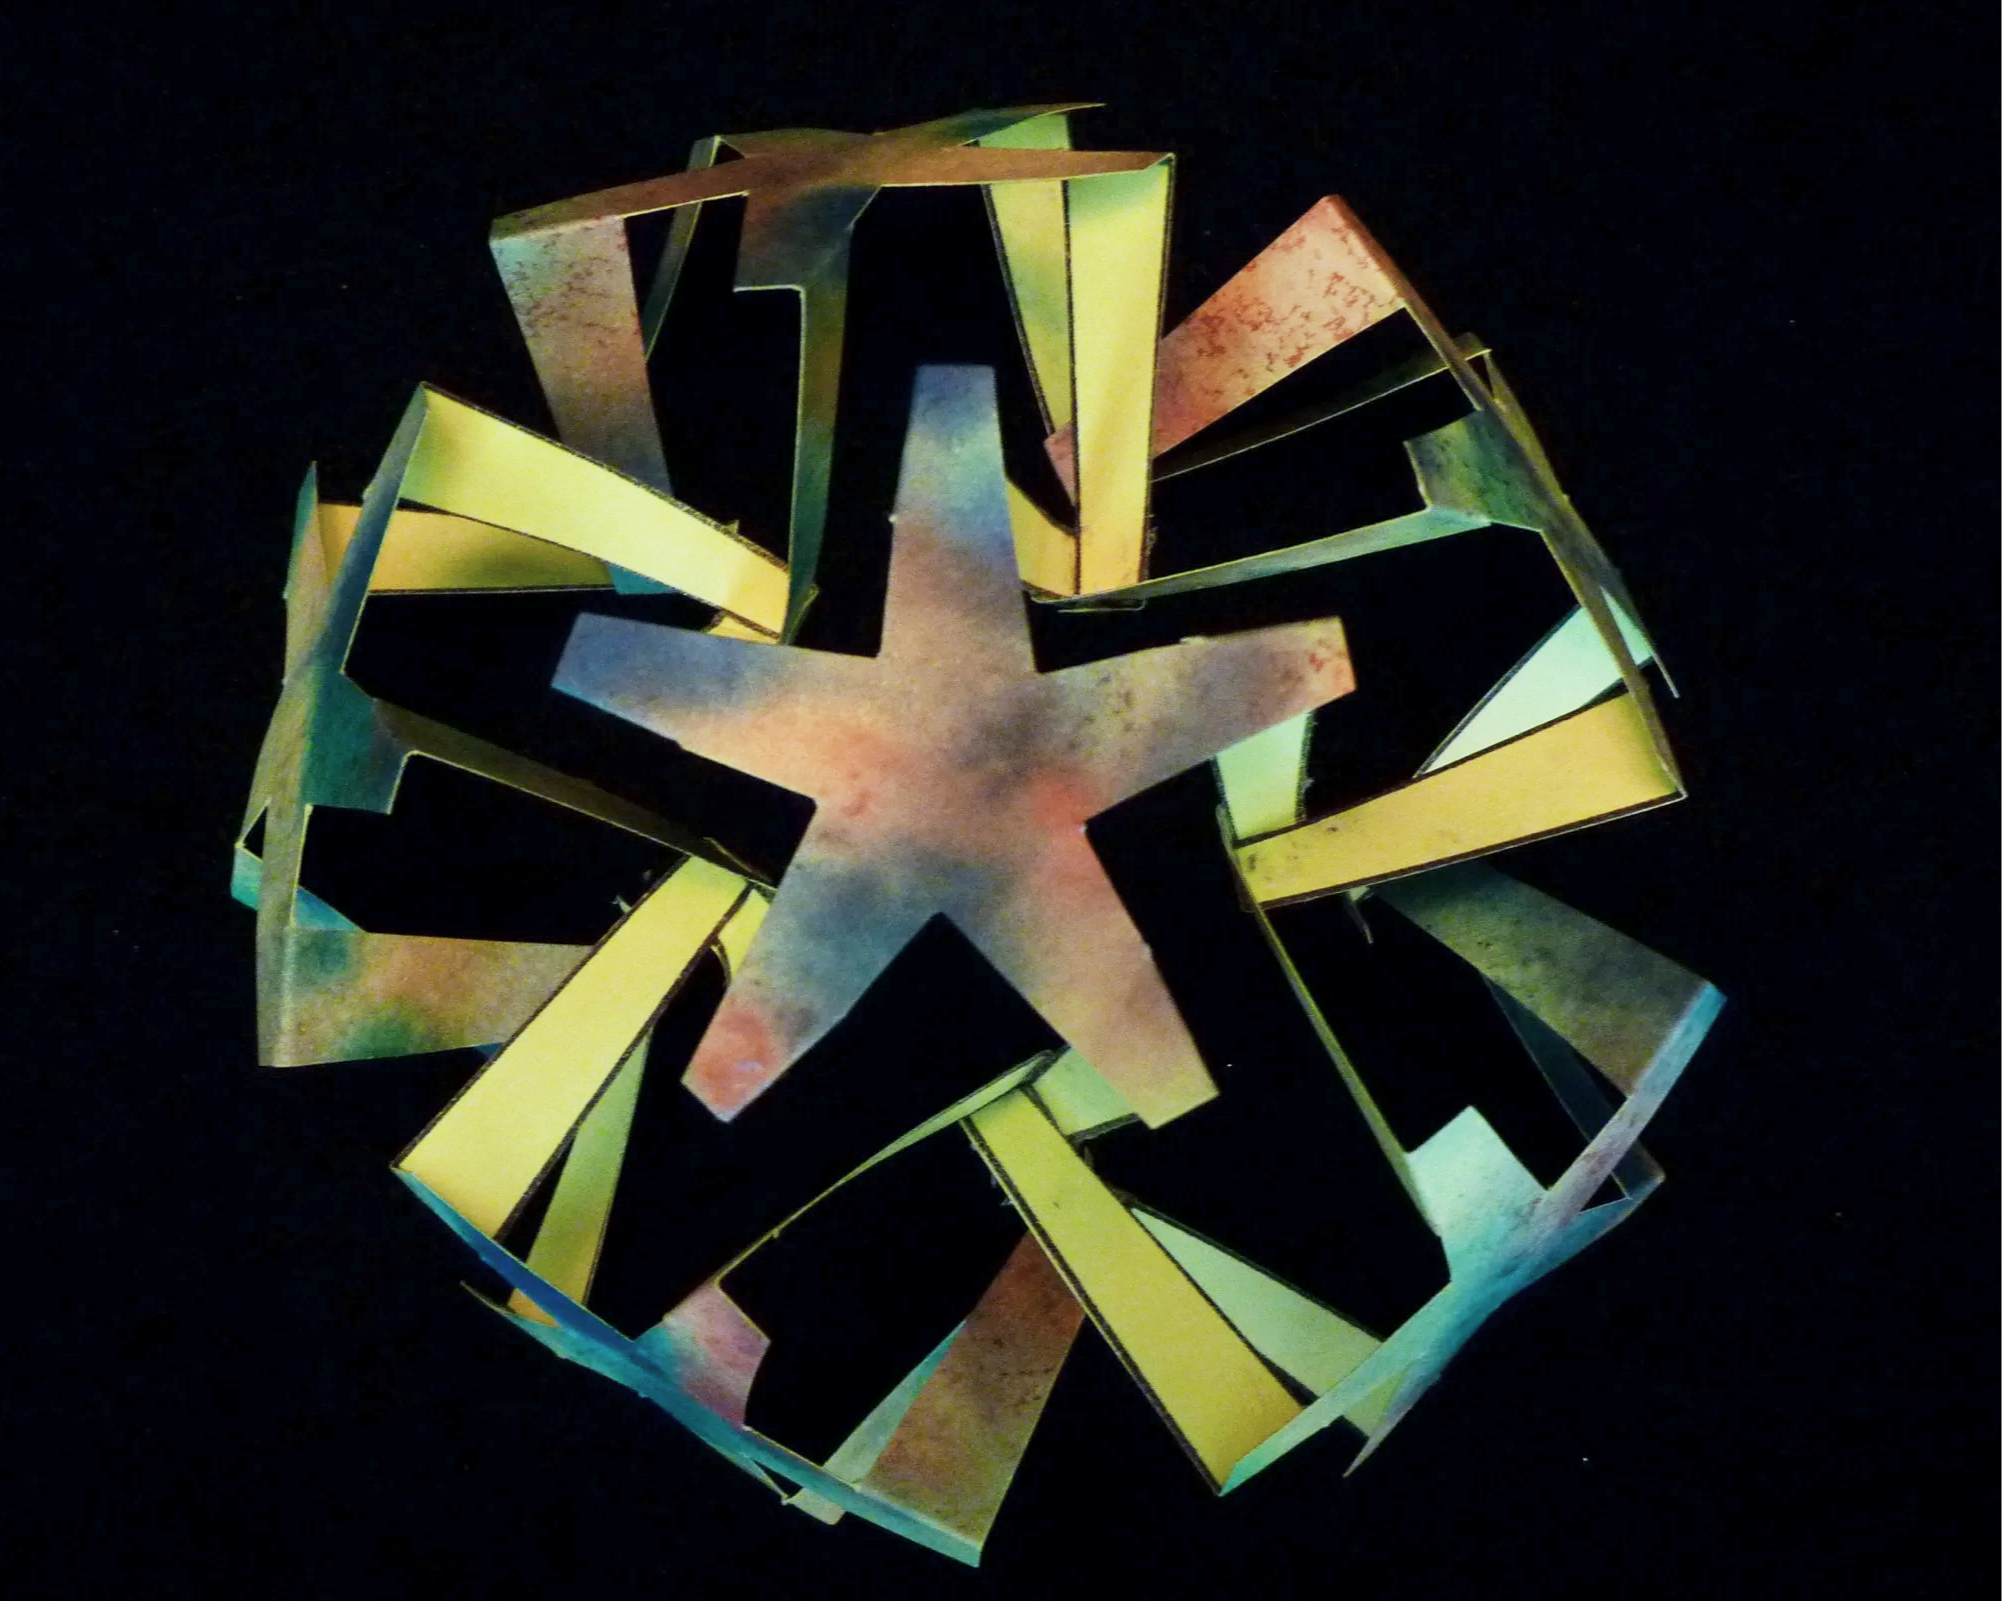
Photo 11. Outside of Project after Step 6
Step 7
Add a new part at each of the five leg joints that currently has two connector legs to give each of these joints their third and final leg. Next connect a leg on each side of these newly added parts to one of the five single legs from the end of Step 5. These five leg joints will also now be complete with three connecting legs. The project will now have fifteen completed 3-leg joints and 10 single free legs.
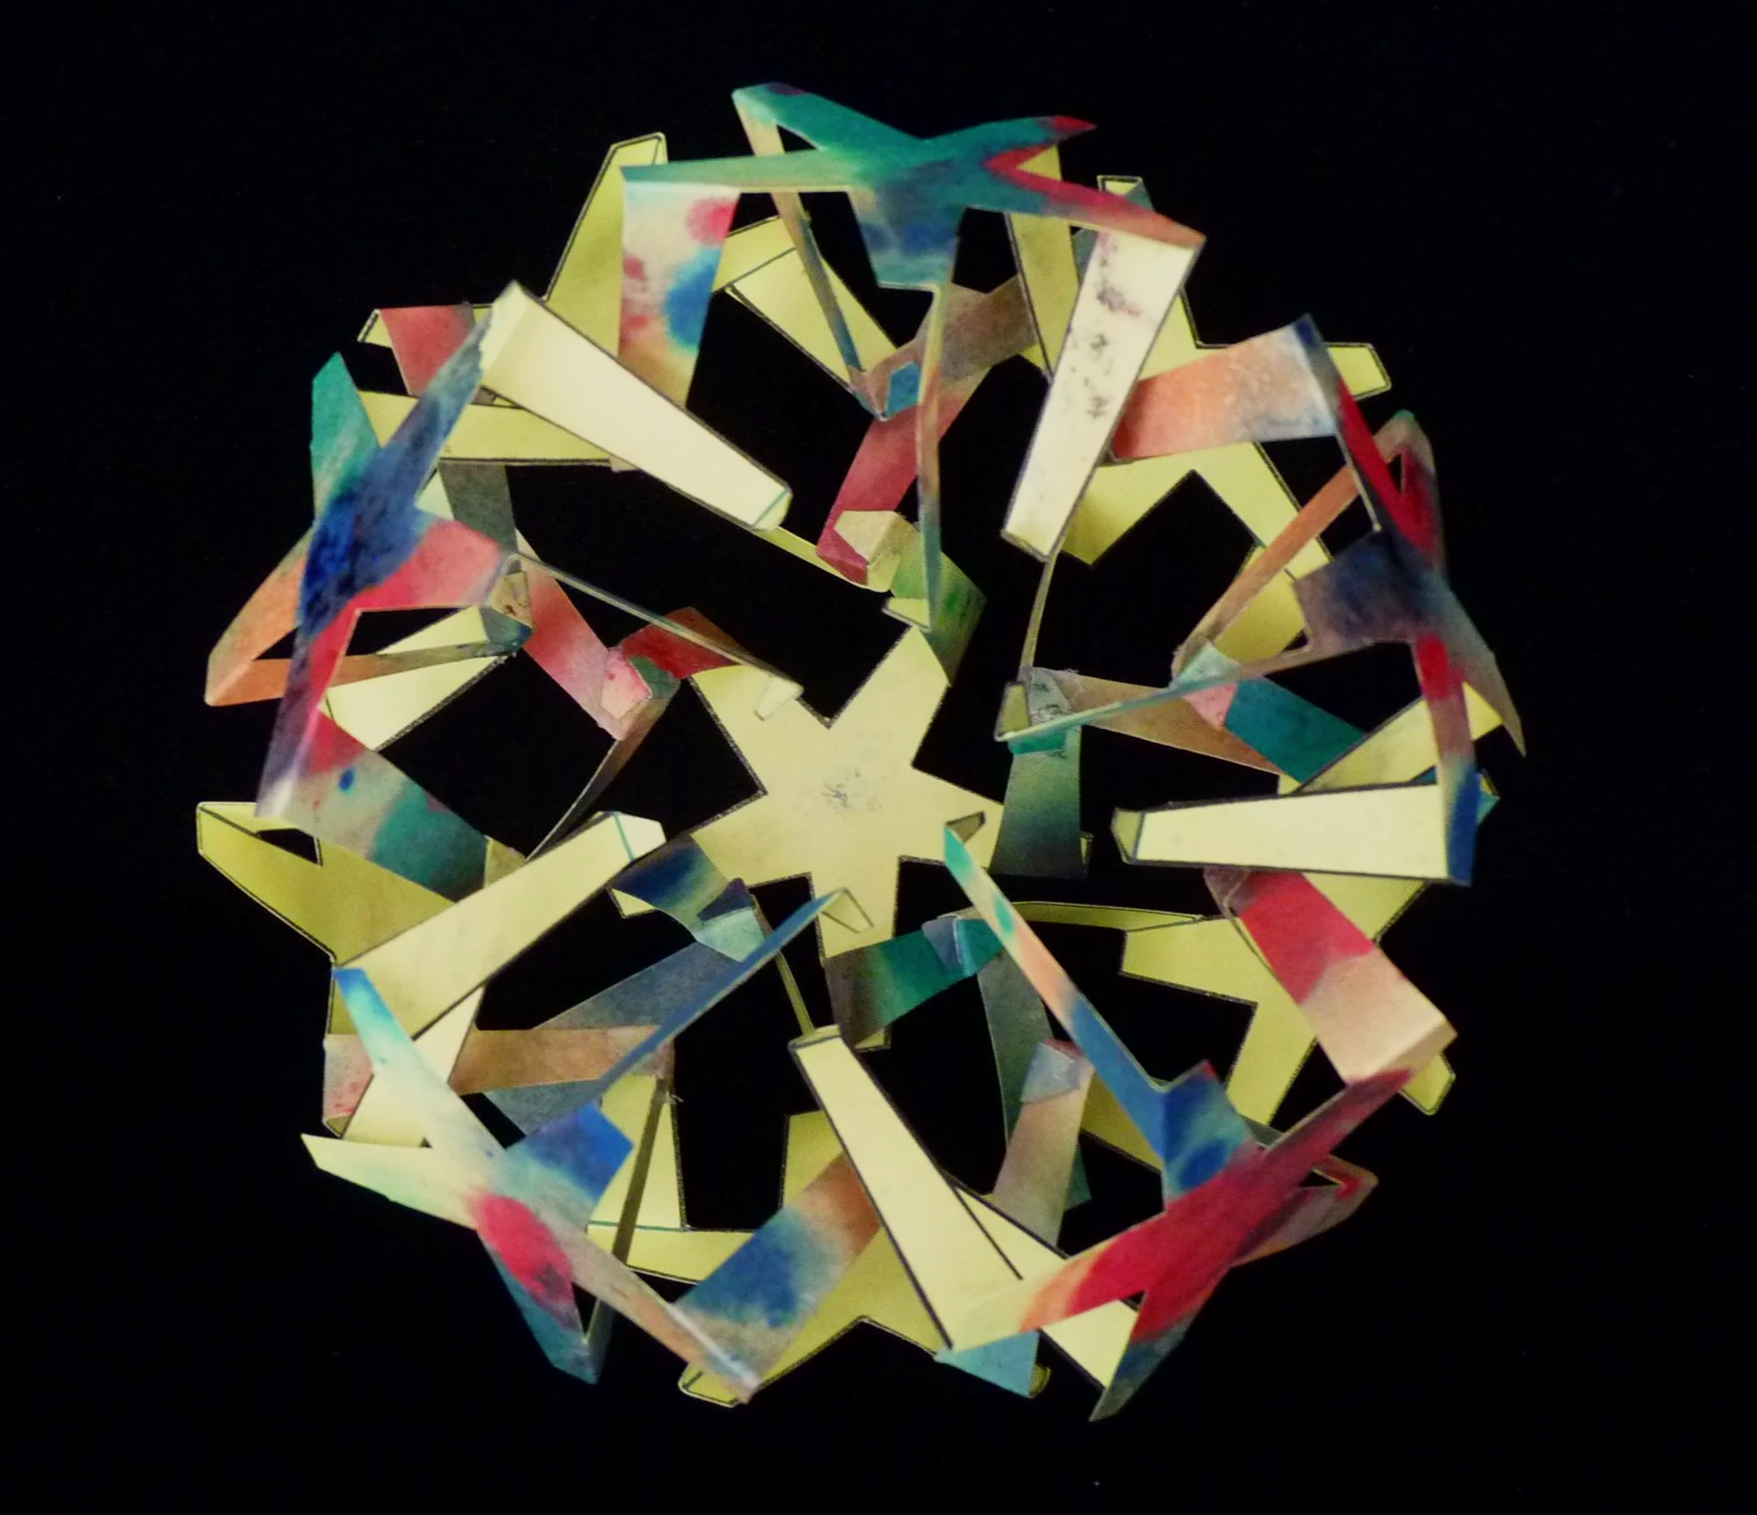
Photo 12. Project after Step 7
Step 8
Connect each of the free legs from Step 7 to one of its neighbors to form five 2-leg joints. Add the final part with one leg to each of these 2-leg joints. The finished project will have twenty 3-leg joints.
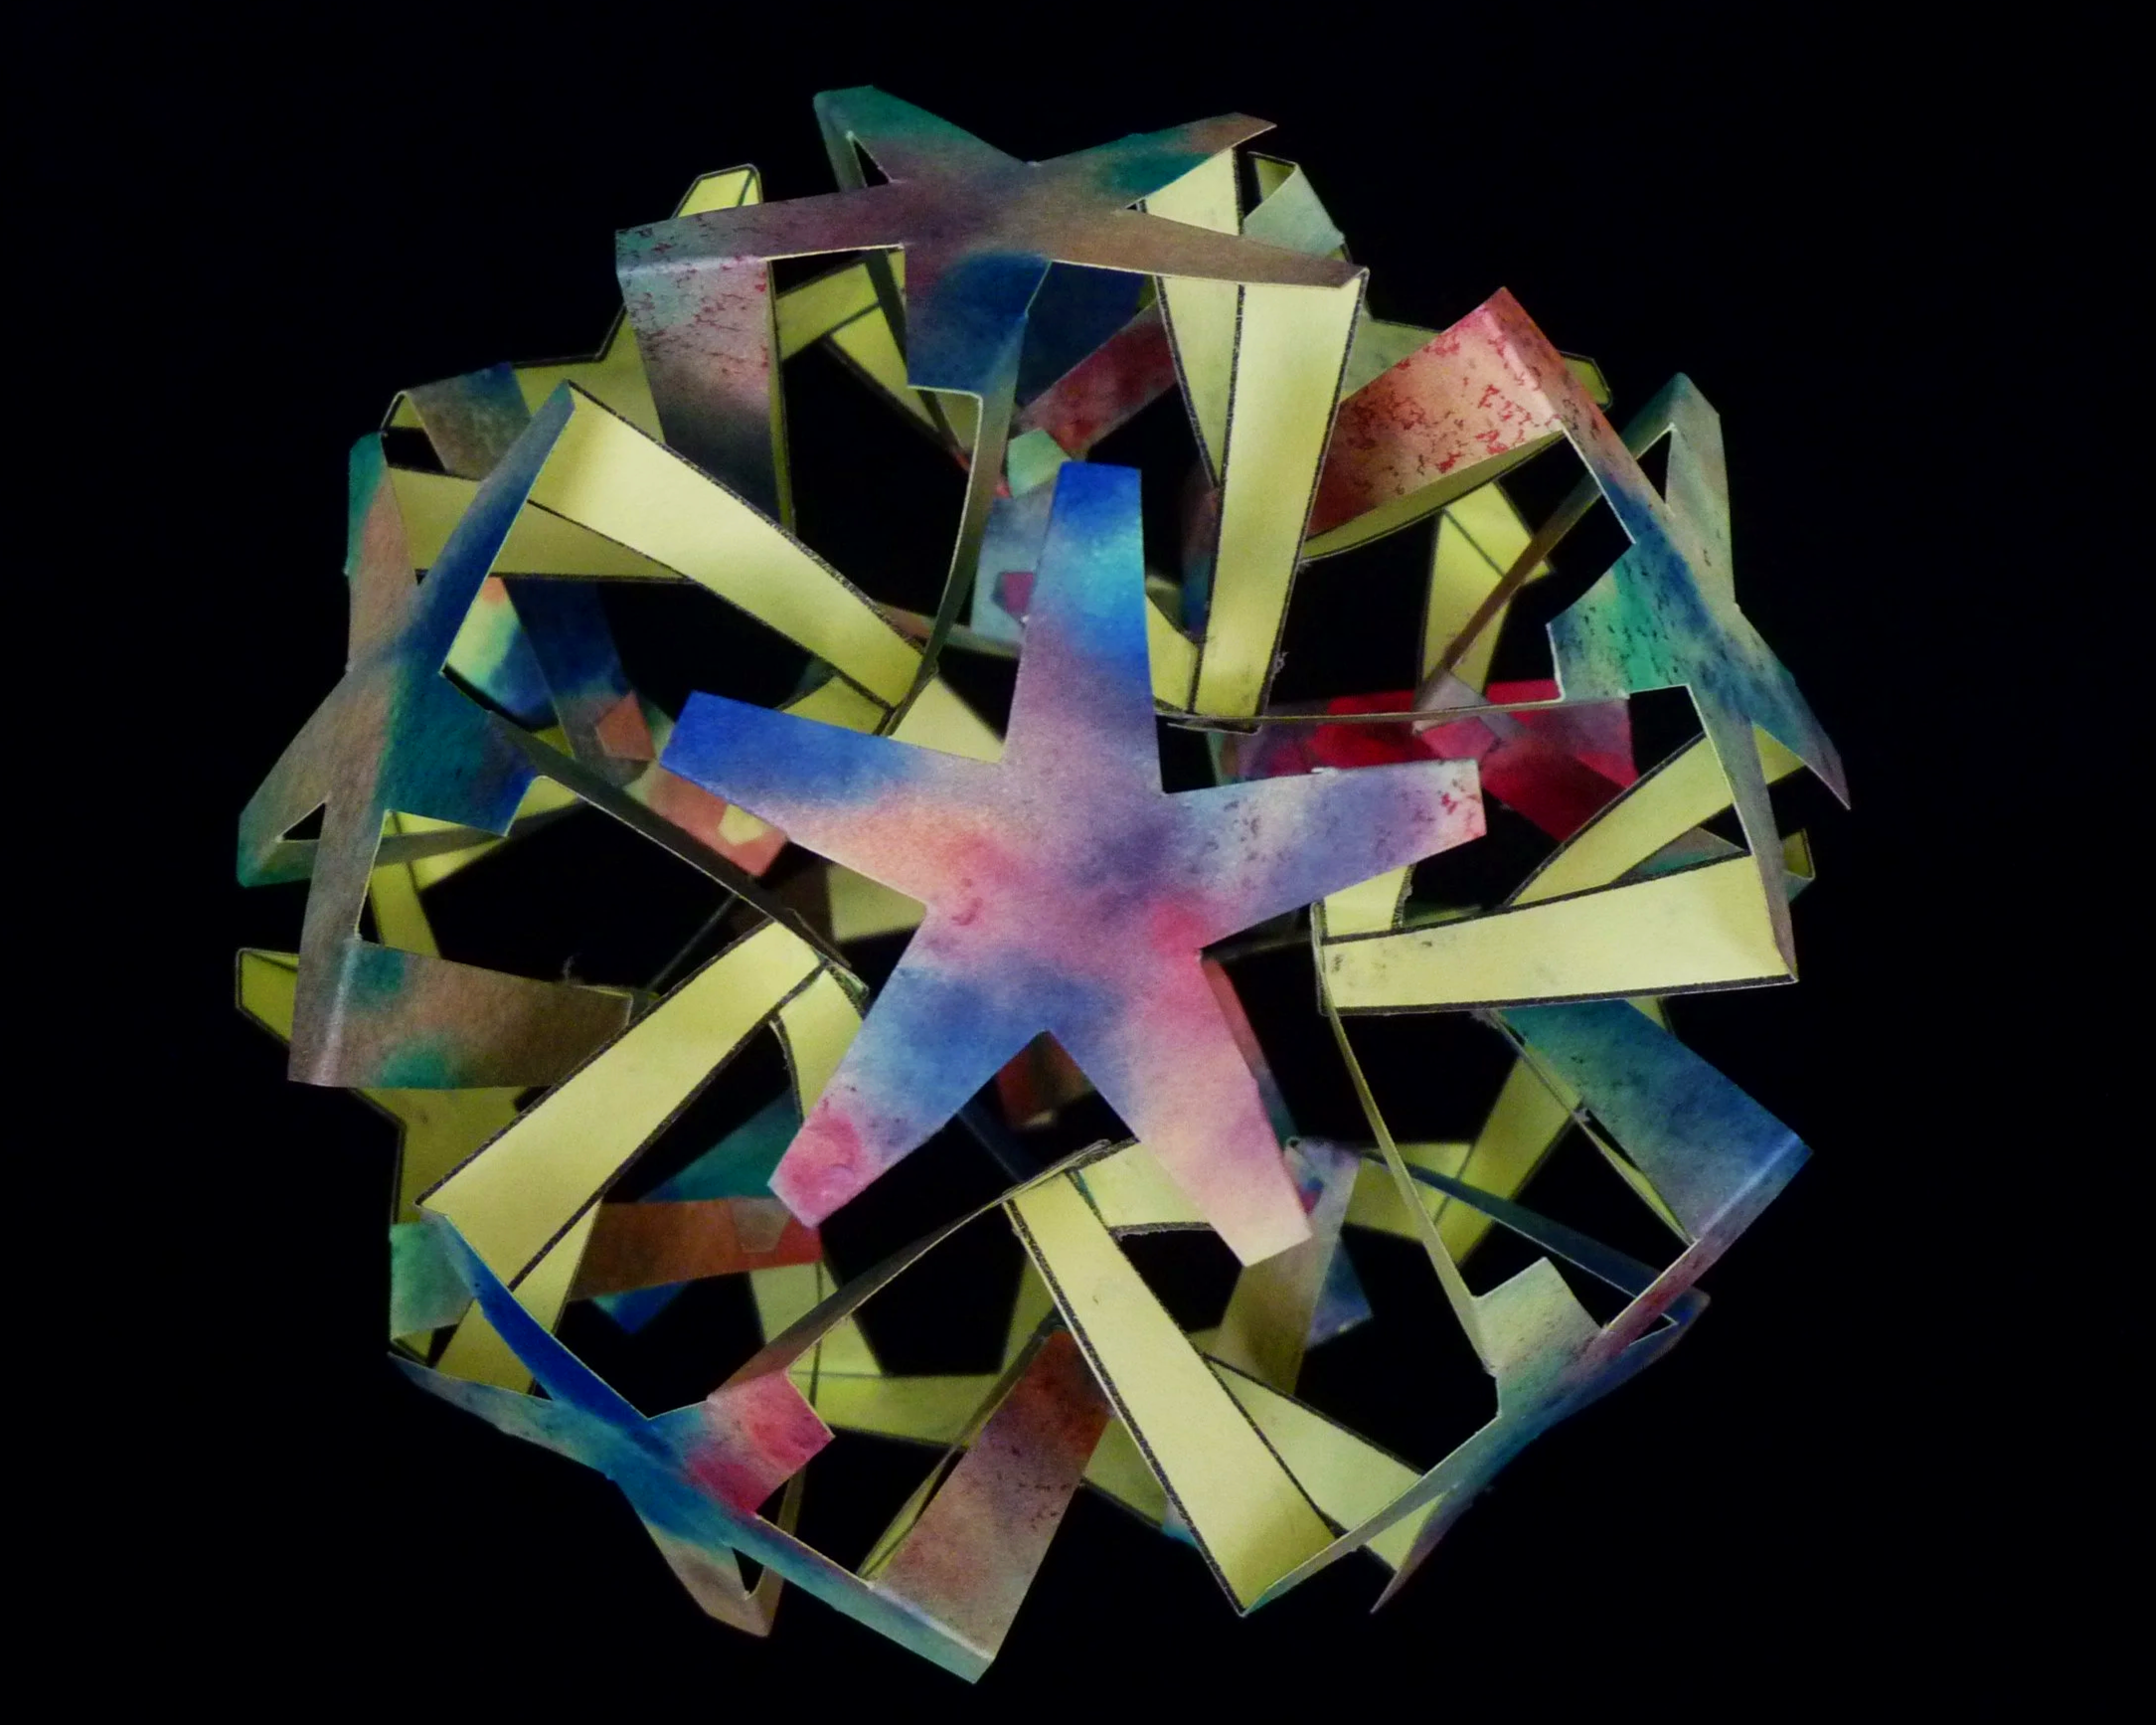
Photo 13. Completed Dodecahedron Explosion - View 1
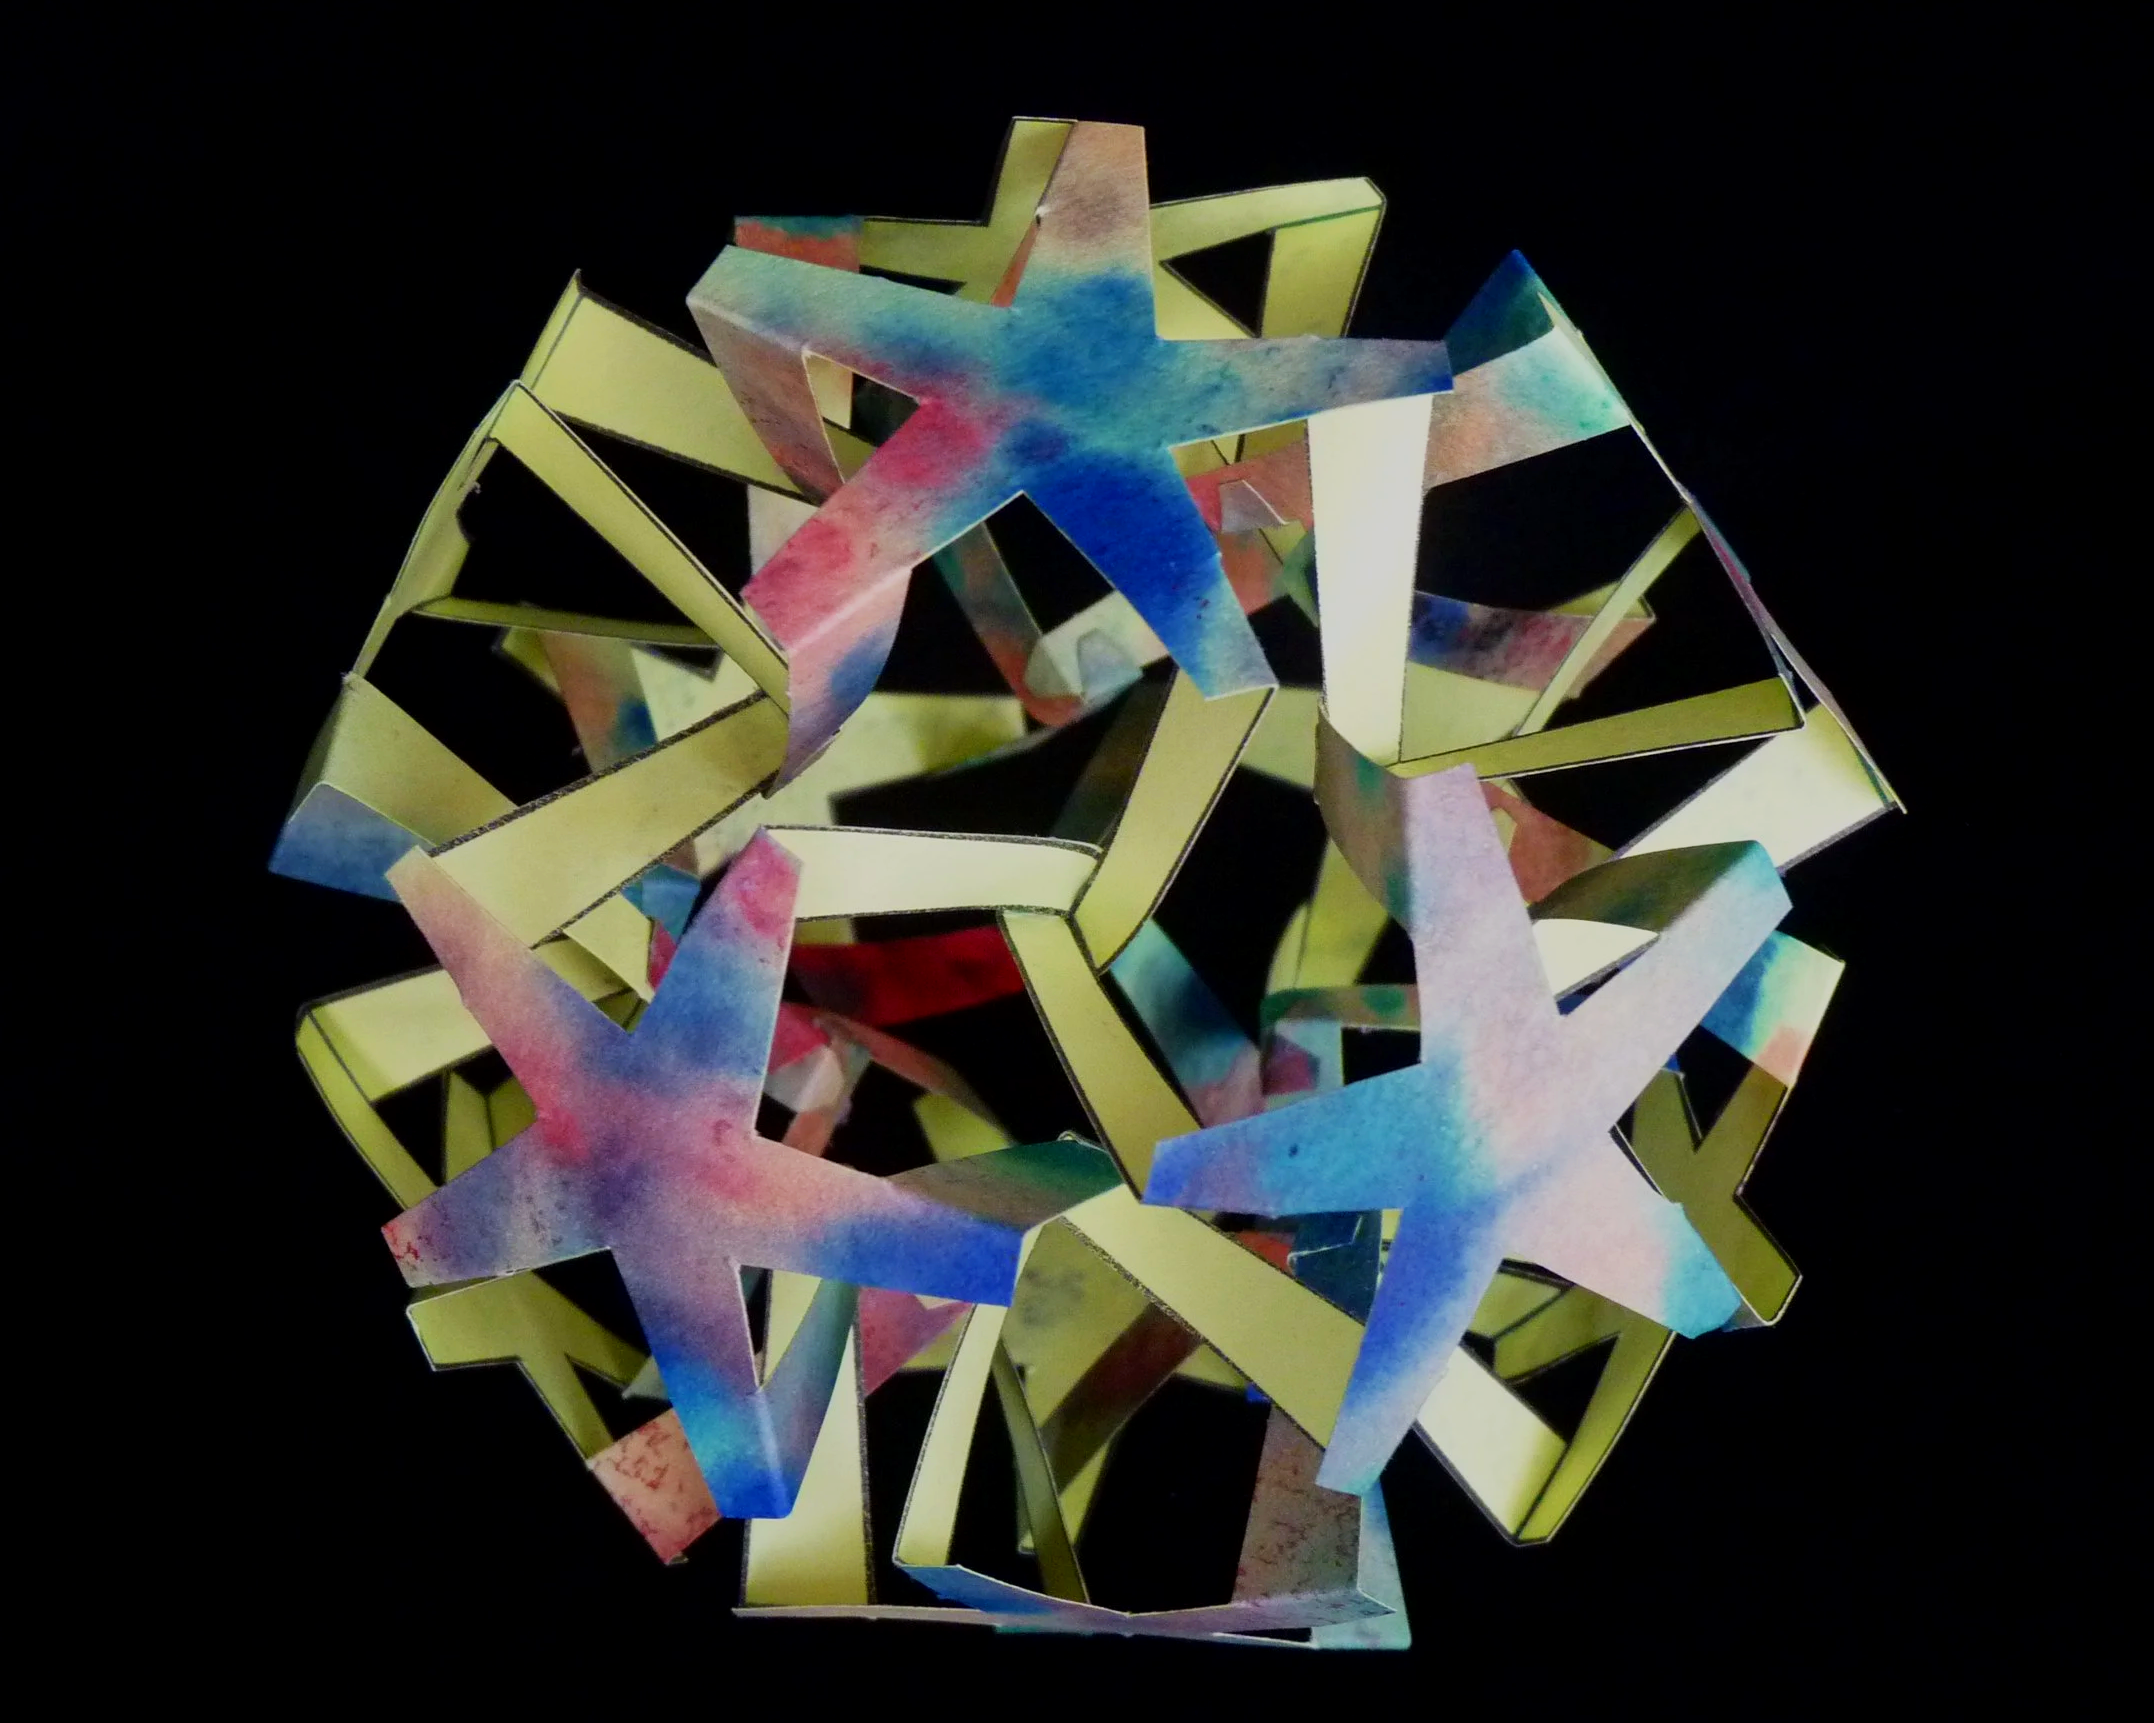
Photo 14. Completed Dodecahedron Explosion - View 2
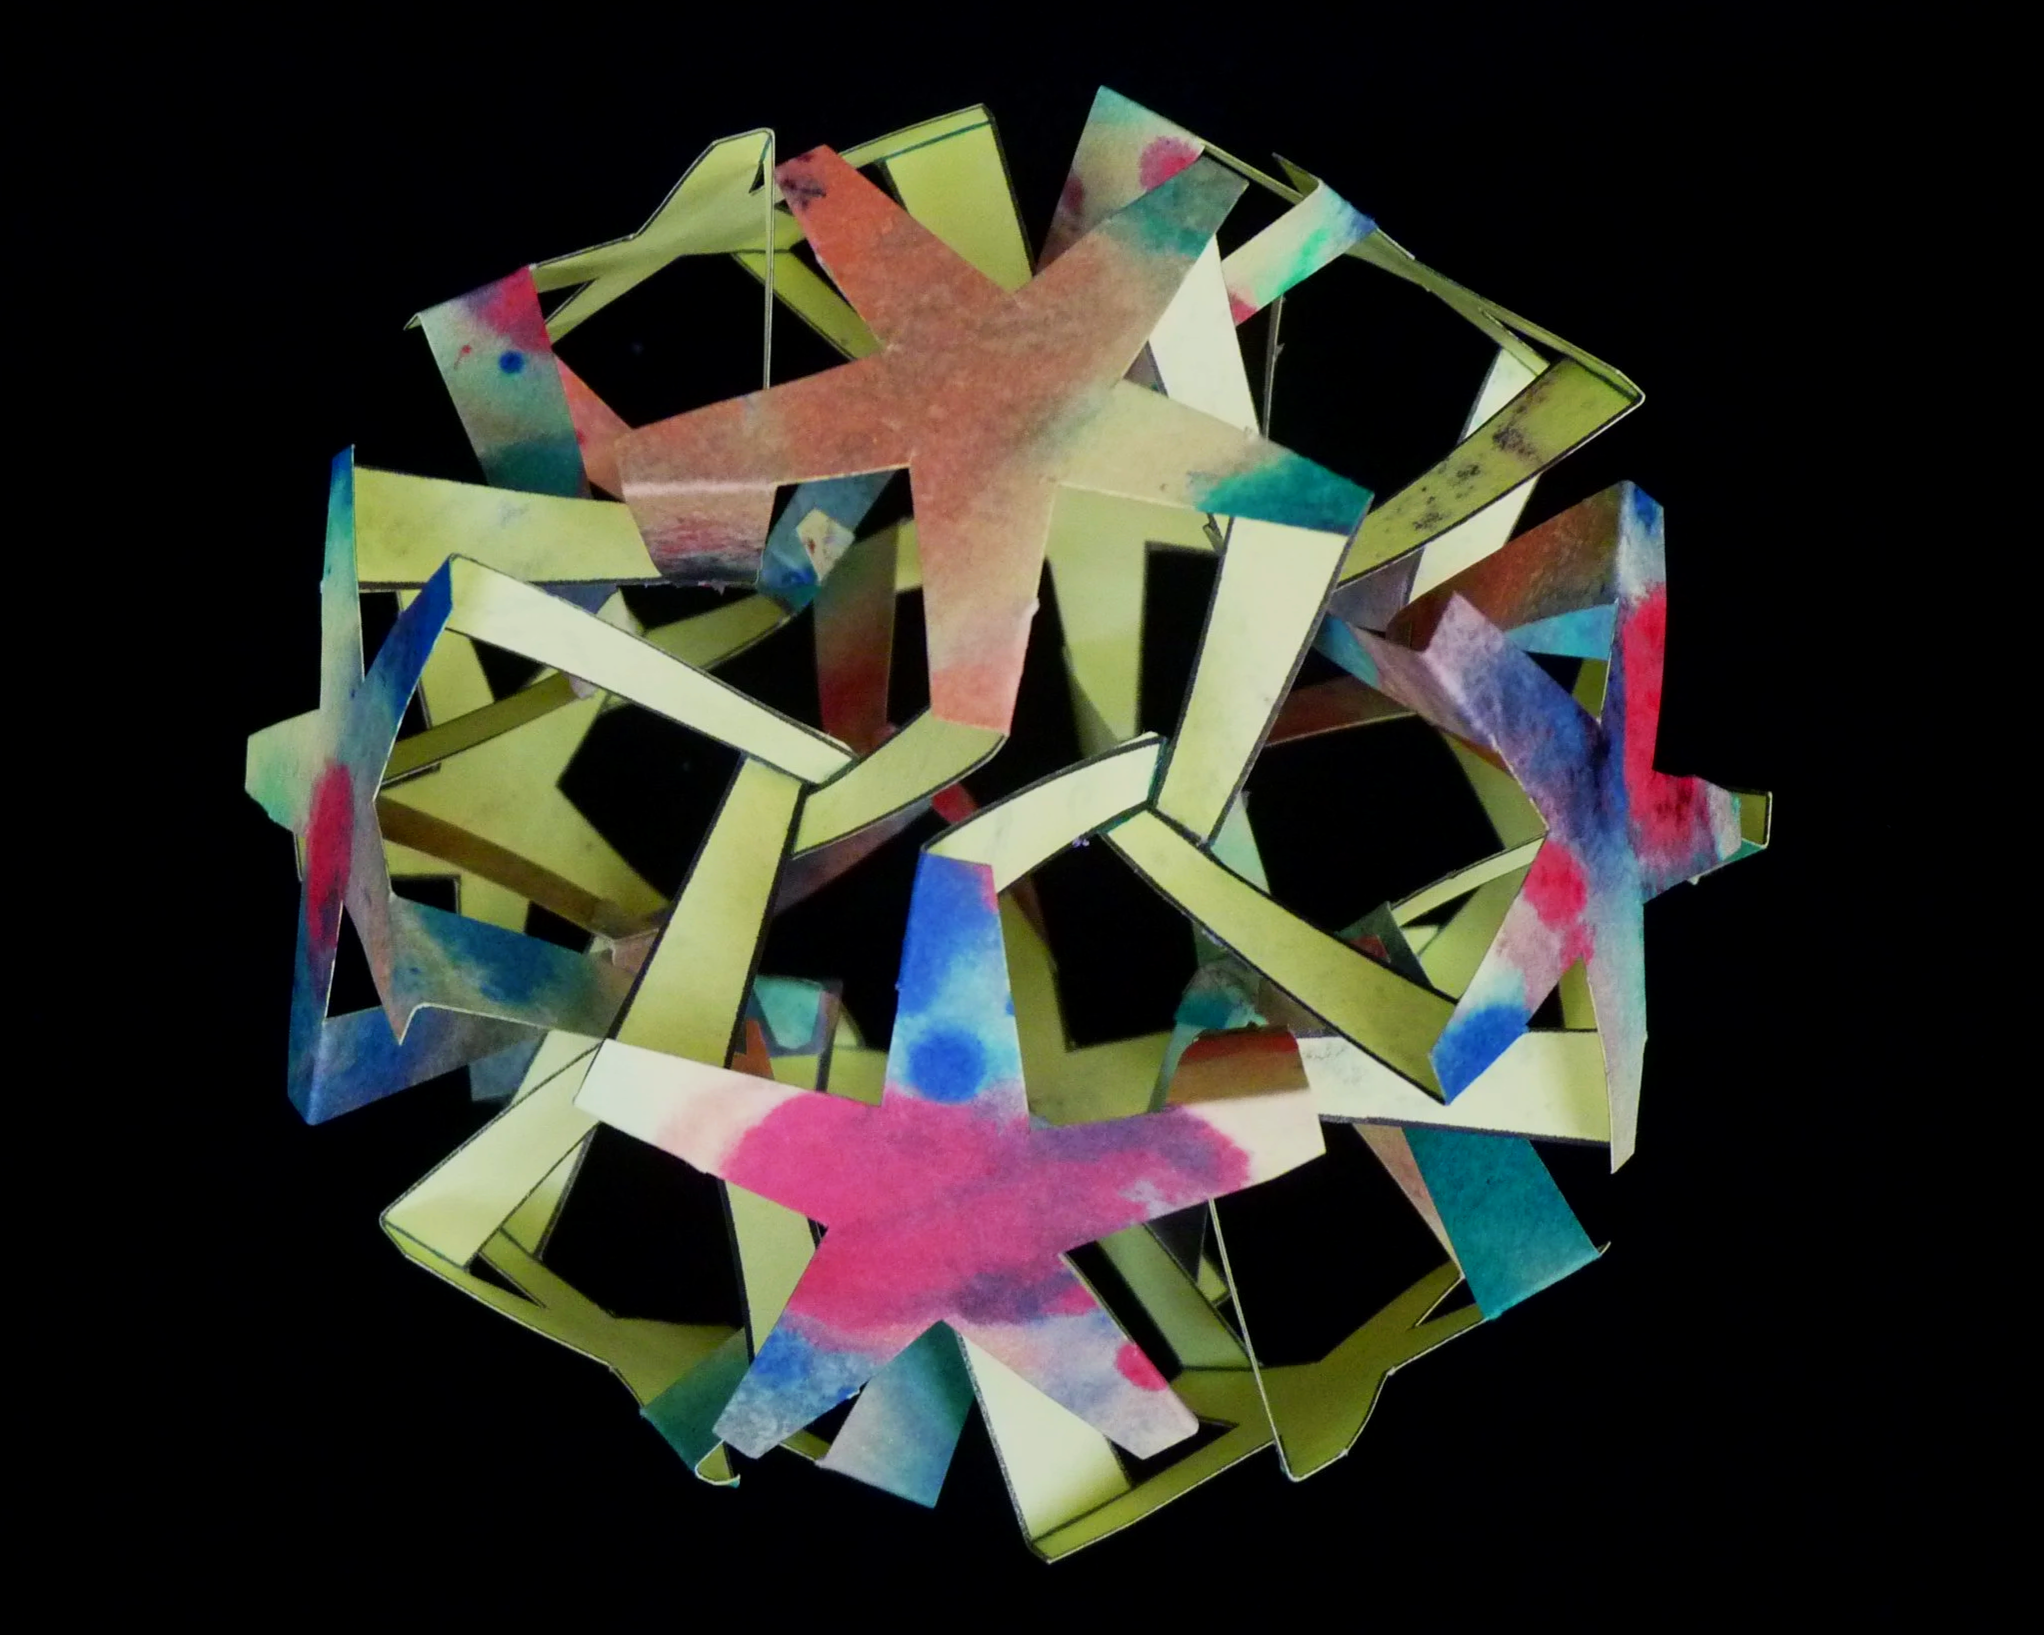
Photo 15. Completed Dodecahedron Explosion - View 3
There are eight other projects on this website based on the amazing dodecahedron. Click on the Index by Geometry button below to see the full list.