dodecahedron Star Burst
Try this amazing Dodecahedron Star Burst project. It starts with nothing at the center and bursts into a 3D dodecahedron star.

Project Info
Paper required: two sheets 8.5 x 11 inch (or A4)
Finished Project size: 4.5 inches (11 cm)
Difficulty Level: Intermediate
Click button below to get your free printable pattern !
Click button below to get your free printable pattern !
INSTRUCTIONS
STEP 1
Print the pattern onto the two matching paper sheets of your choice. Both sides of the paper will be visible, so I suggest a paper that has the same color and pattern on both sides. It is also a good idea to choose a paper that will mask the visibility of the folding lines.
Read the pattern key included in the General Instructions.
Step 2
Cut out the ten parts by cutting on all black lines.

Photo 1. Back of Two Parts after Step 2
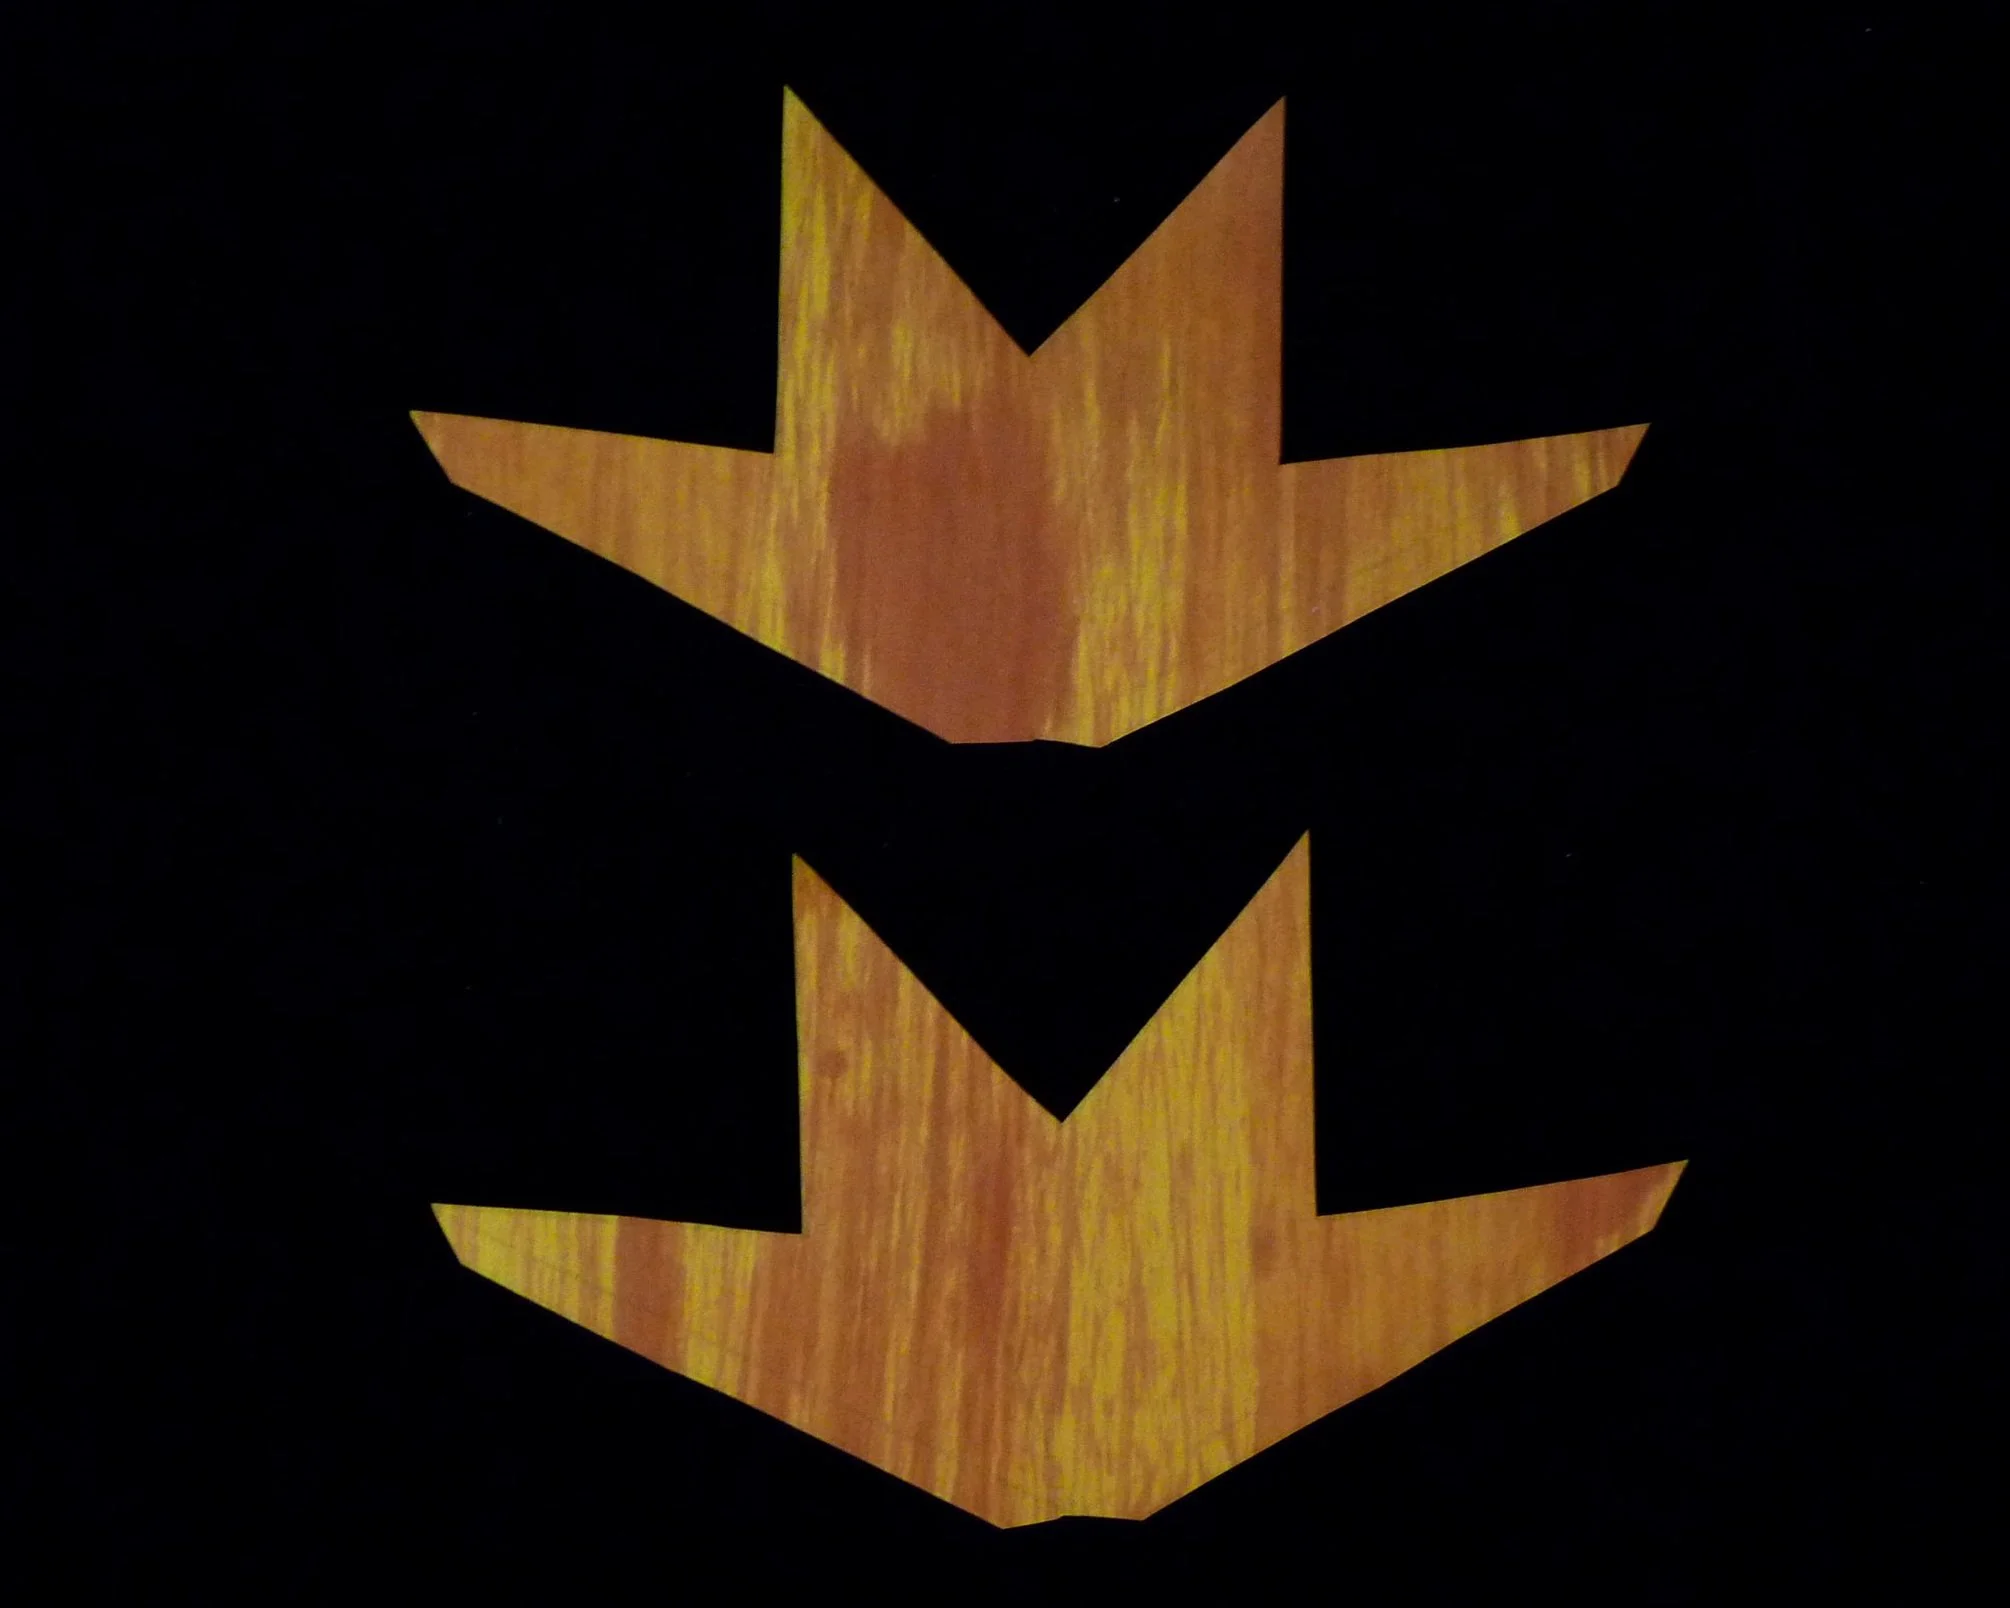
Photo 2. Front of Two Parts after Step 2
STEP 3
On all ten parts, fold the two green lines as valley folds and the two red lines as mountain folds.
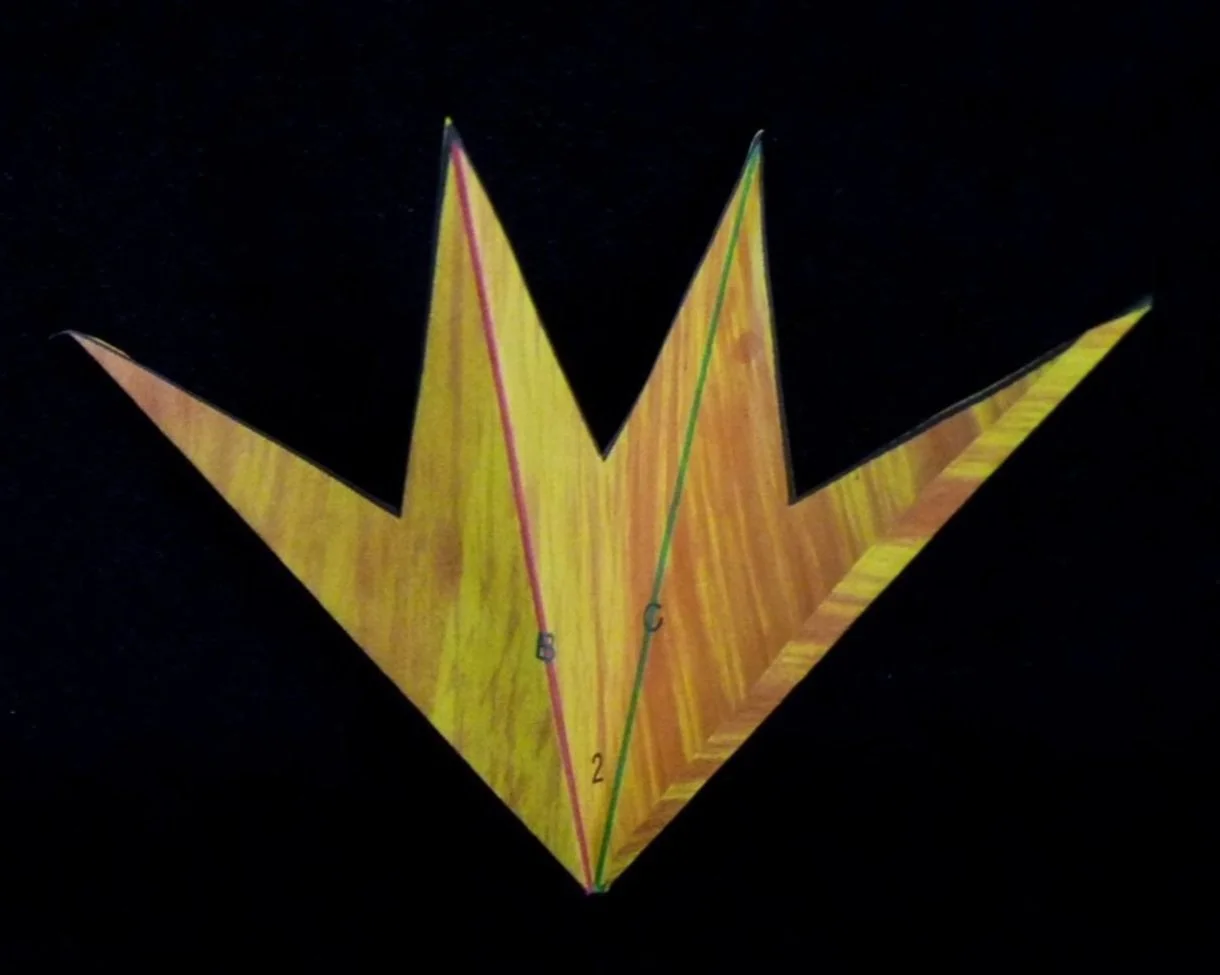
Photo 3. Back of a Part after Step 3

Photo 4. Front of a Part after Step 3
Step 4
For gluing parts together, note that each fold is labelled with a letter B or C and each Flap with a letter A or D. When a flap is noted to be glued at a fold on the front of the paper, it means the side with no red or green folding lines. When a flap is noted to be glued at a fold on the back of the paper, it means the side with printed red and green lines.
Start by connecting Parts 1 and 2. Glue Flap D on Part 1 to the front of Part 2 at Fold C.
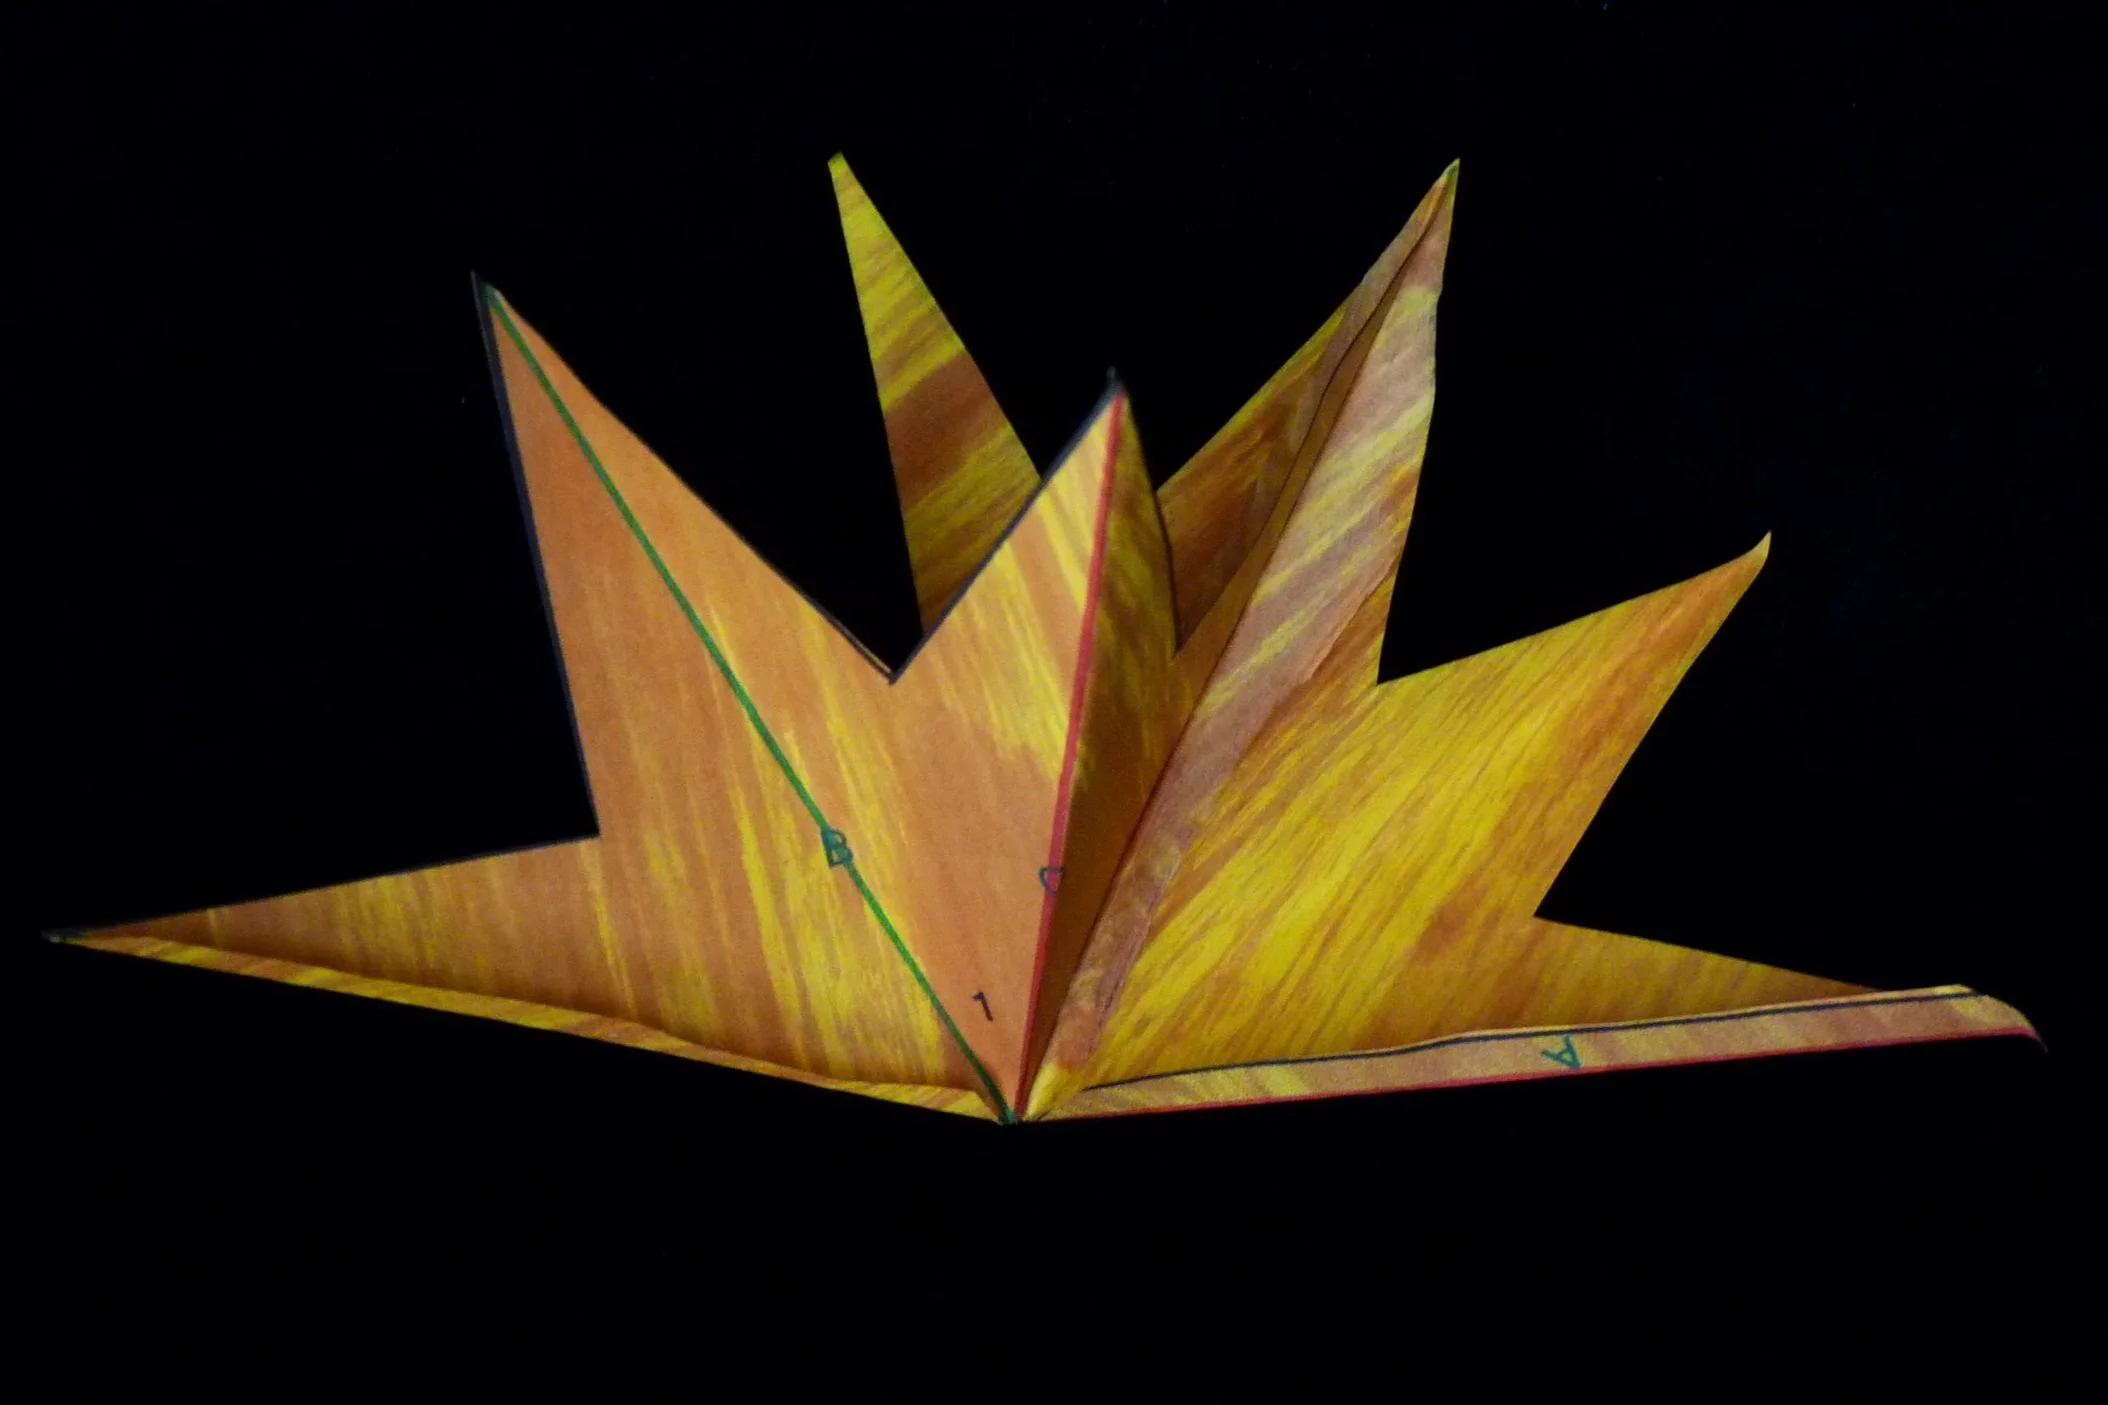
Photo 5 Project after Step 4 - View 1

Photo 6. Project after Step 4 - View 2
Step 5
Connect Parts 3 and 4 to the project. Glue Flap D on Part 2 to the front side of Part 3 at Fold C. Glue Flap D on Part 4 to the back side of Part 3 at Fold B.

Photo 7. Project after Step 5 - View 1
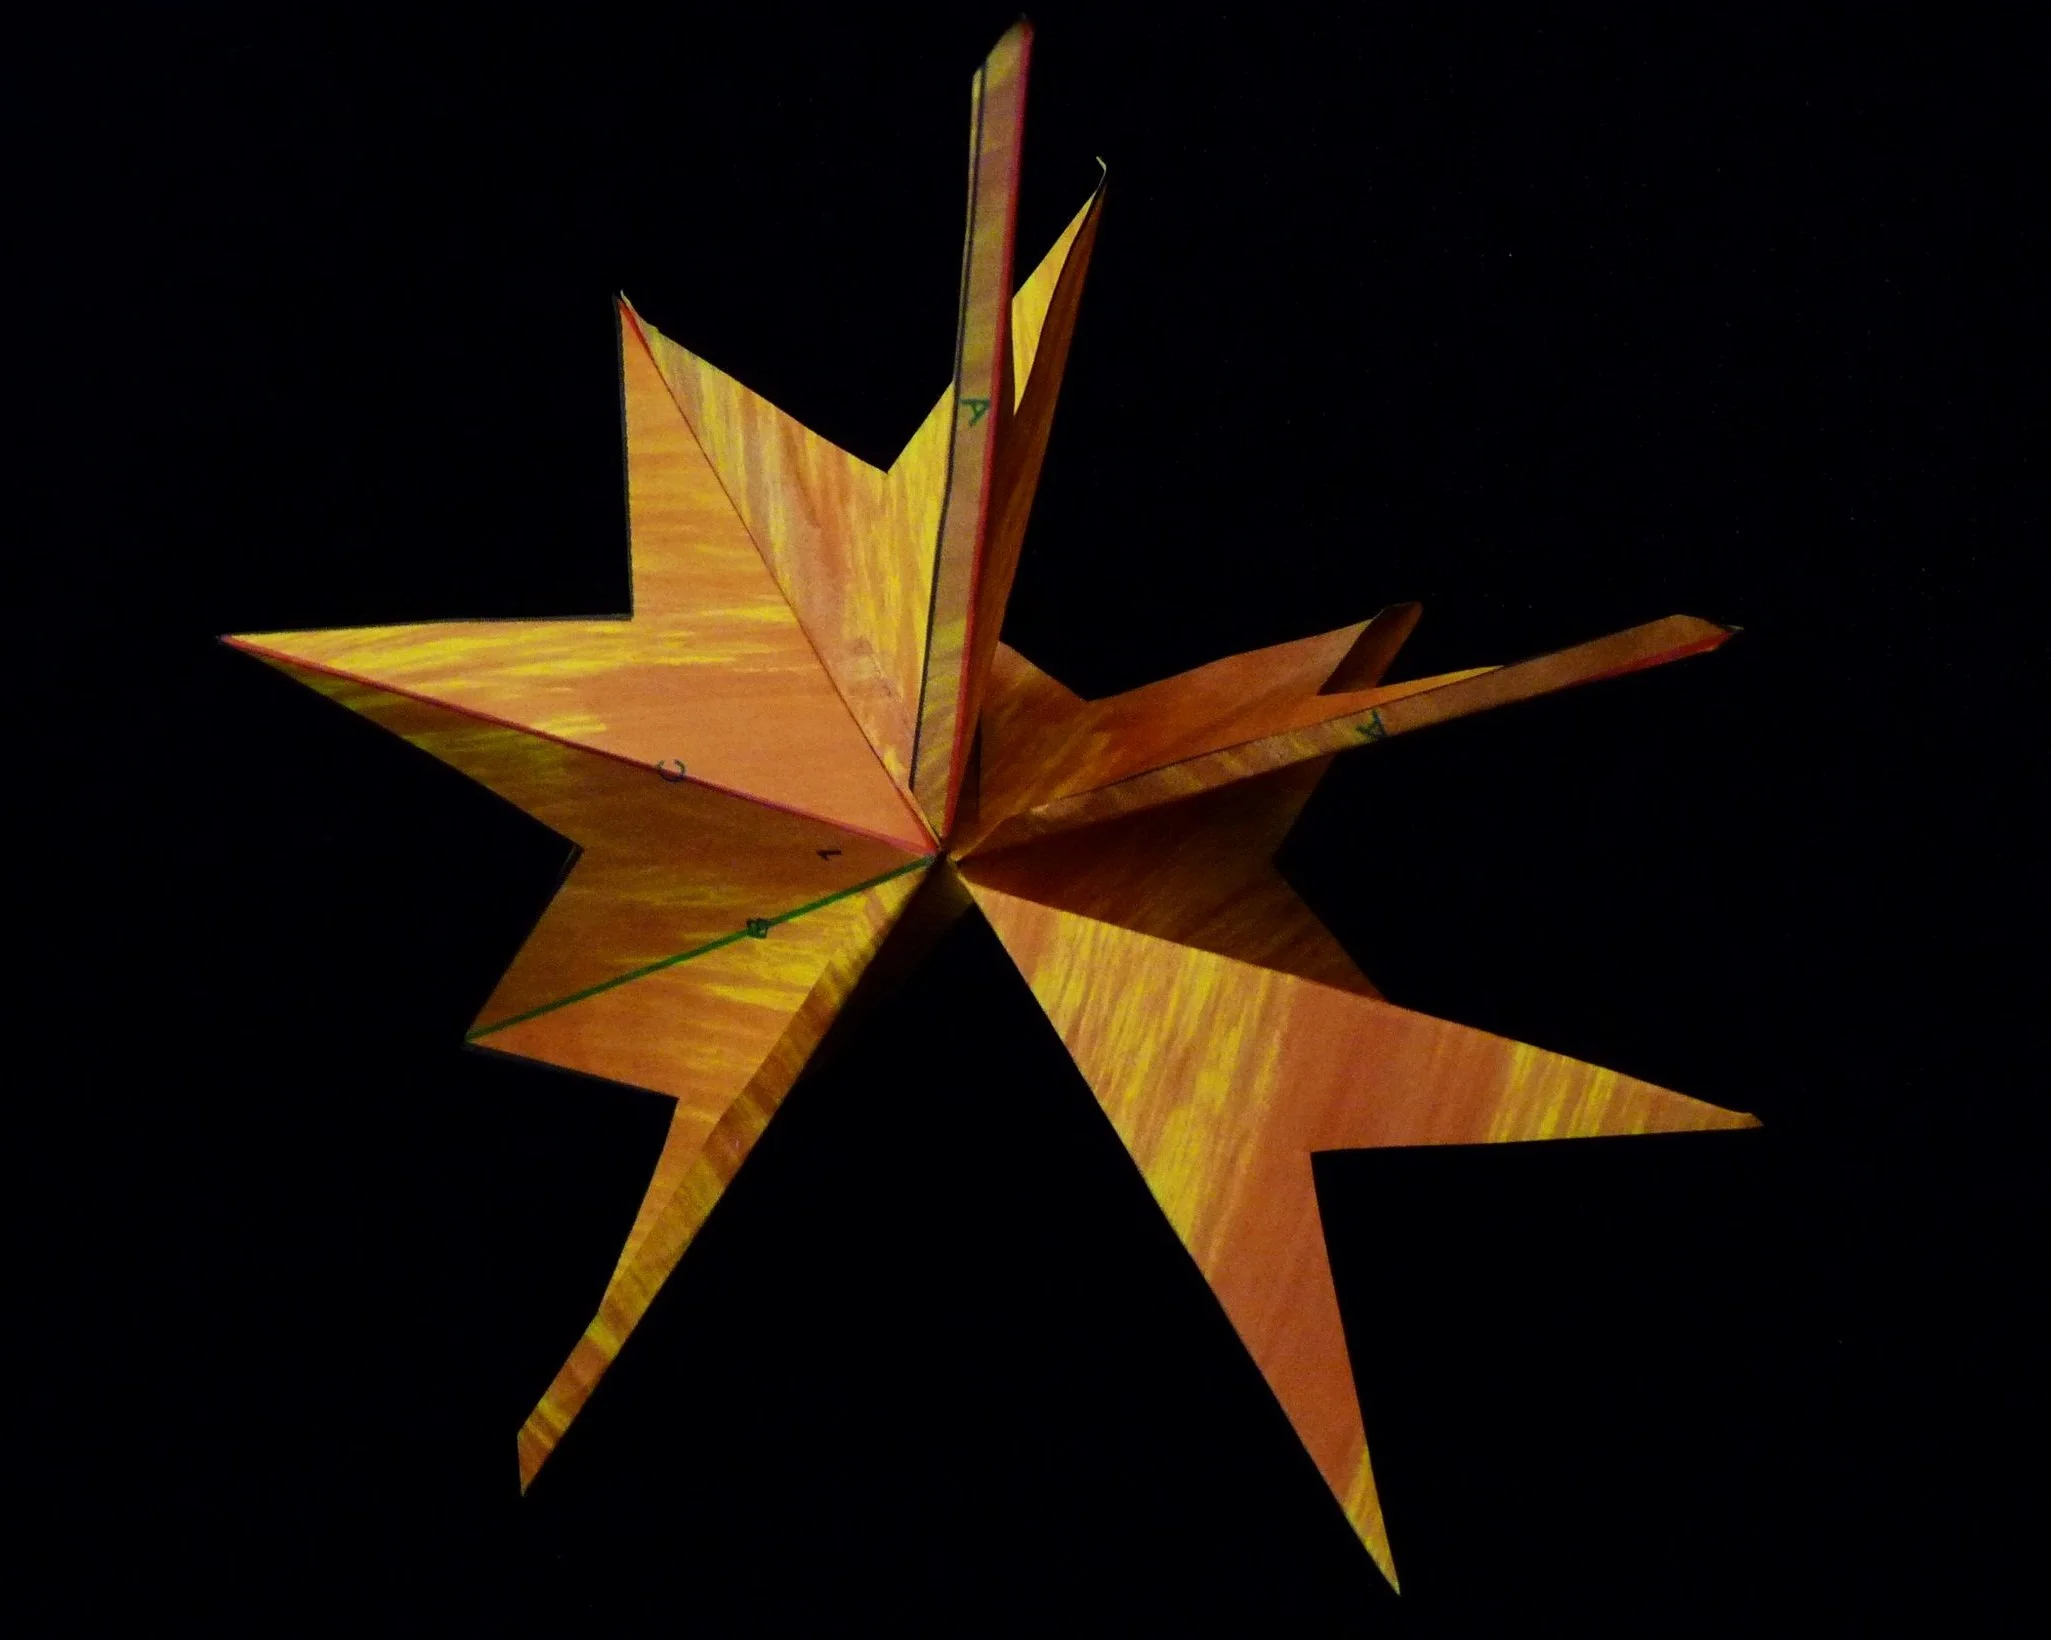
Photo 8. Project after Step 5 - View 2
Step 6
Connect Parts 5 and 6 to the project. Glue Flap A on Part 5 to the back of Part 2 at Fold B. Glue Flap A on Part 3 to the front of Part 5 at Fold B. Glue Flap D on Part 5 to the front of Part 4 at Fold B. Glue Flap A on Part 2 to the front of Part 6 at Fold B. Glue Flap D on Part 6 to the back of Part 5 at Fold C.

Photo 9. Project after Step 6 - View 1

Photo 10. Project after Step 6 - View 2
Step 7
Connect Parts 7, 8, 9 ,and 10 to the project. Glue Flap A on Part 7 to the back of Part 1 at Fold C. Glue Flap A on Part 6 to the front of Part 7 at Fold B.
Glue Flap A on Part 4 to the back of Part 8 at Fold B. Glue Flap D on Part 7 to the front of Part 8 at Fold C. Glue Flap D on Part 8 to the back of Part 6 at Fold C.
Glue Flap A on Part 8 to the back of Part 9 at Fold B. Glue Flap A on Part 1 to the front of Part 9 at Fold C. Glue Flap D on Part 9 to the back of Part 7 at Fold C.
Glue Flap A on Part 10 to the back of Part 4 at Fold C. Glue Flap A on Part 9 to the back of Part 10 at Fold B. Glue Flap D on Part 3 to the front of Part 10 at Fold C. Glue Flap D on Part 10 to the front of Part 1 at Fold B.
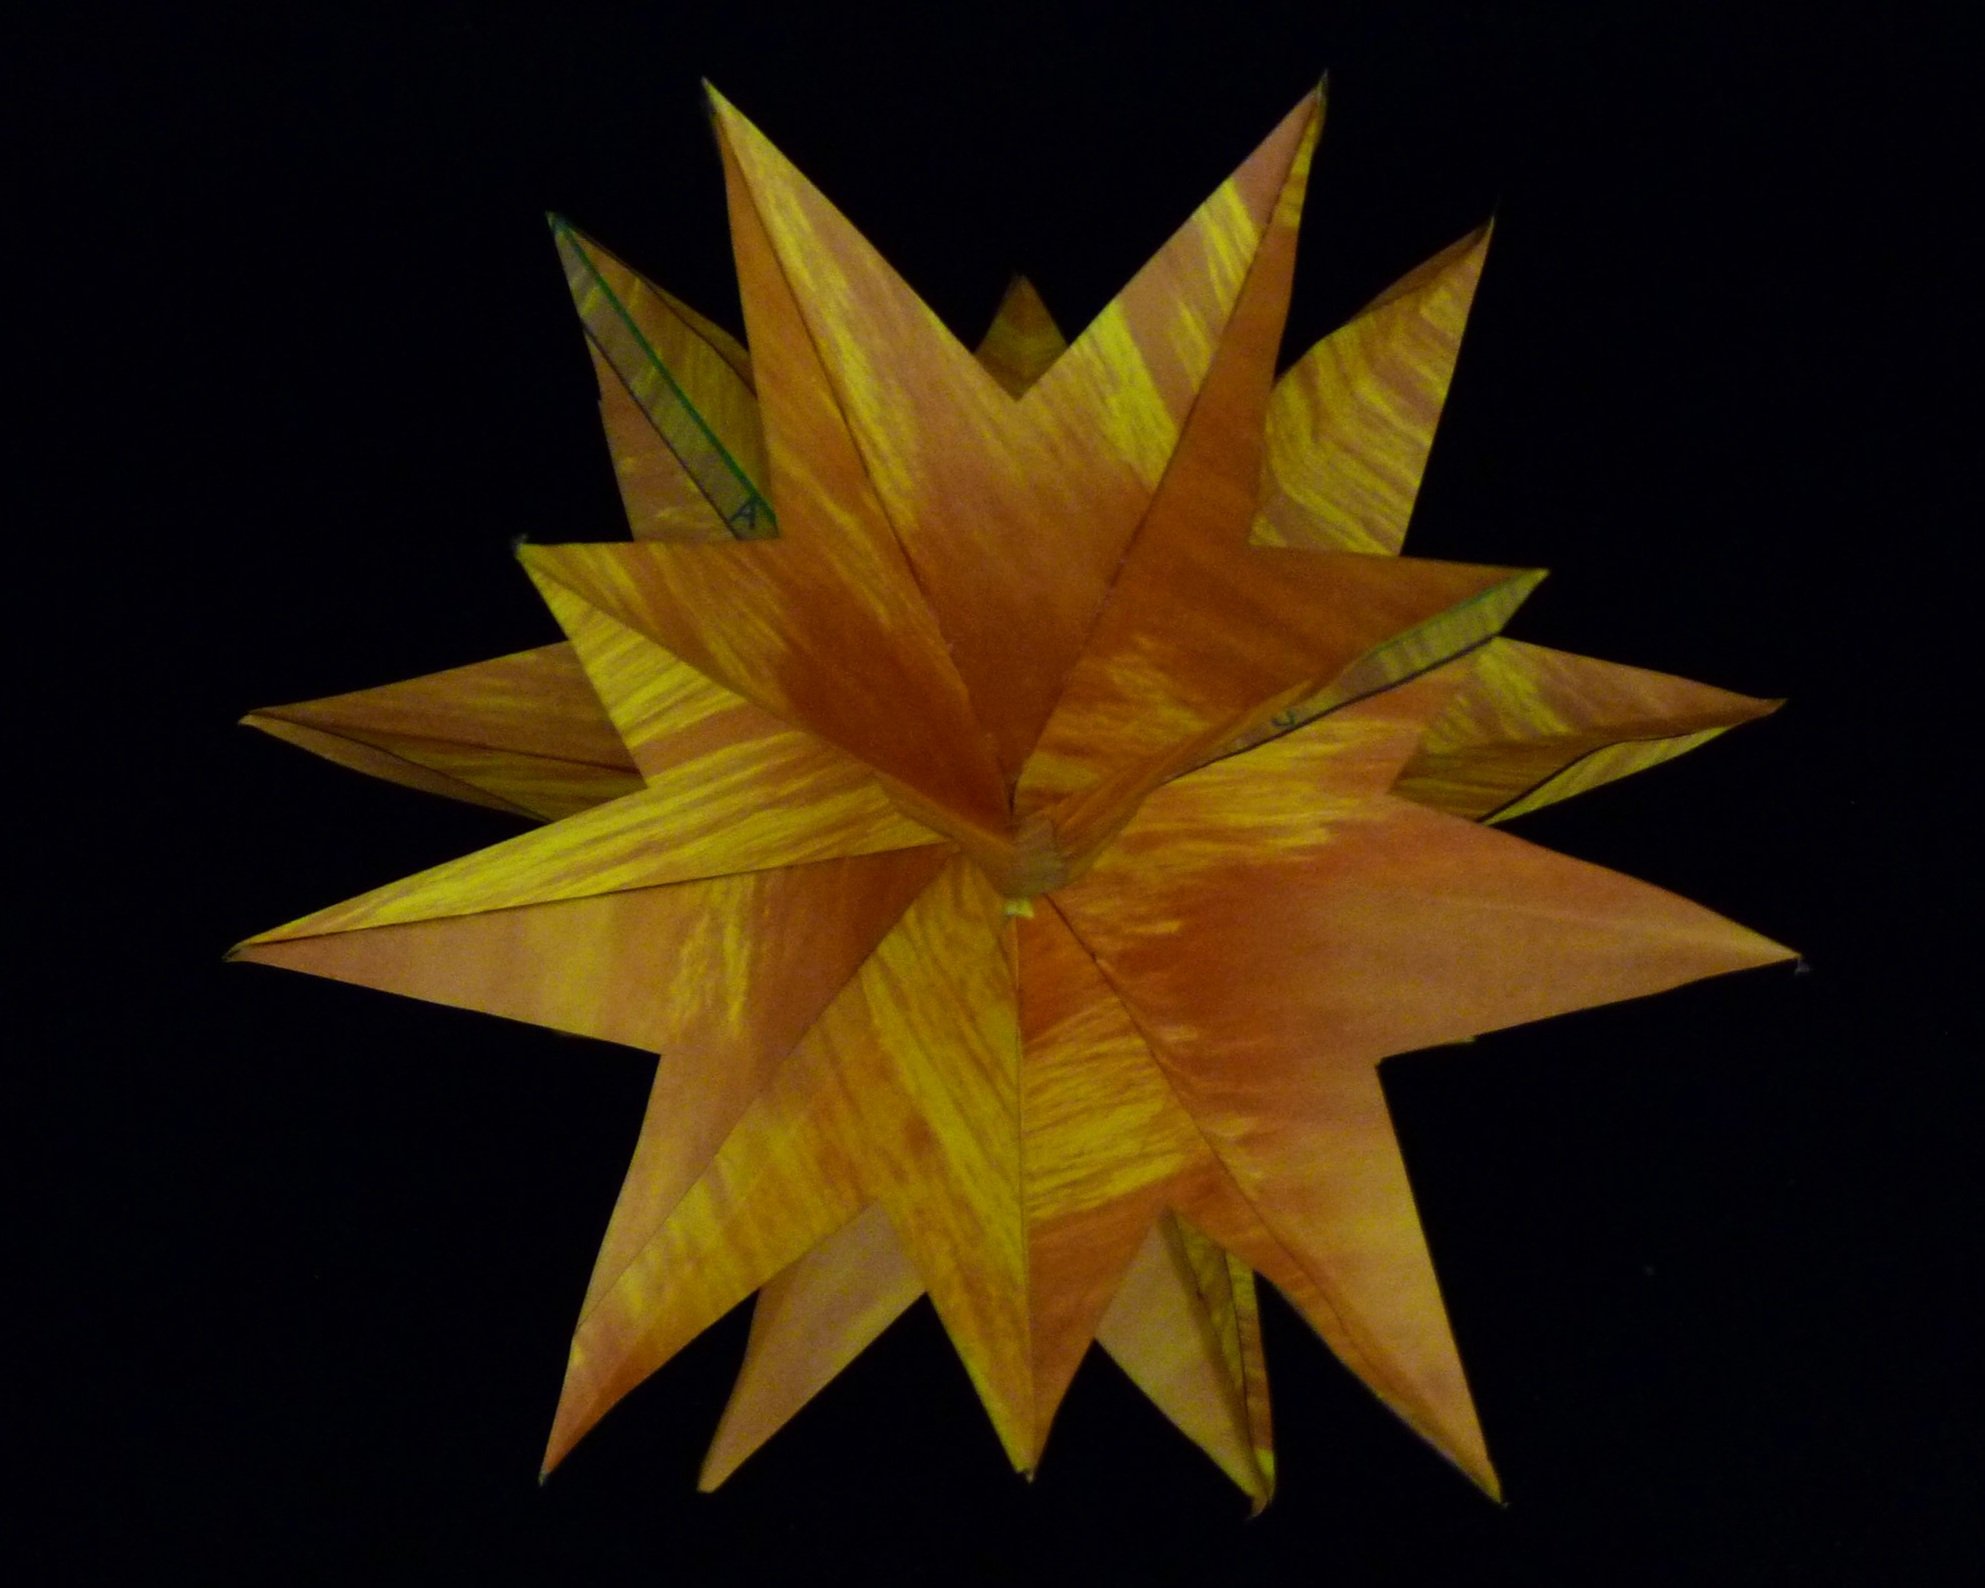
Photo 11. Completed Dodecahedron Star Burst - View 1

Photo 12. Completed Dodecahedron Star Burst - View 2
More Examples

Photo 13 . Second Completed Dodecahedron Star Burst - View 1

Photo 14. Second Completed Dodecahedron Star Burst - View 2
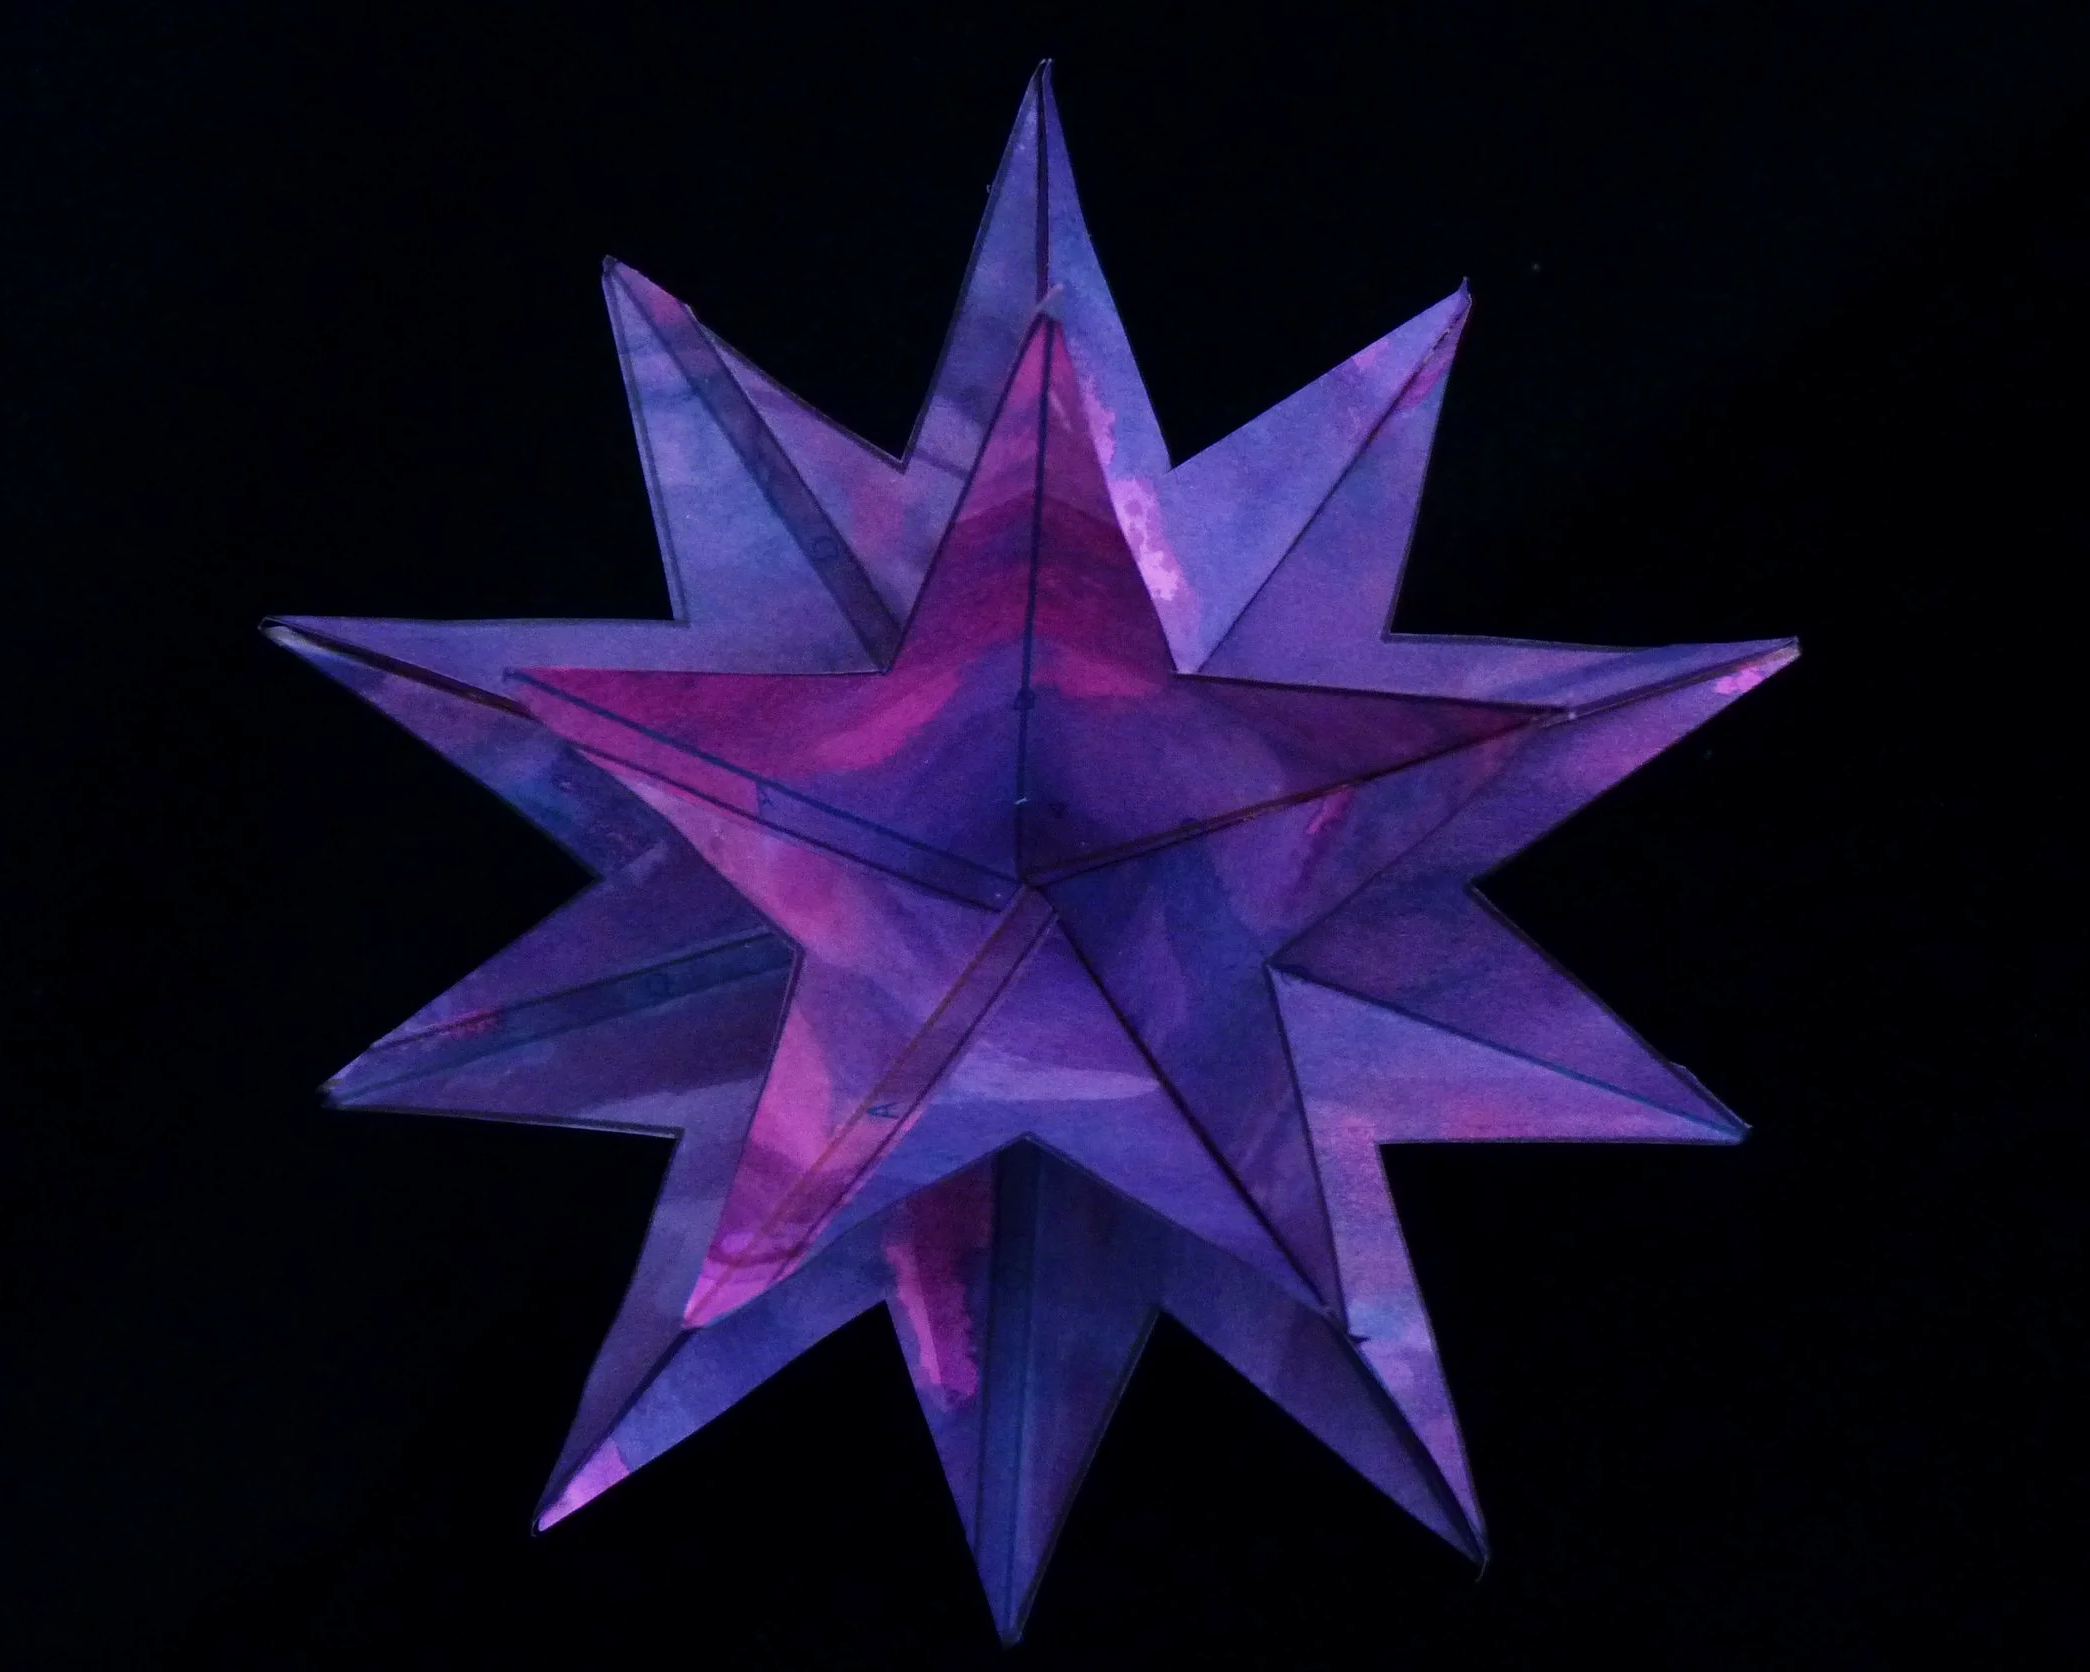
Photo 15. Third Completed Dodecahedron Star Burst - View 1
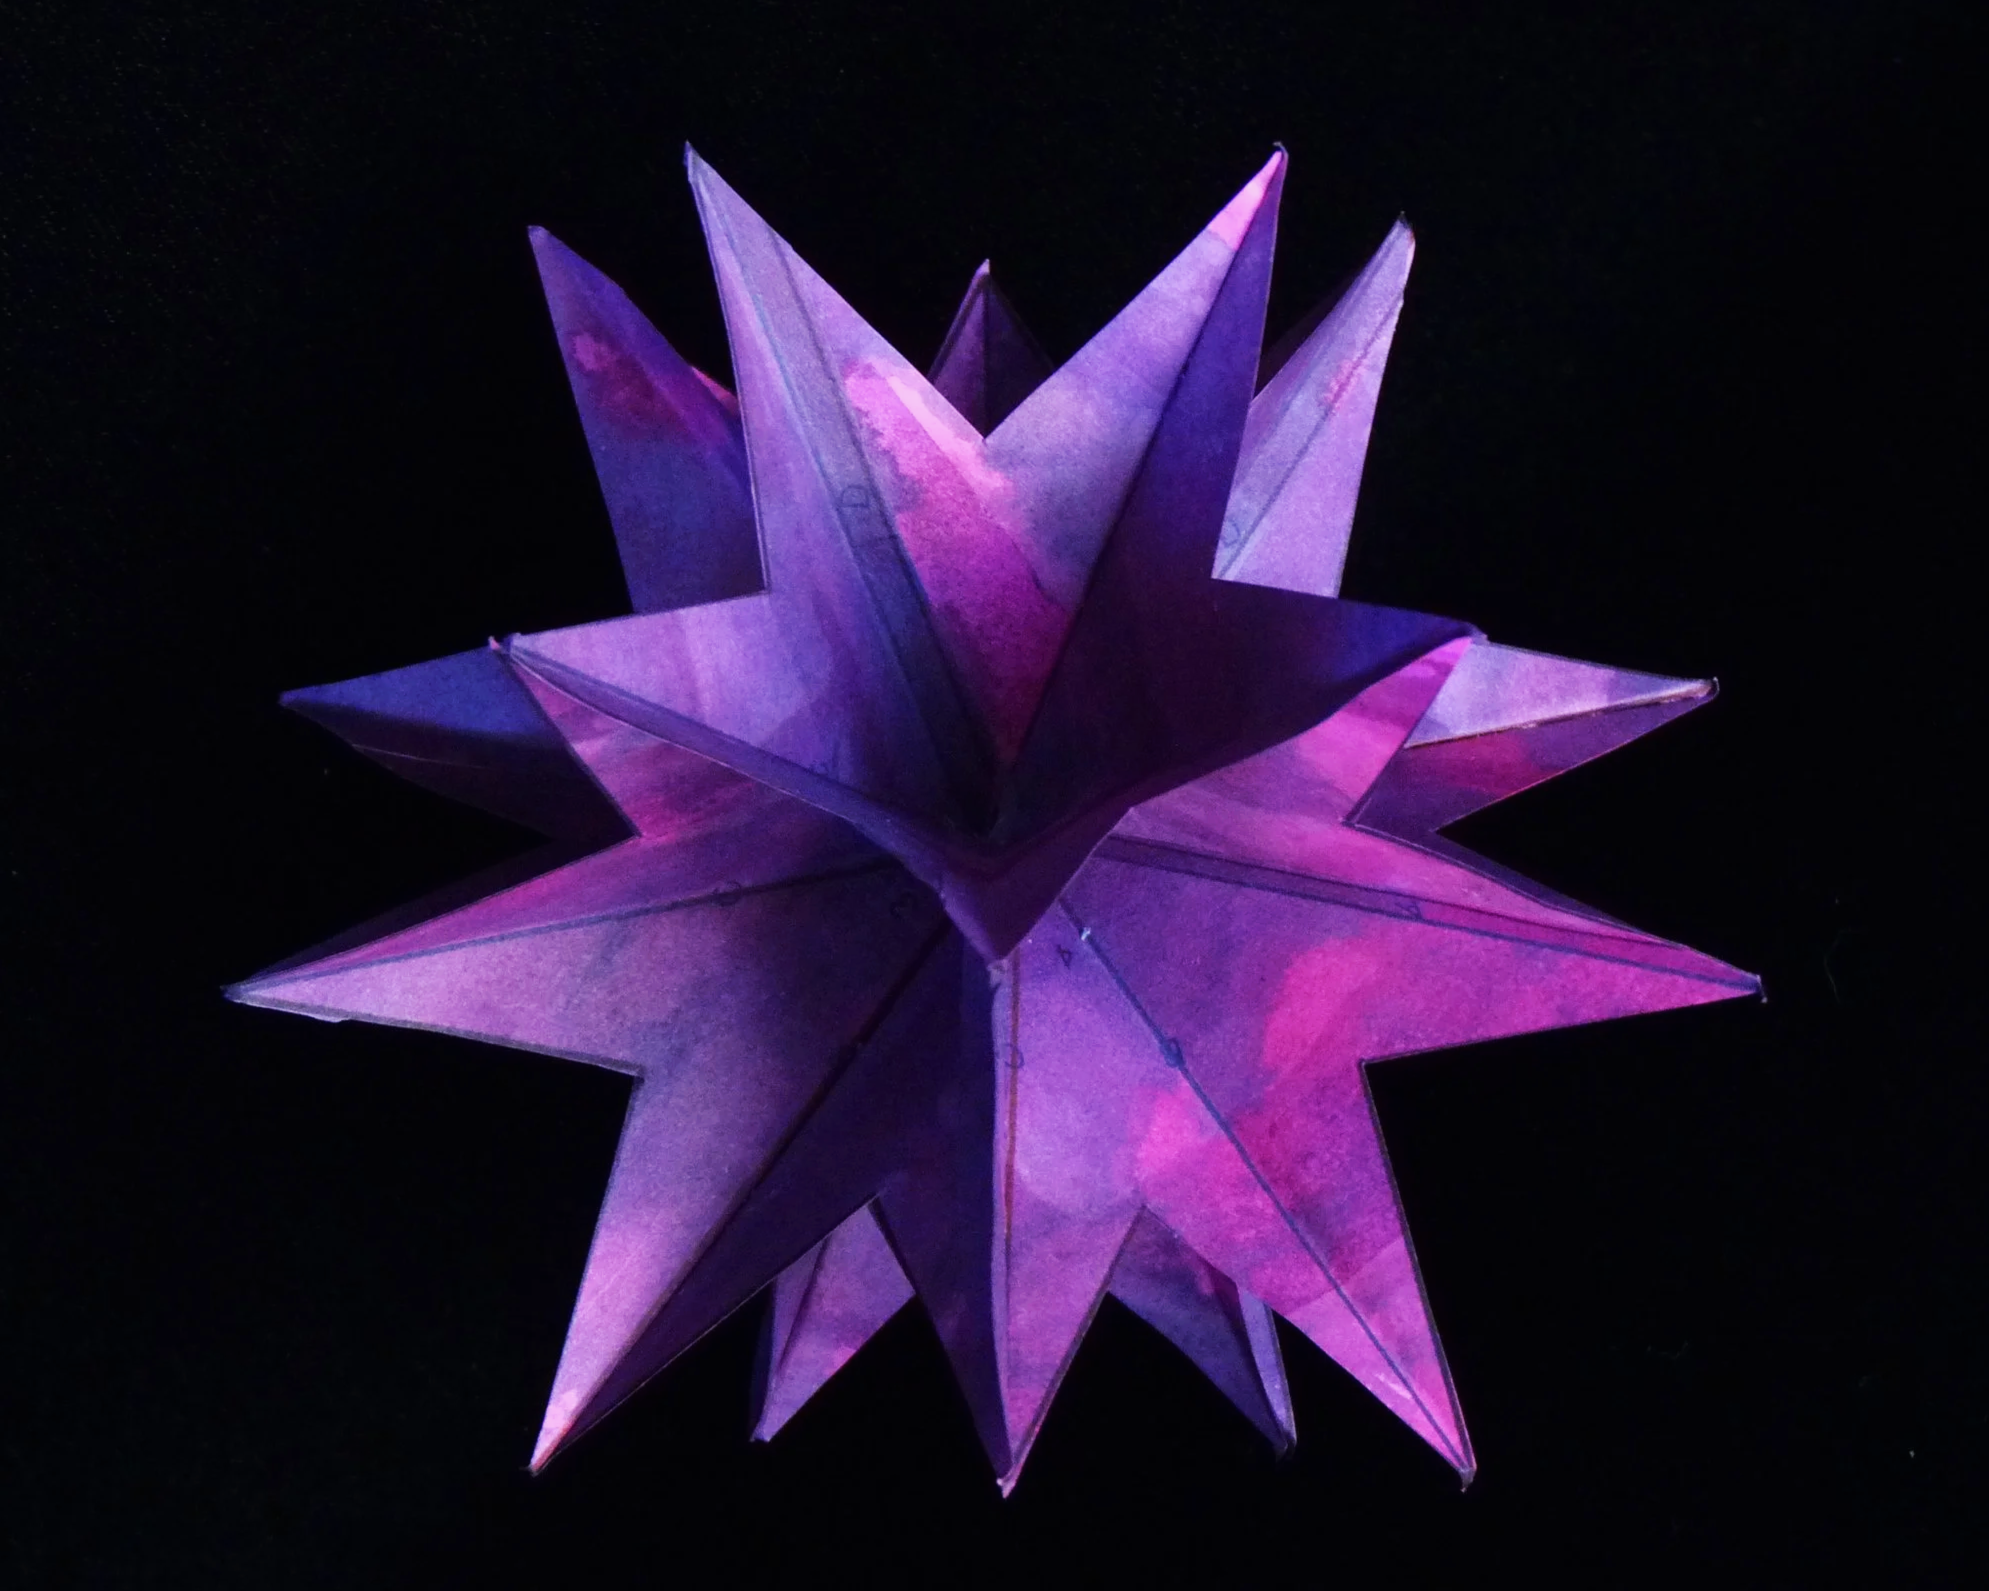
Photo 16. Third Completed Dodecahedron Star Burst - View 2
What makes this project work? It uses ten 3-sided pieces to trace the 30 edges of a dodecahedron.