loki
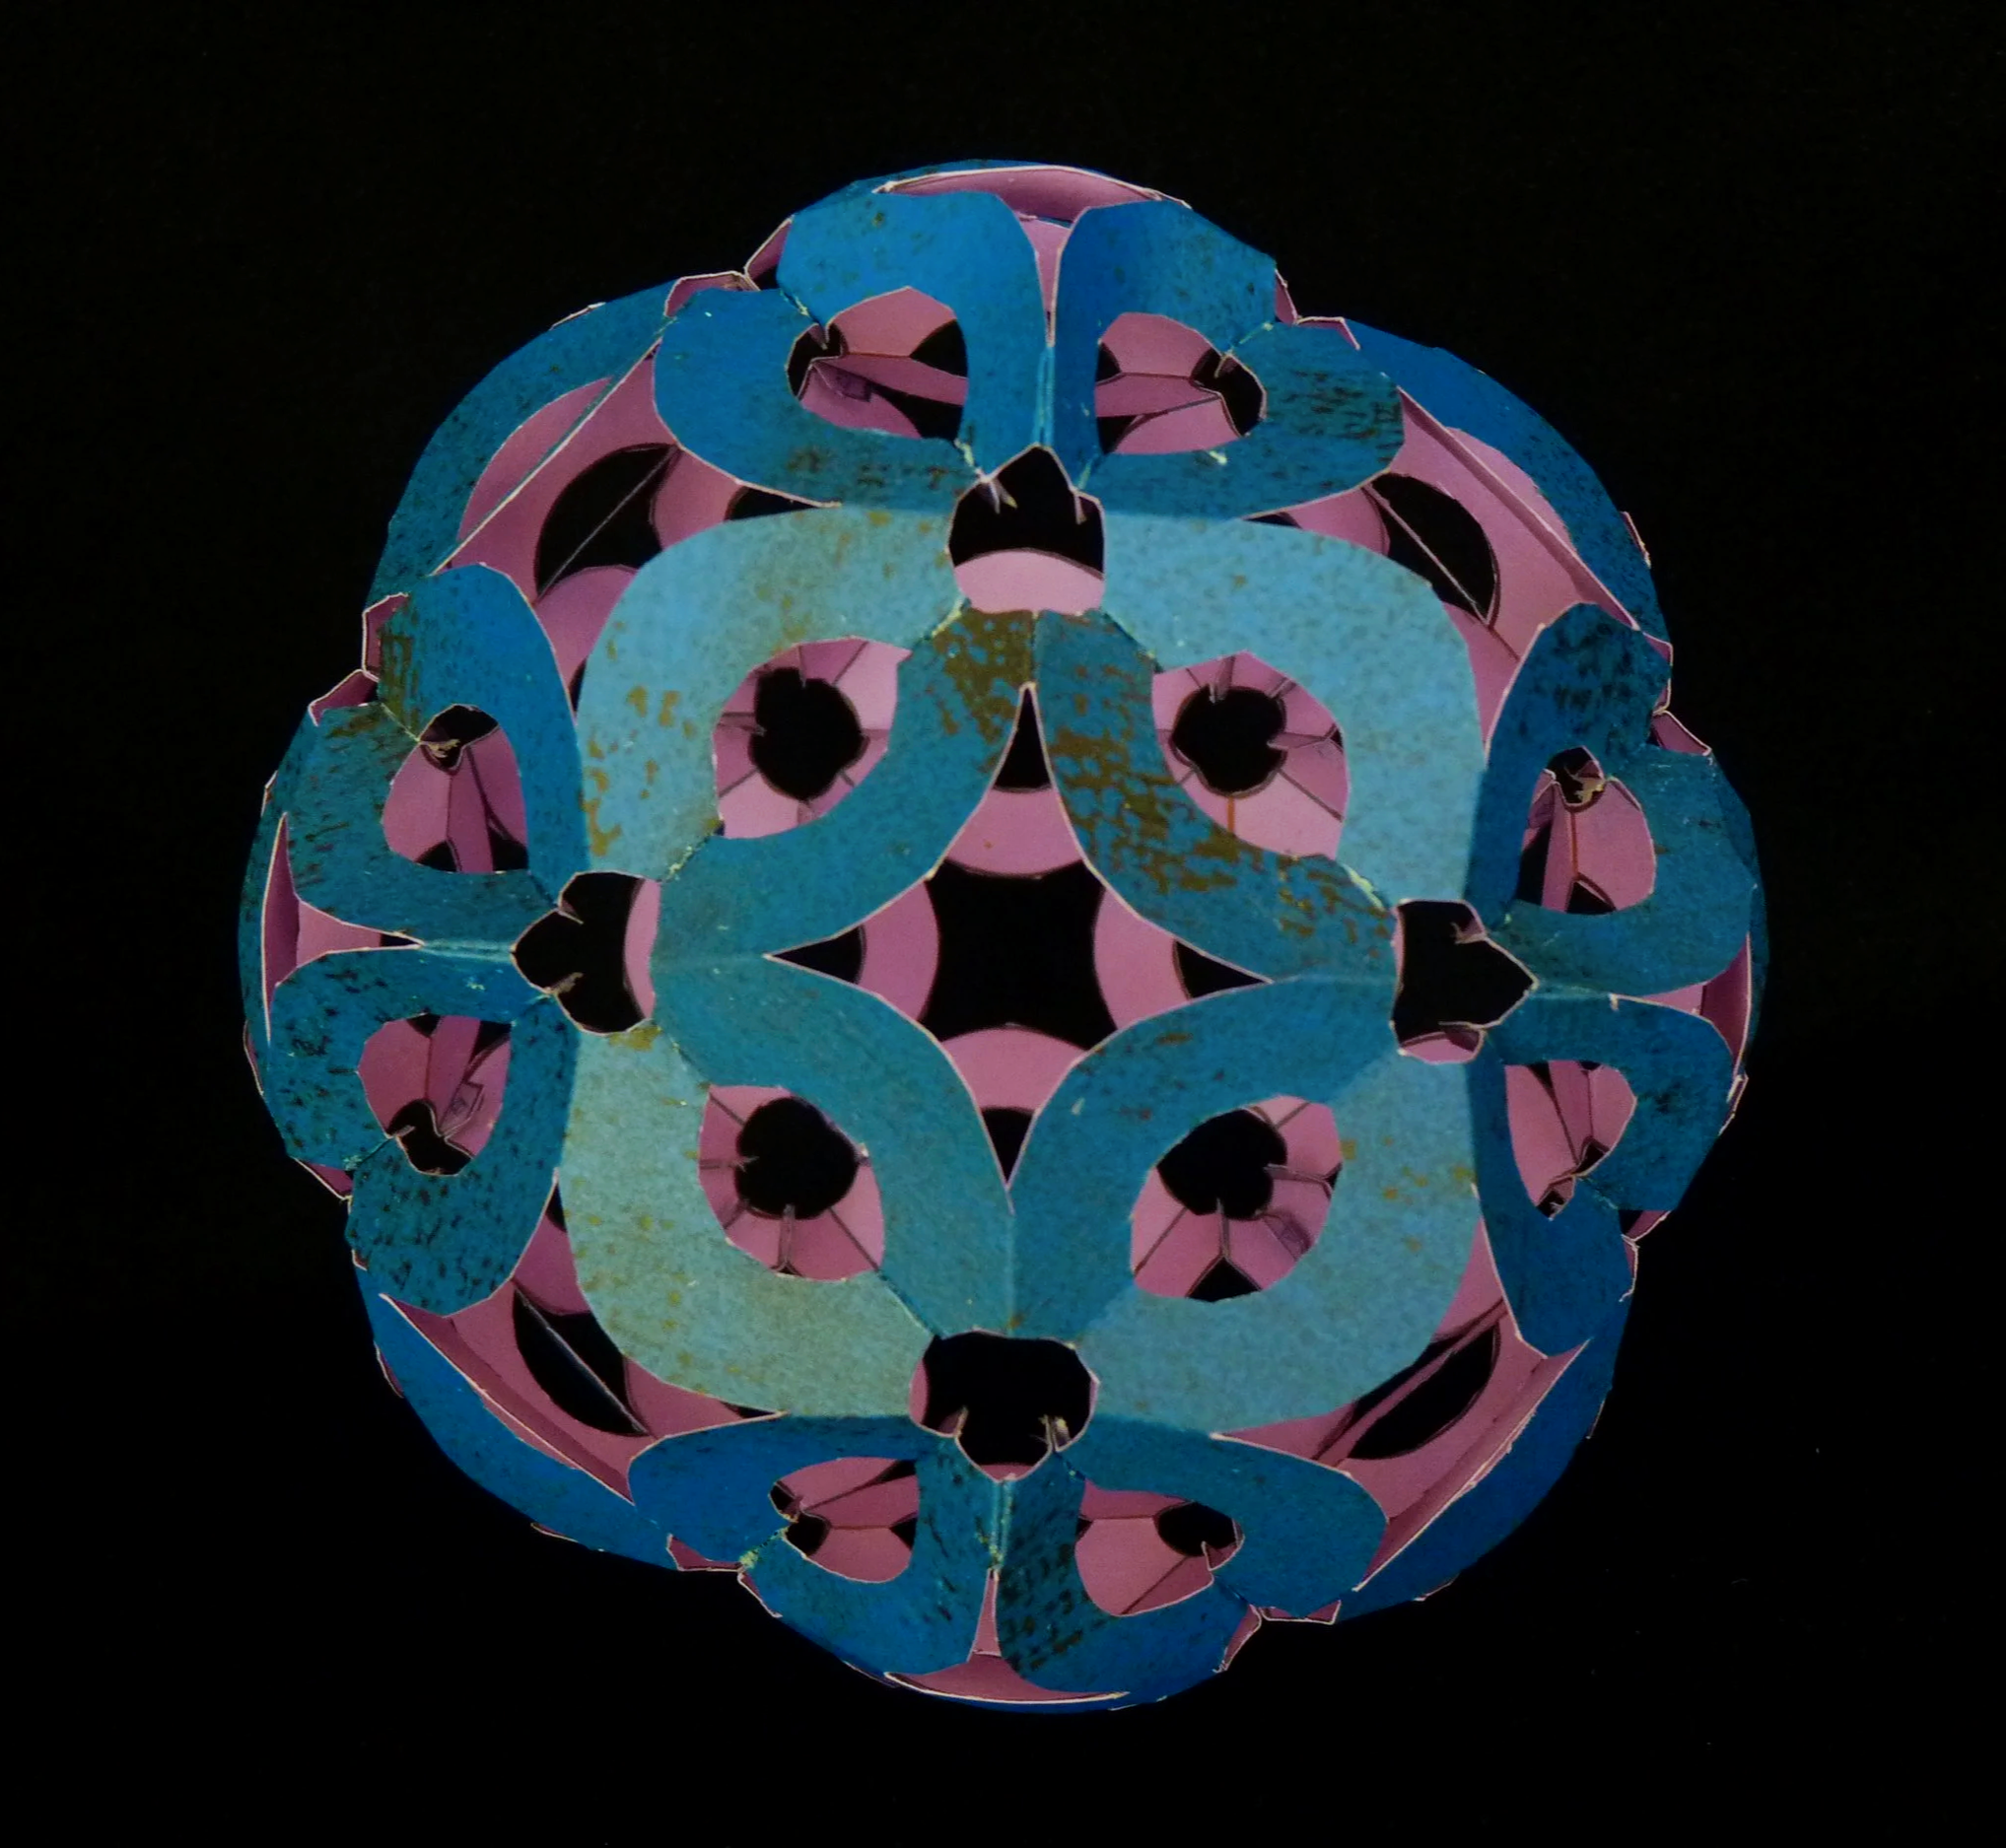
Looking for a little mischief ? You found it !
Project Info
Paper required: Three sheets 8 ½ x 11 inch (or A4)
Finished Project size: 5 inches (13 cm)
Difficulty Level: Intermediate
Click button below to get your free printable pattern !
Click button below to get your free printable pattern !
INSTRUCTIONS
STEP 1
Print the Loki pattern onto the three matching paper sheets of your choice. Both sides of the paper will be visible, so try paper that is a different color on each side.
Read the pattern key included in the General Instructions.
Step 2
Cut out the eight parts by cutting on all black lines. Fold the red lines on the ends of the ovals as mountain folds, then cut out the ovals while folded.
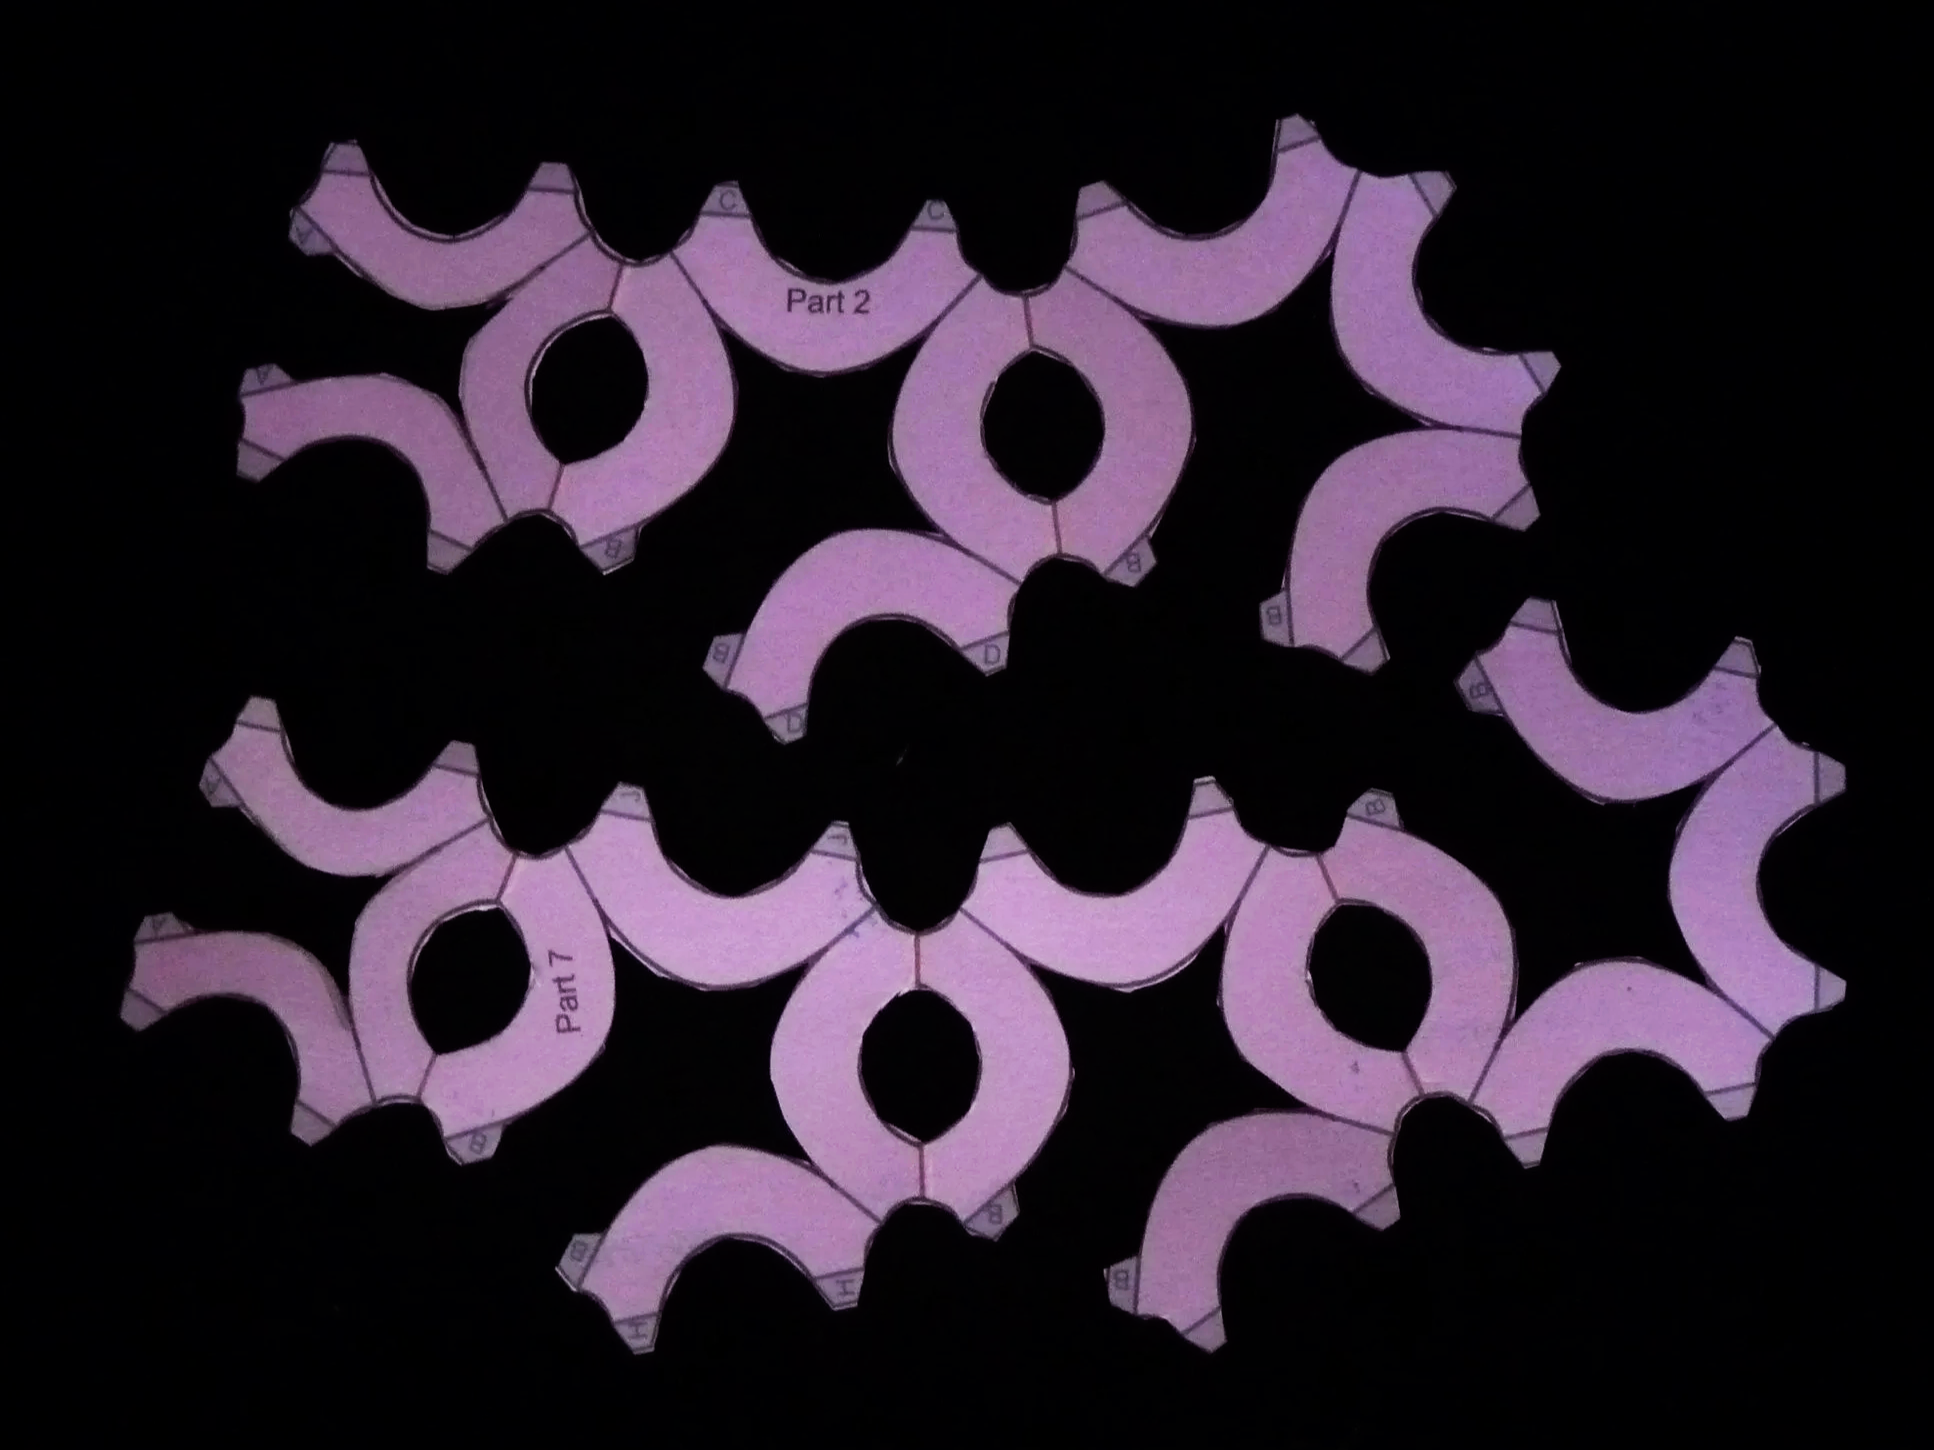
Photo 1. Inside of Two Parts after Step 2
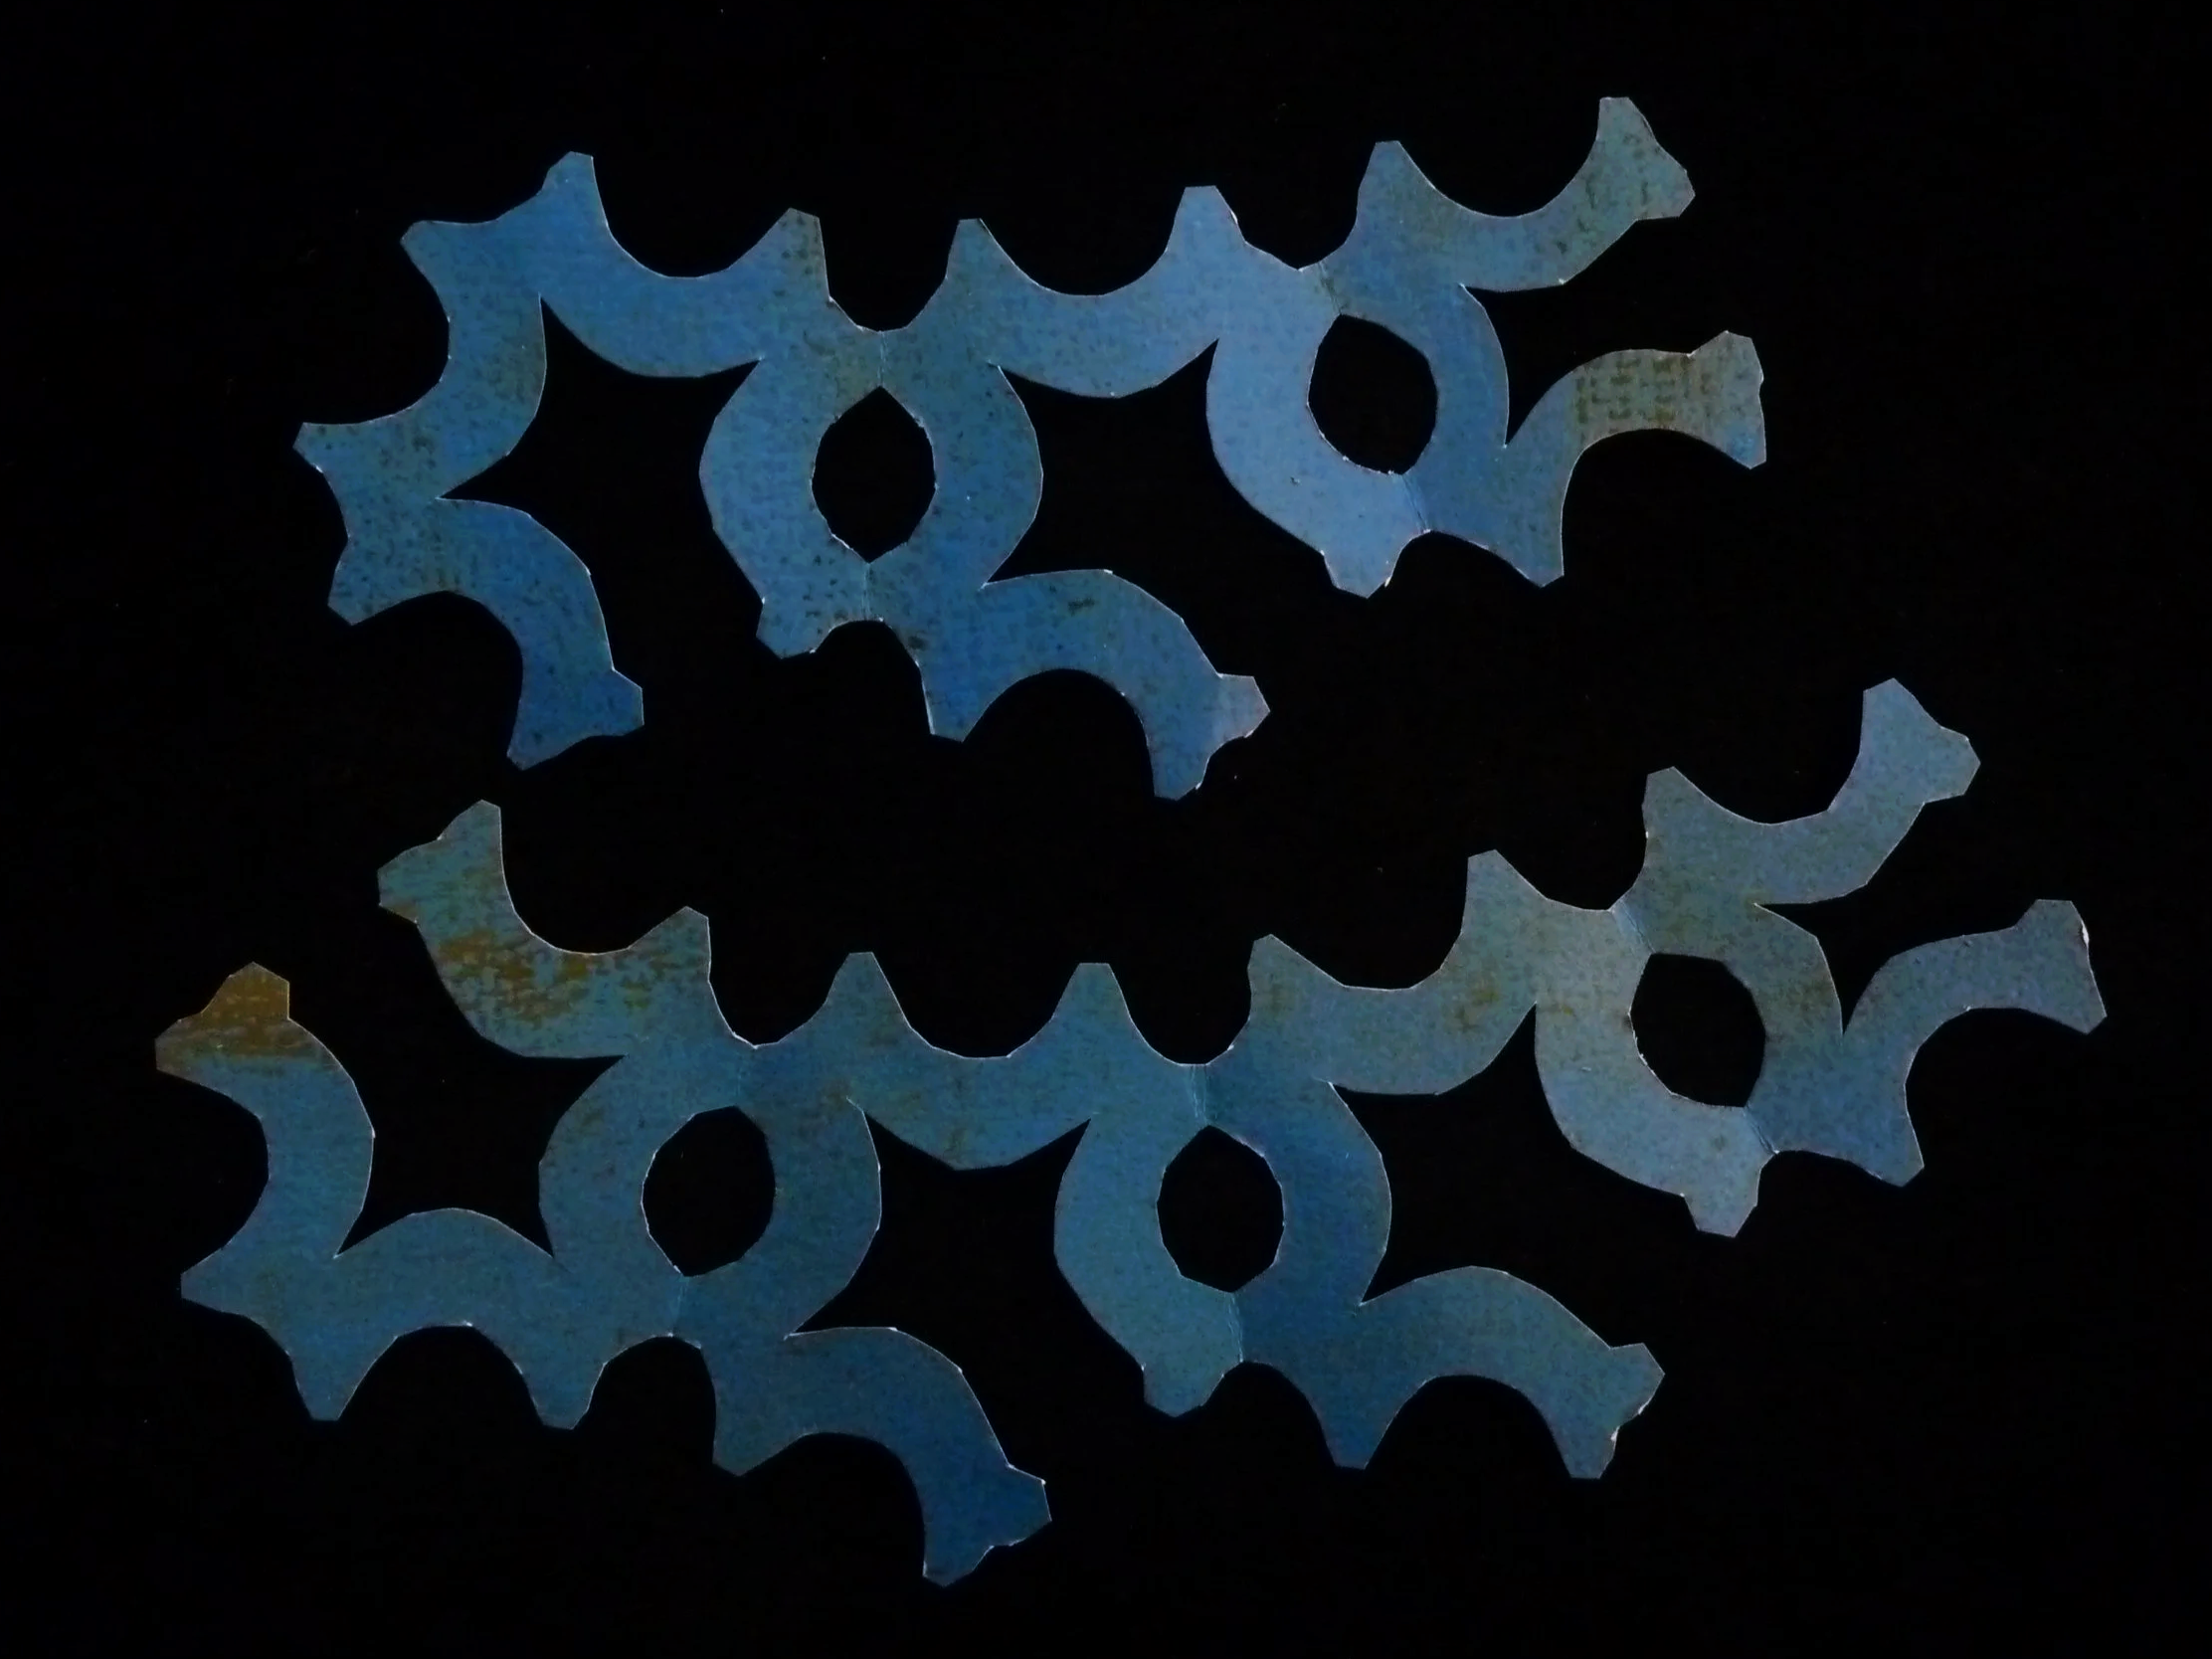
Photo 2. Outside of Two Parts after Step 2
STEP 3
On all eight parts, fold green lines as valley folds. Glue each Flap A to the adjacent Flap A and each Flap B to the adjacent Flap B.
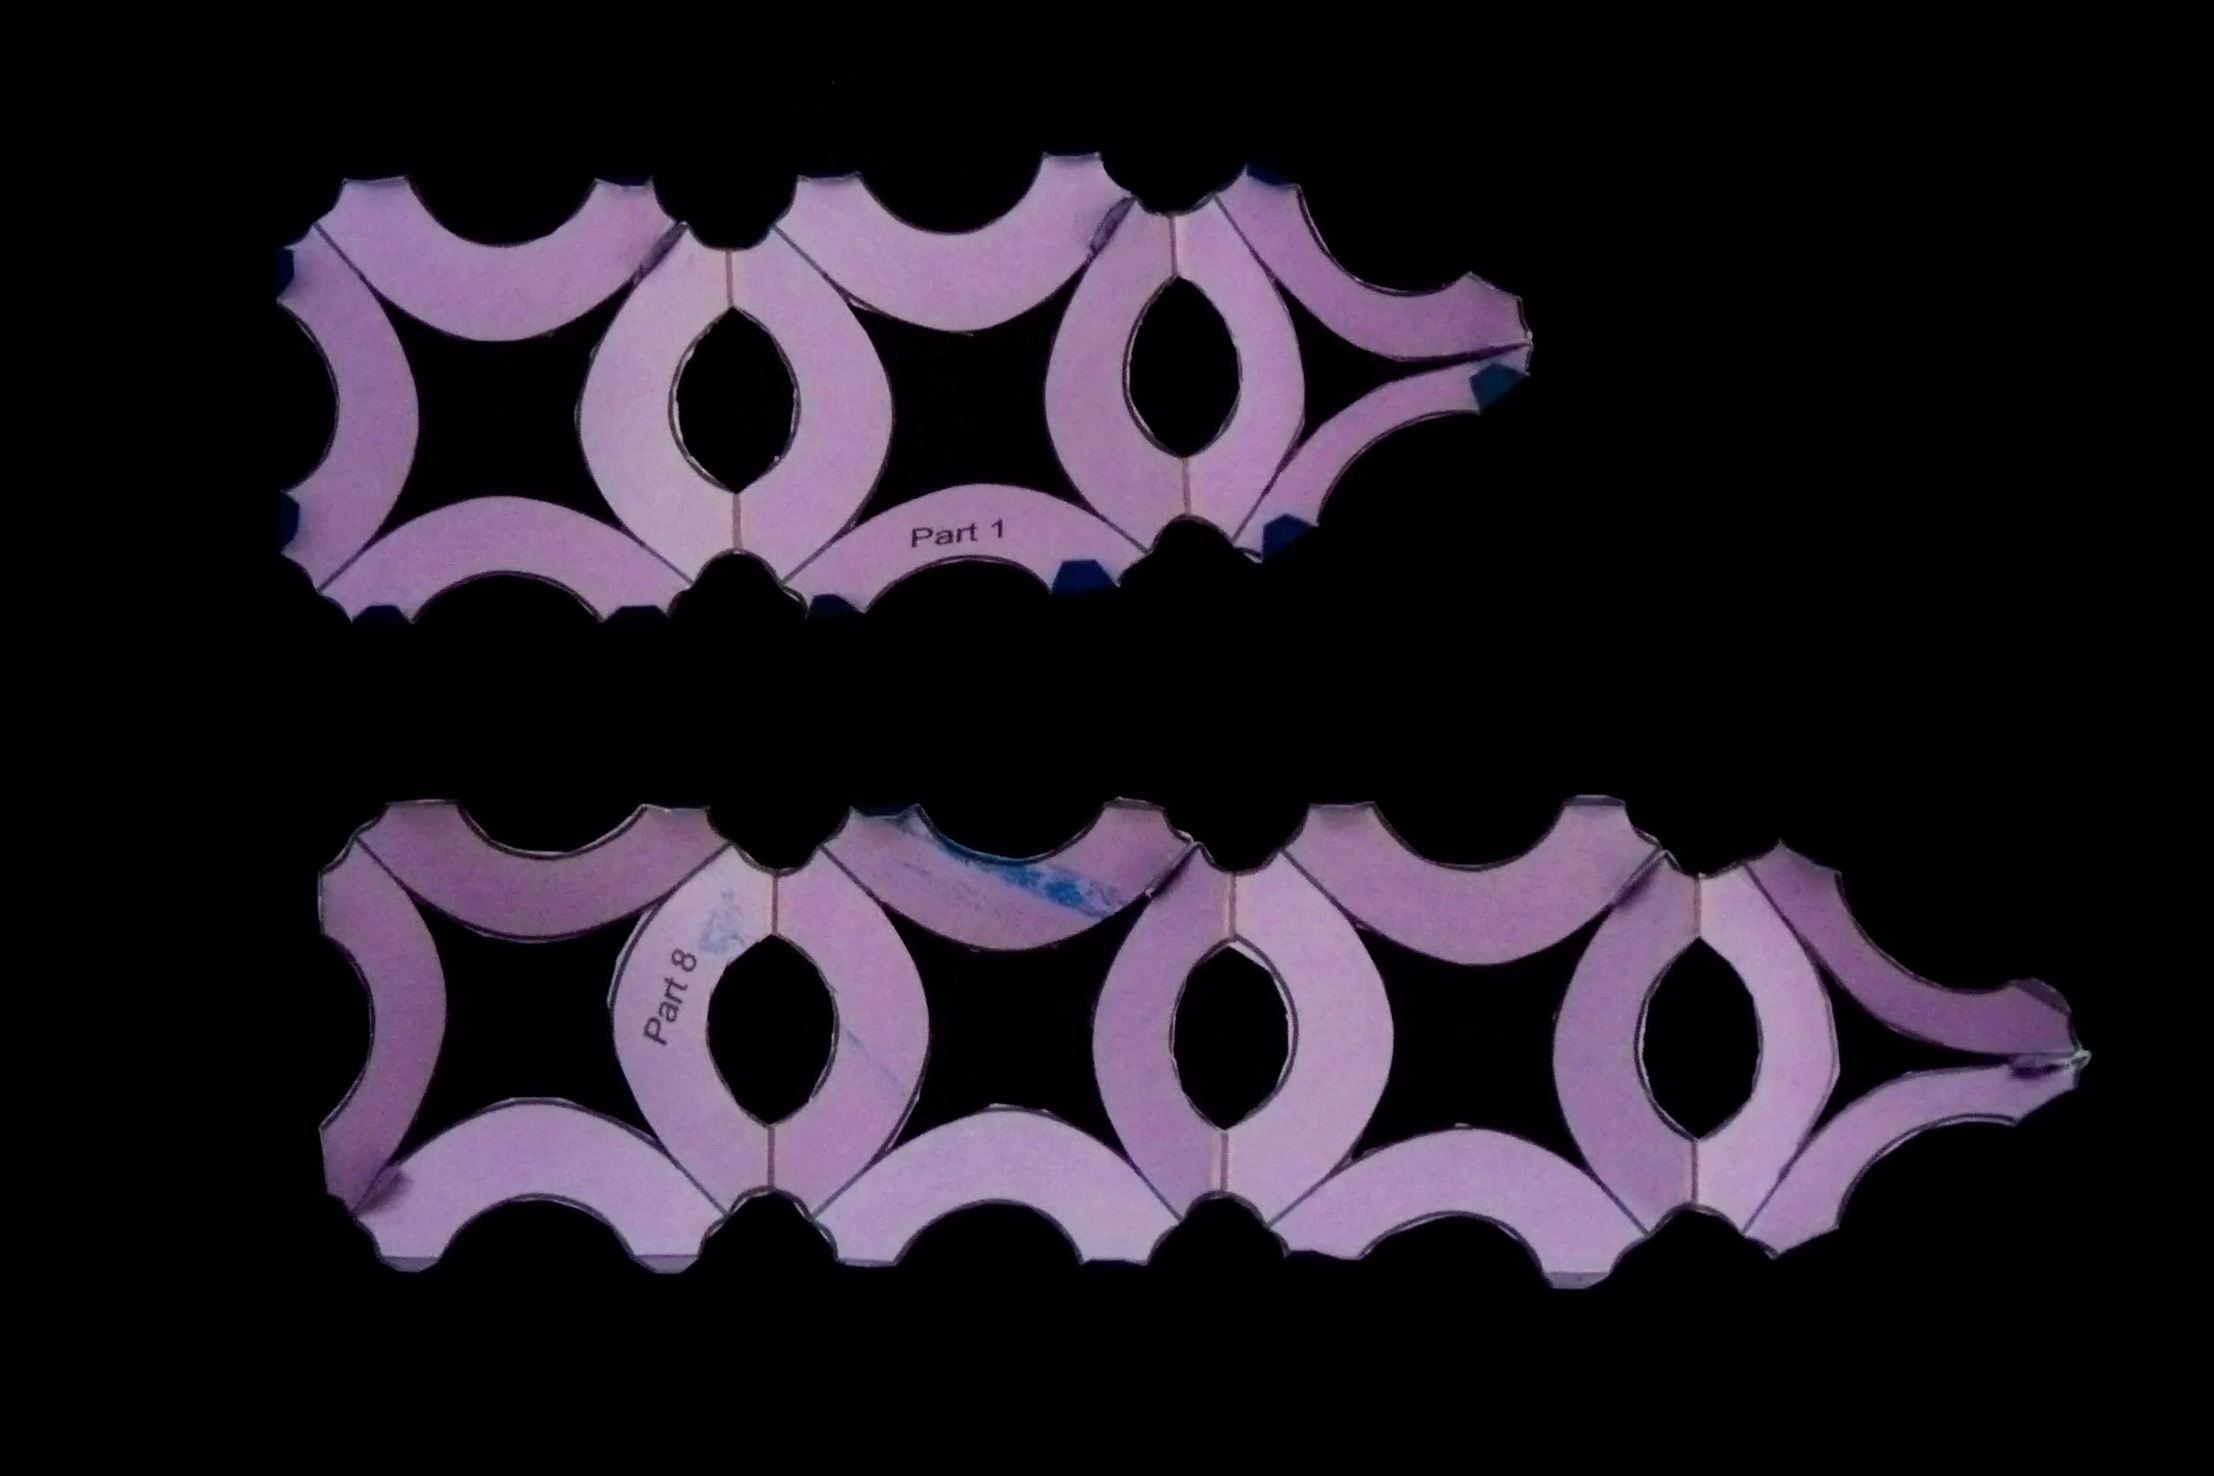
Photo 3. Inside of Two Parts after Step 3
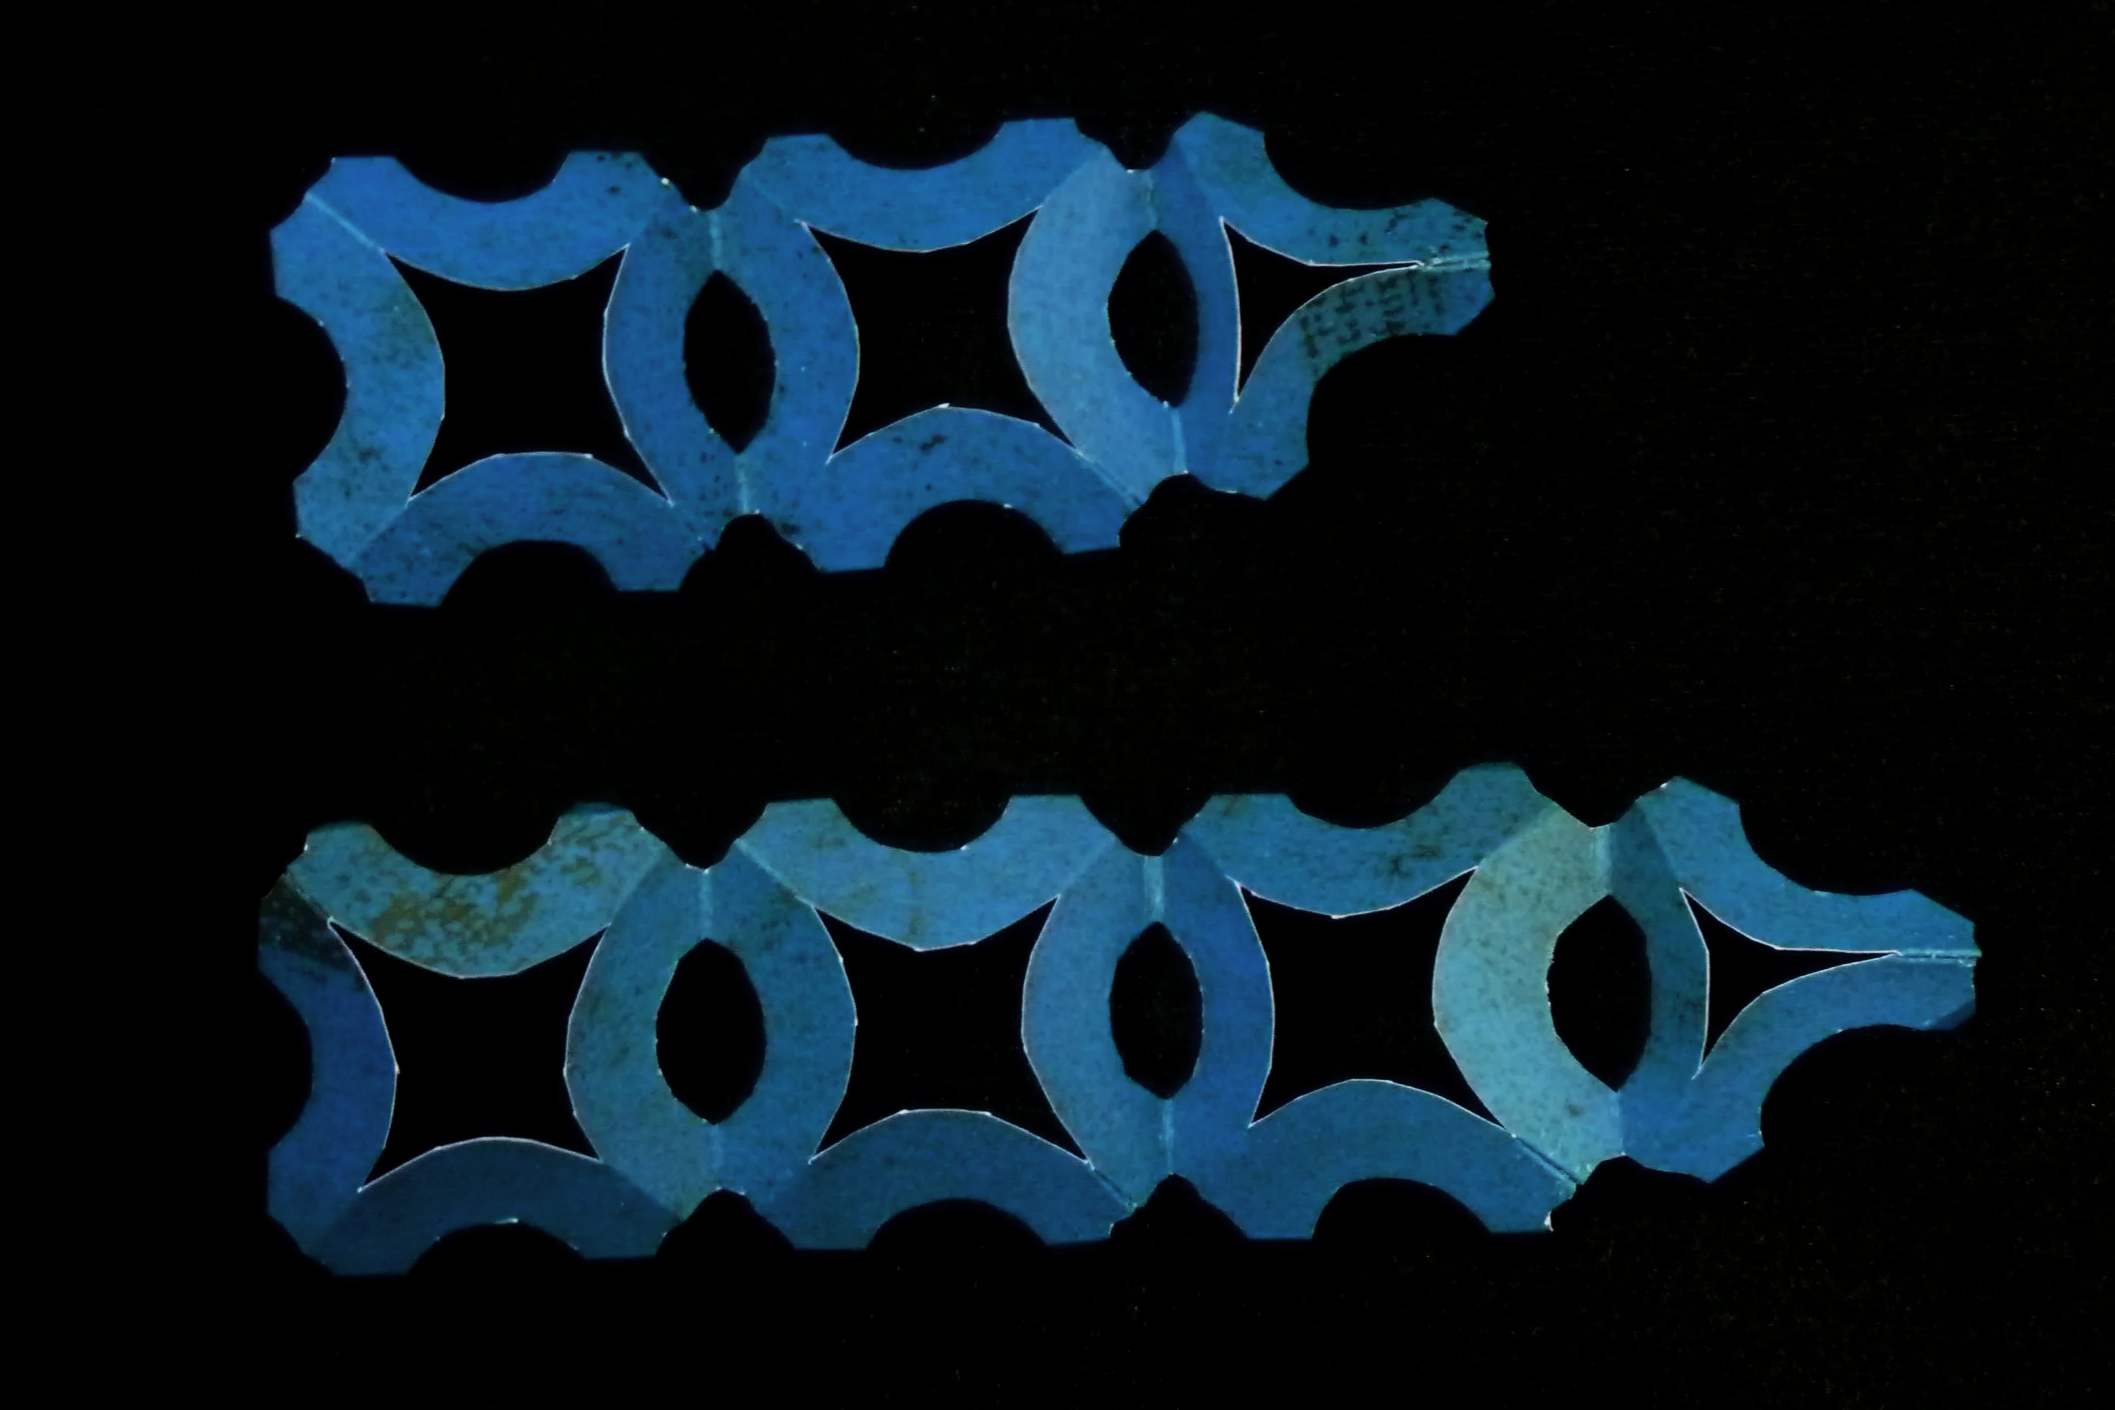
Photo 4. Outside of Two Parts after Step 3
Step 4
Connect Part 7 to Part 8. Start by gluing together the pair of Flap J’s on each part. Next glue together the other two pairs of glue flaps in this line to fully connect the parts.
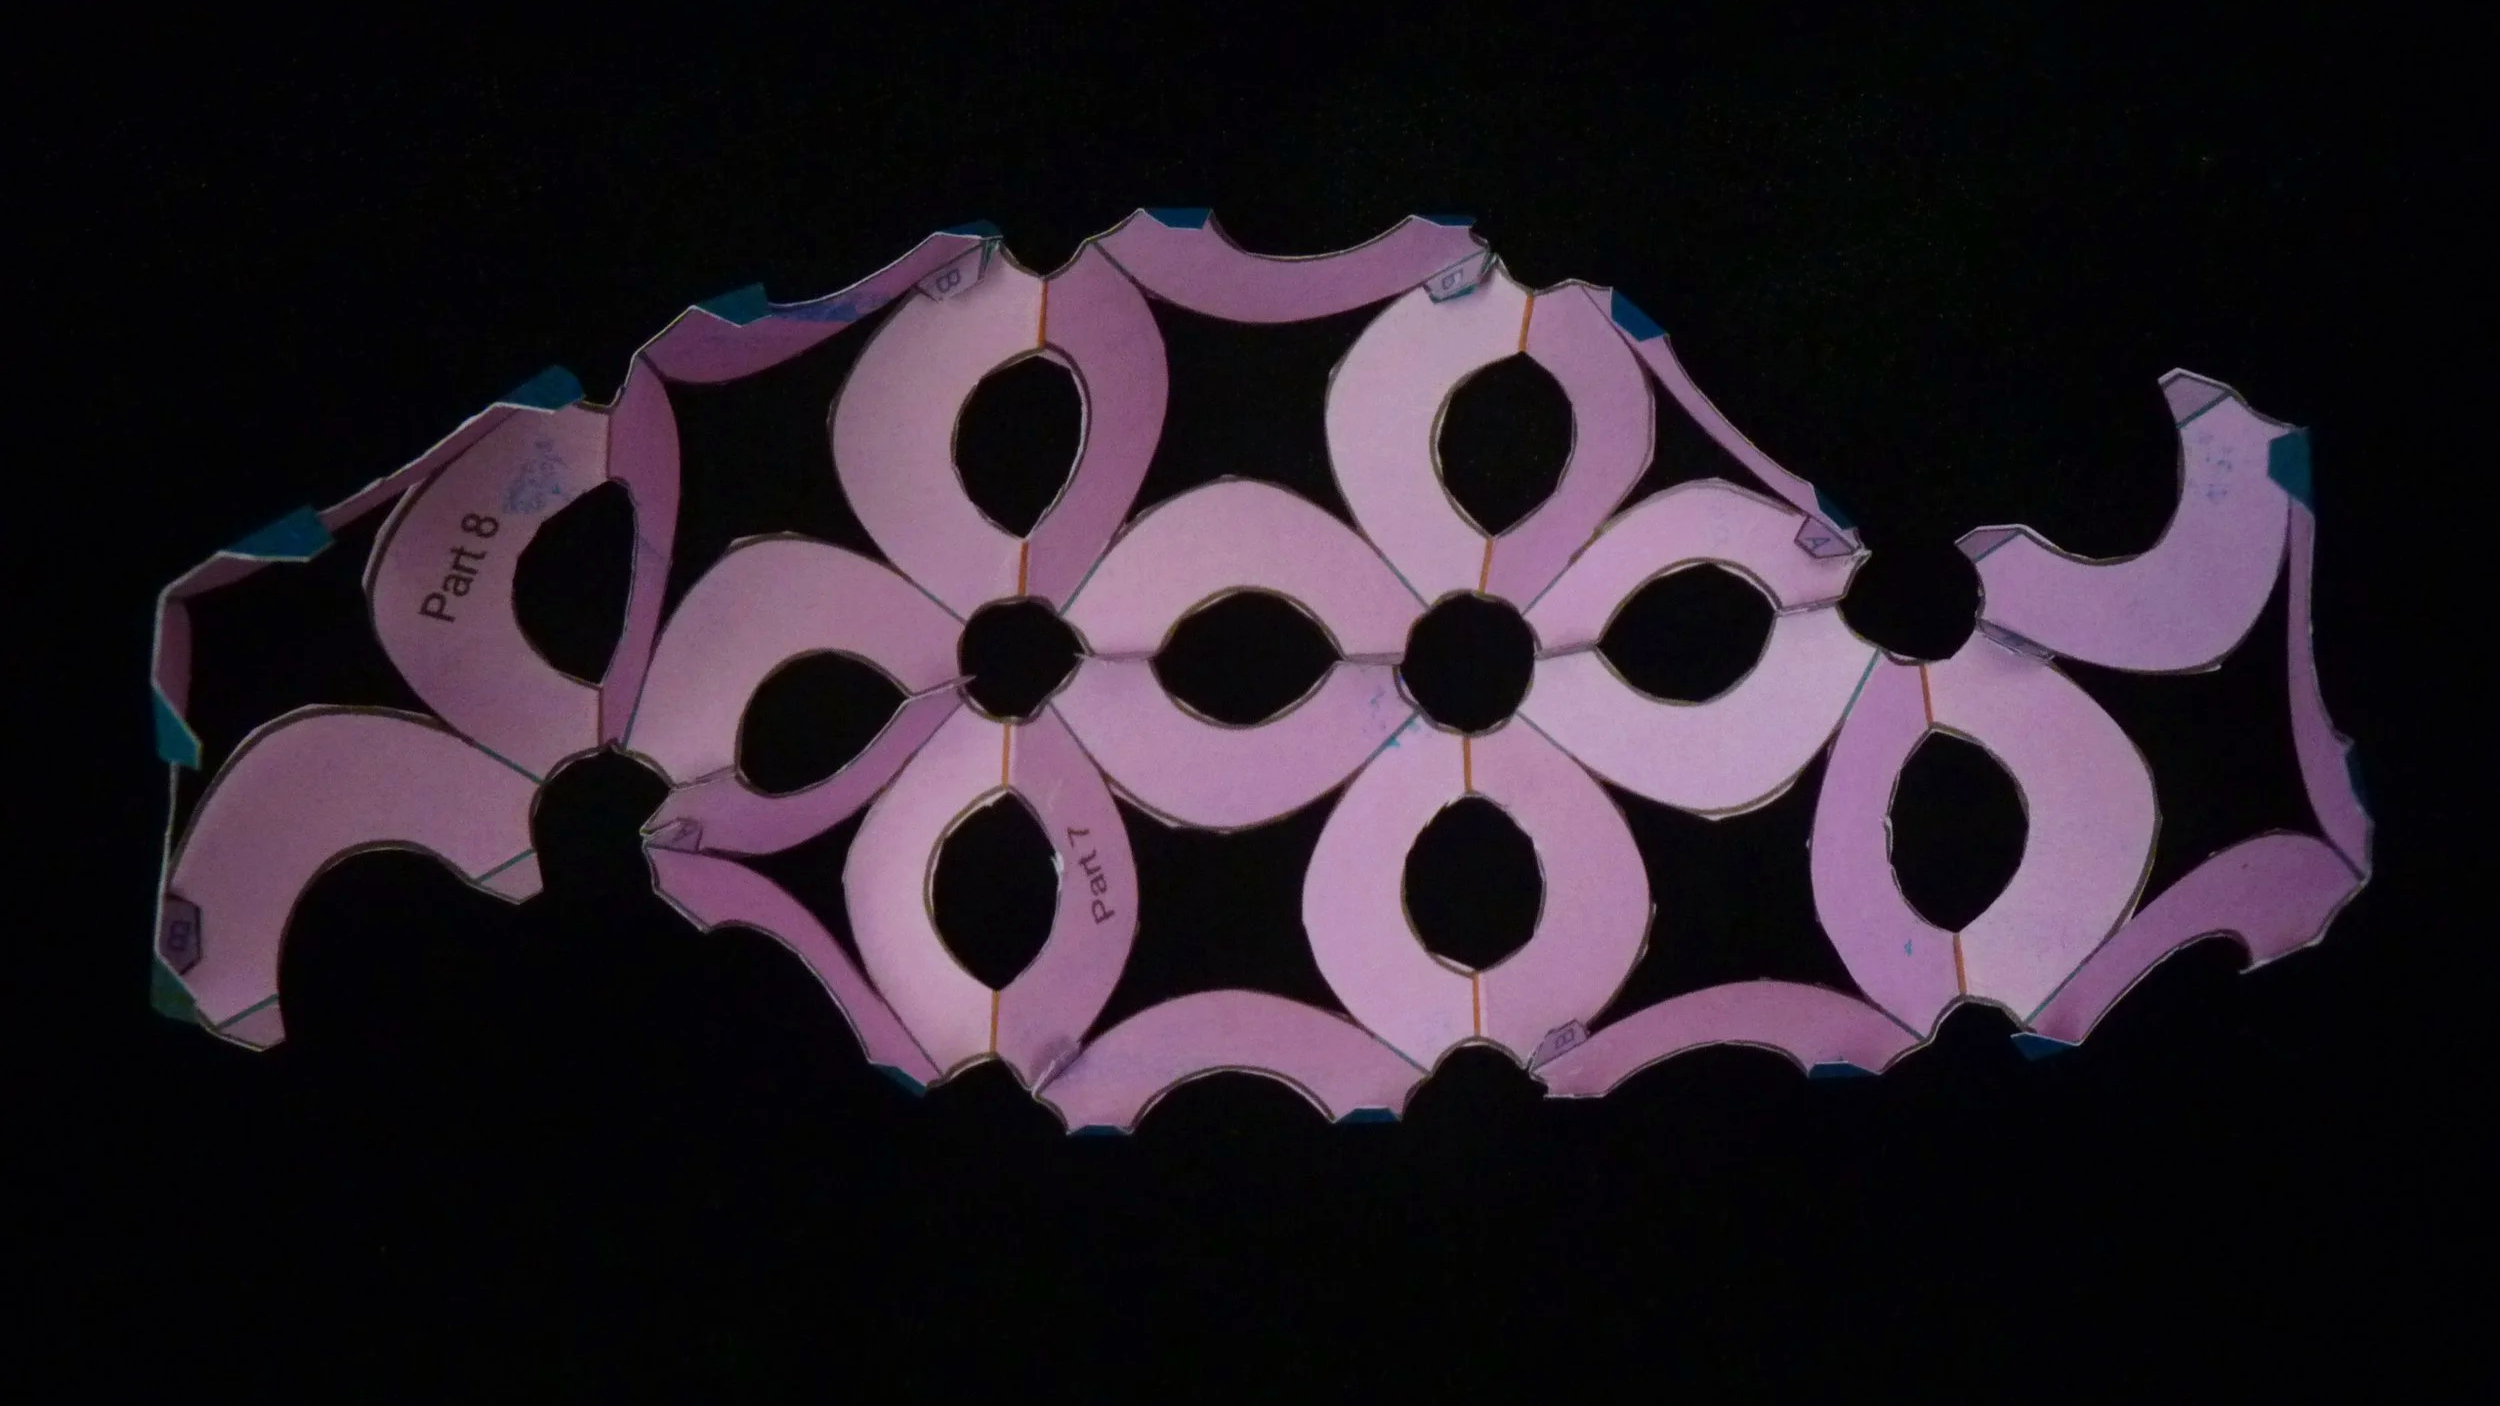
Photo 5. Inside of Project after Step 4
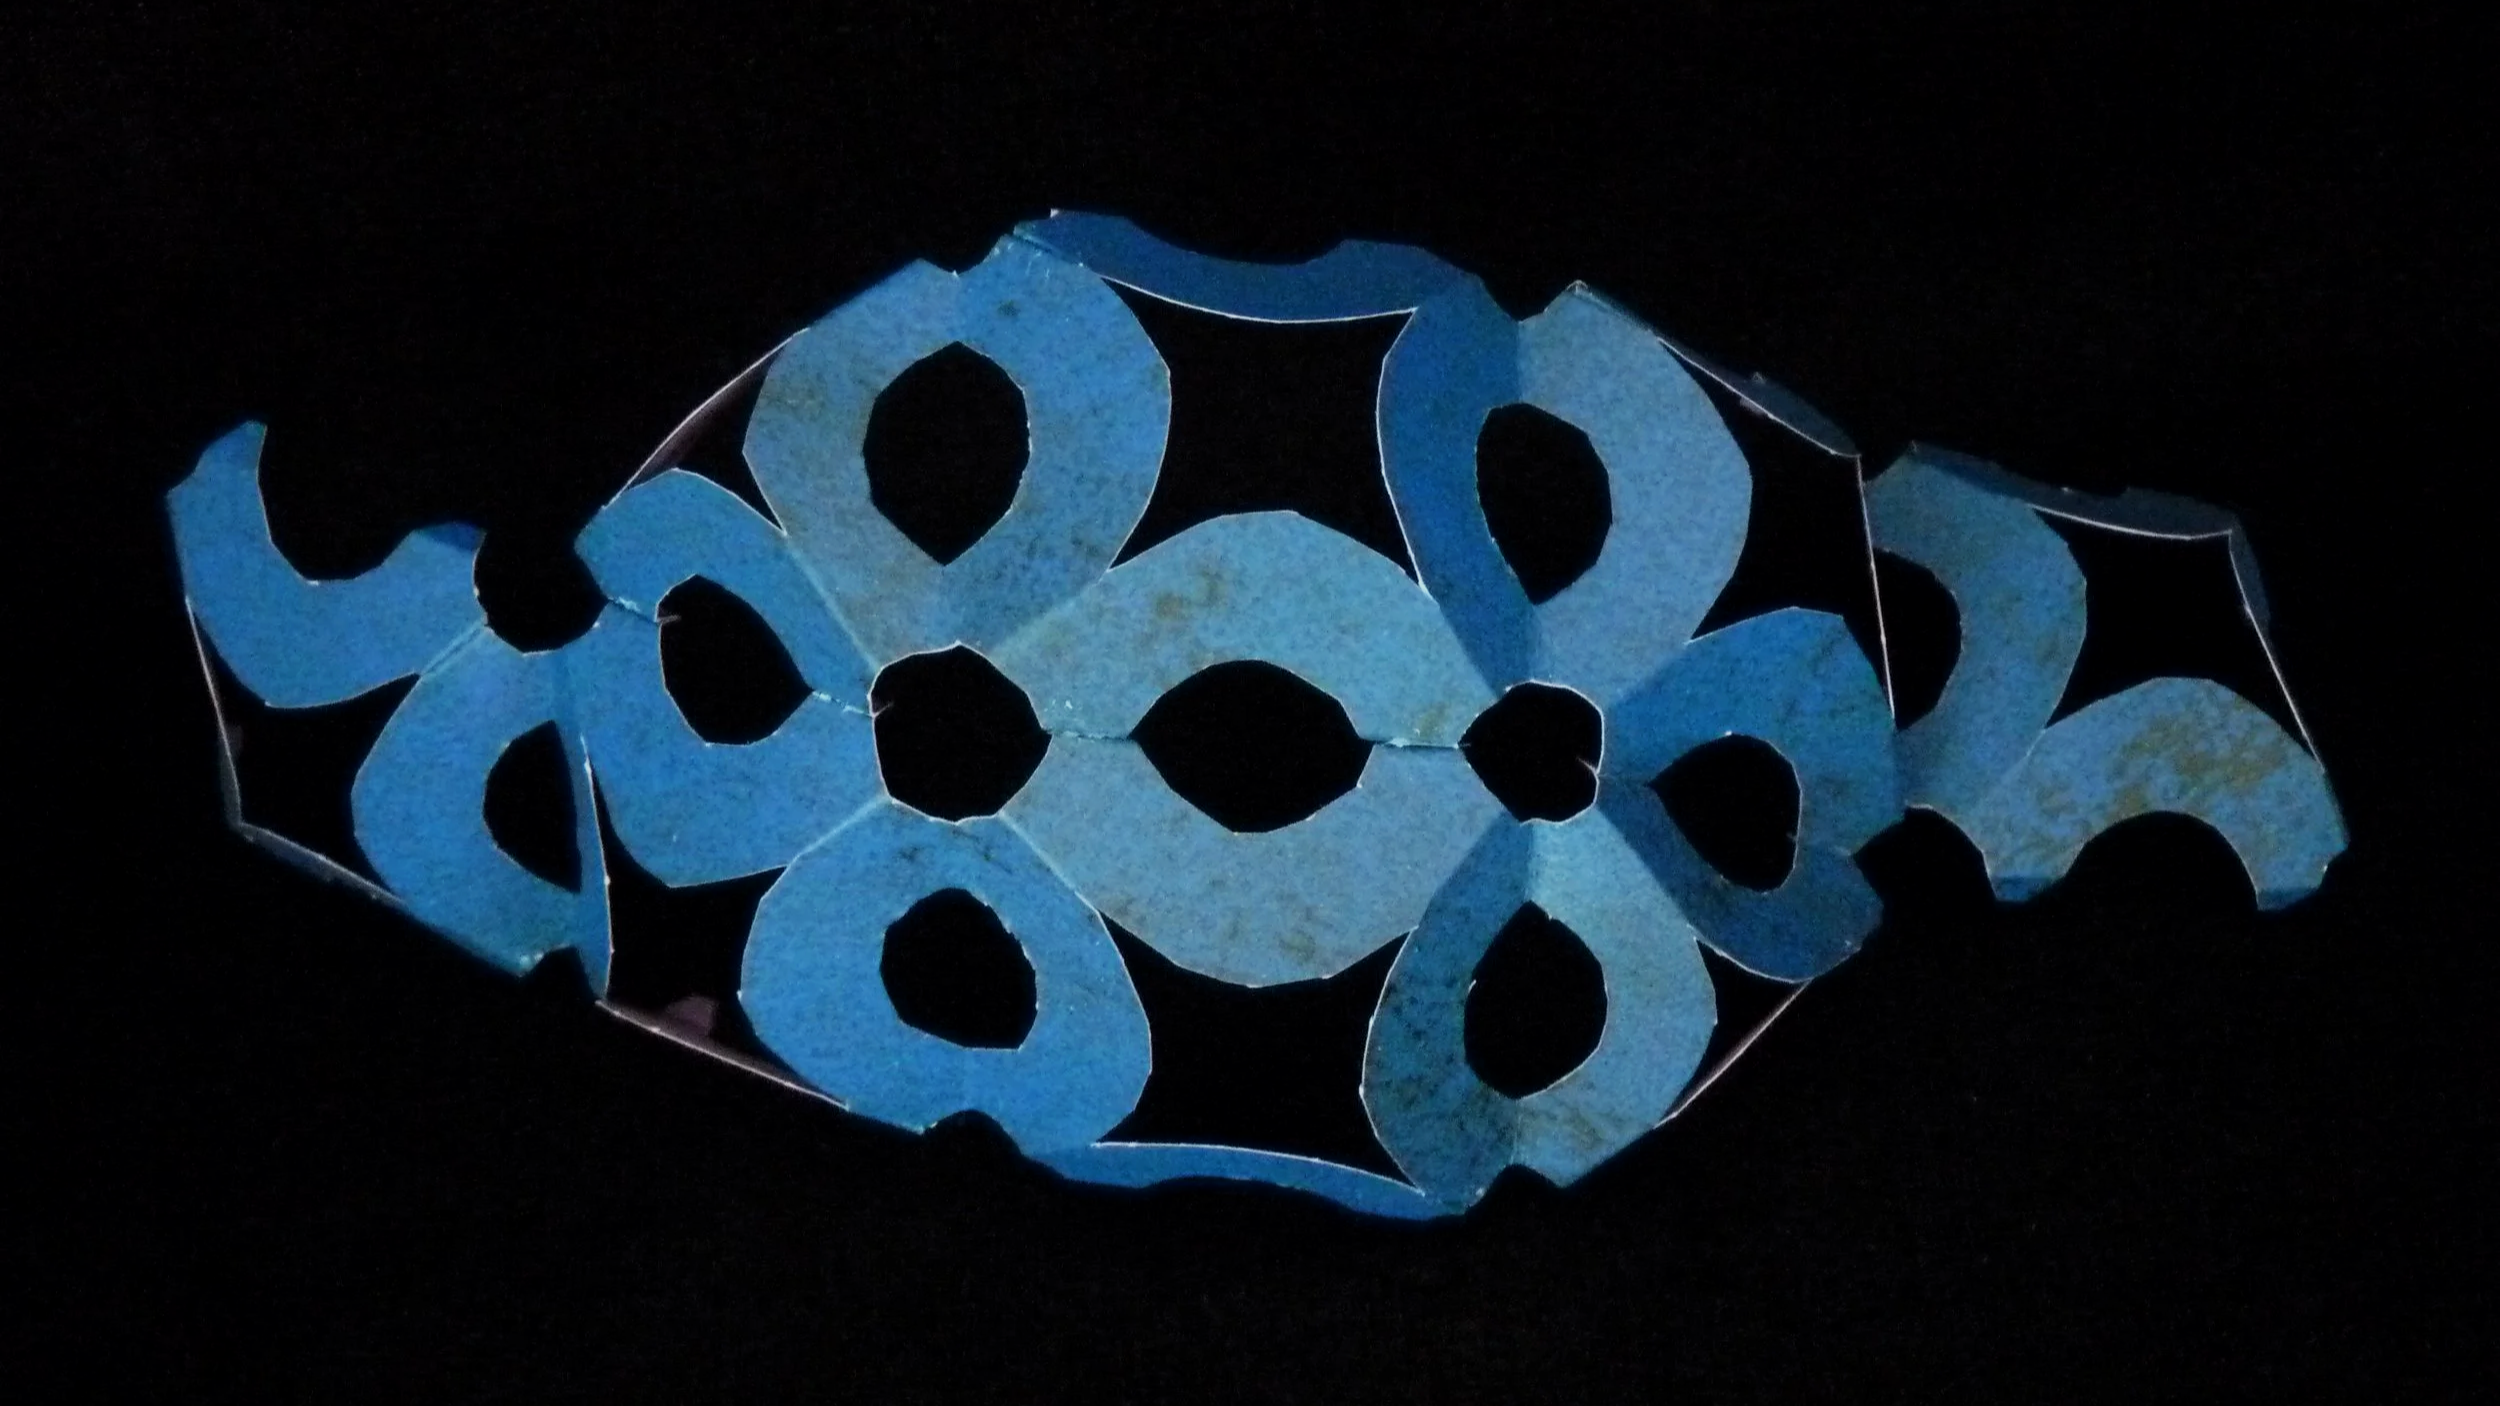
Photo 6. Outside of Project after Step 4
Step 5
Connect Part 6 to the project. Start by gluing the pair of Flap H’s on Part 6 to the pair of Flap H’s on the project. Next glue together the other three pairs of flaps in this line. Connect Part 5 to the project. Start by gluing the pair of Flap G’s on Part 5 to the pair of Flap G’s on the project. Next glue together the other 3 pairs of flaps in this line. Project will now be dome shaped.
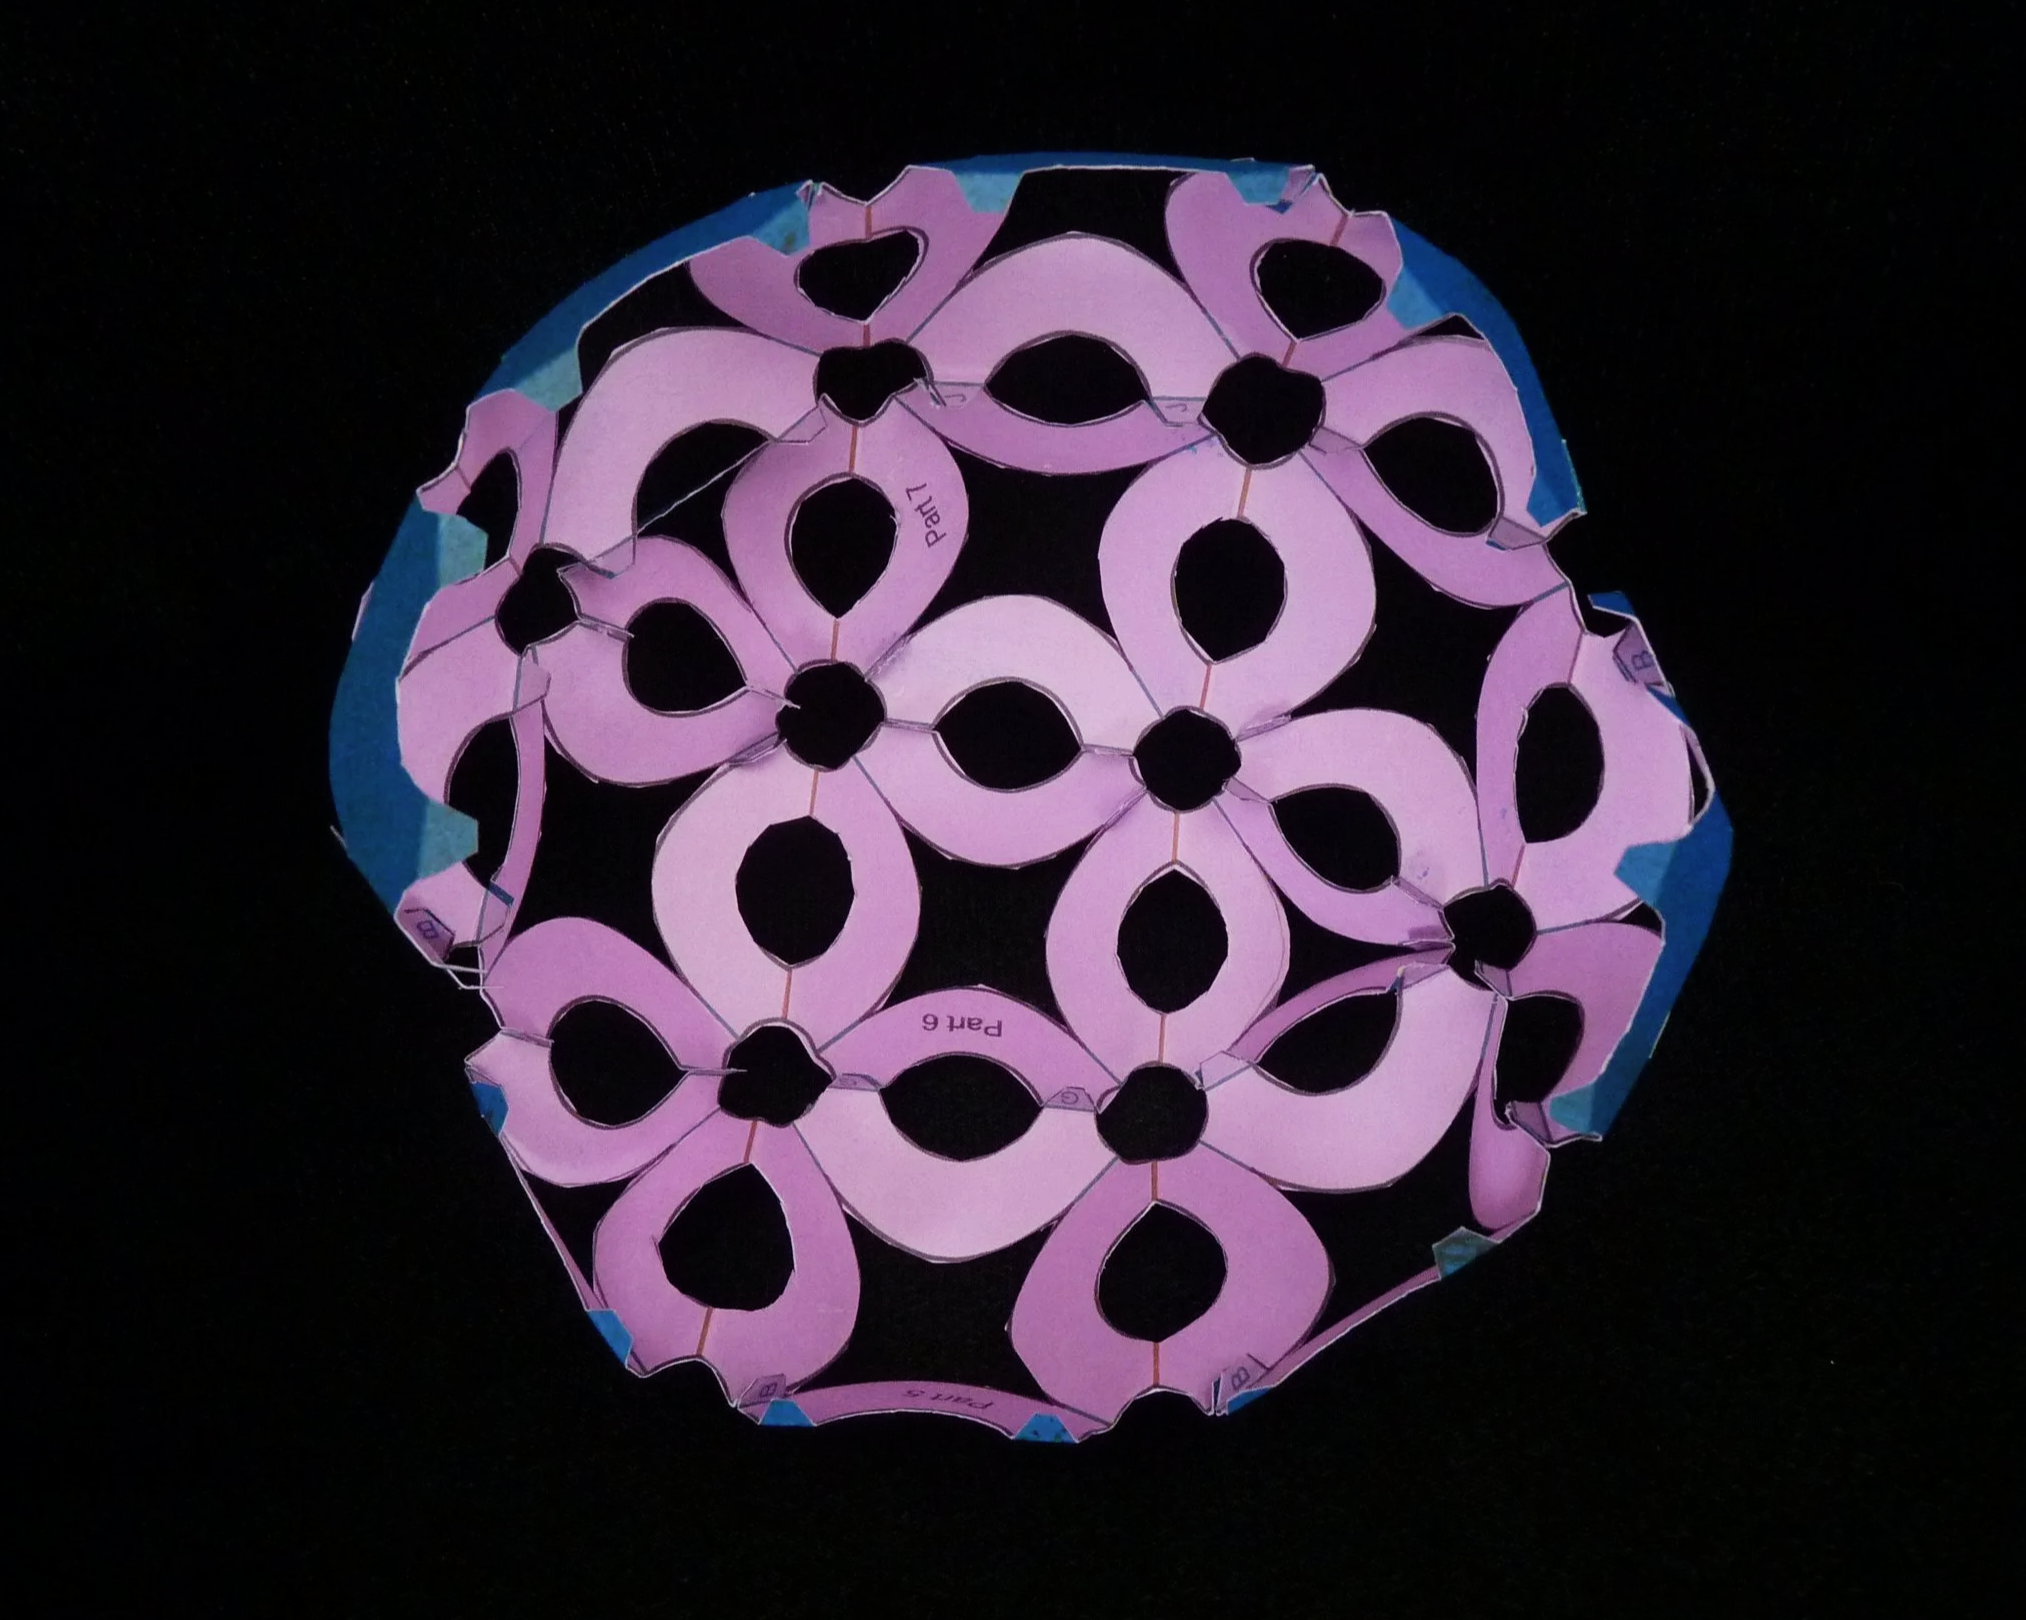
Photo 7. Inside of Project after Step 5
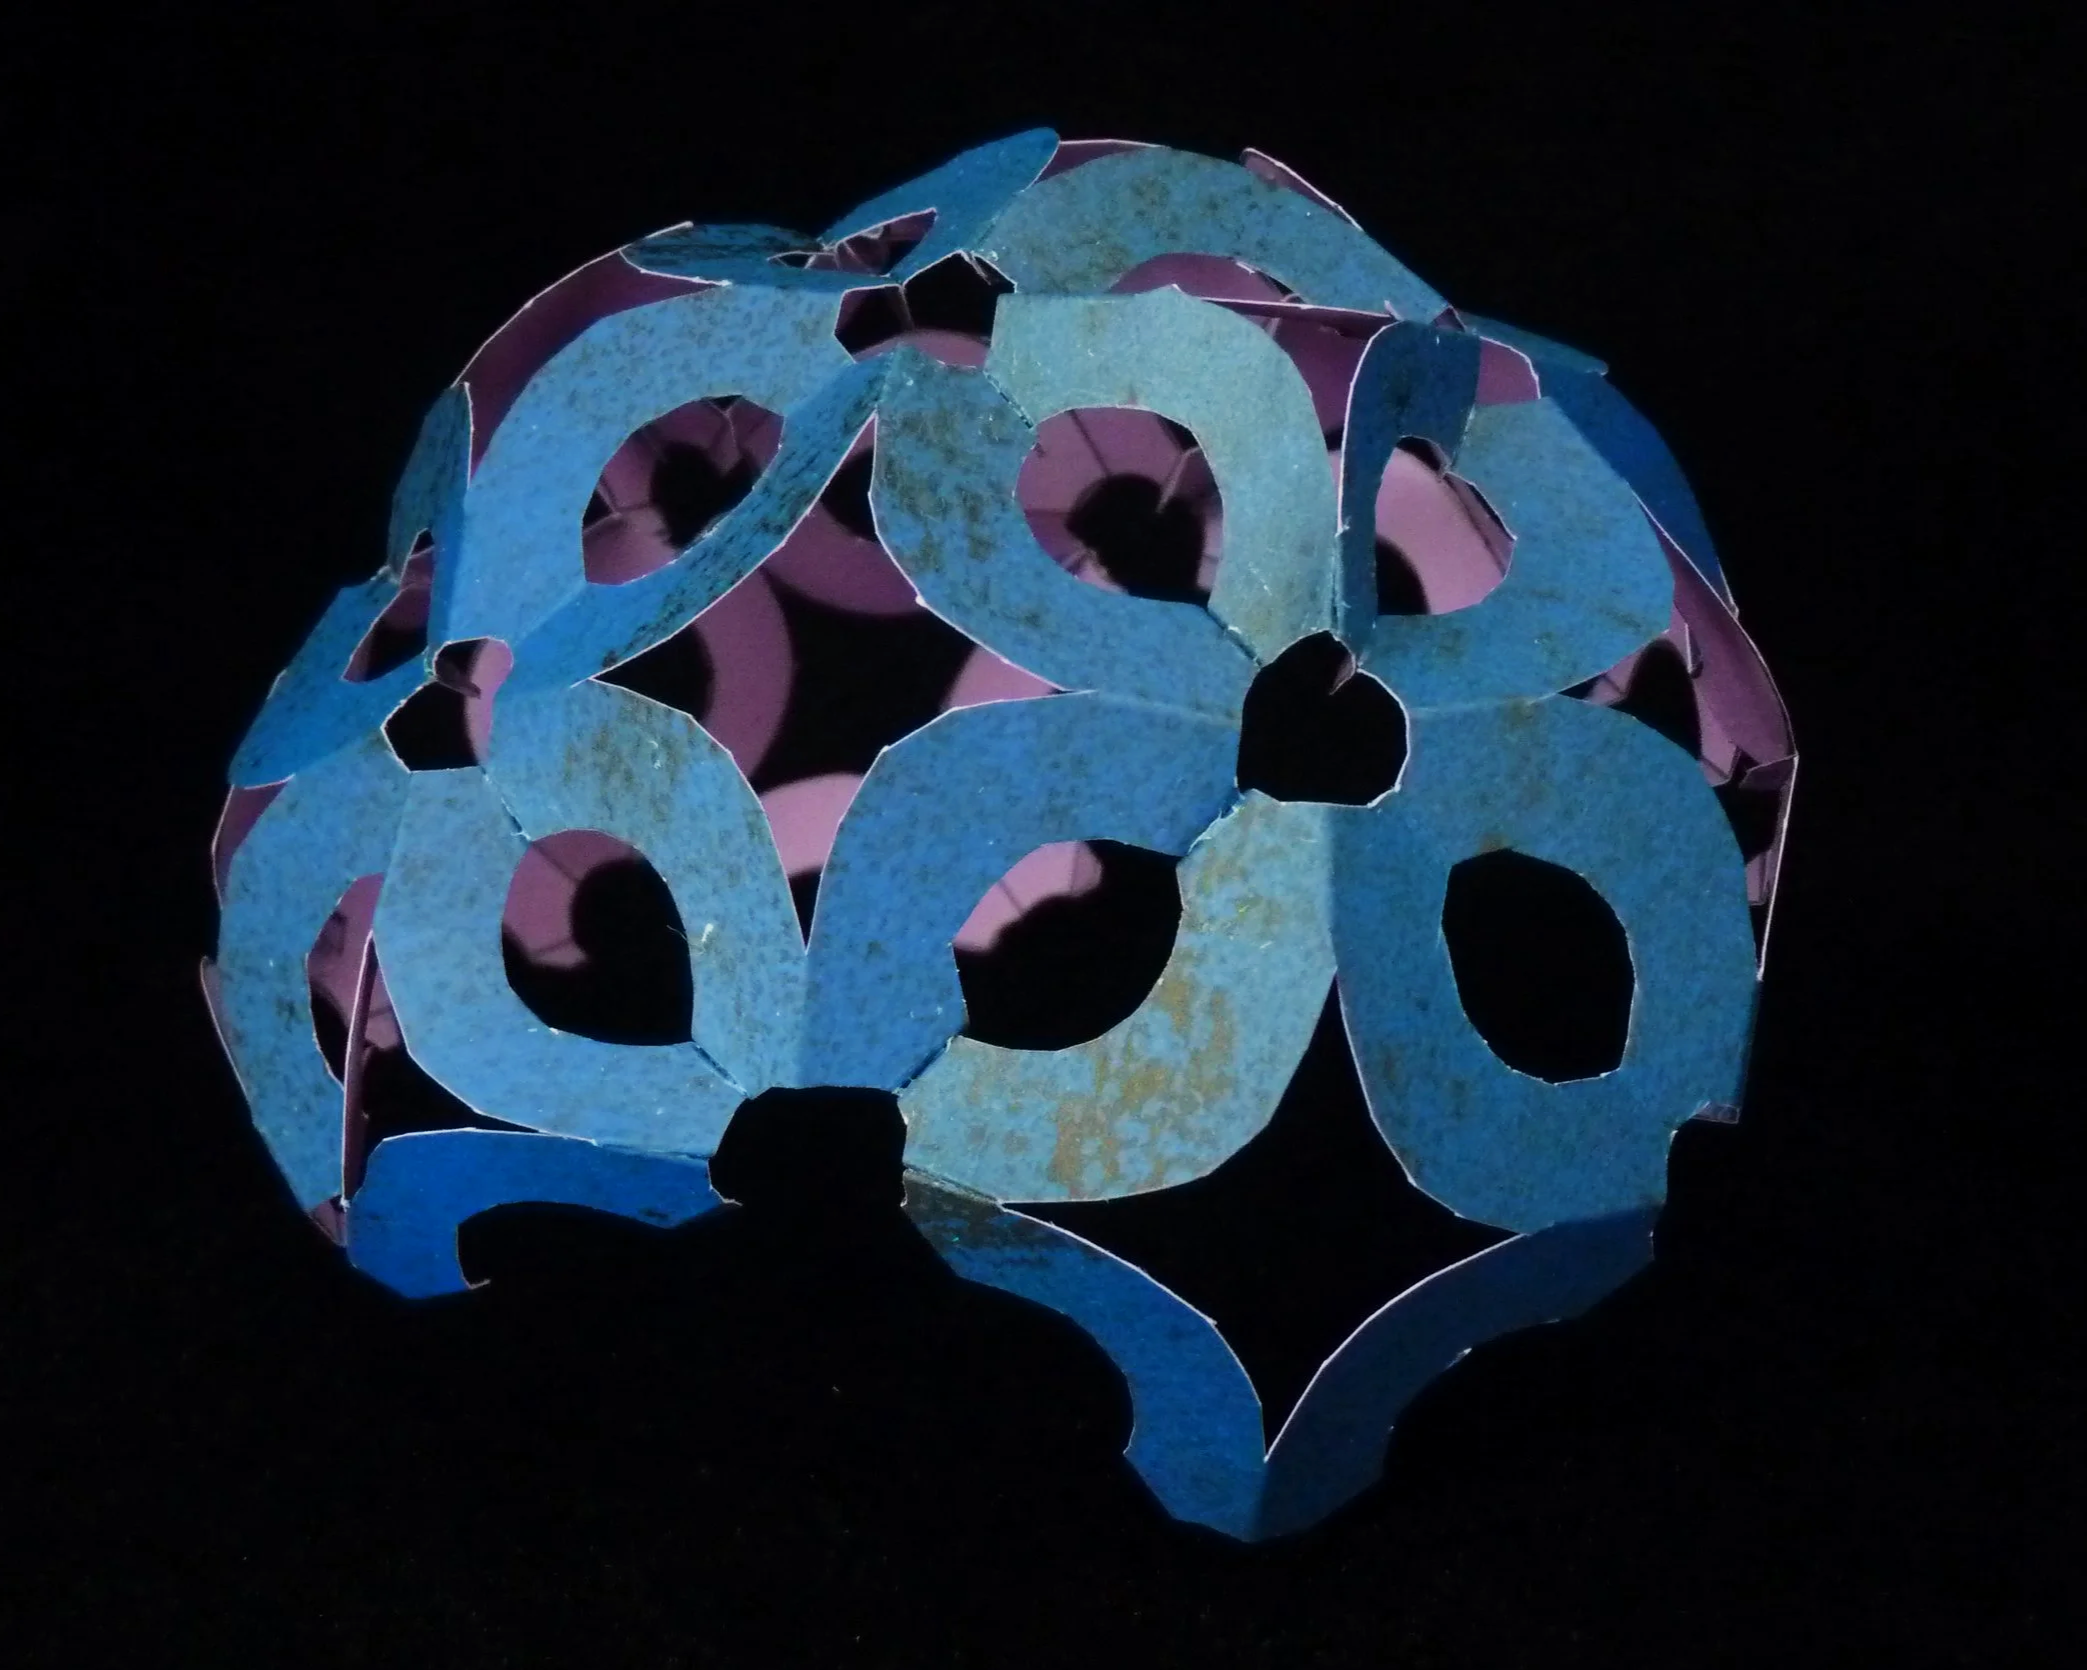
Photo 8. Outside of Project after Step 5
Step 6
Connect Part 4 to the project. Start by gluing the pair of Flap F’s on Part 4 to the pair of Flap F’s on the project. Next glue together the other three pairs of flaps in this line. Connect Part 3 to the project. Start by gluing the pair of Flap E’s on Part 3 to the pair of Flap E’s on the project. Next glue together the other 3 pairs of flaps in this line.
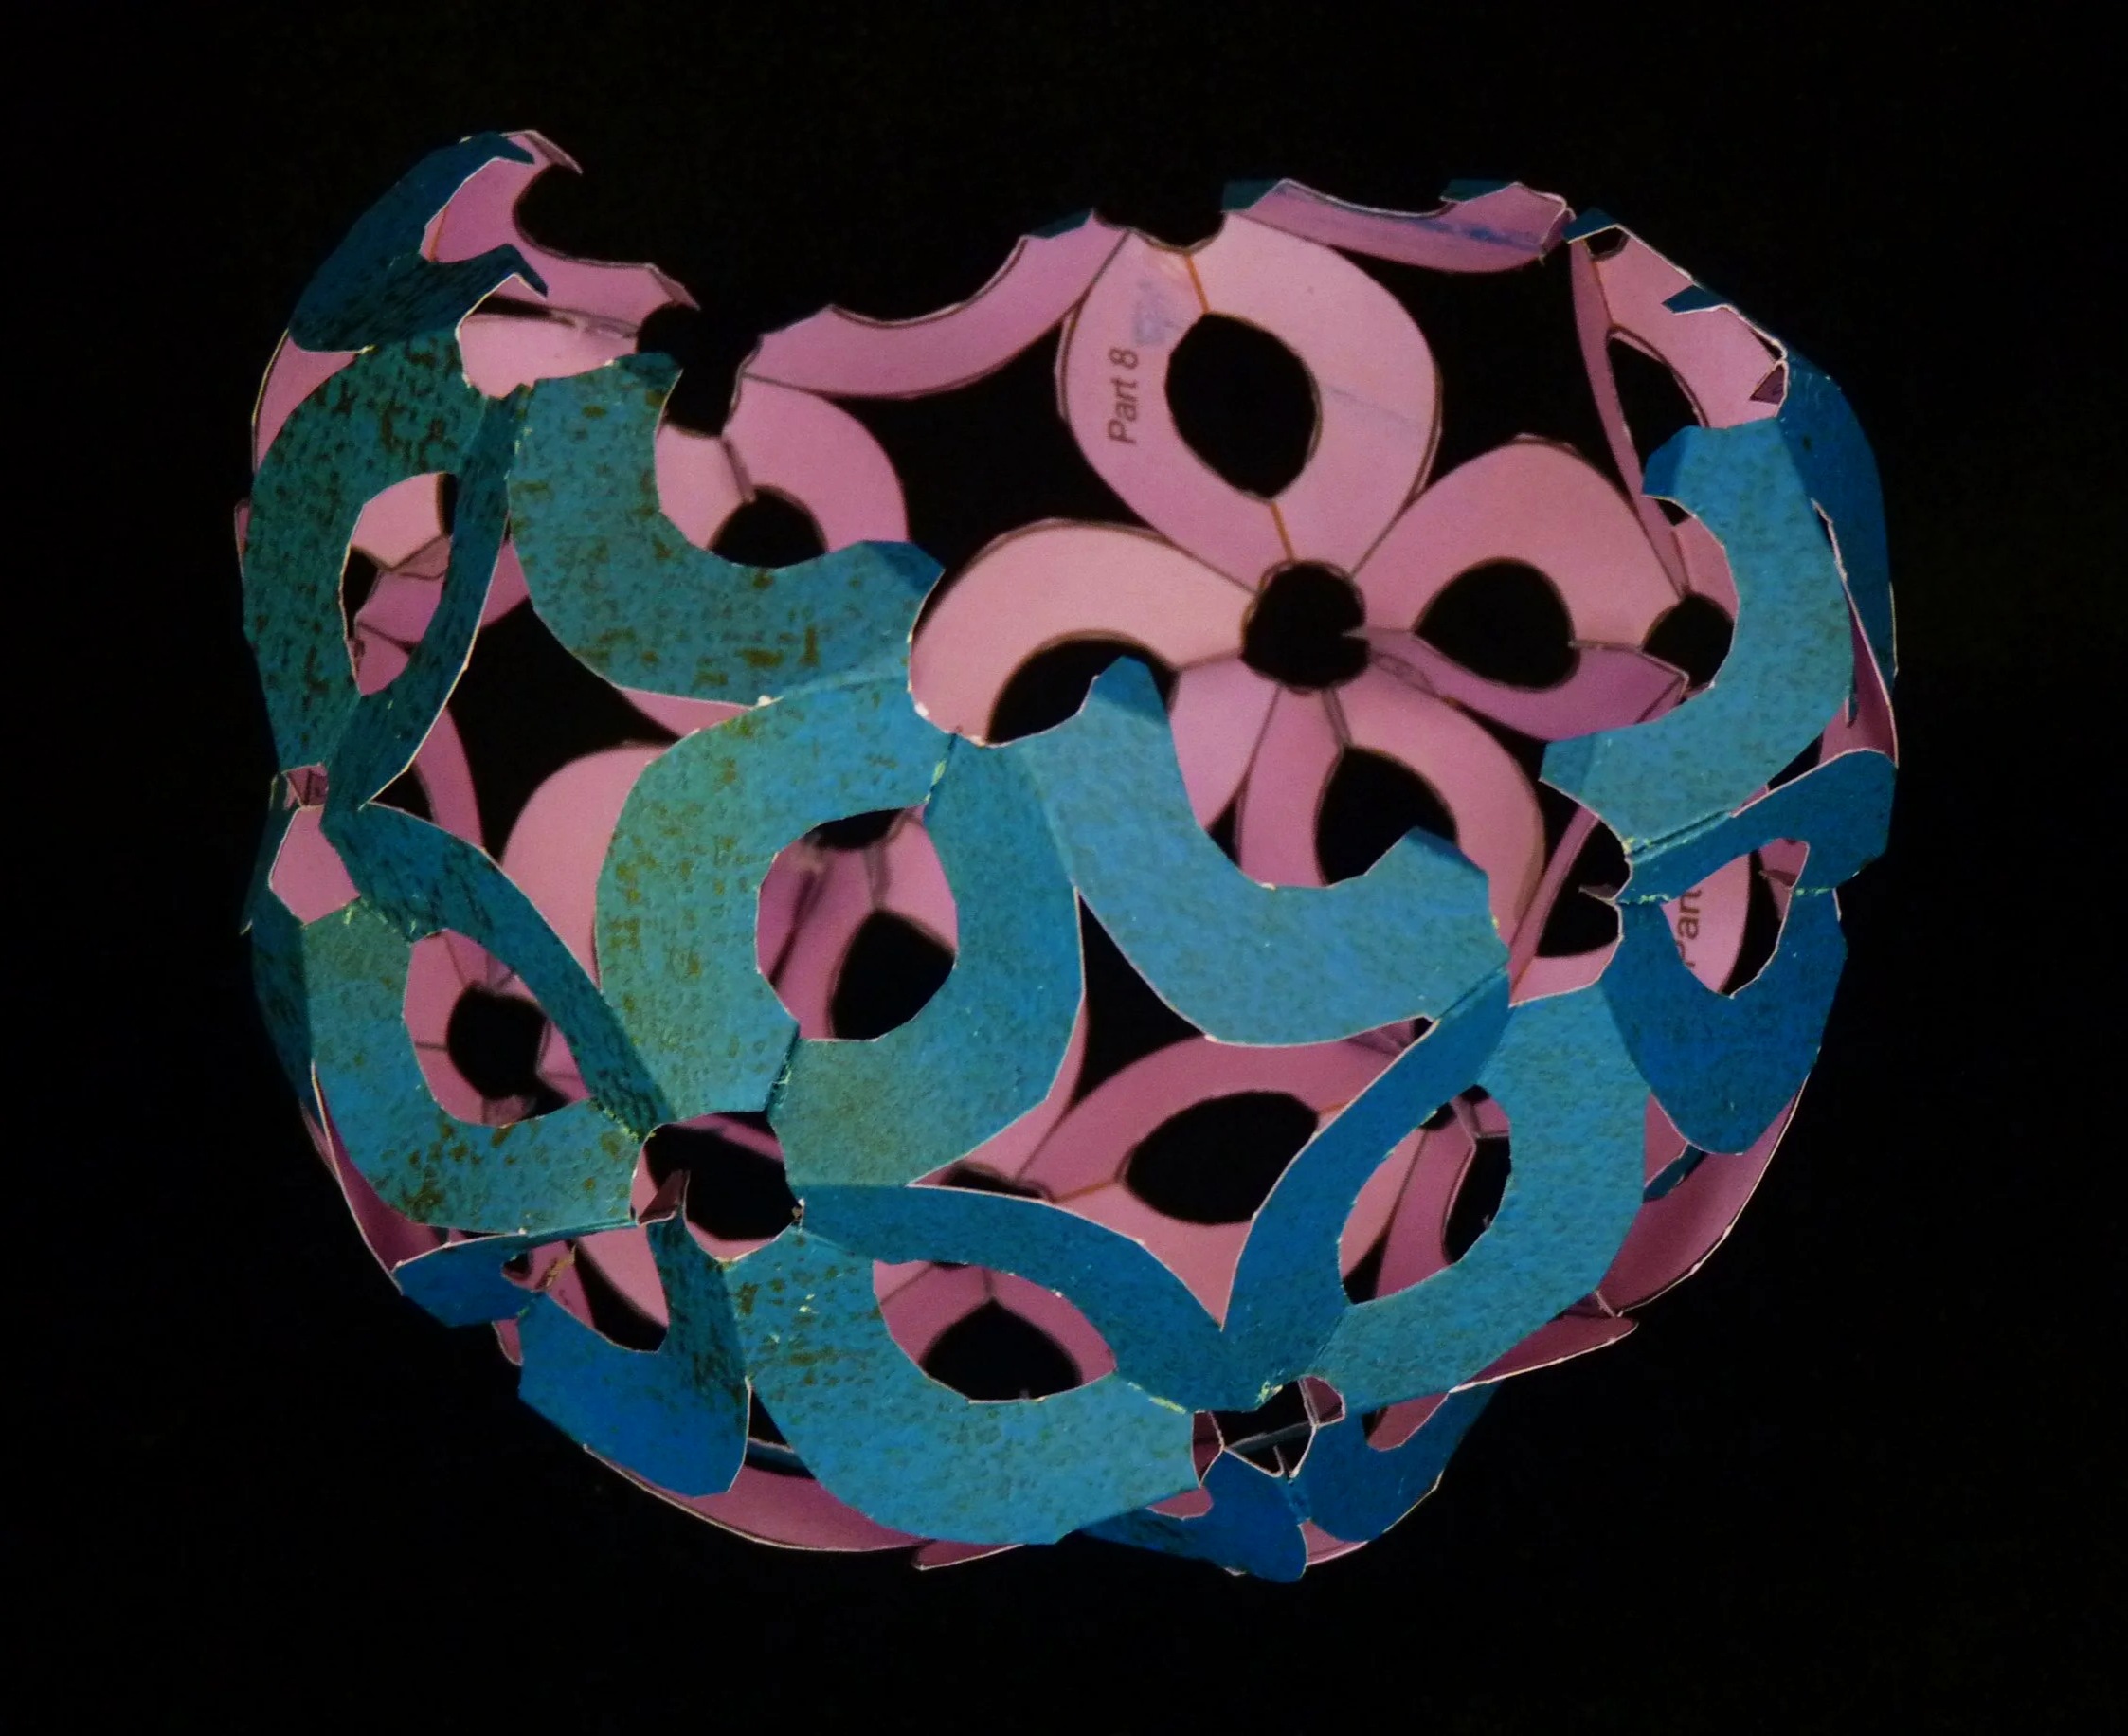
Photo 9. Project after Step 6
Step 7
Connect Part 2 to the project. Start by gluing the pair of Flap D’s on Part 2 to the pair of Flap D’s on the project. Next glue together the other three pairs of flaps in this line. Connect Part 1 to the project. Start by gluing the pair of Flap C’s on Part 1 to the pair of Flap C’s on the project. Next glue together the other 3 pairs of flaps in this line. Finally glue together the three pairs of flaps on the opposite side of Part 1 to Part 8 to complete the project.
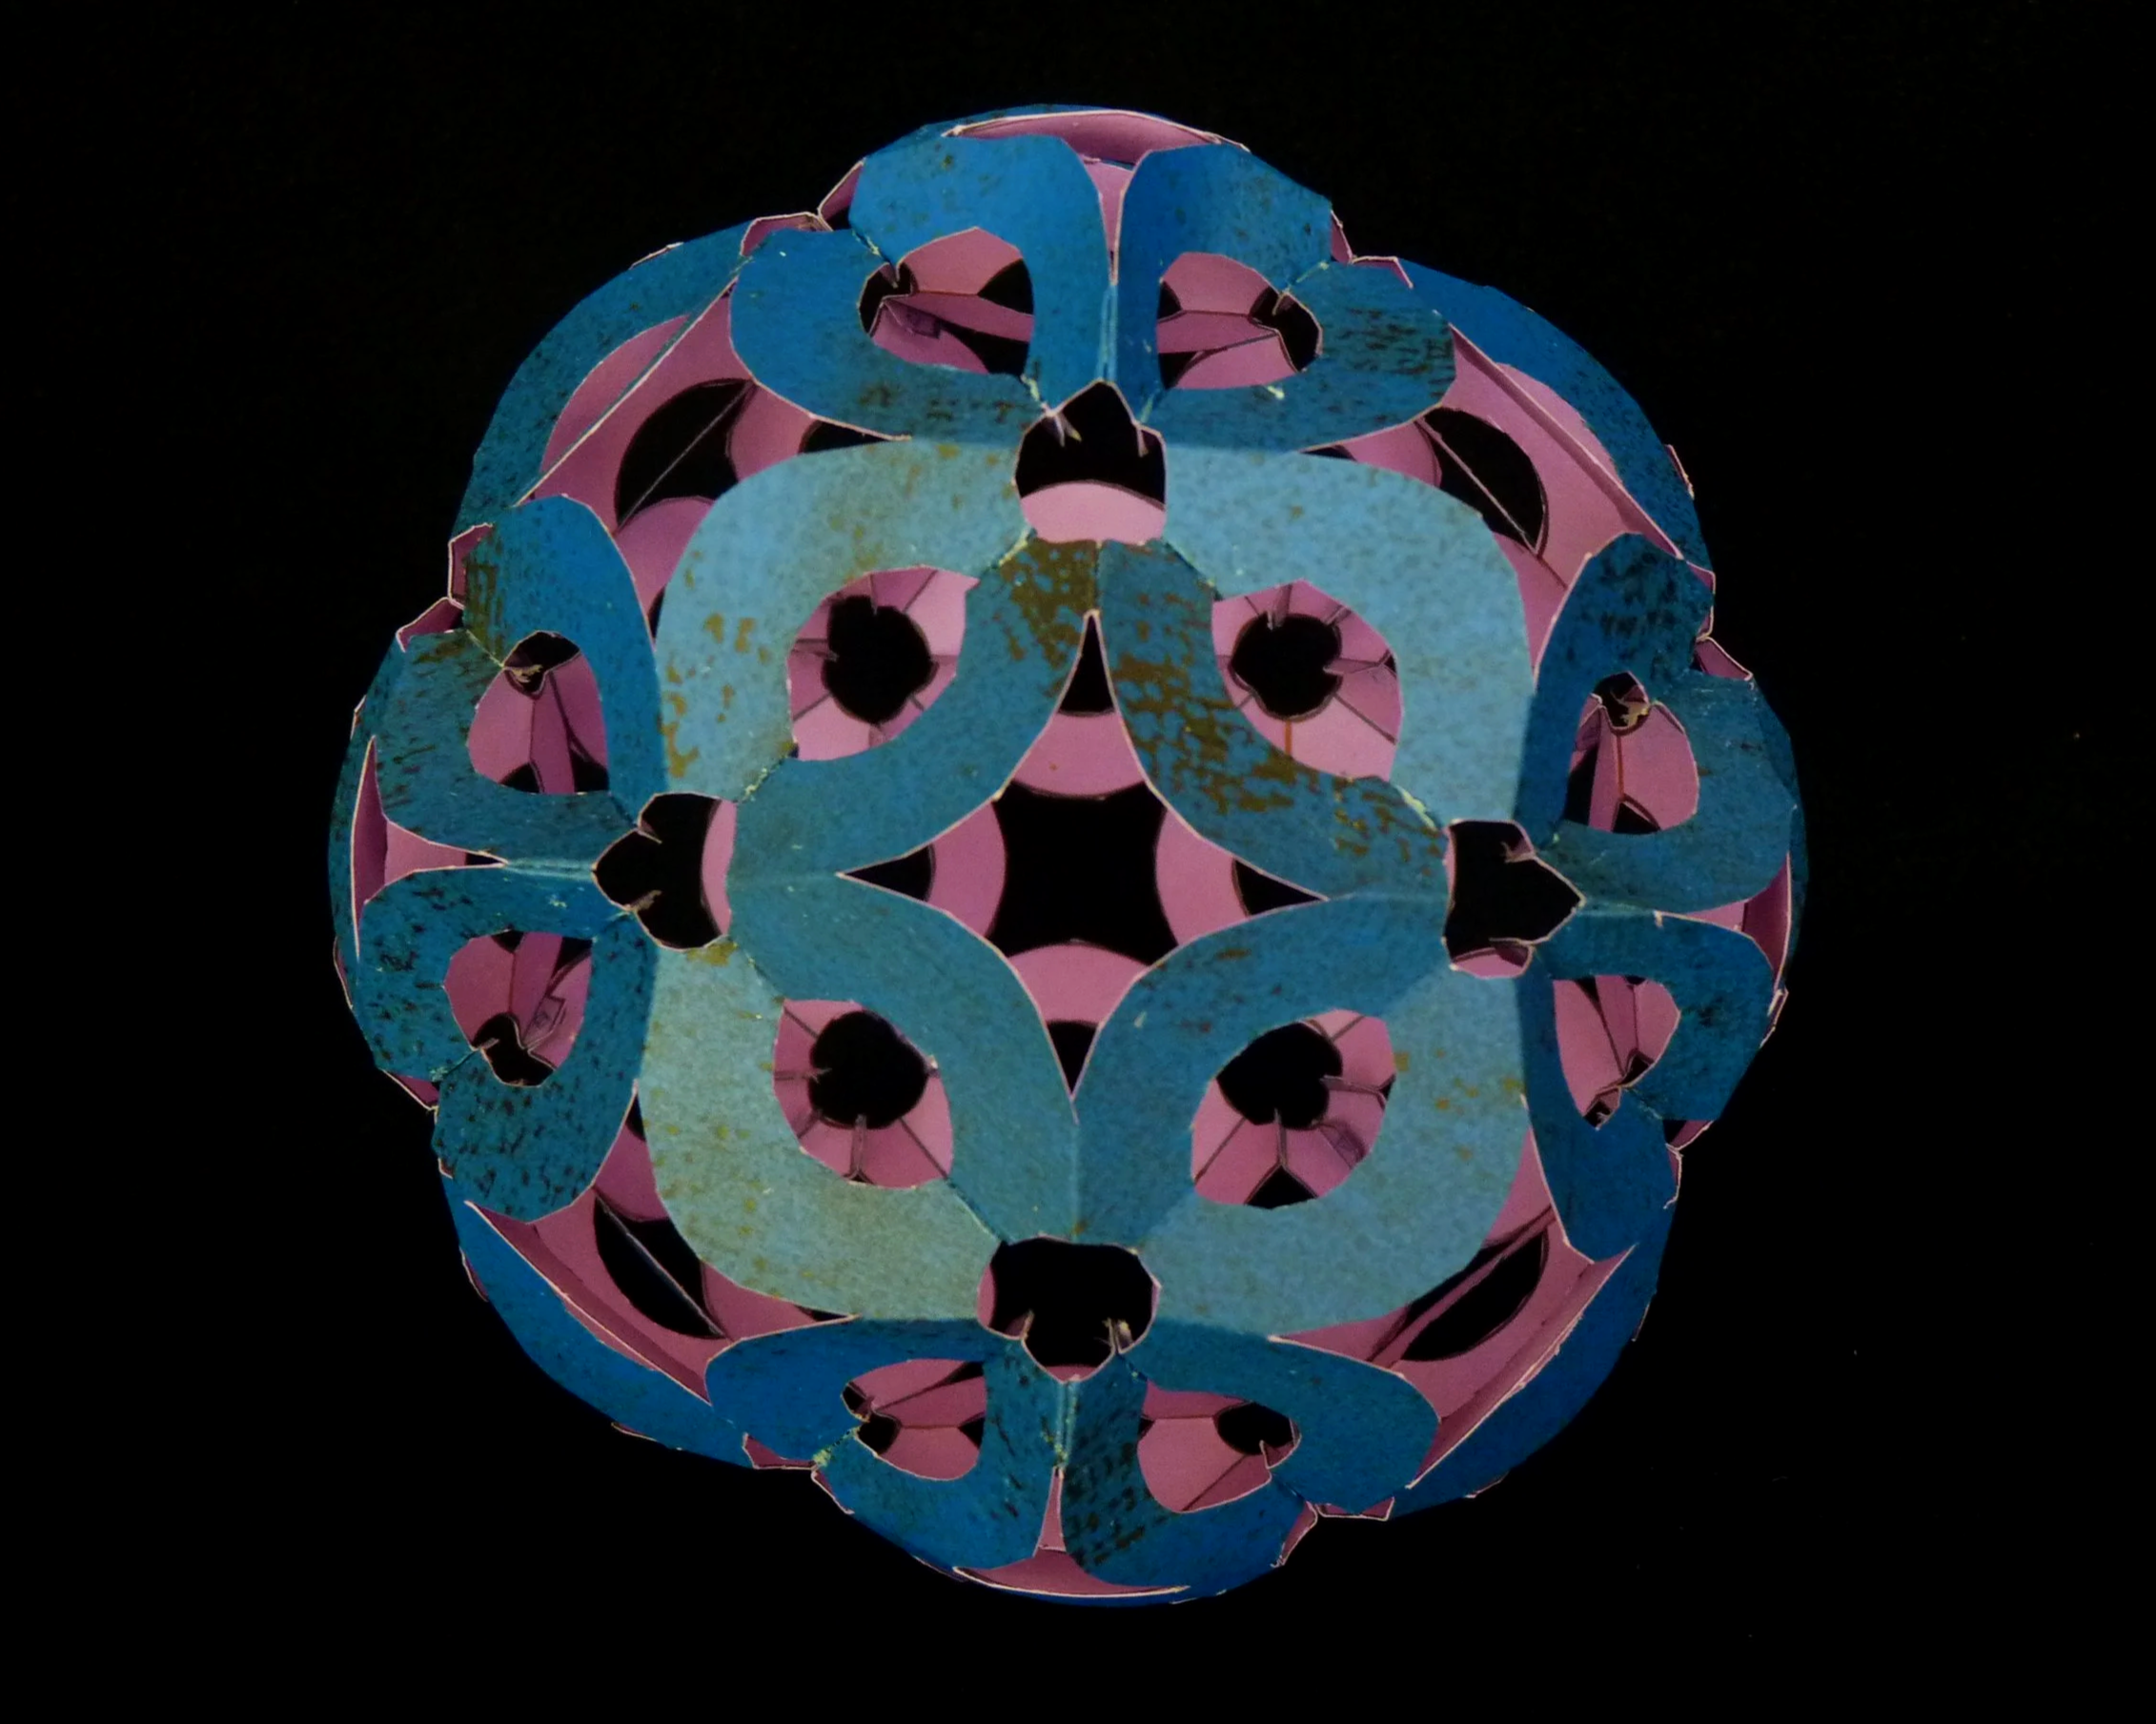
Photo 10. Completed Loki - View 1
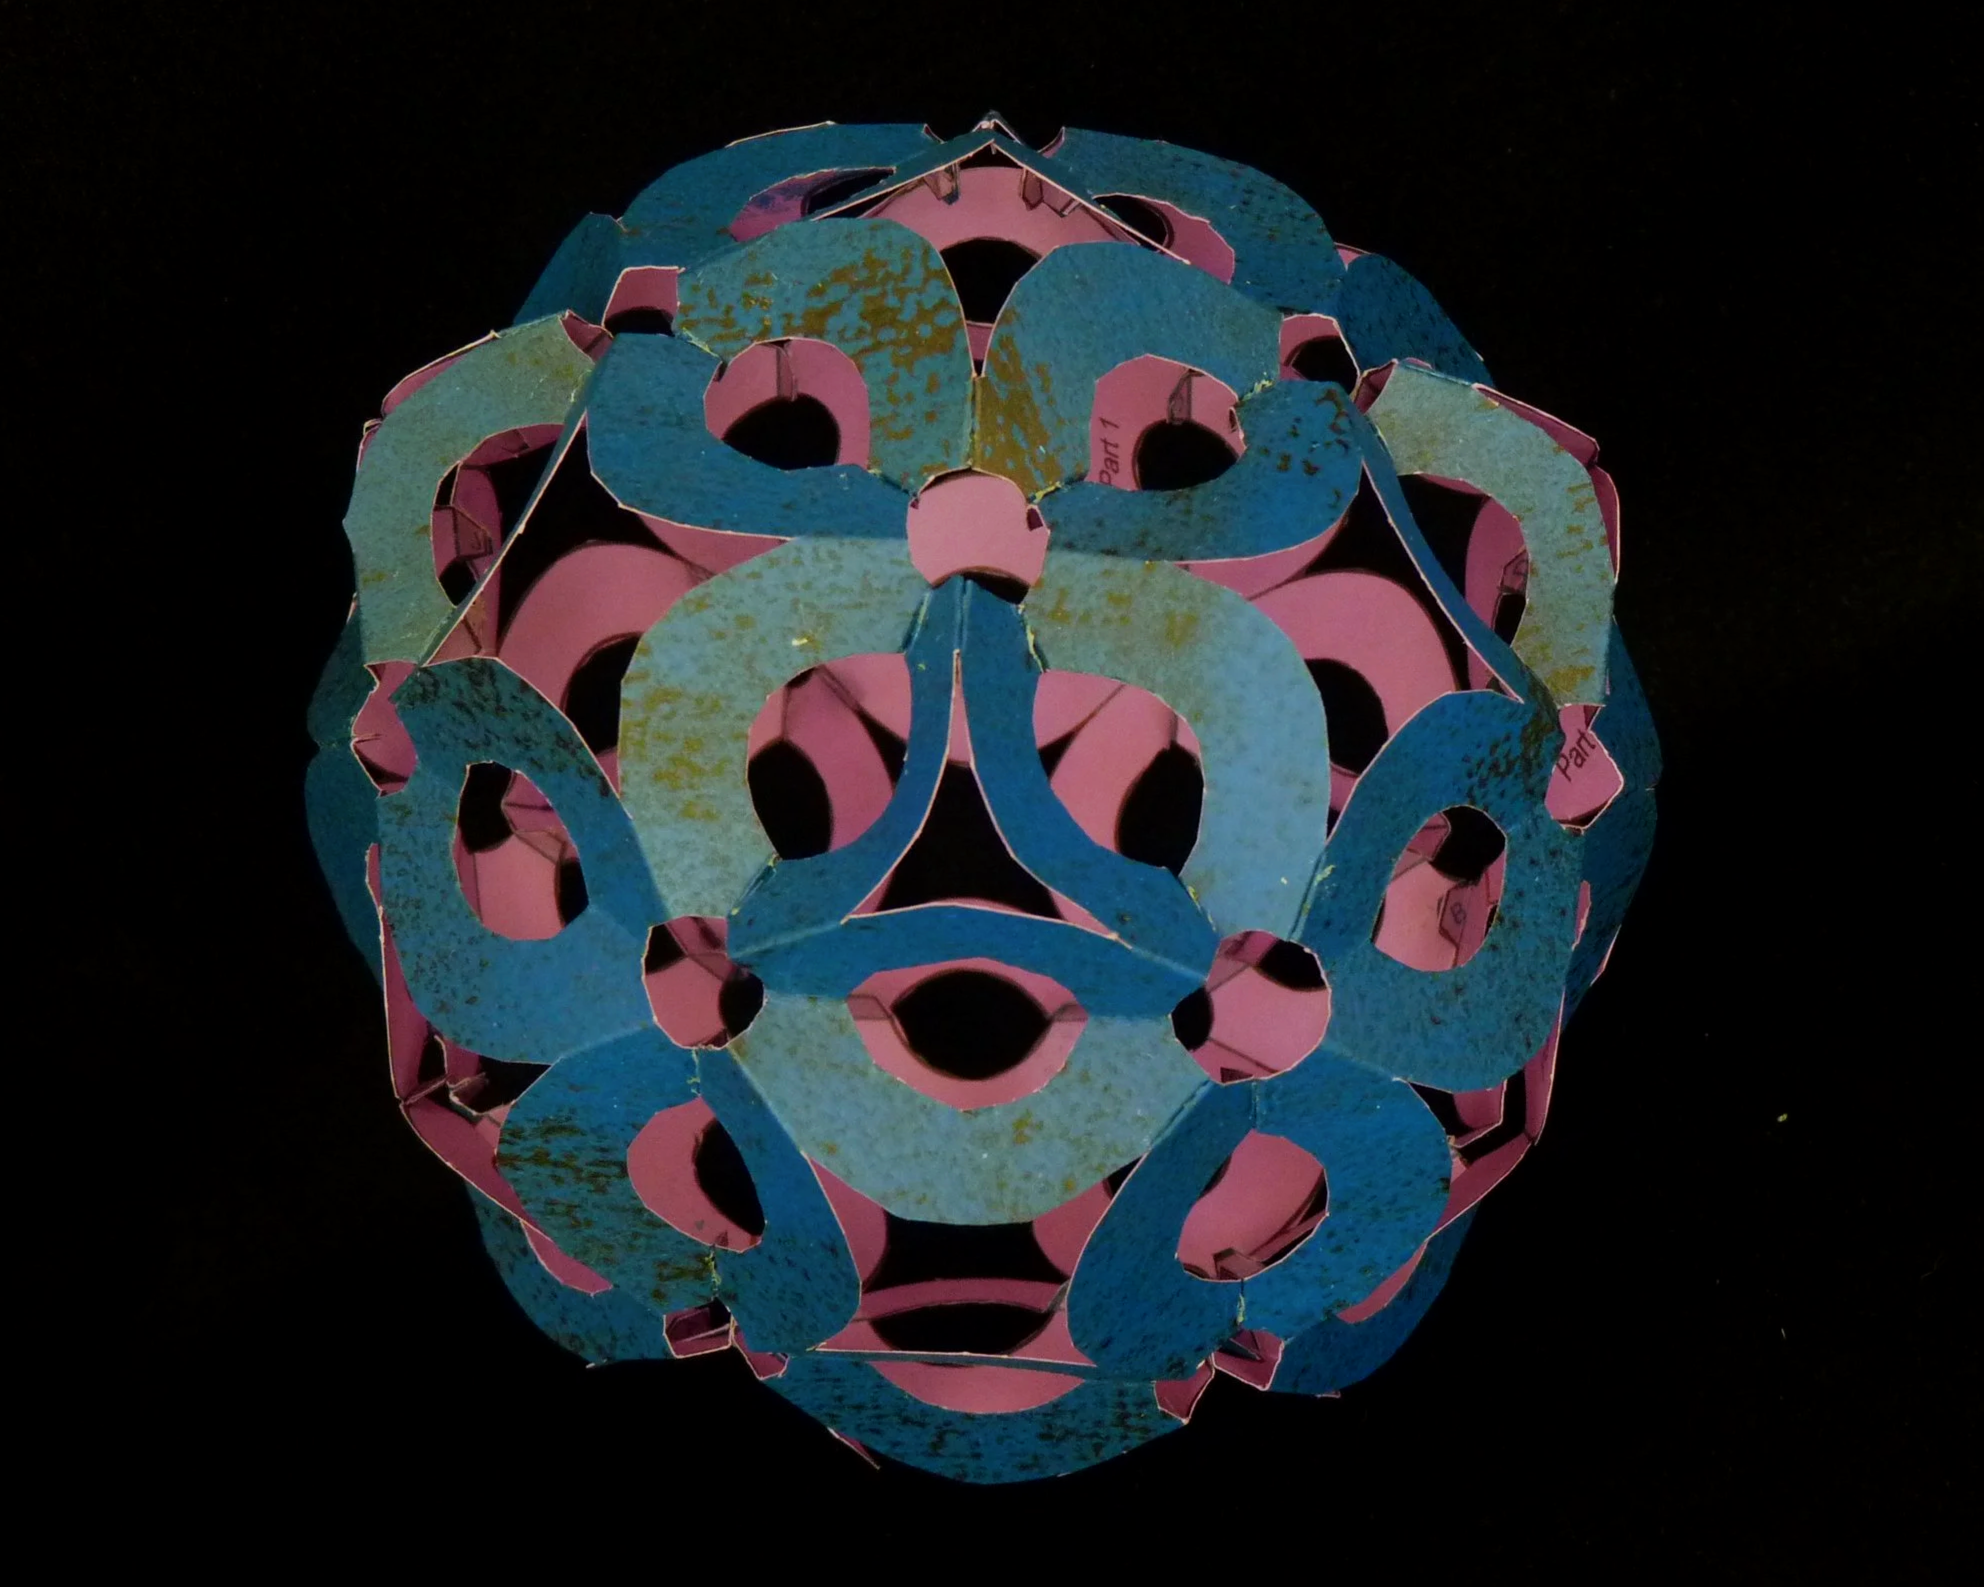
Photo 11. Completed Loki - View 2
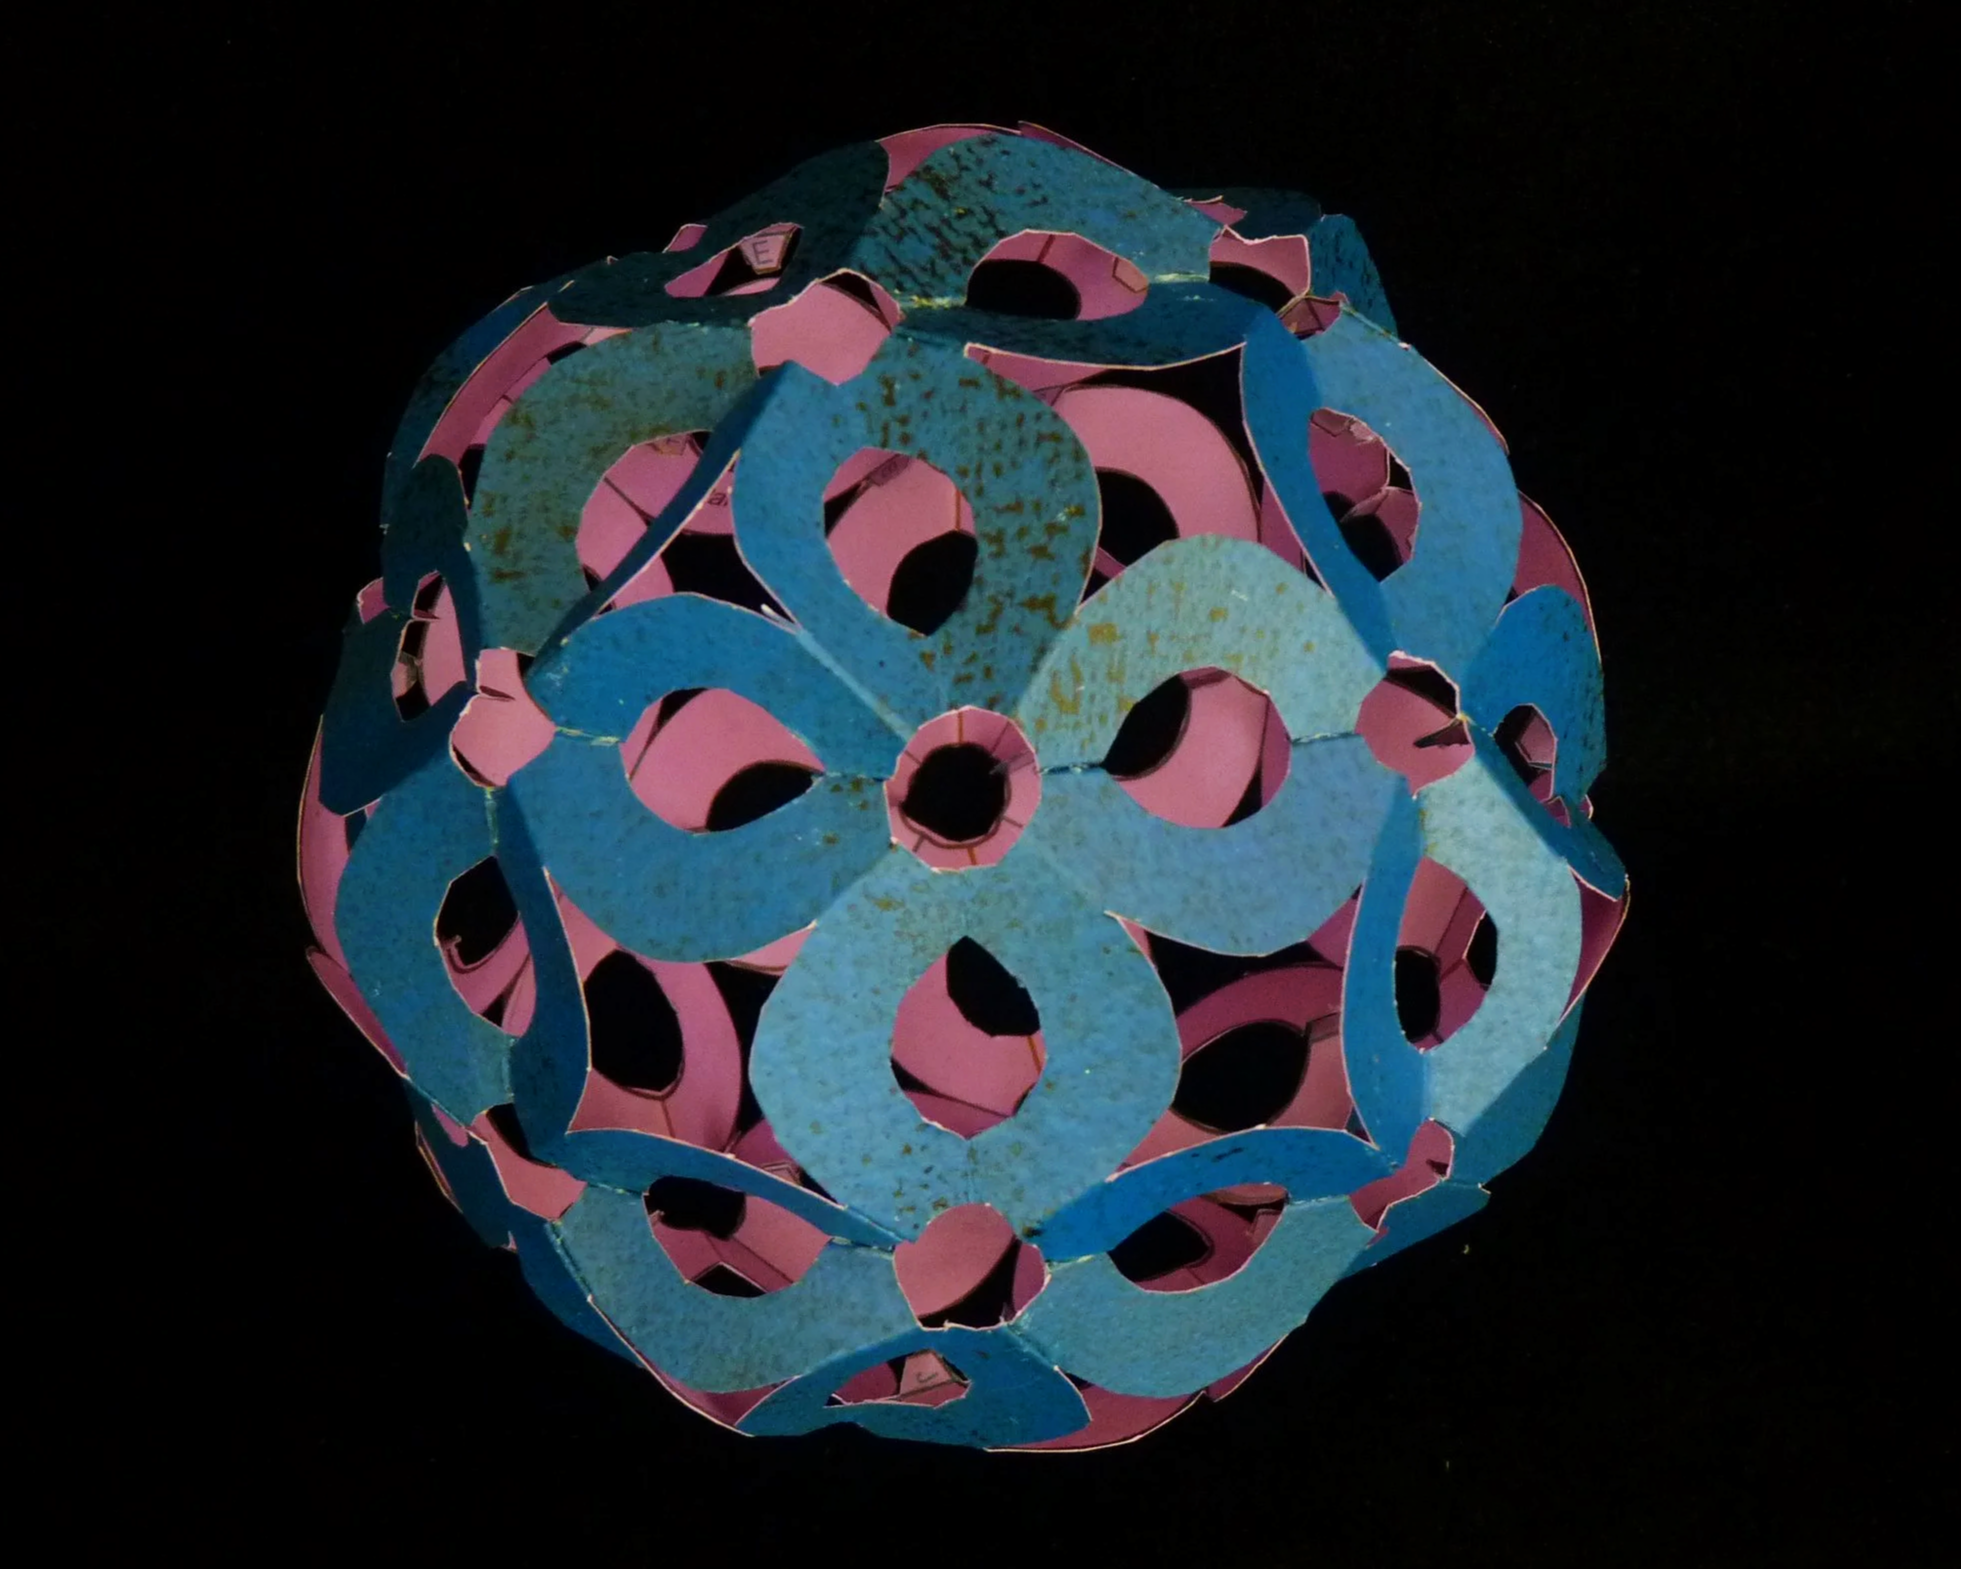
Photo 12. Completed Loki - View 3
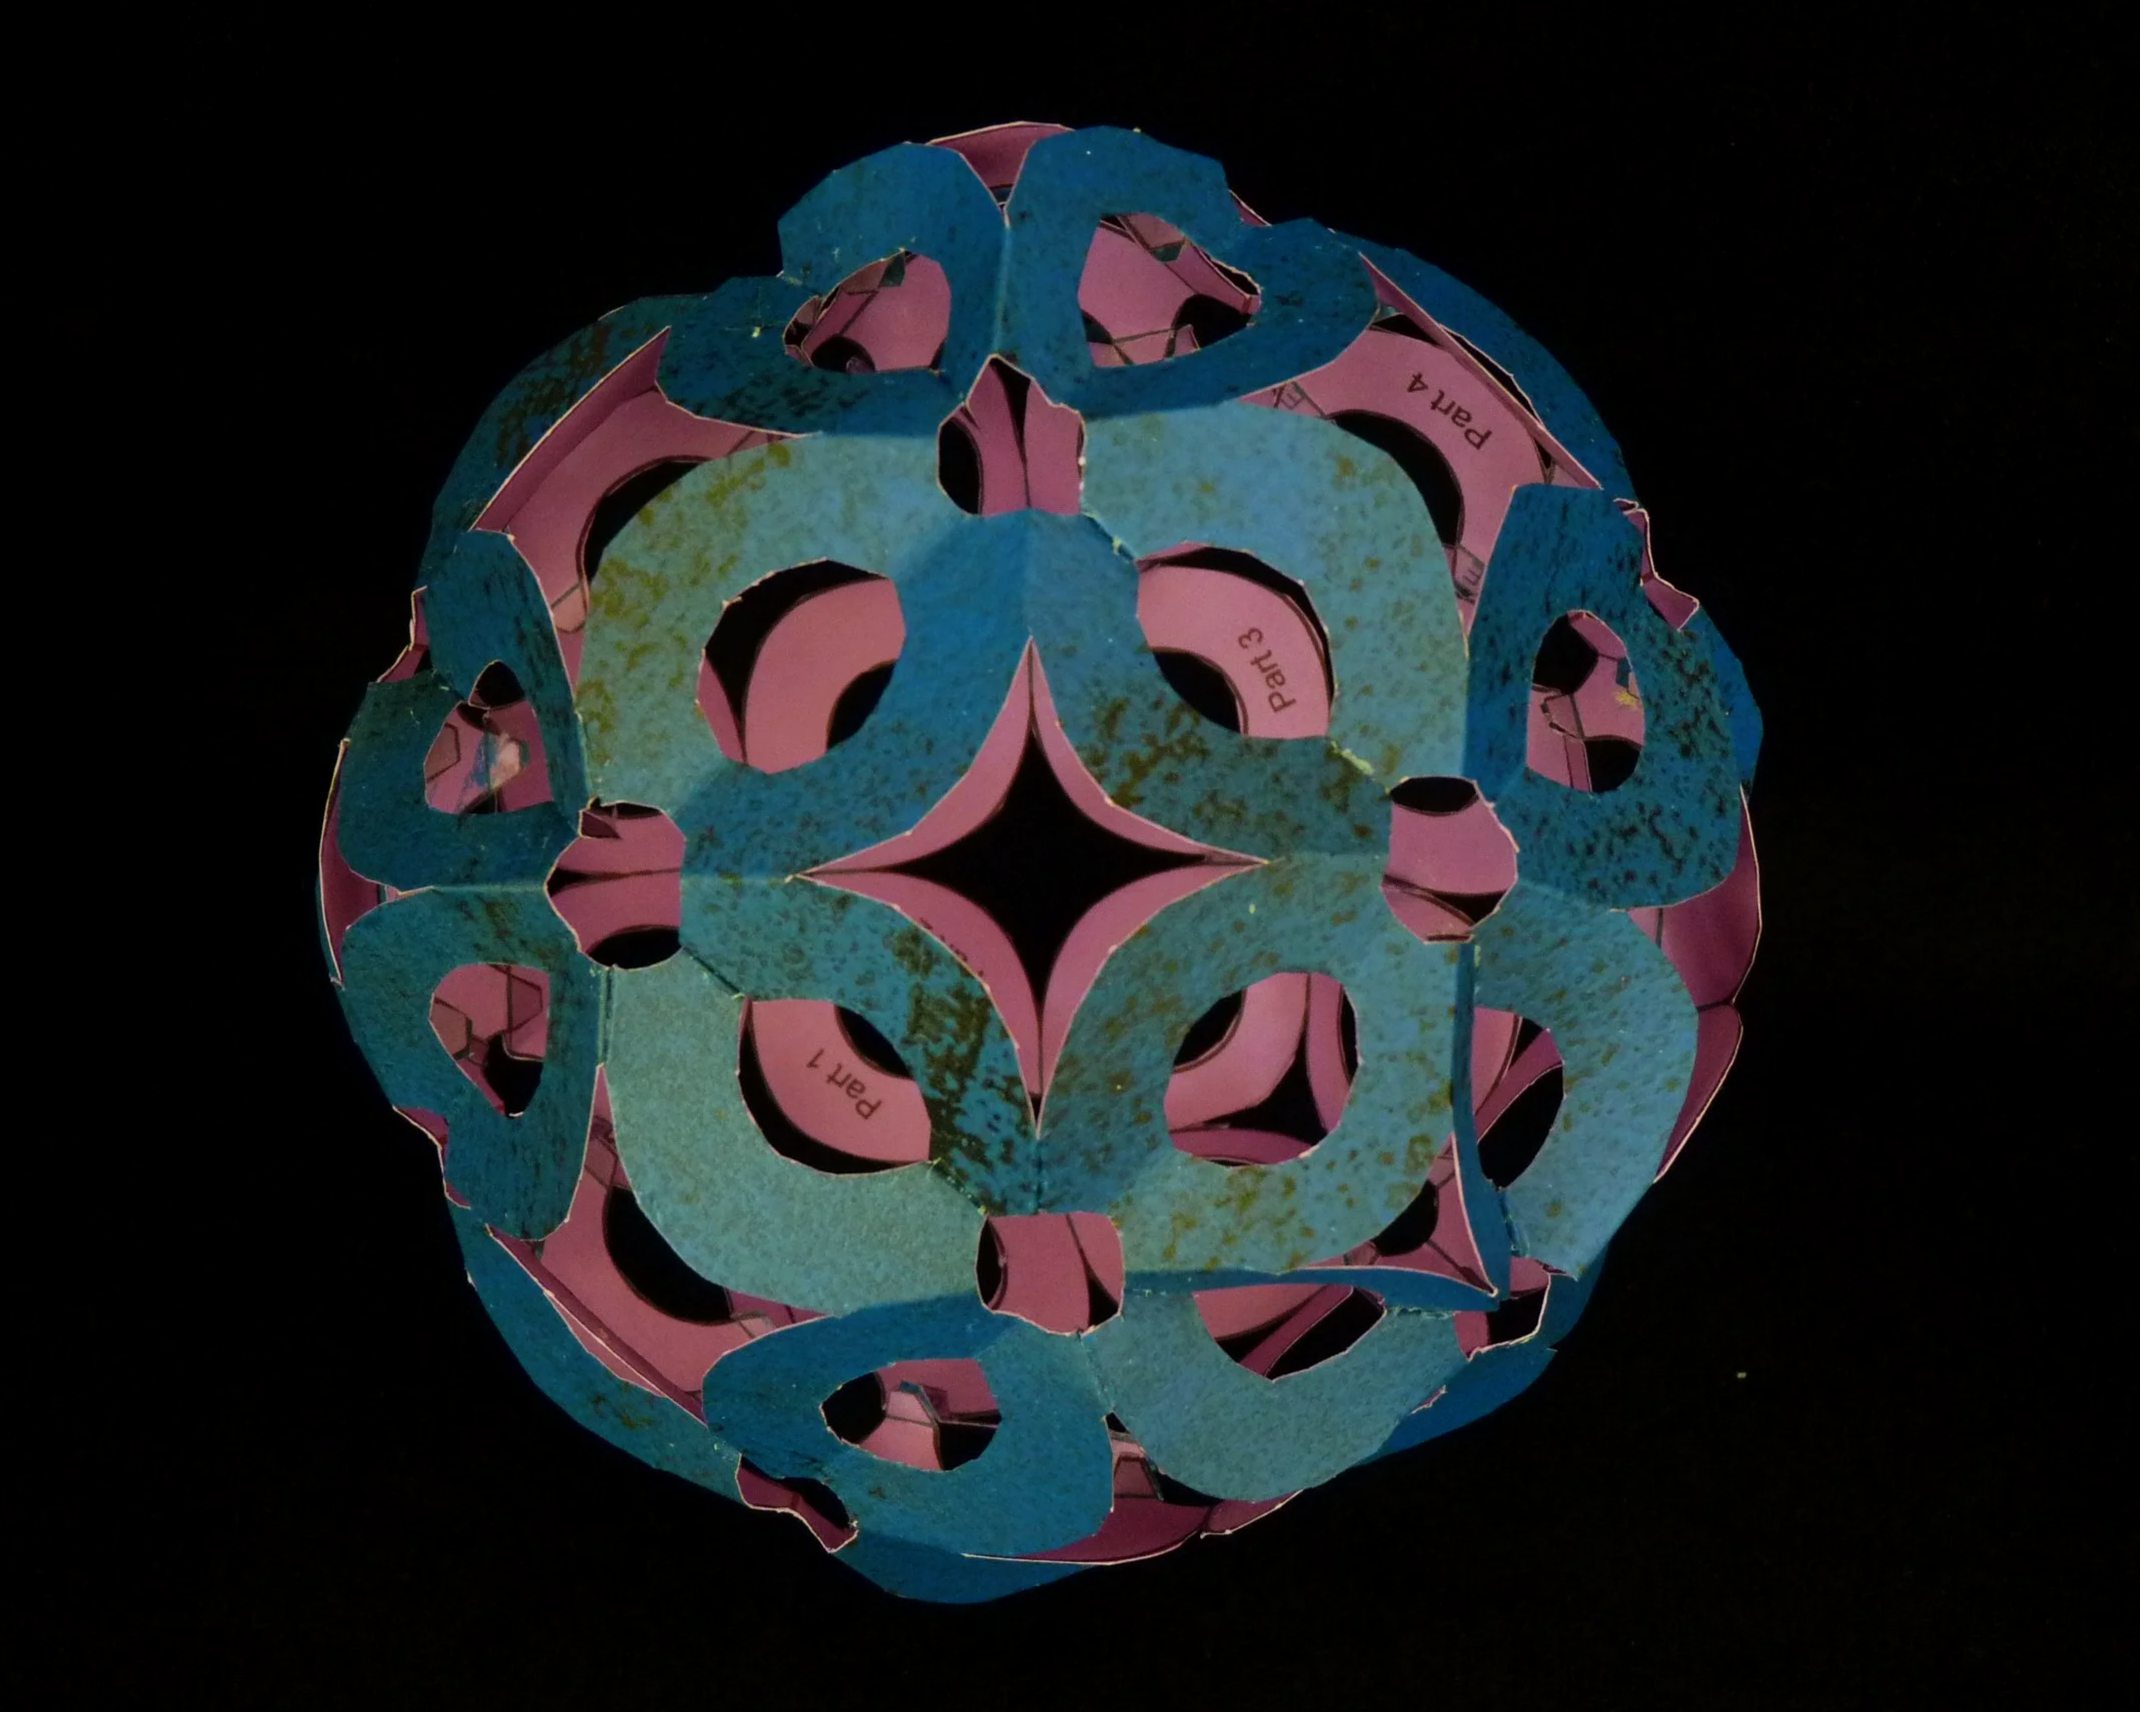
Photo 13. Completed Loki - VIew 4
This fun mischief maker is based on Johnson Solid J37, the elongated square gyrobicupola.