Titania
Imagine a Midsummer Night’s Dream and a moon for the queen of the fairies. Make it real with this Titania paper globe project.
Project Info
Paper required: two sheets 8 ½ x 11 inch (or A4)
Finished Project size: 5 inches (13 cm)
Difficulty Level: Intermediate
Click button below to get your free printable pattern !
Click button below to get your free printable pattern !
INSTRUCTIONS
STEP 1
Print the pattern onto the two matching paper sheets of your choice.
Read the pattern key included in the General Instructions.
Step 2
Cut out the fourteen parts by cutting on all black lines including the black lines along each of the Glue Flap A’s.
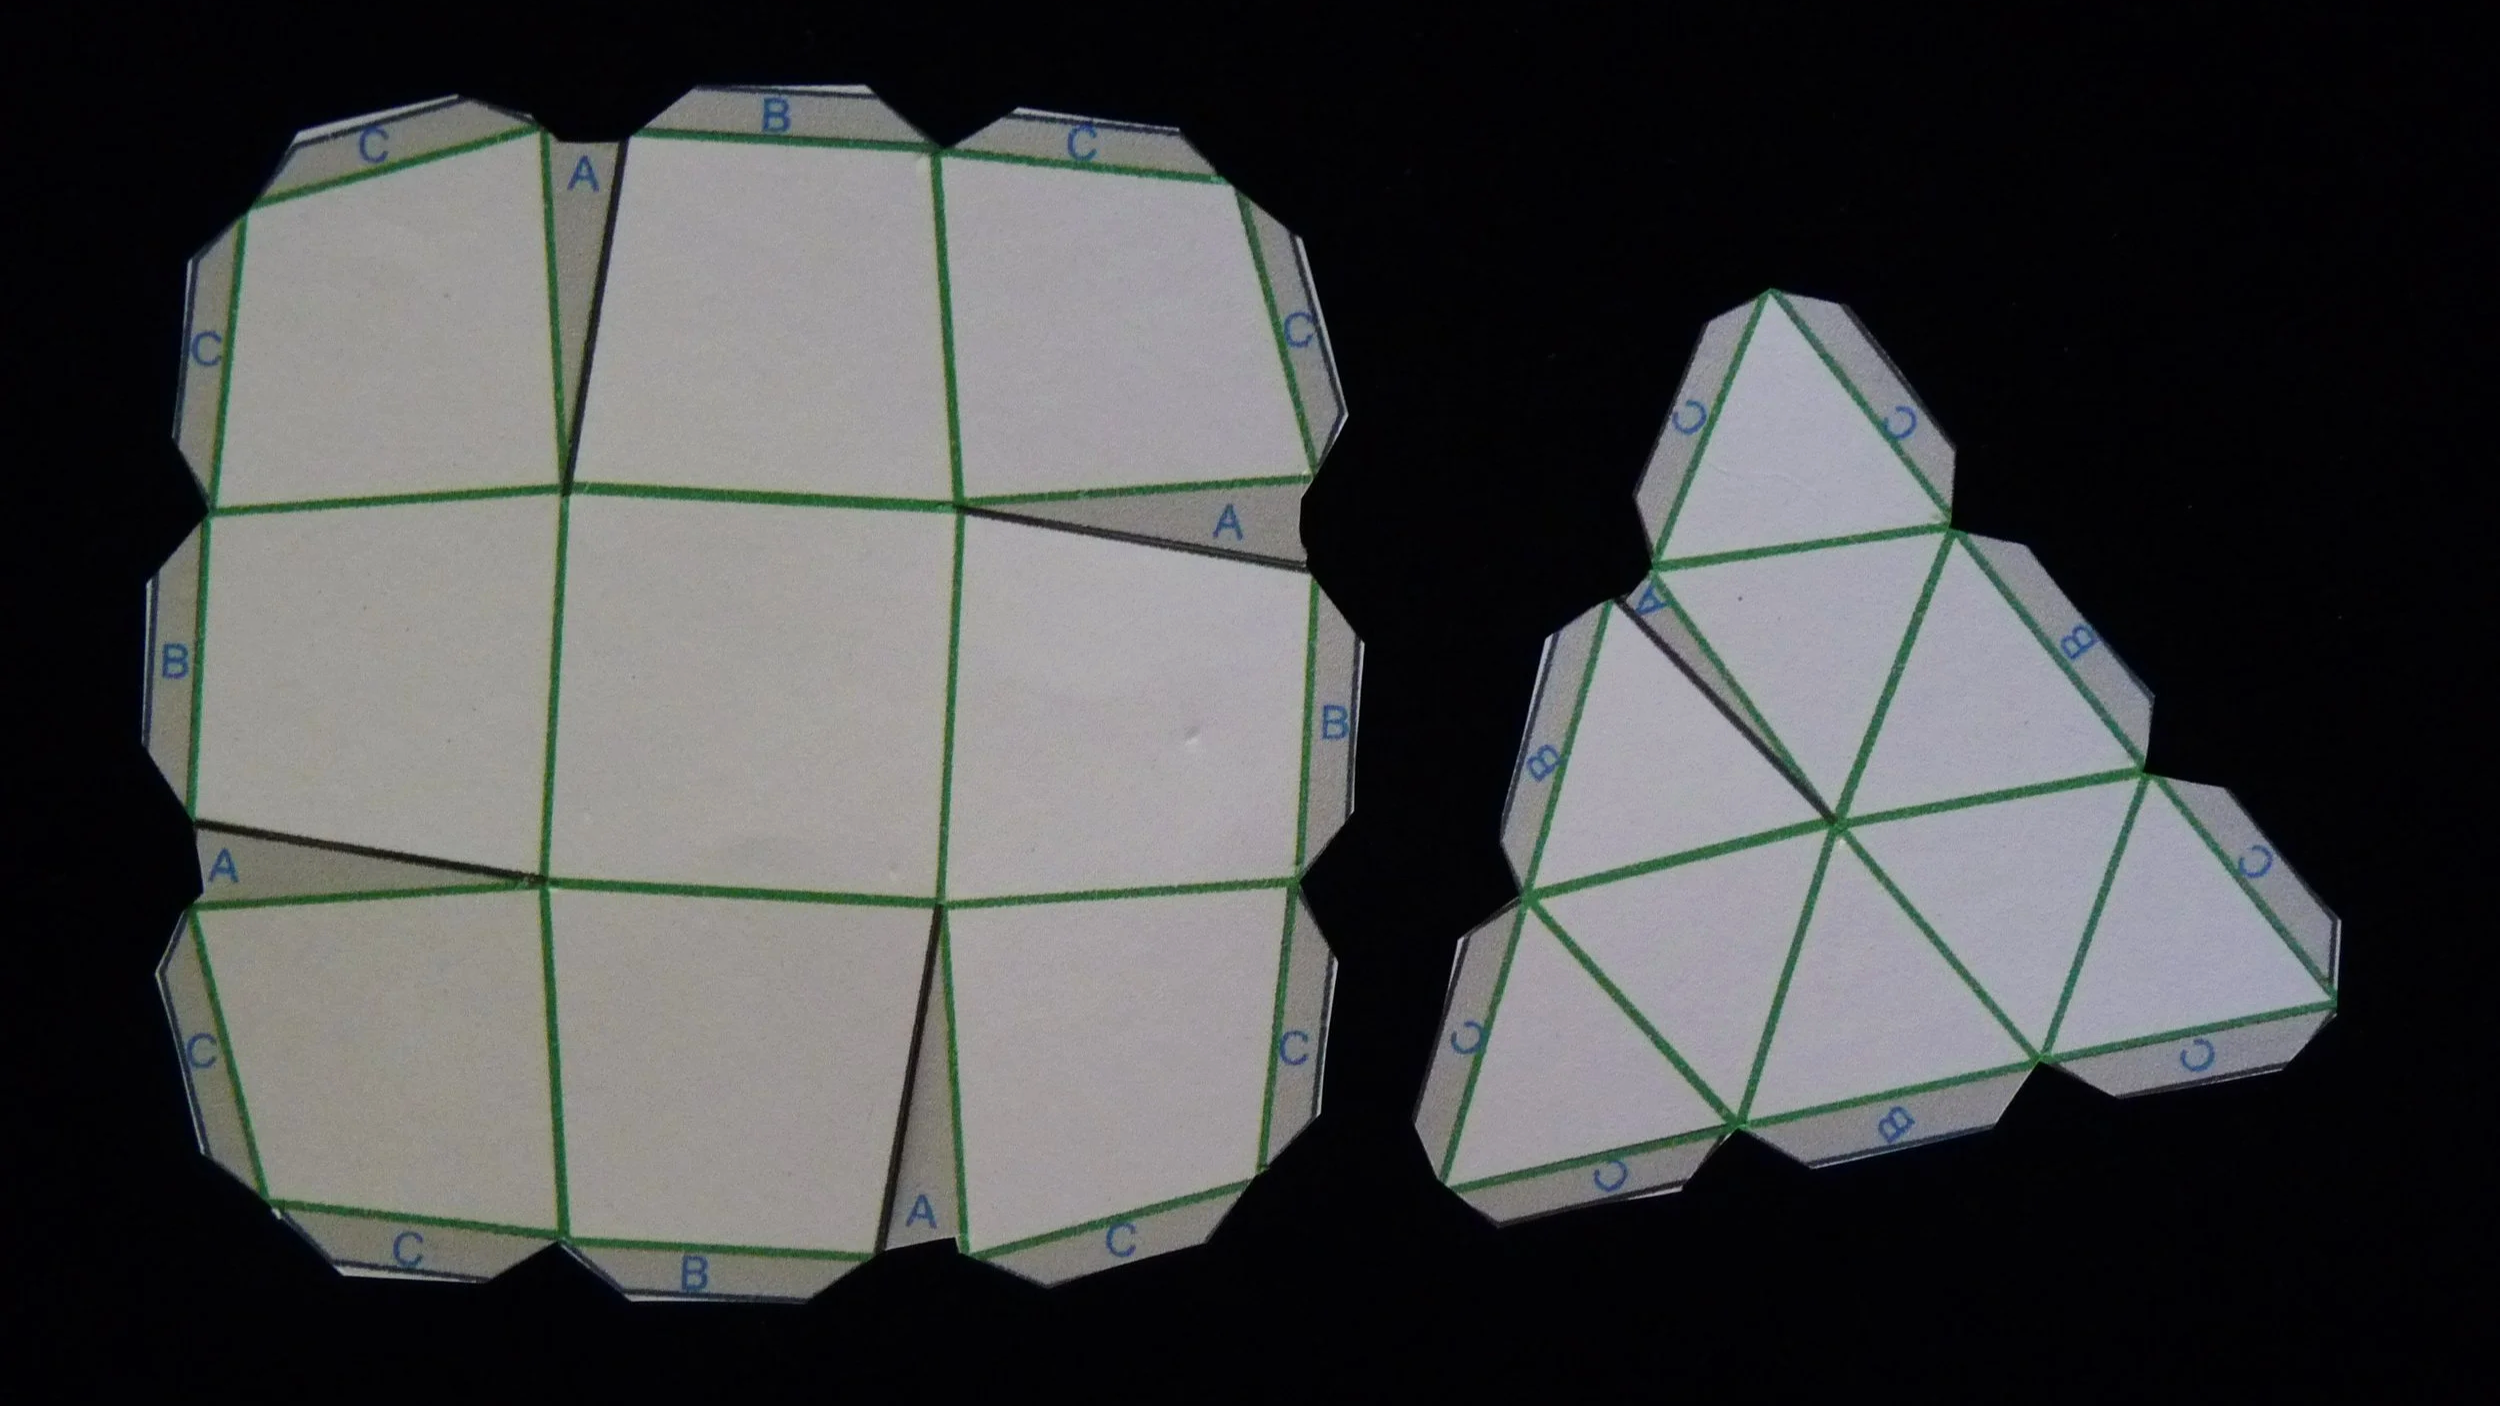
Photo 1. Inside of Two Parts after Step 2
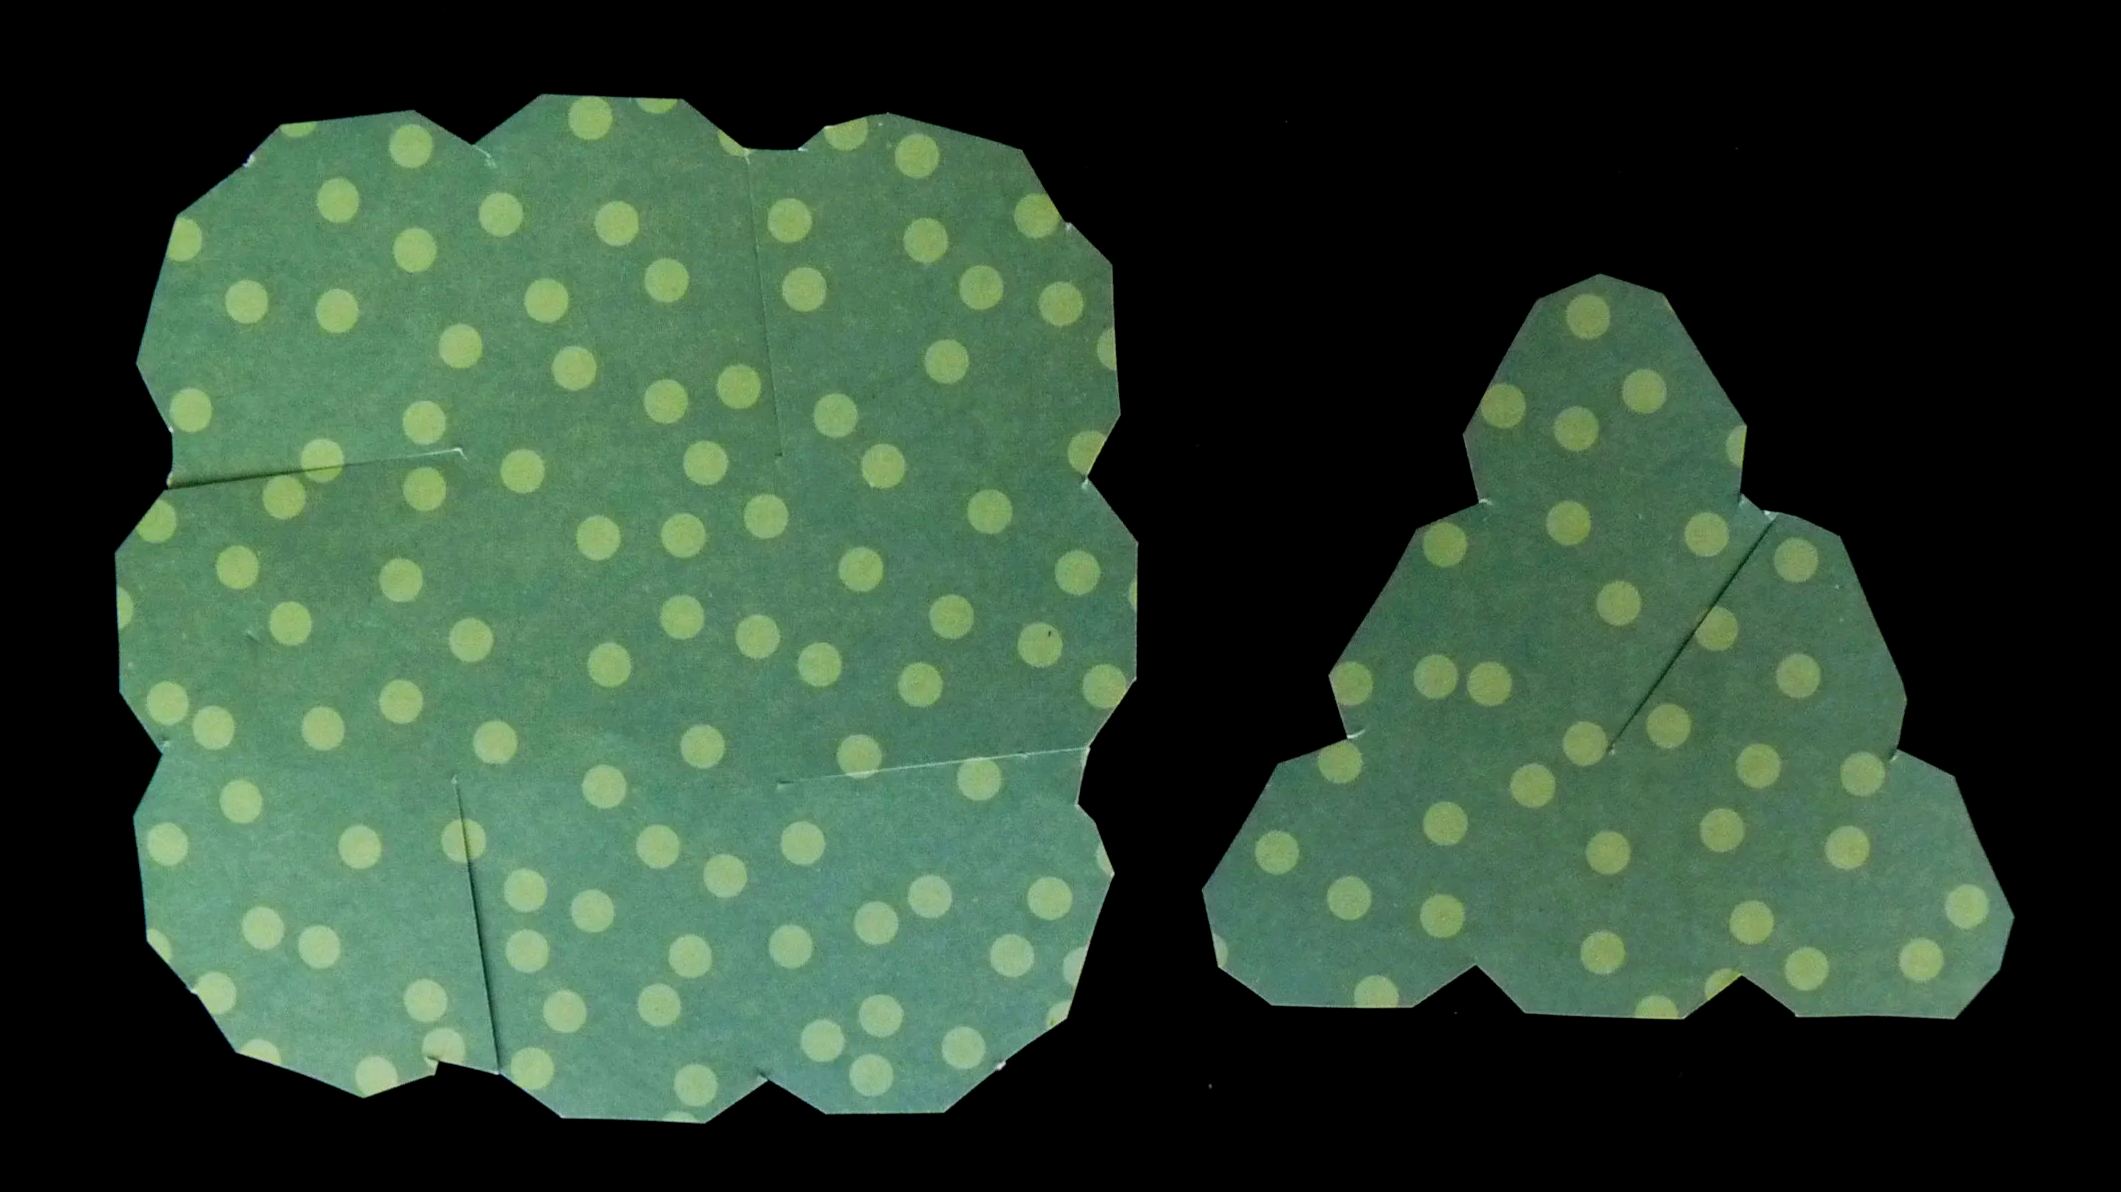
Photo 2. Outside of Two Parts after Step 2
STEP 3
On all fourteen parts, fold the green lines as valley folds. Next glue each Flap A to the back of the adjacent triangle or trapezoid.
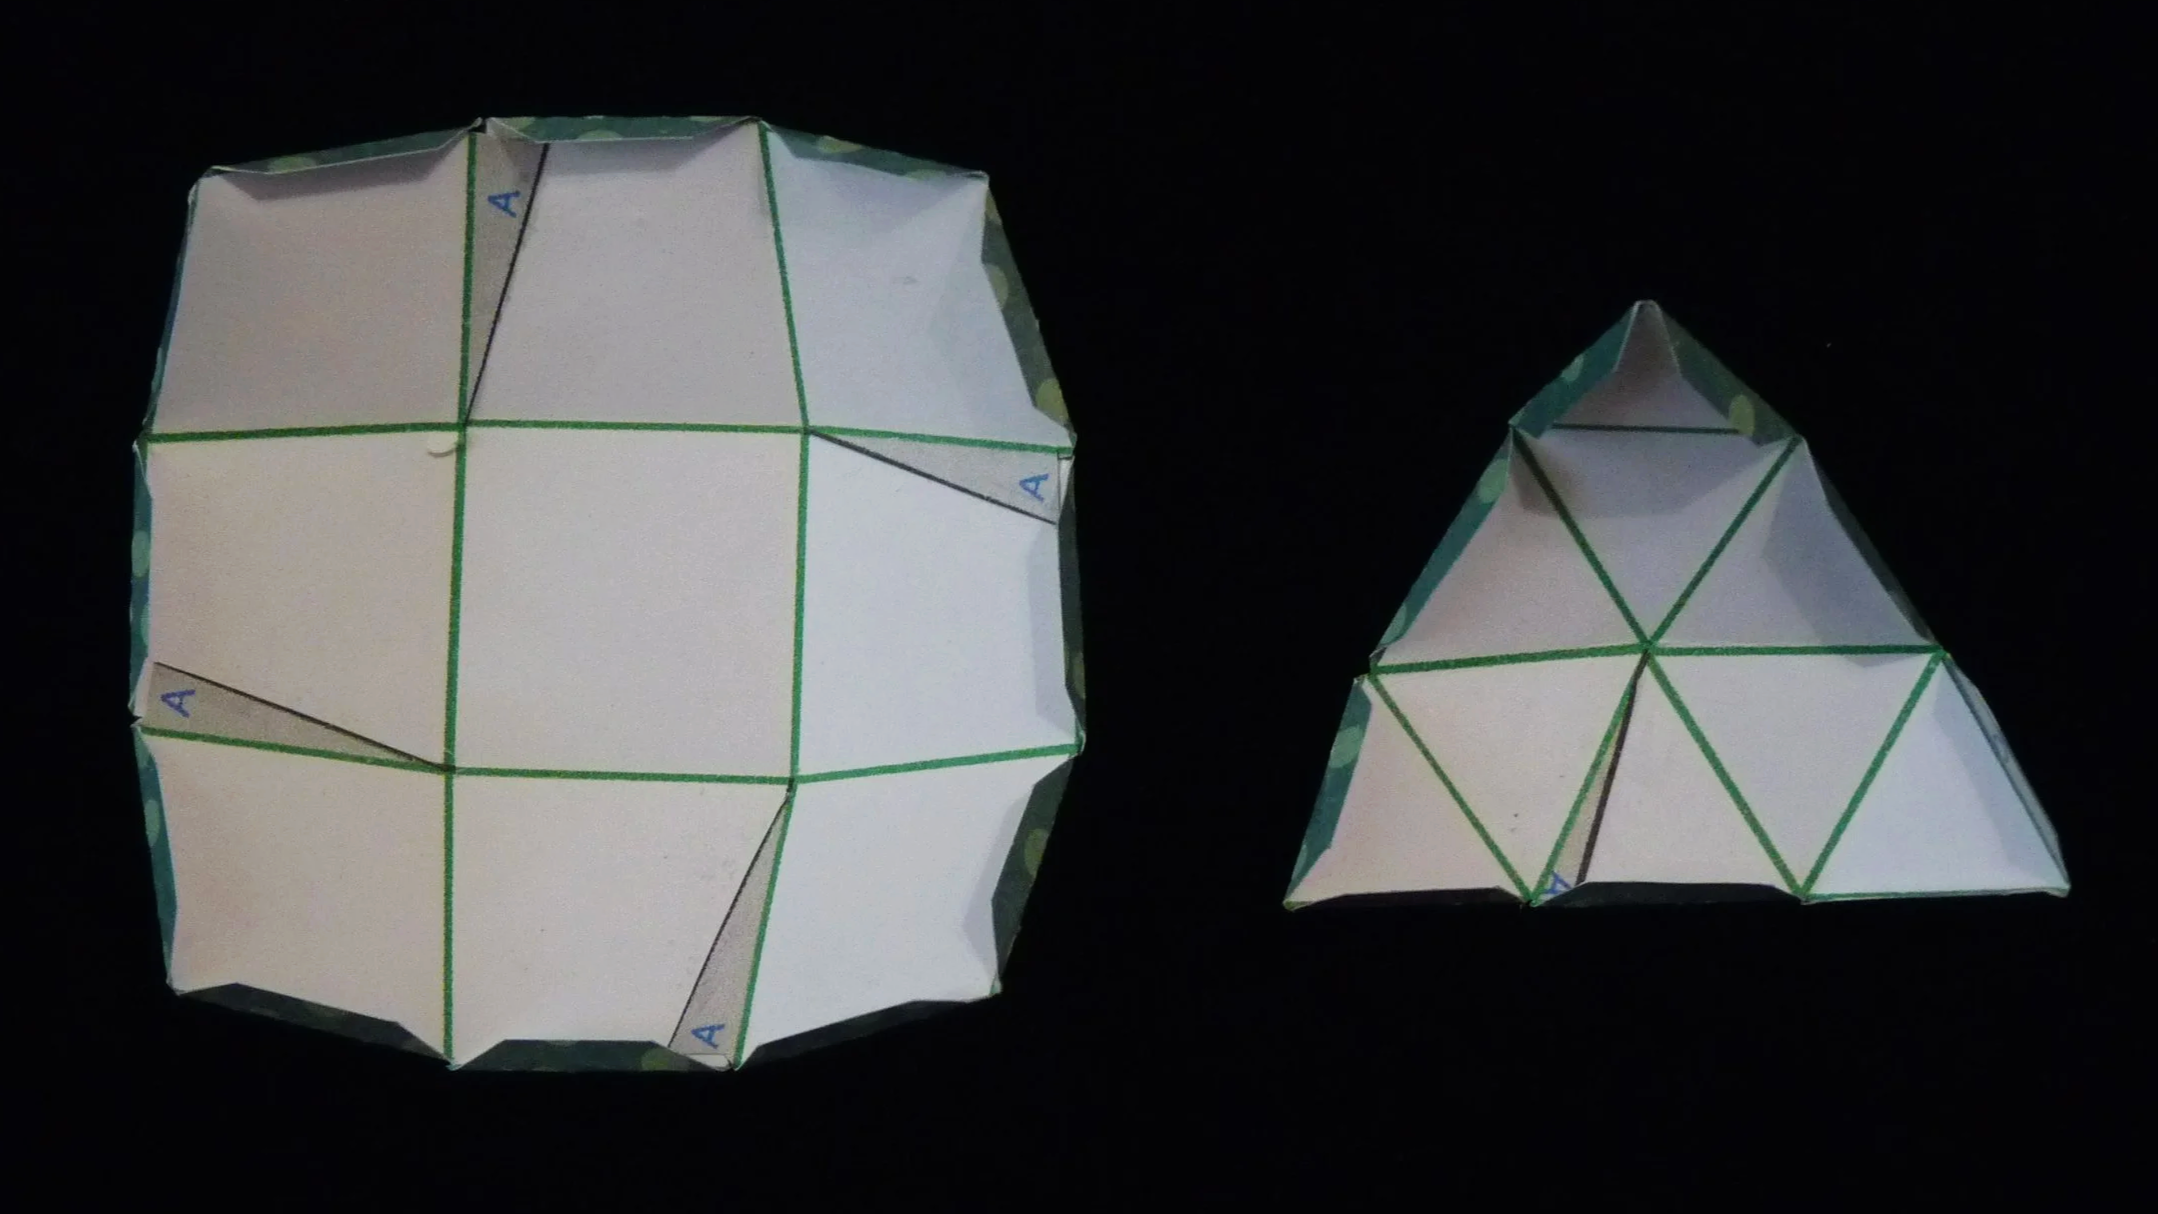
Photo 3. Inside of Two Parts after Step 3
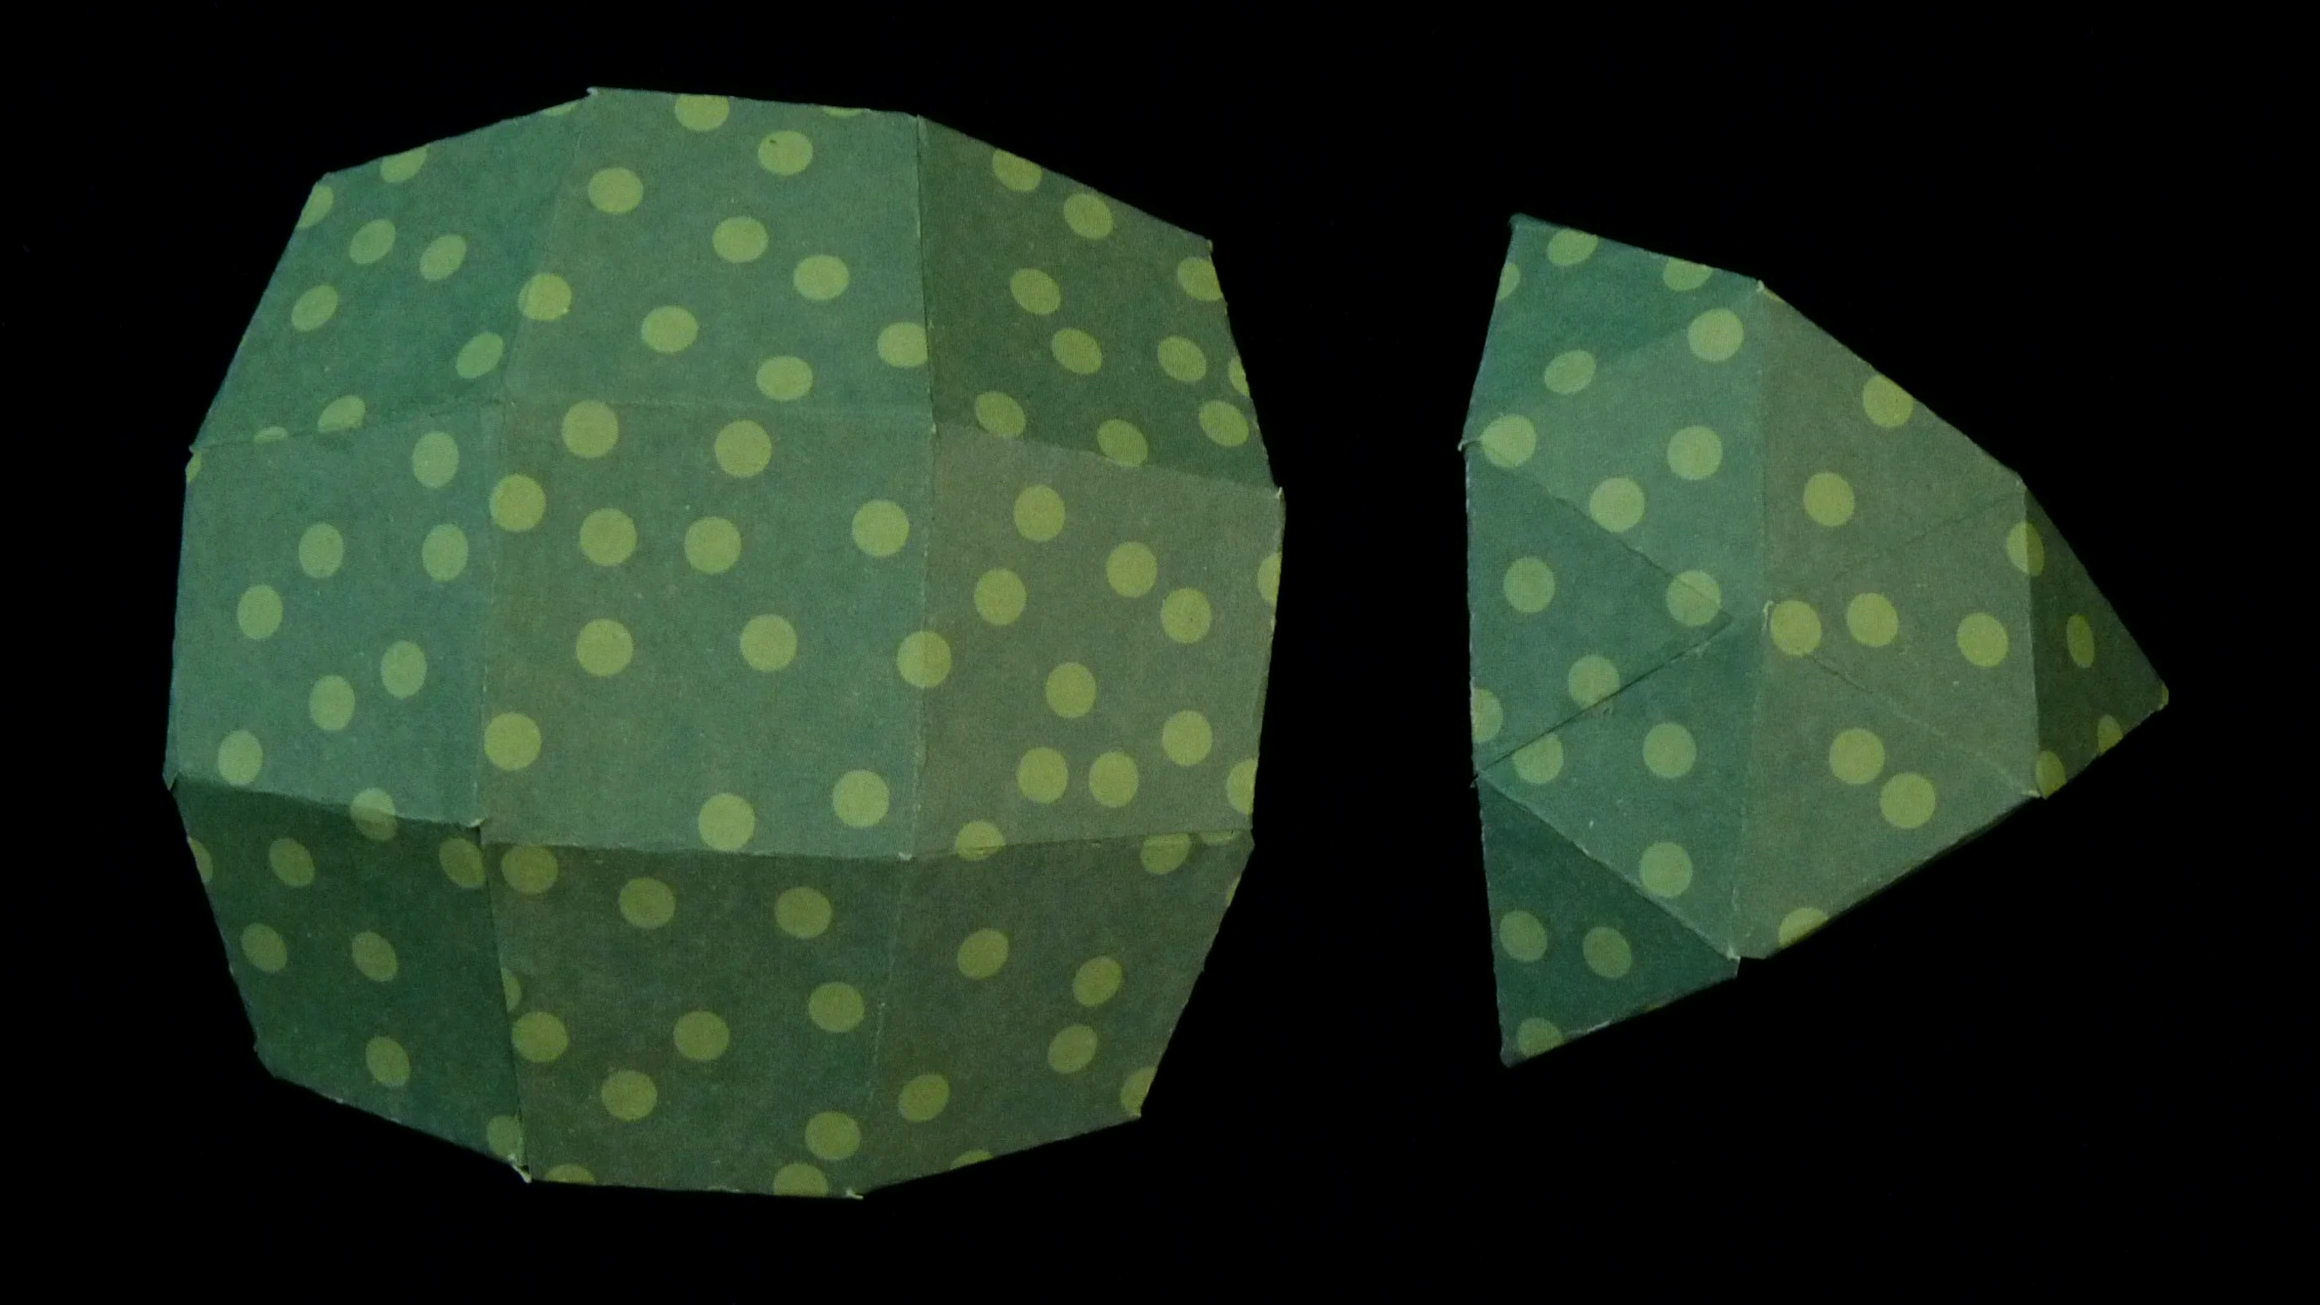
Photo 4. Outside of Two Parts after Step 3
Step 4
Connect a triangular part to each of the four sides of a square part. On each side, glue Flap B to the other Flap B and the two Flap C’s to the other Flap C’s.
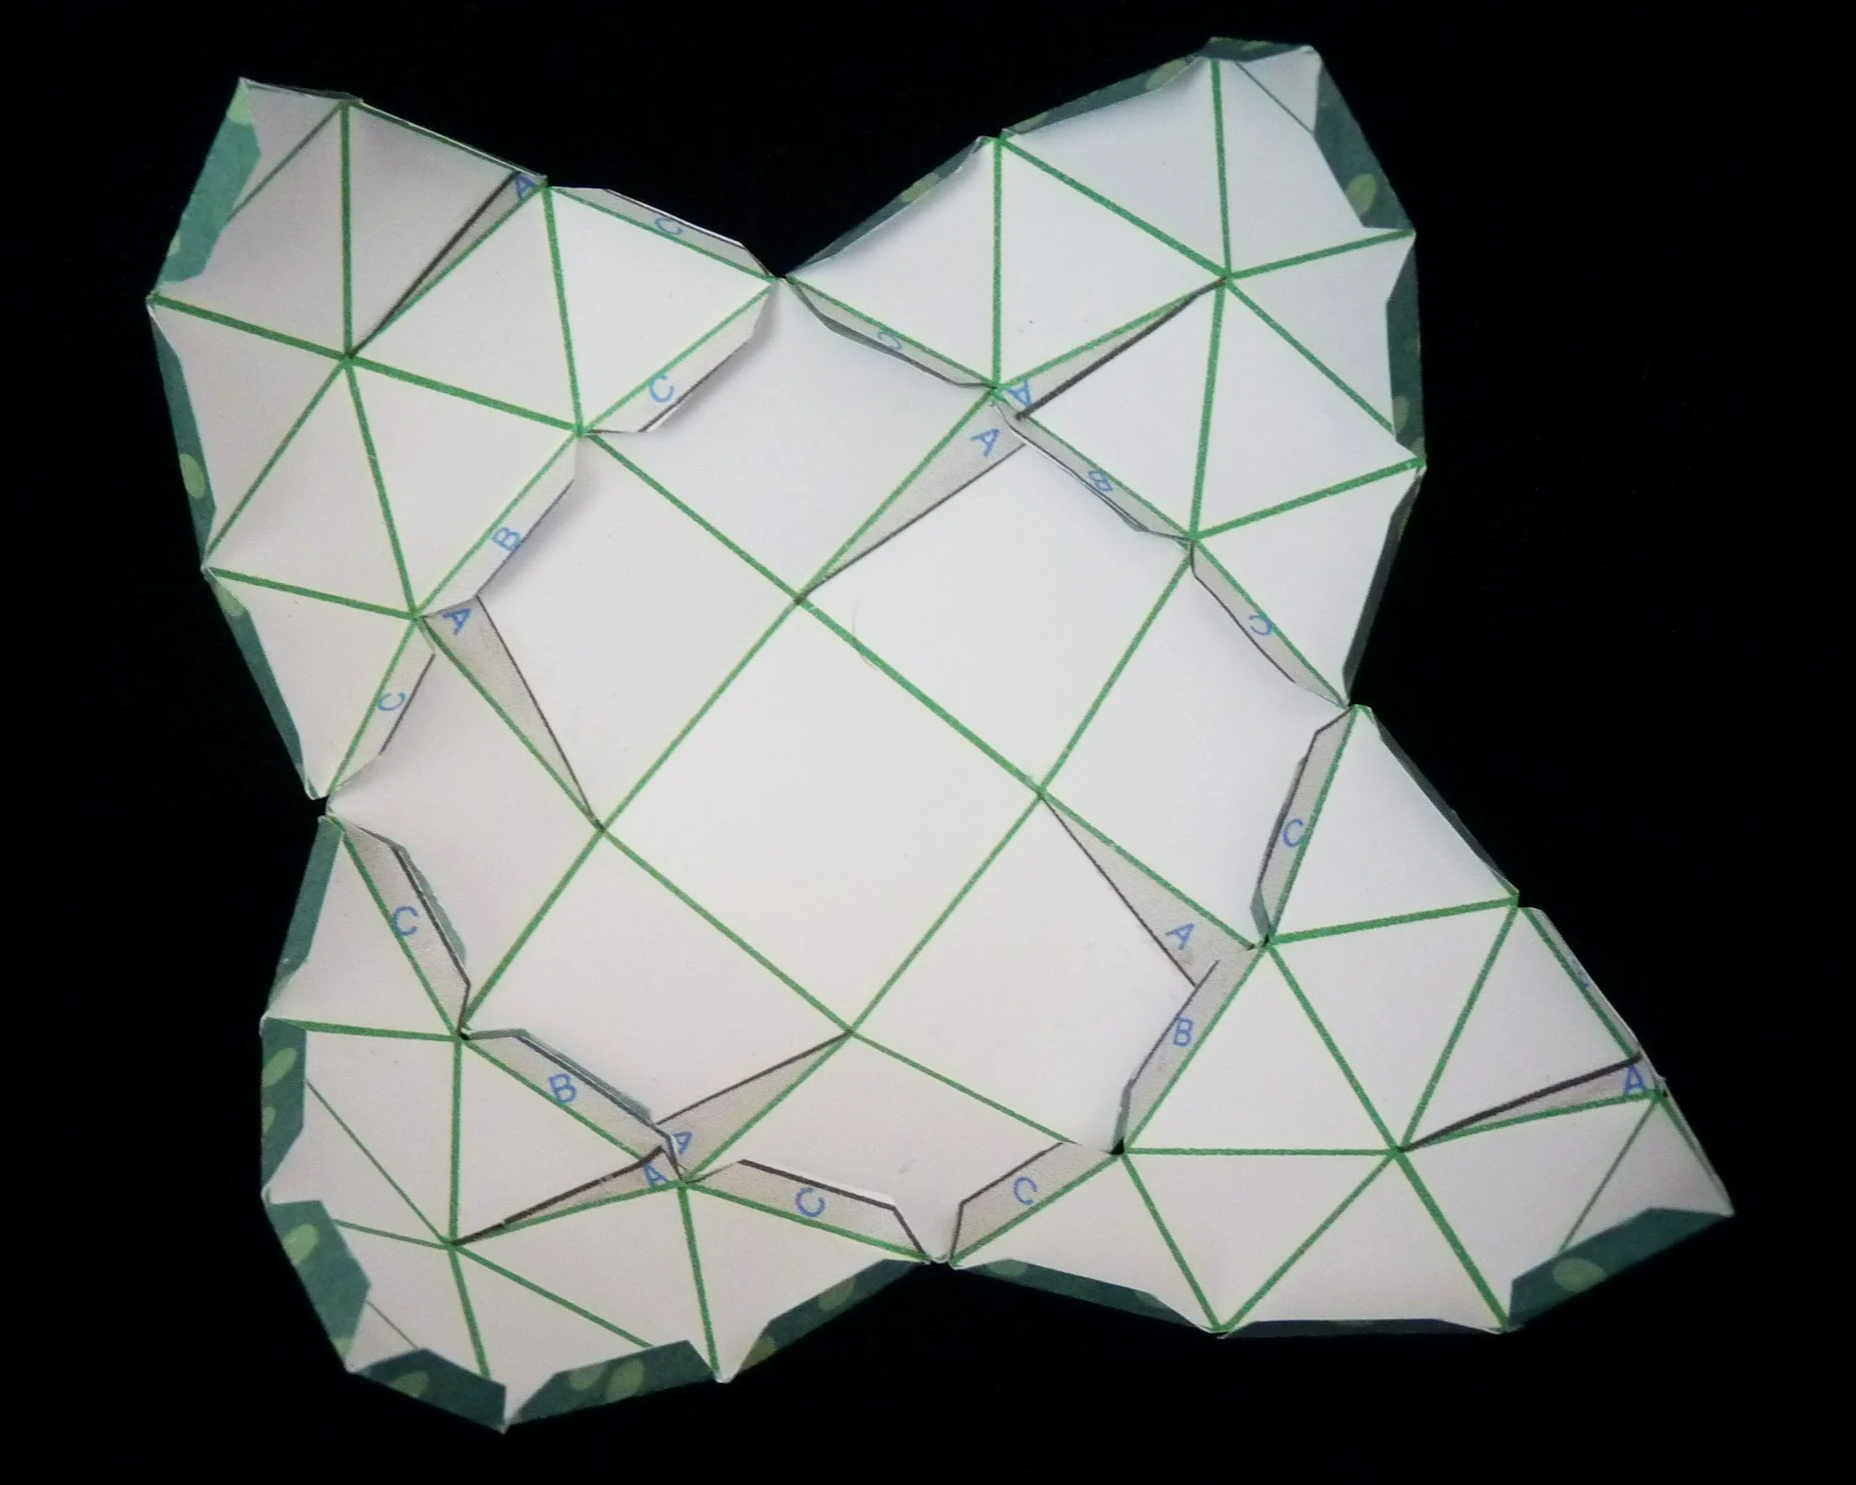
Photo 5. Inside of Project after Step 4
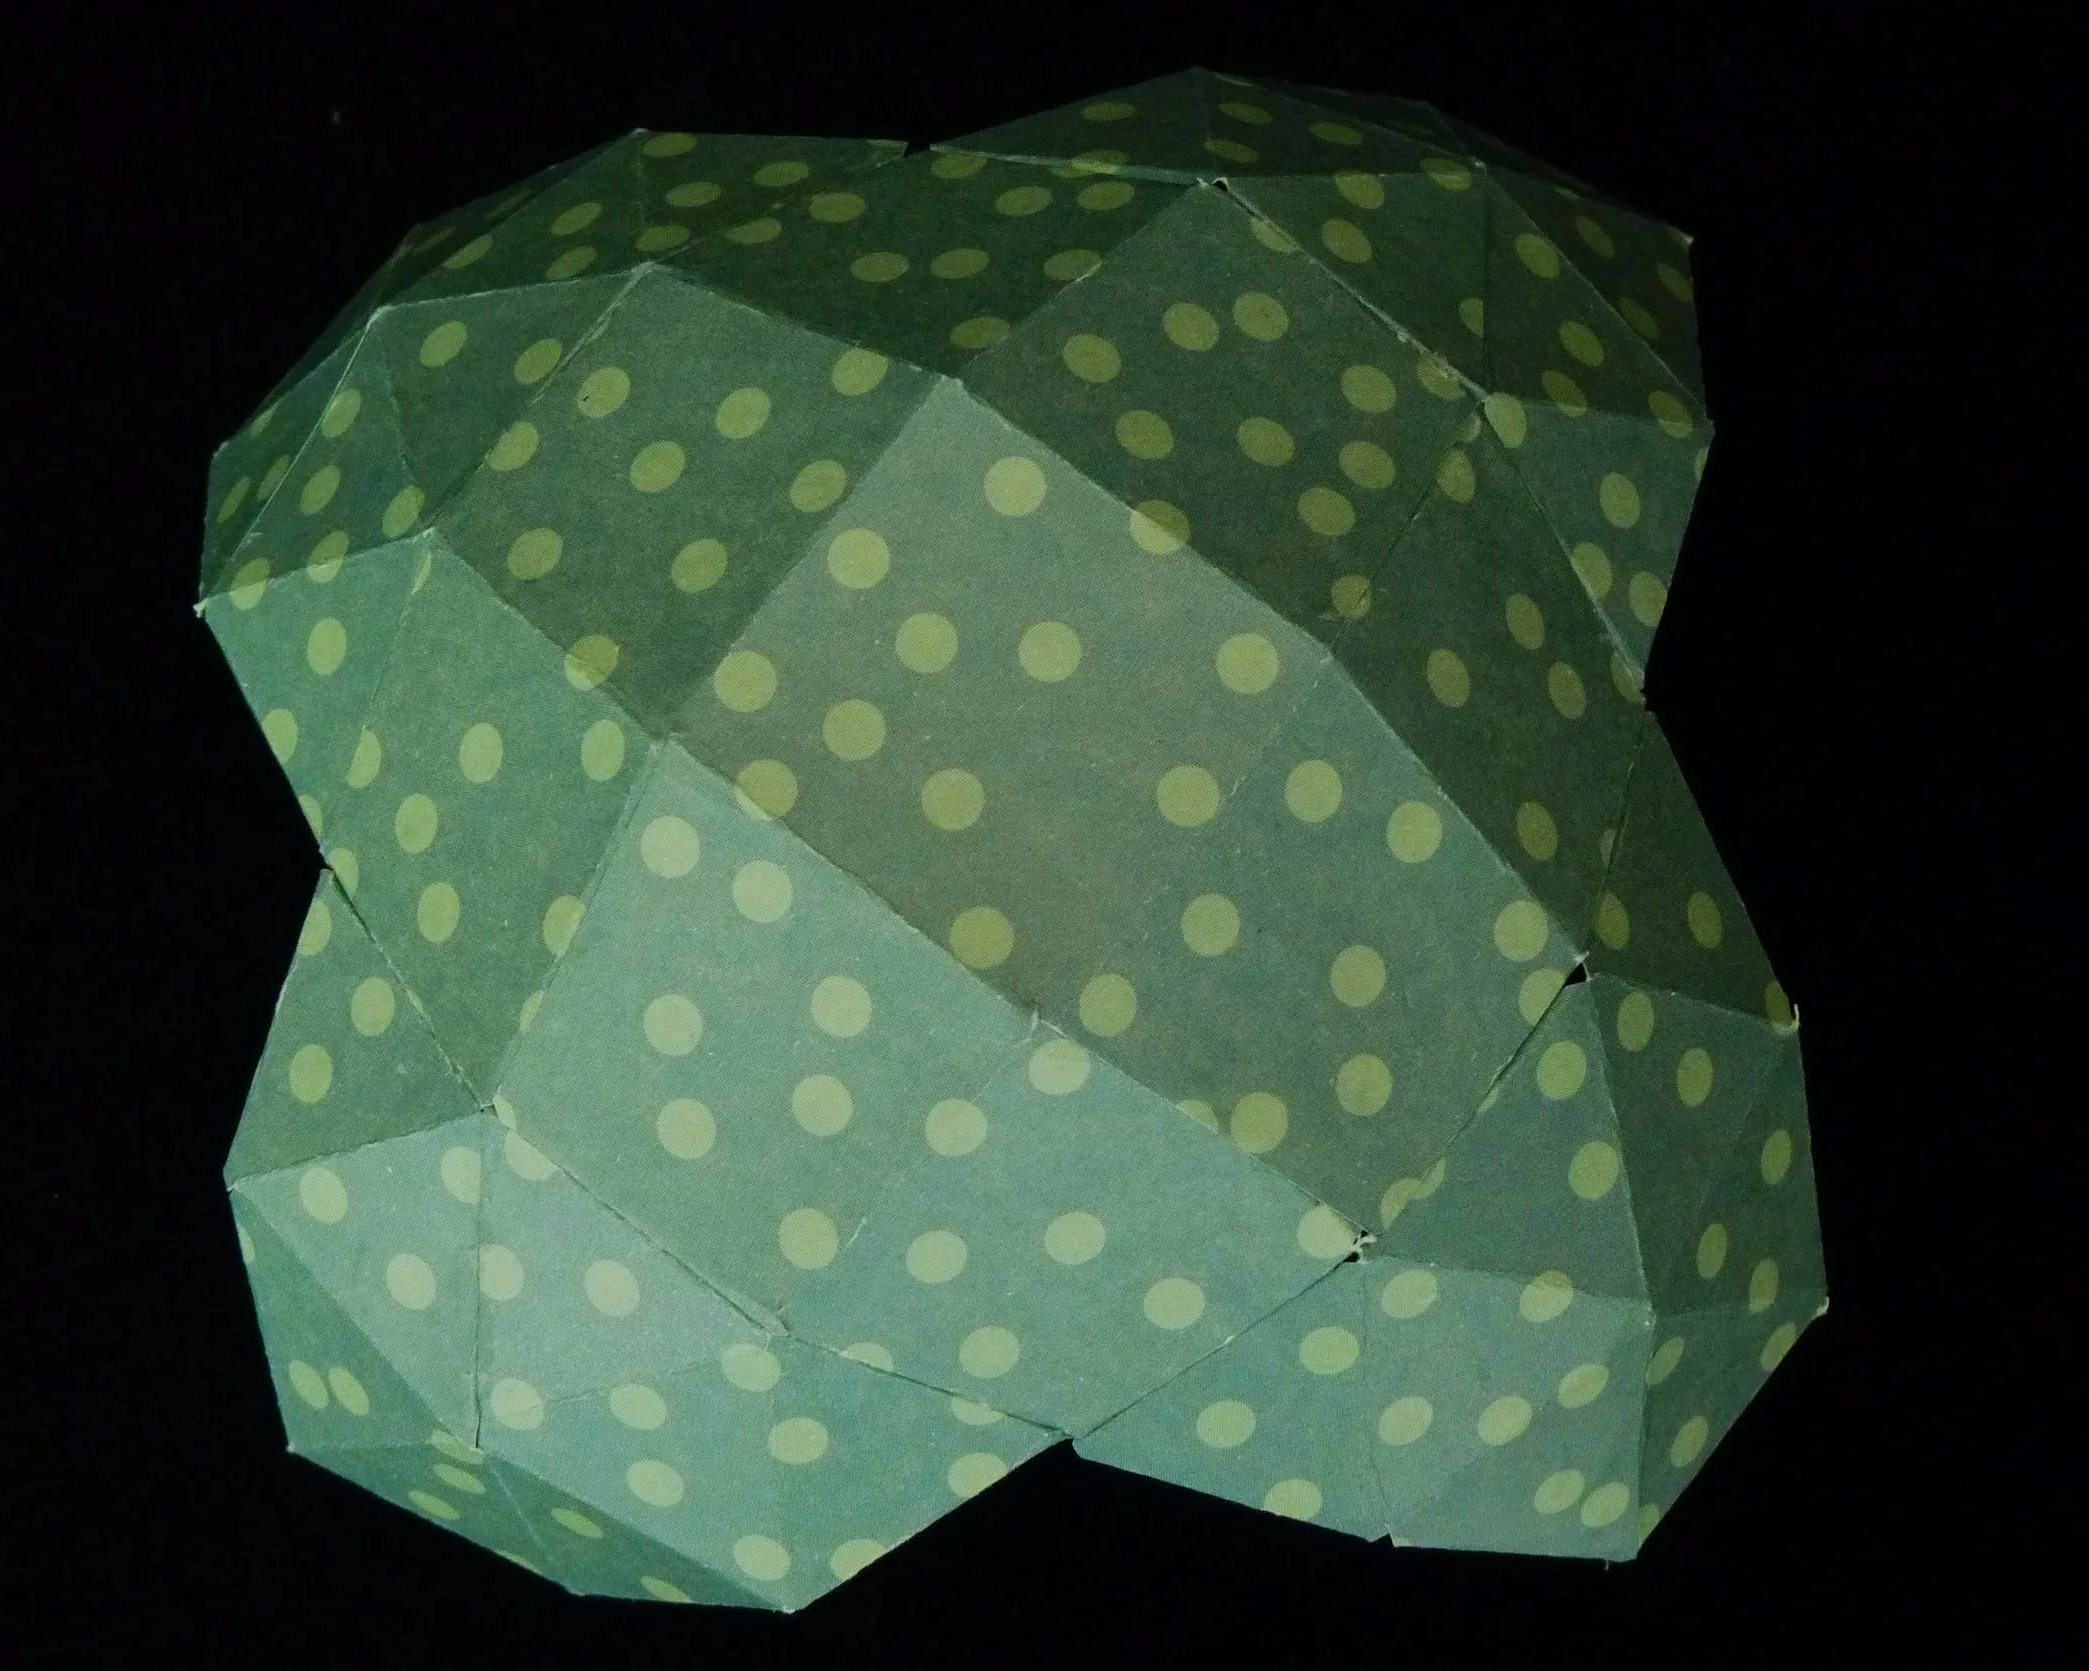
Photo 6. Outside of Project after Step 4
Step 5
Add a square part in each of the four gaps between the triangular parts added in Step 4. On each side, glue Flap B to the other Flap B and the two Flap C’s to the other Flap C’s.
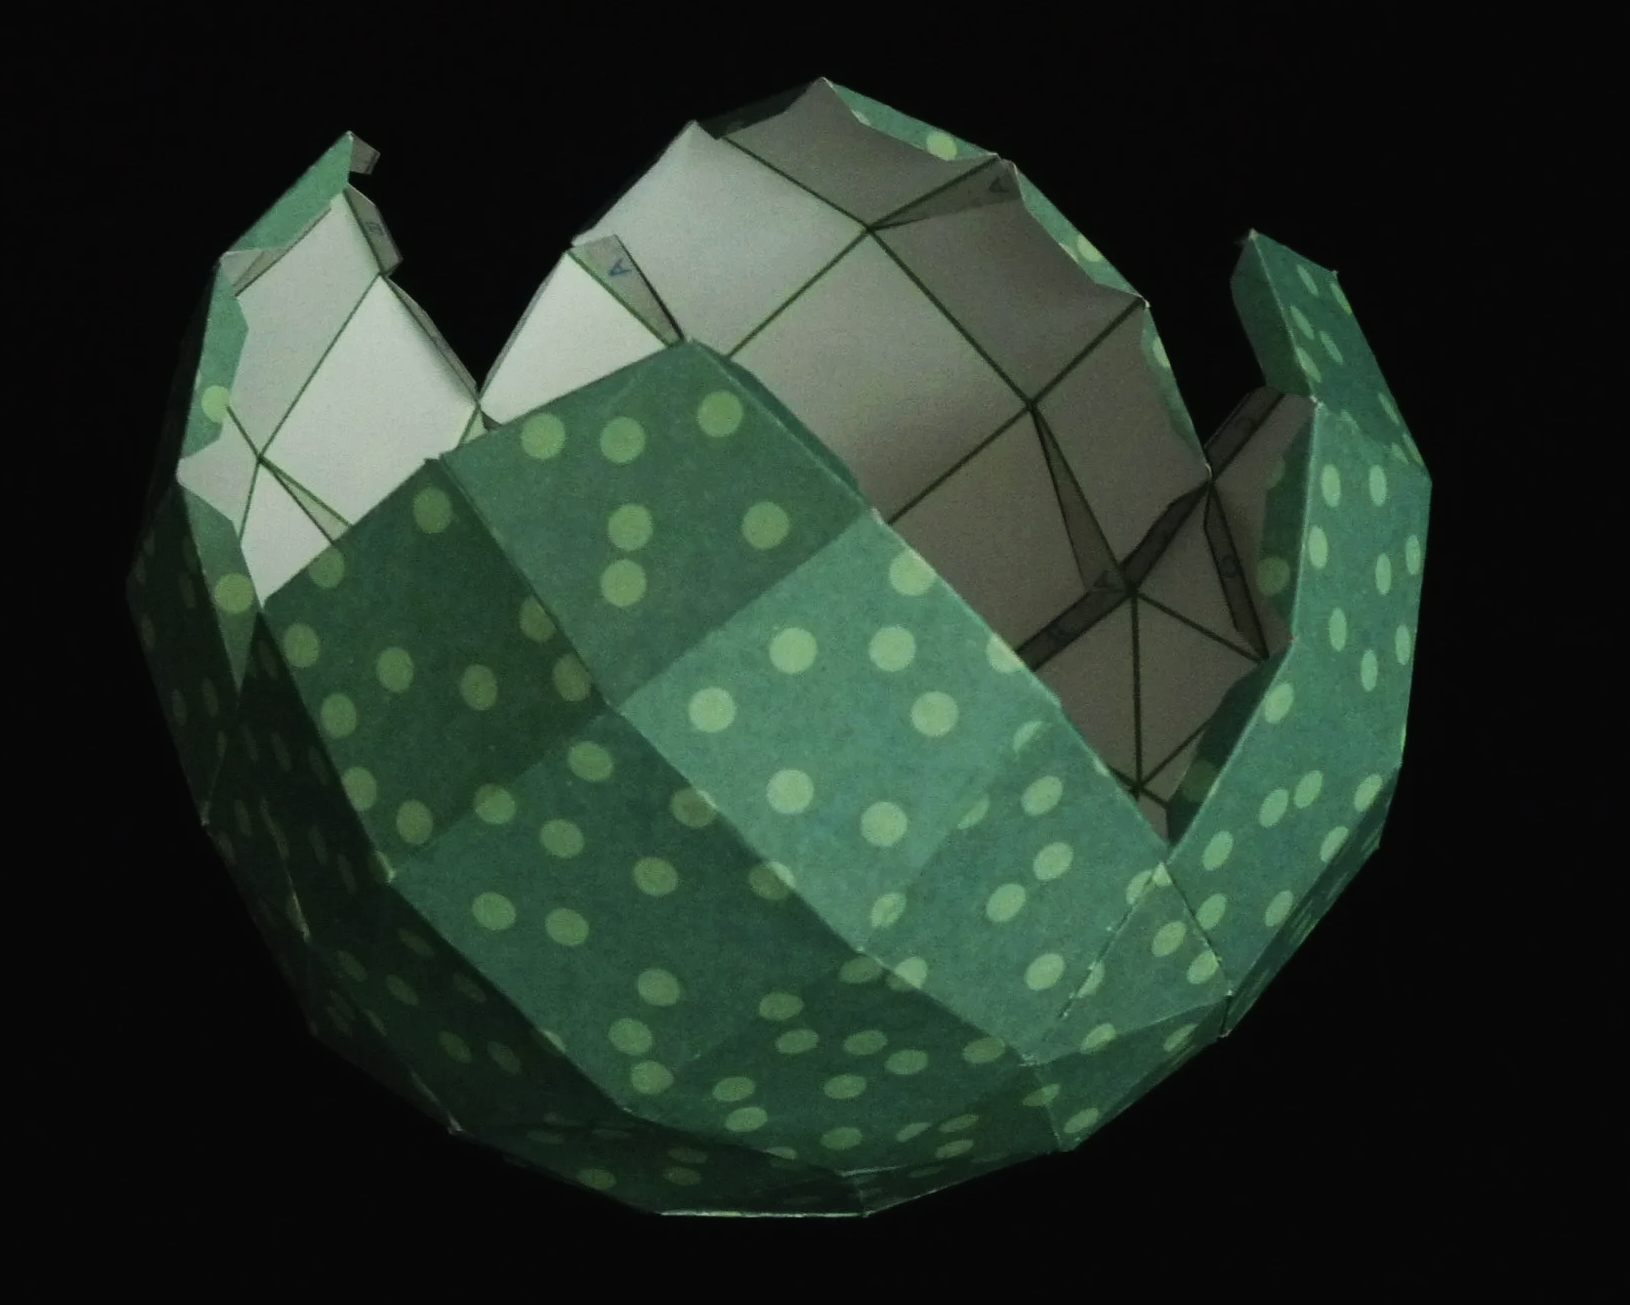
Photo 7. Project after Step 5
Step 6
Attach a triangular part in each of the gaps between the square parts added in Step 5, using six glue flaps on each. Add the final square part to the remaining gap to complete the project. I found it useful to use a toothpick to apply the glue to the last few flaps on the last part.
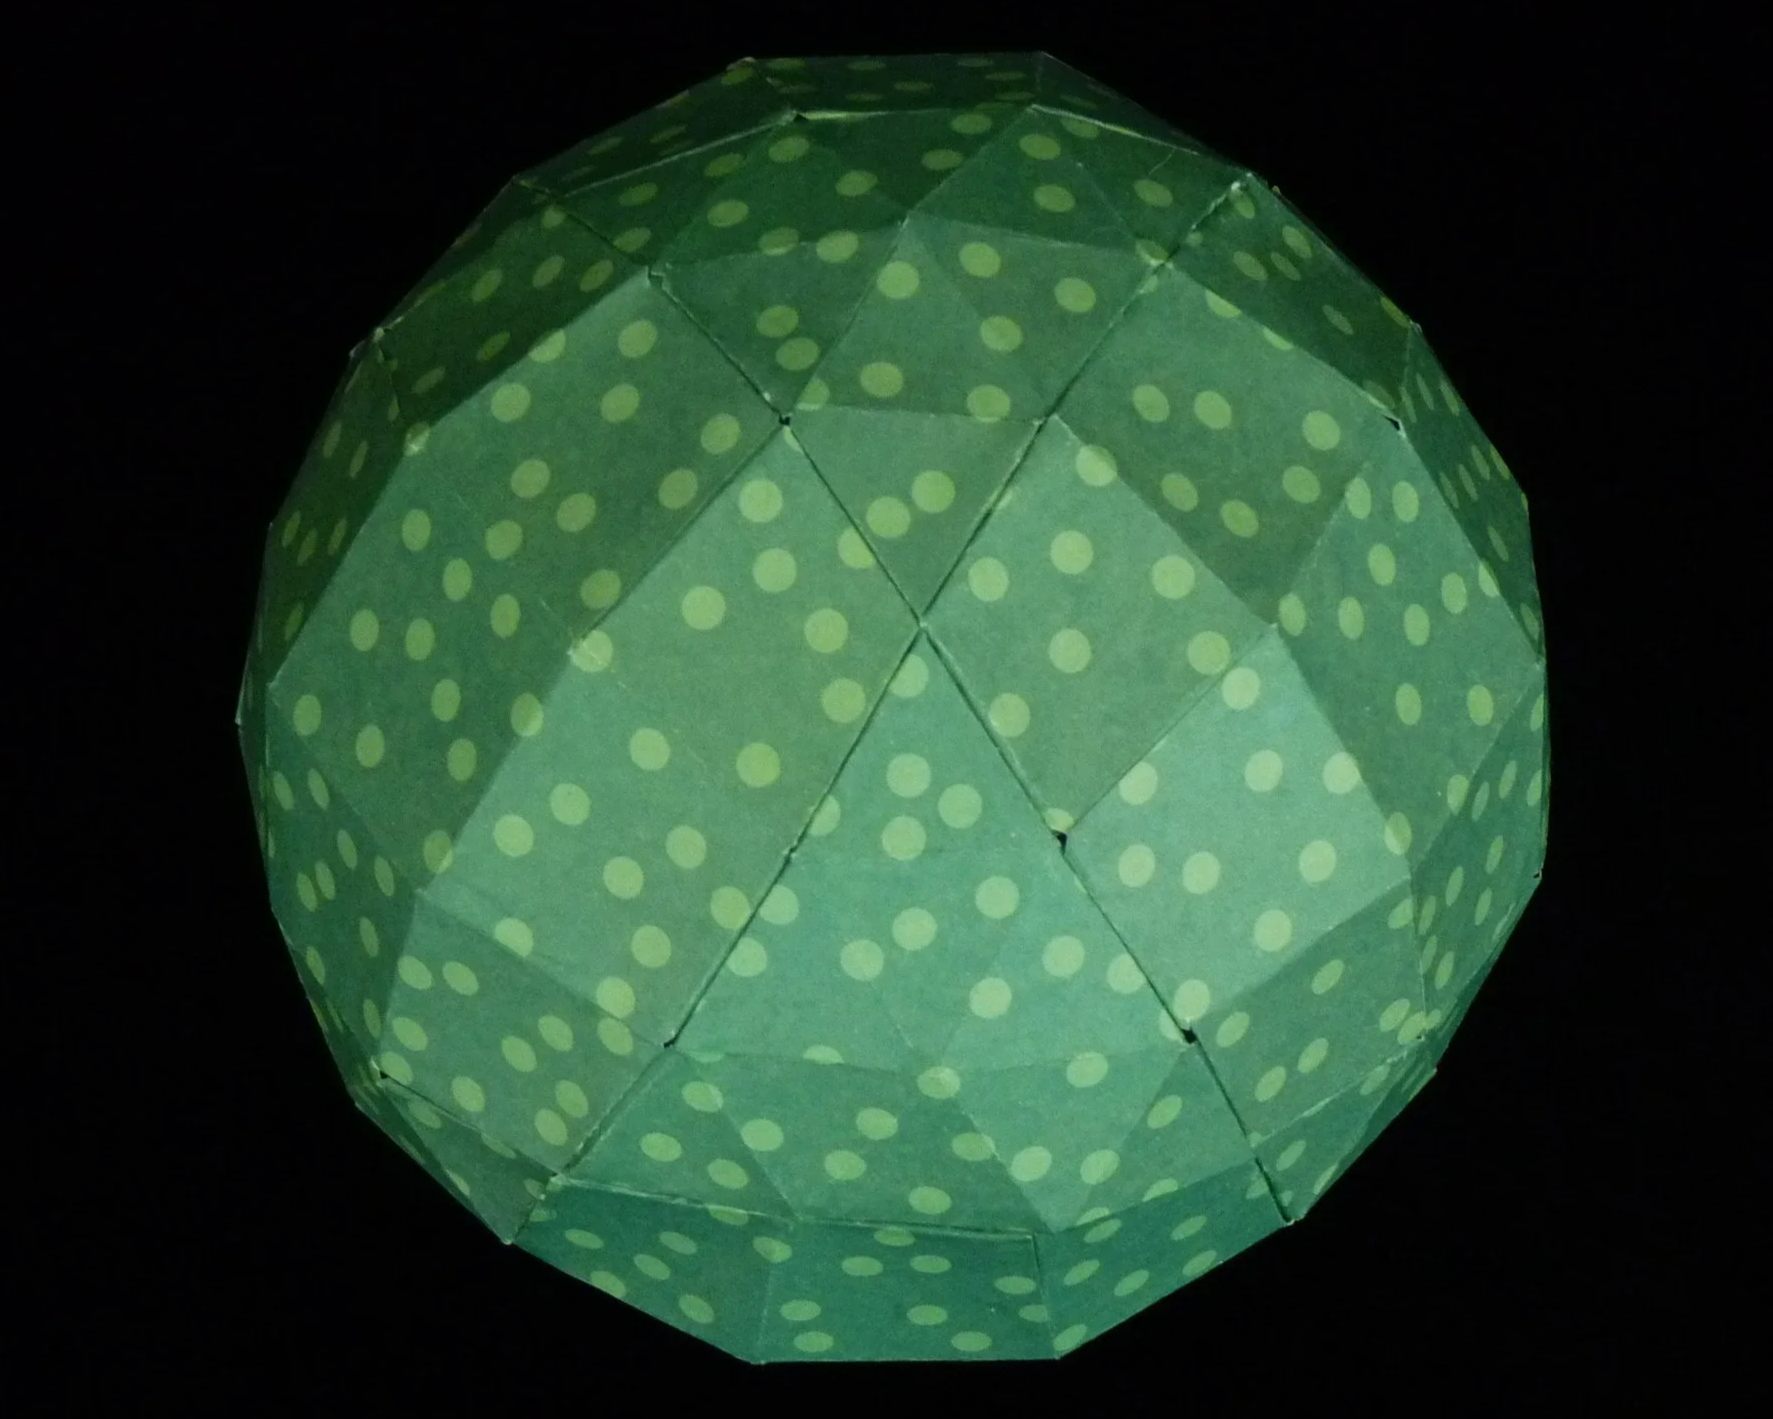
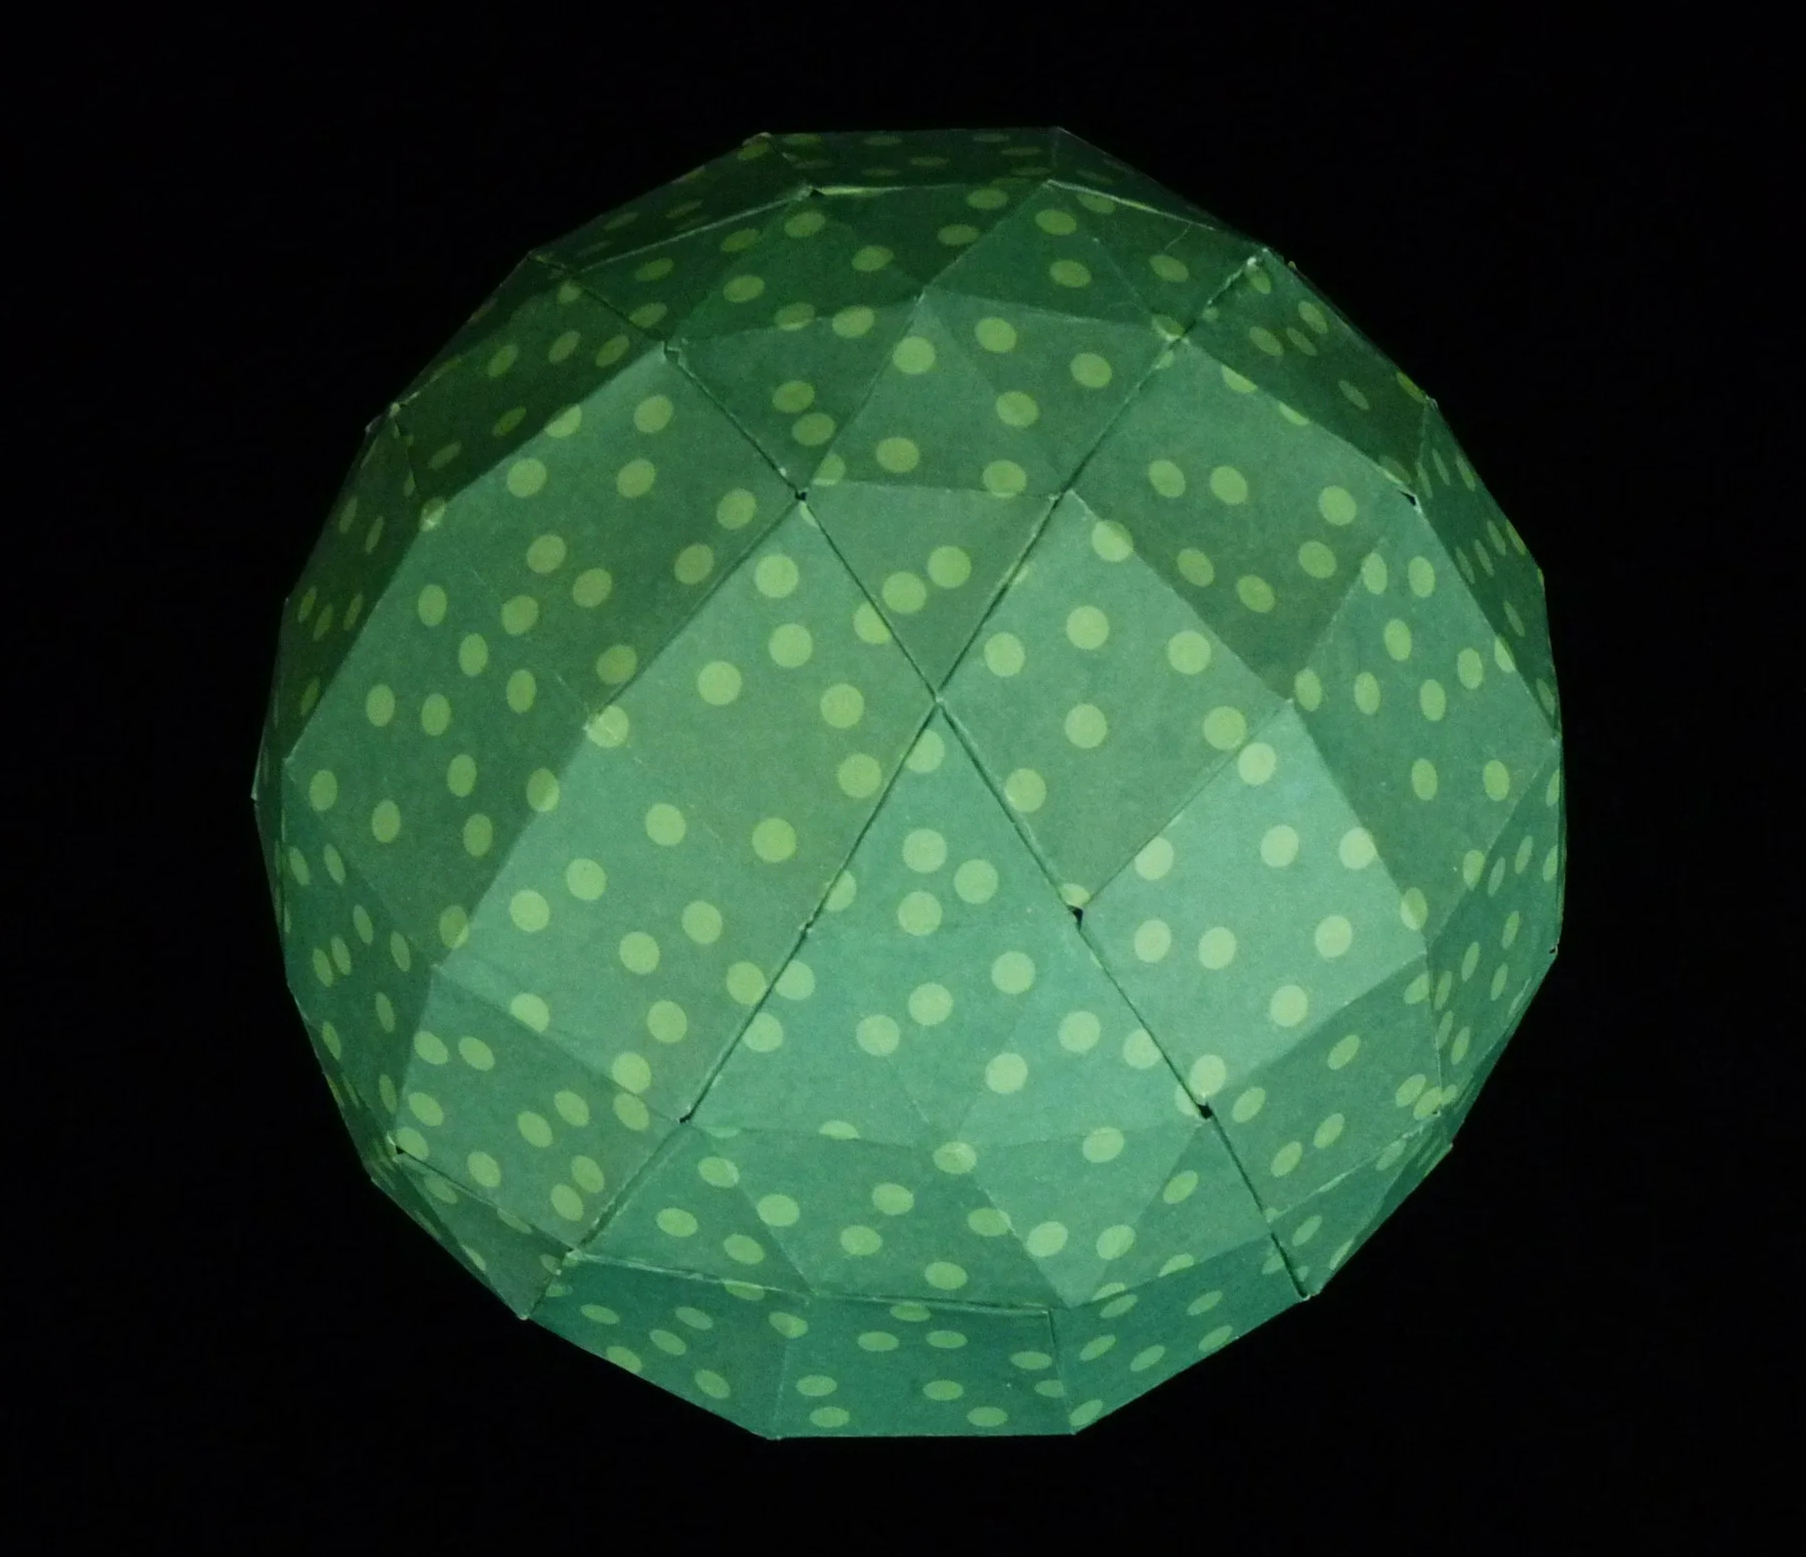
Photo 8. Completed Titania - View 1
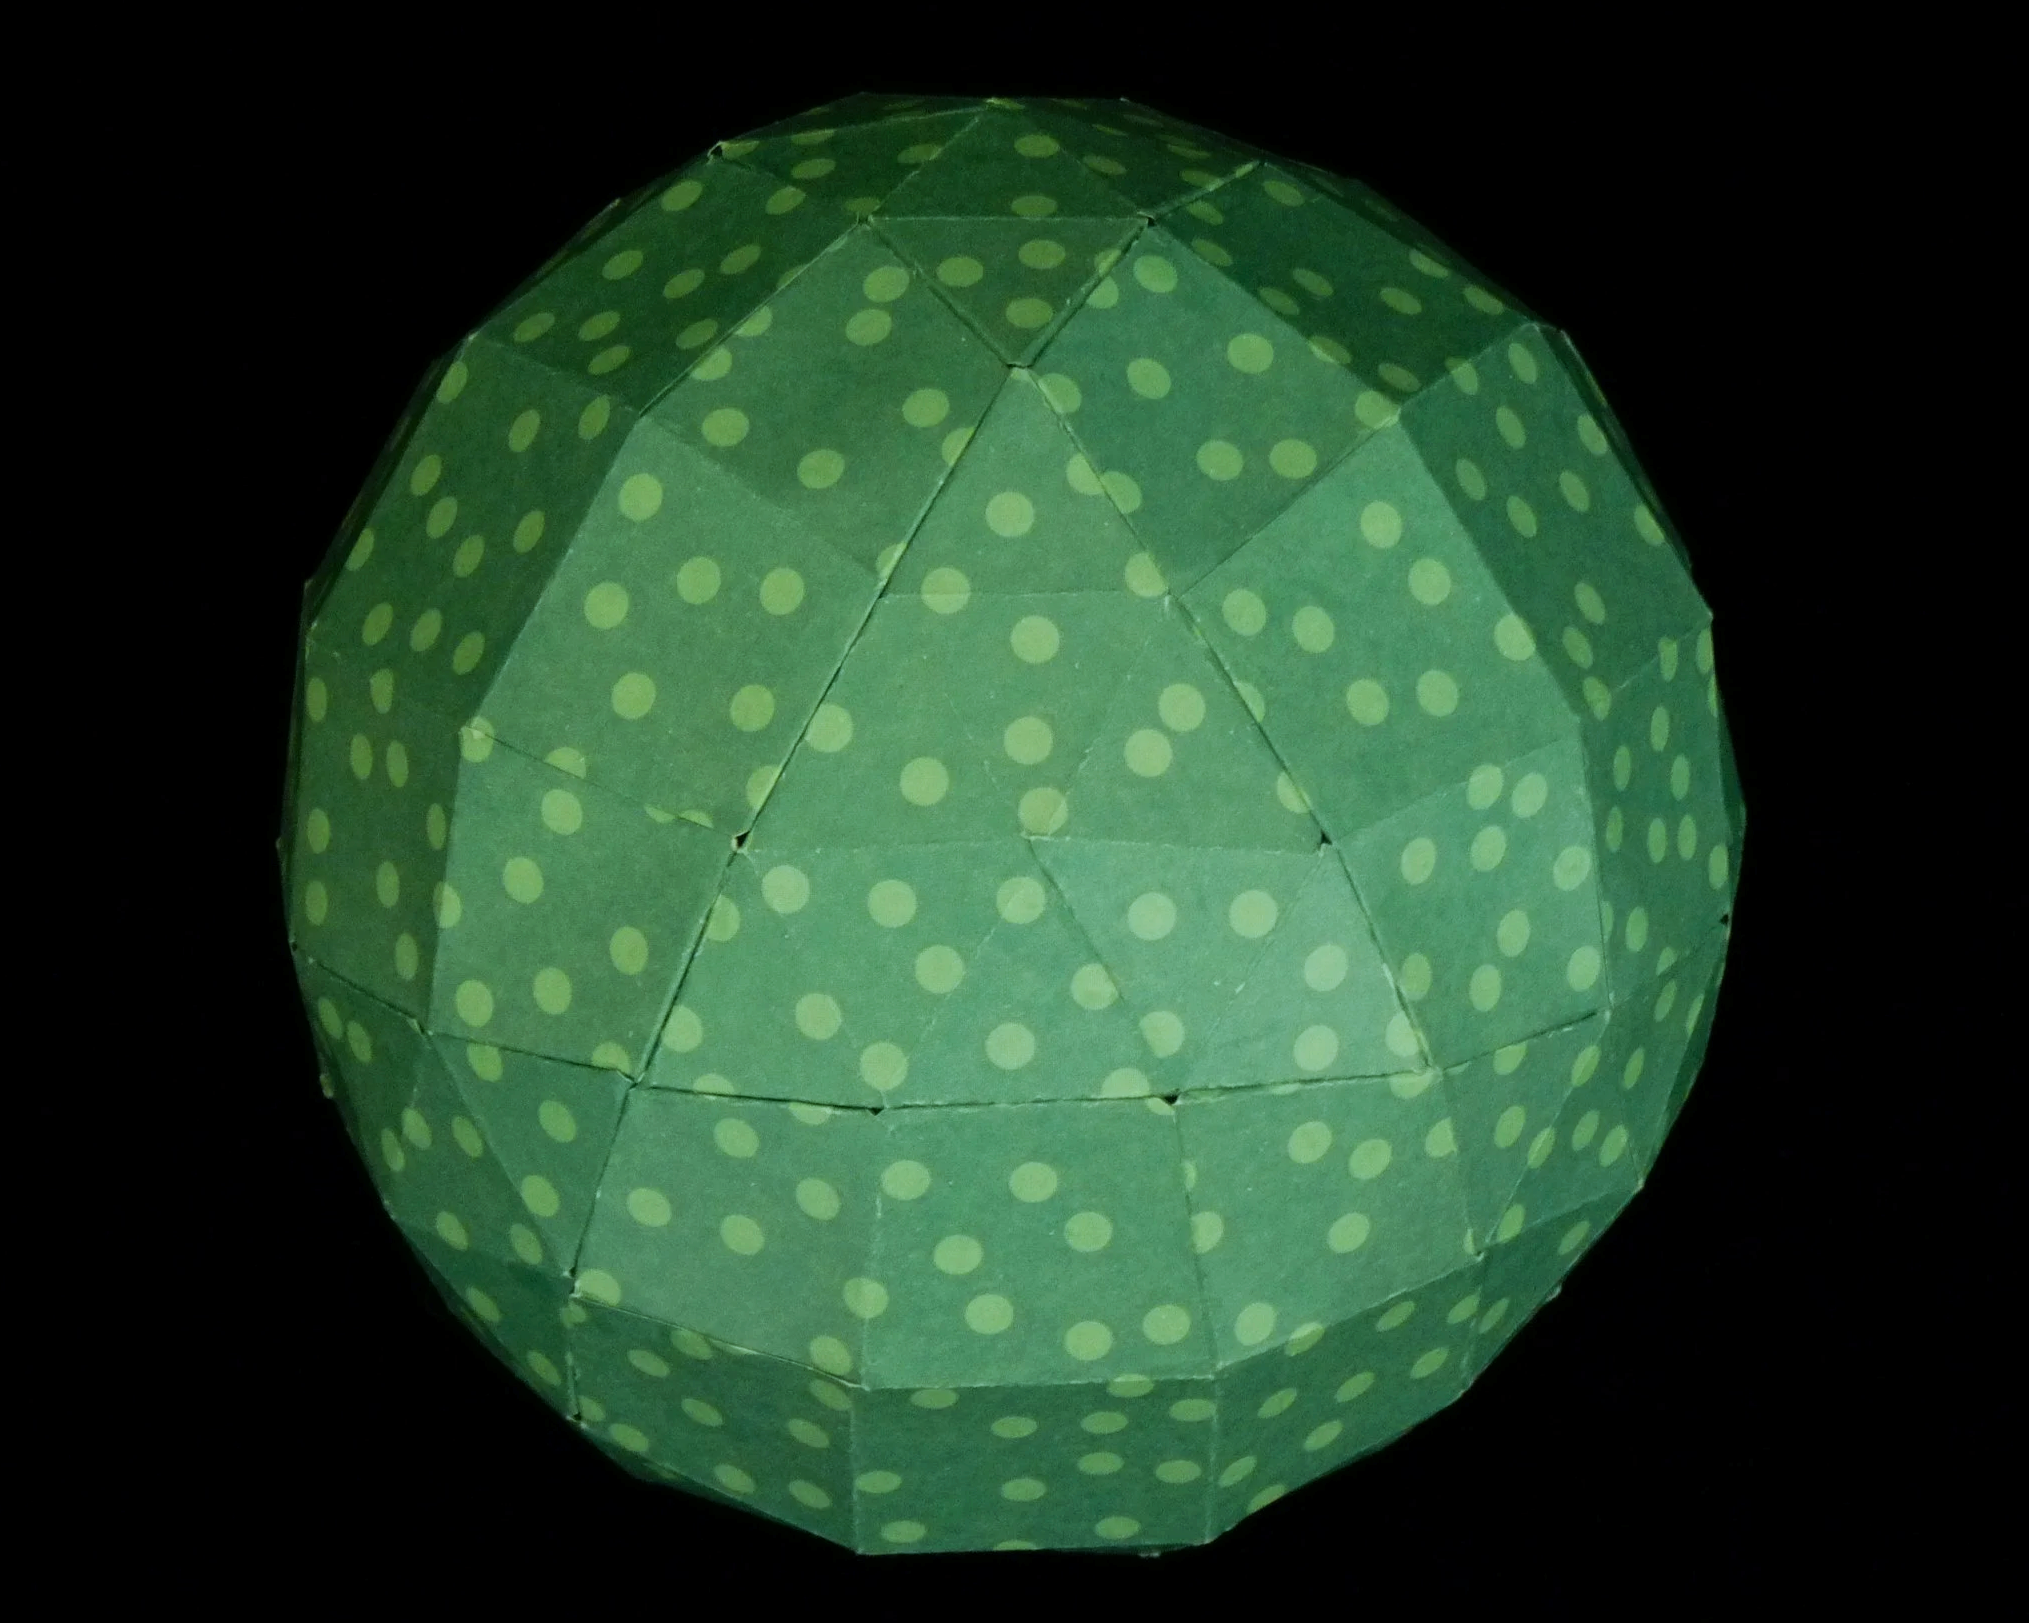
Photo 9. Completed Titania - View 2
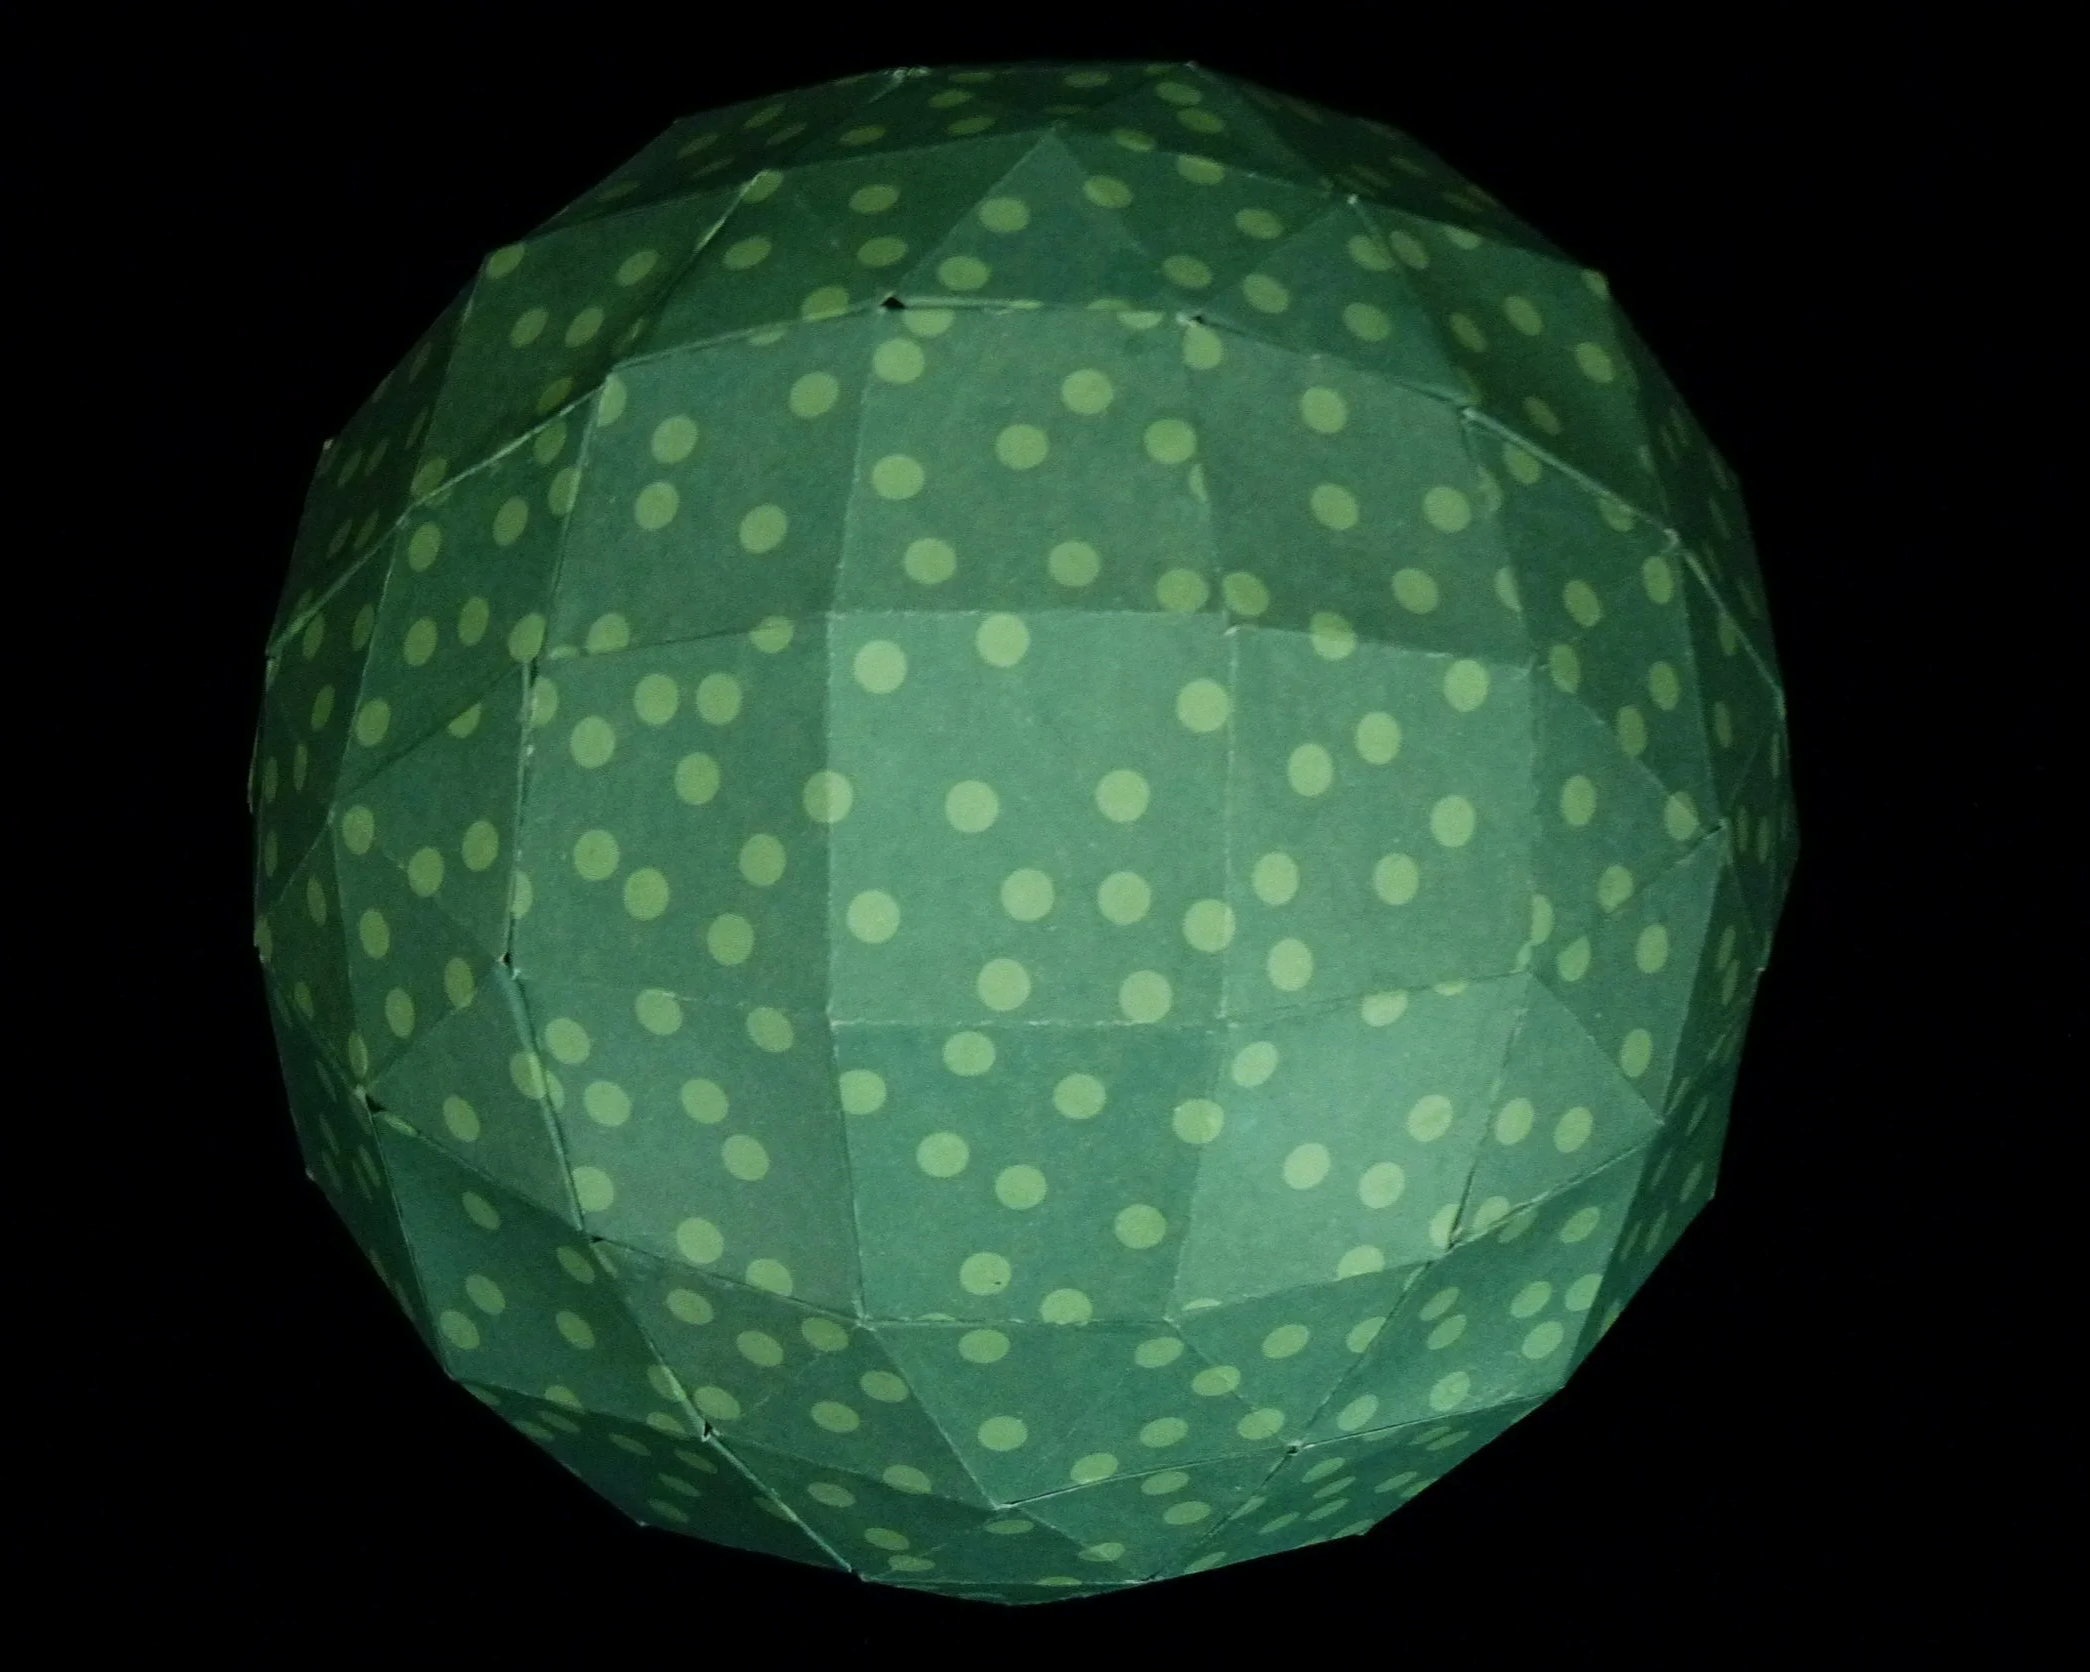
Photo 10. Completed Titania - View 3
This Titania moon is based on a cuboctahedron, where each face has been subdivided by N = 3.
There are ten other projects on this website based on the cuboctahedron ! To see the full list, click on the button to the right.