Triakis
Amazing interlocking arm paper star crafted from a single sheet of paper.
Project Info
Paper required: One sheet 8 ½ x 11 inch (or A4)
Finished Project size: 3.5 inches (9 cm)
Difficulty Level: Intermediate
Click button below to get your free printable pattern !
Click button below to get your free printable pattern !
INSTRUCTIONS
STEP 1
Print the pattern onto the paper of your choice. Both sides of the paper will be visible in this project.
Read the pattern key included in the General Instructions.
Step 2
Cut out the twelve parts by cutting on all black lines. On all twelve parts, fold the green lines at the glue flaps as valley folds.
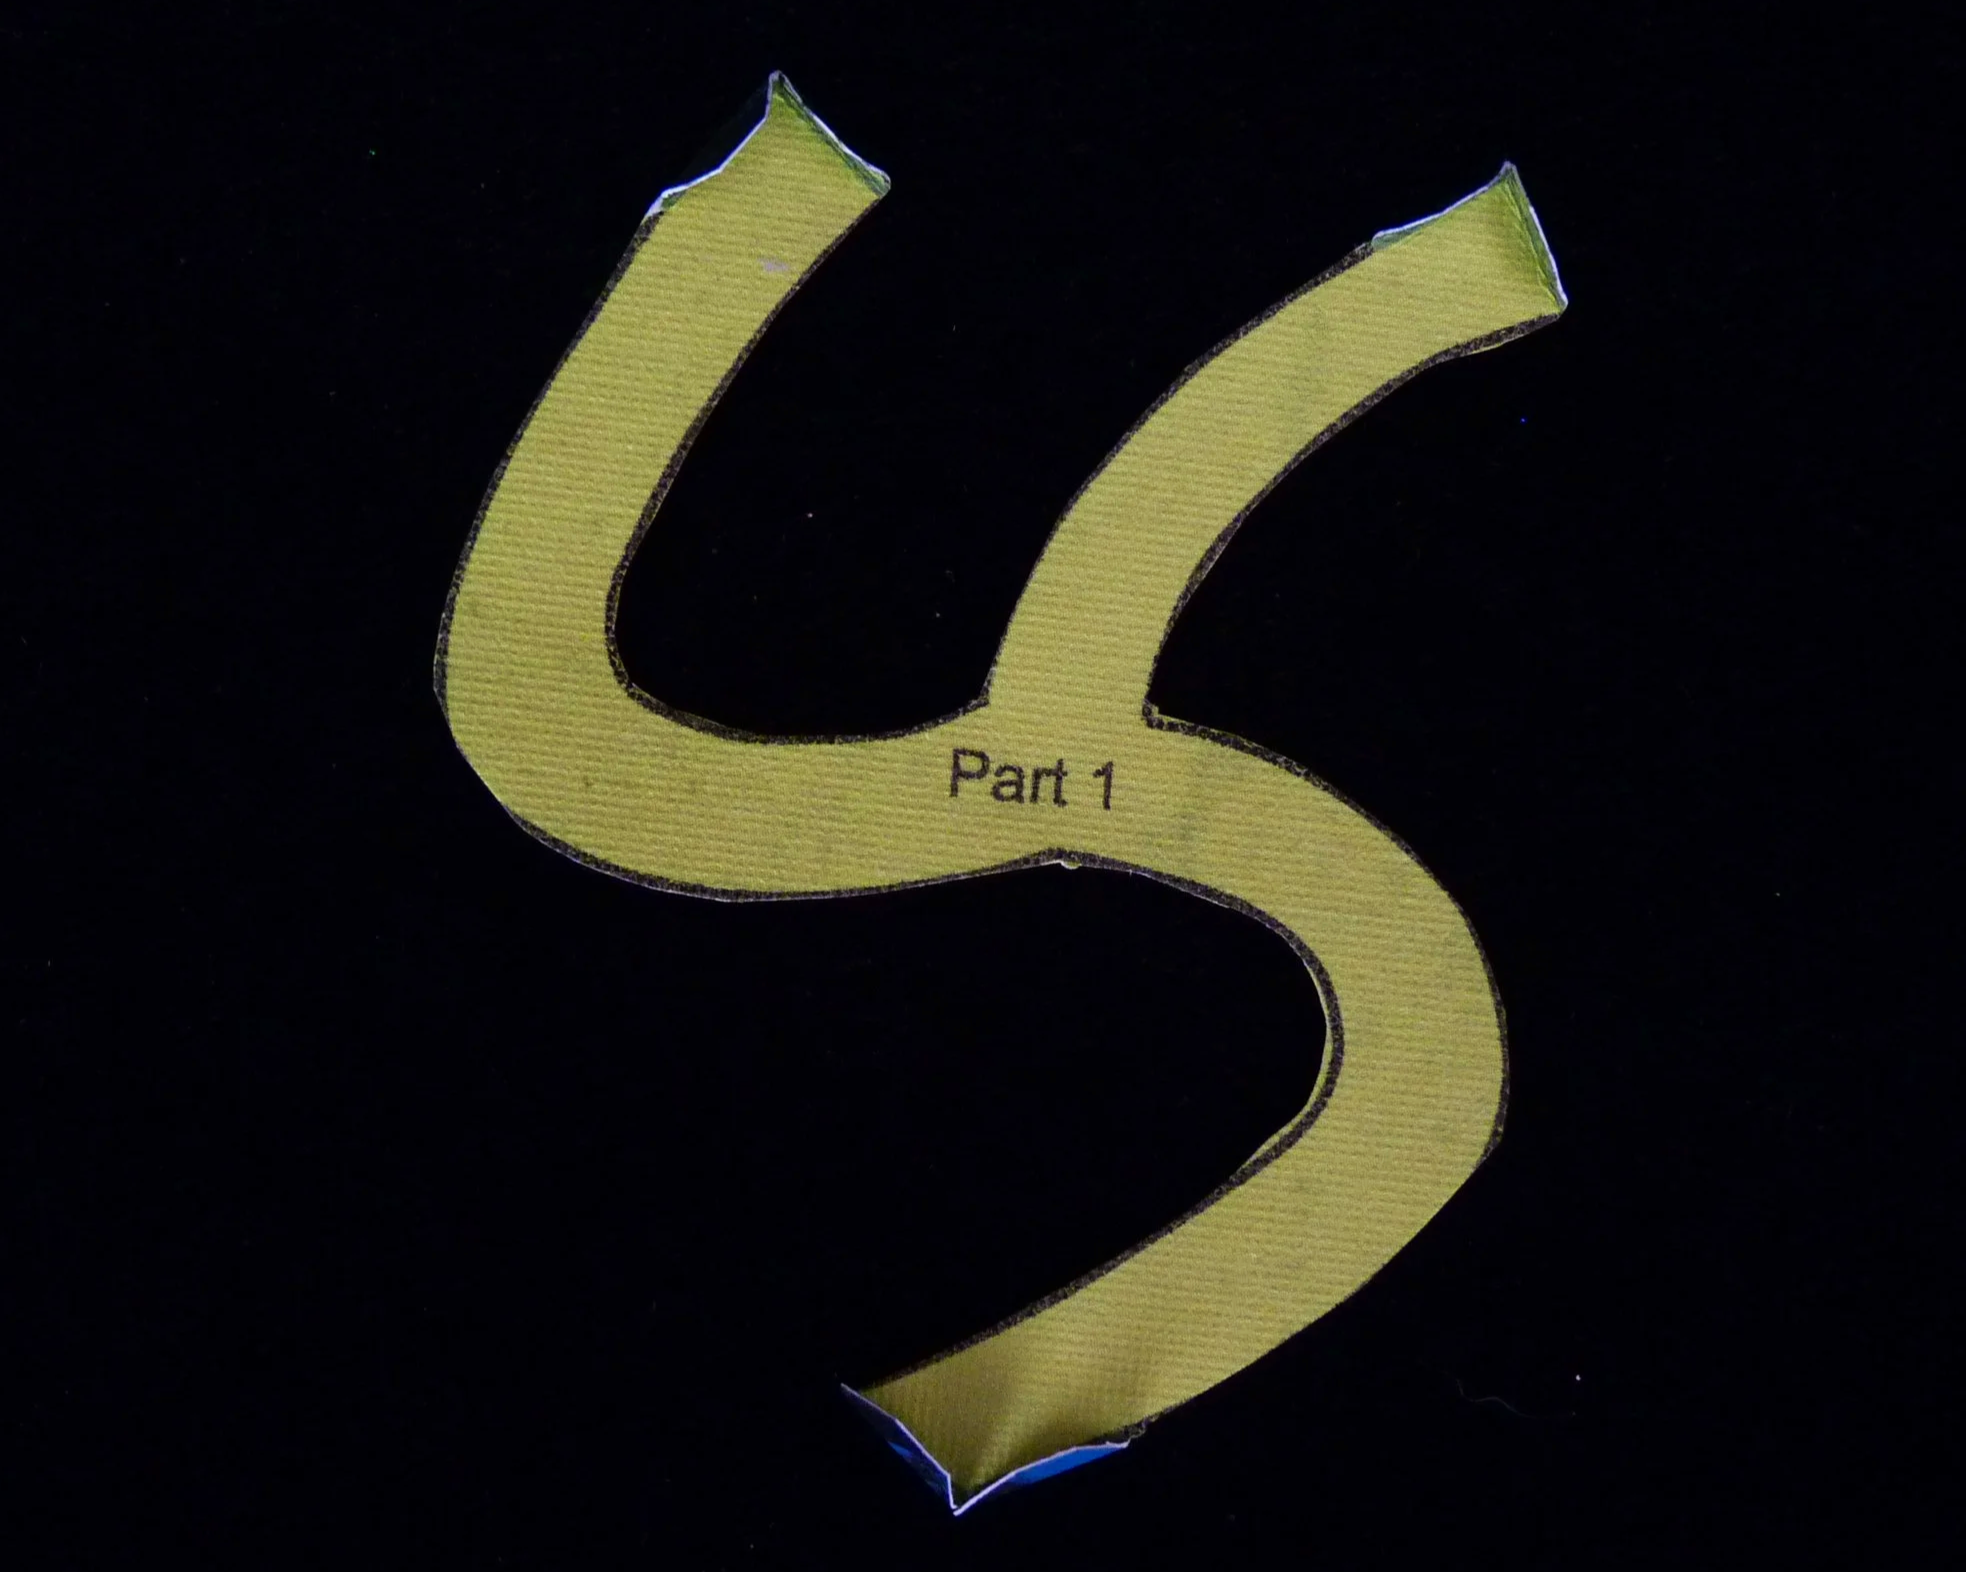
Photo 1. Back of a Part after Step 2
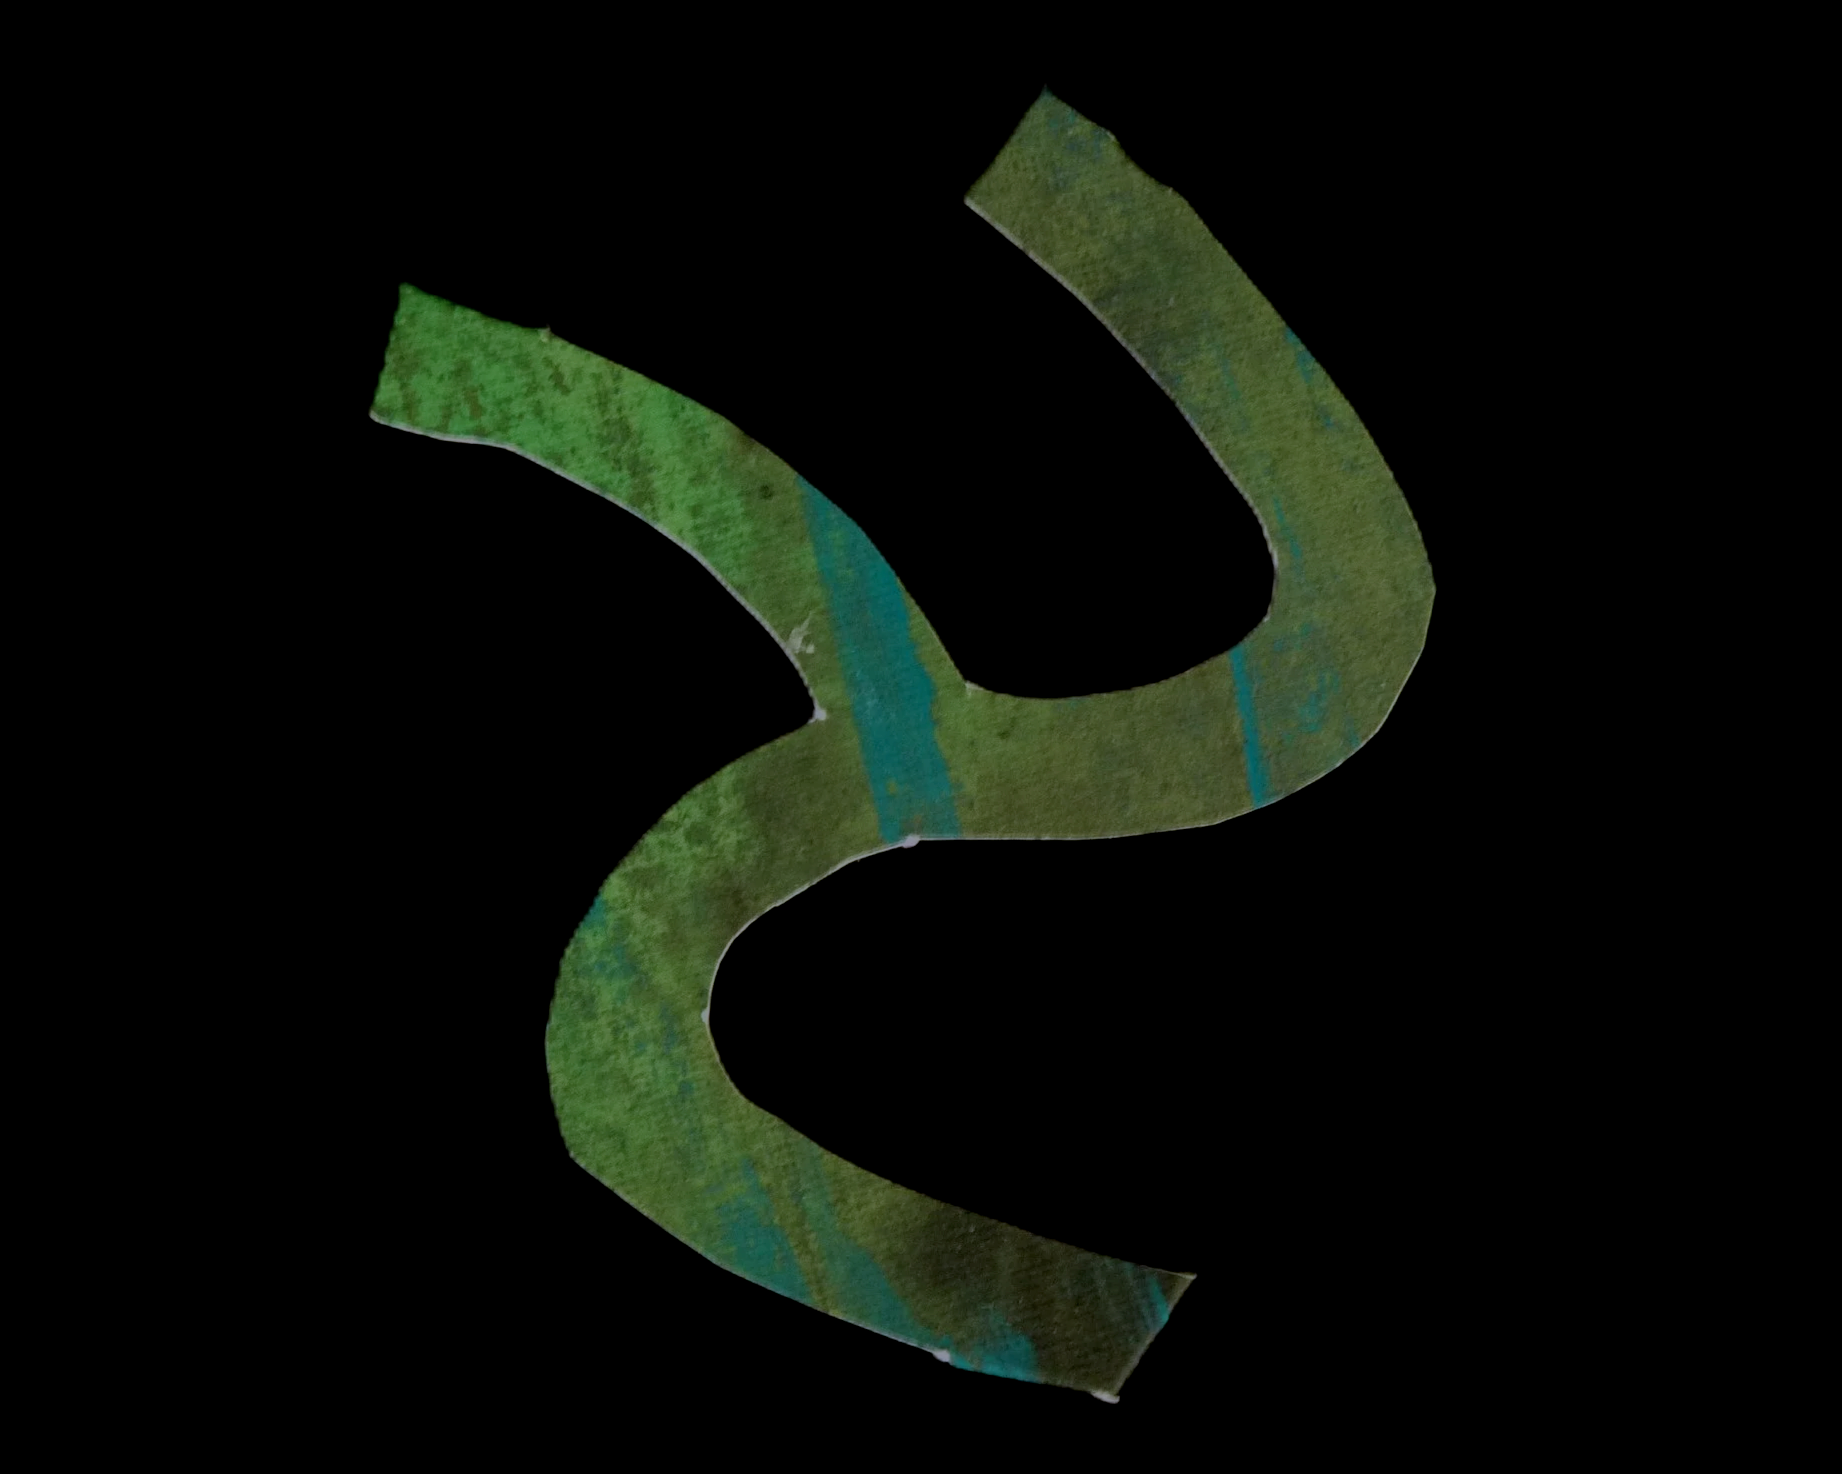
Photo 2. Front of a Part after Step 2
STEP 3
Connect Parts 1, 3, and 9. Note that the glue flaps in this project are each labelled with a number plus the letter A or B. The number is the number of the point being formed, so all glue flaps at a point should have the same number. Also, A flaps are always glued to a B flaps. For this step, glue the following flaps to each other:
Part 1 Flap 2A to Part 3 Flap 2B
Part 9 Flap 2B to Part 3 Flap 2A
Part 9 Flap 2A to Part 1 Flap 2B
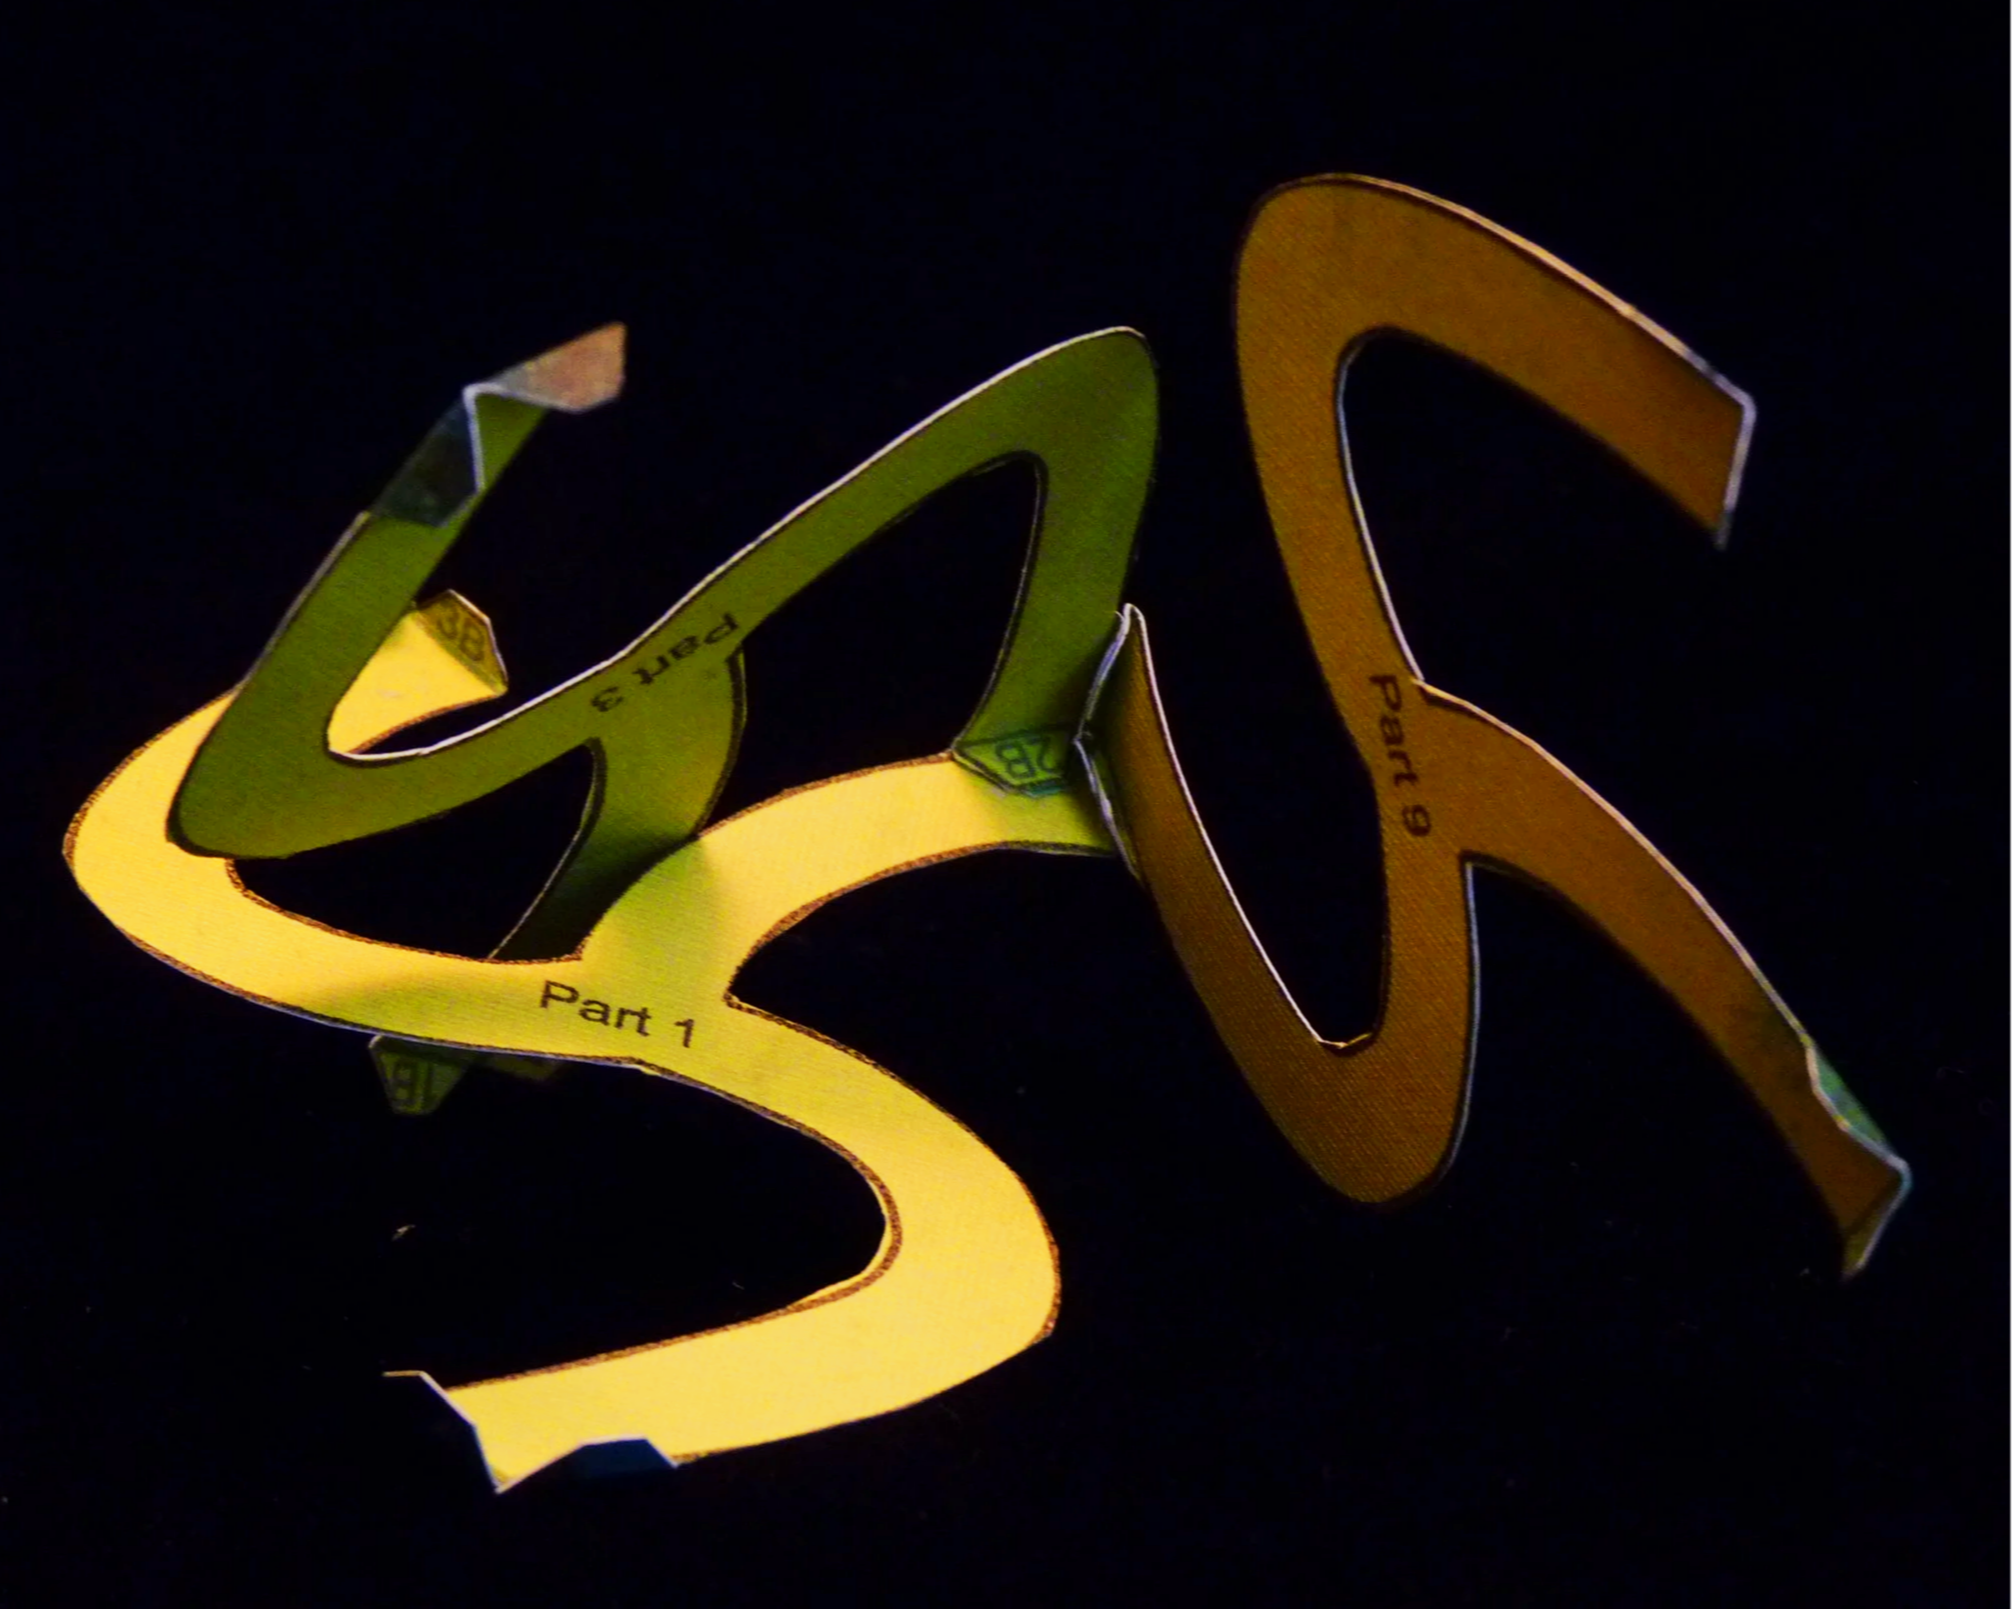
Photo 3. Inside of Project after Step 3
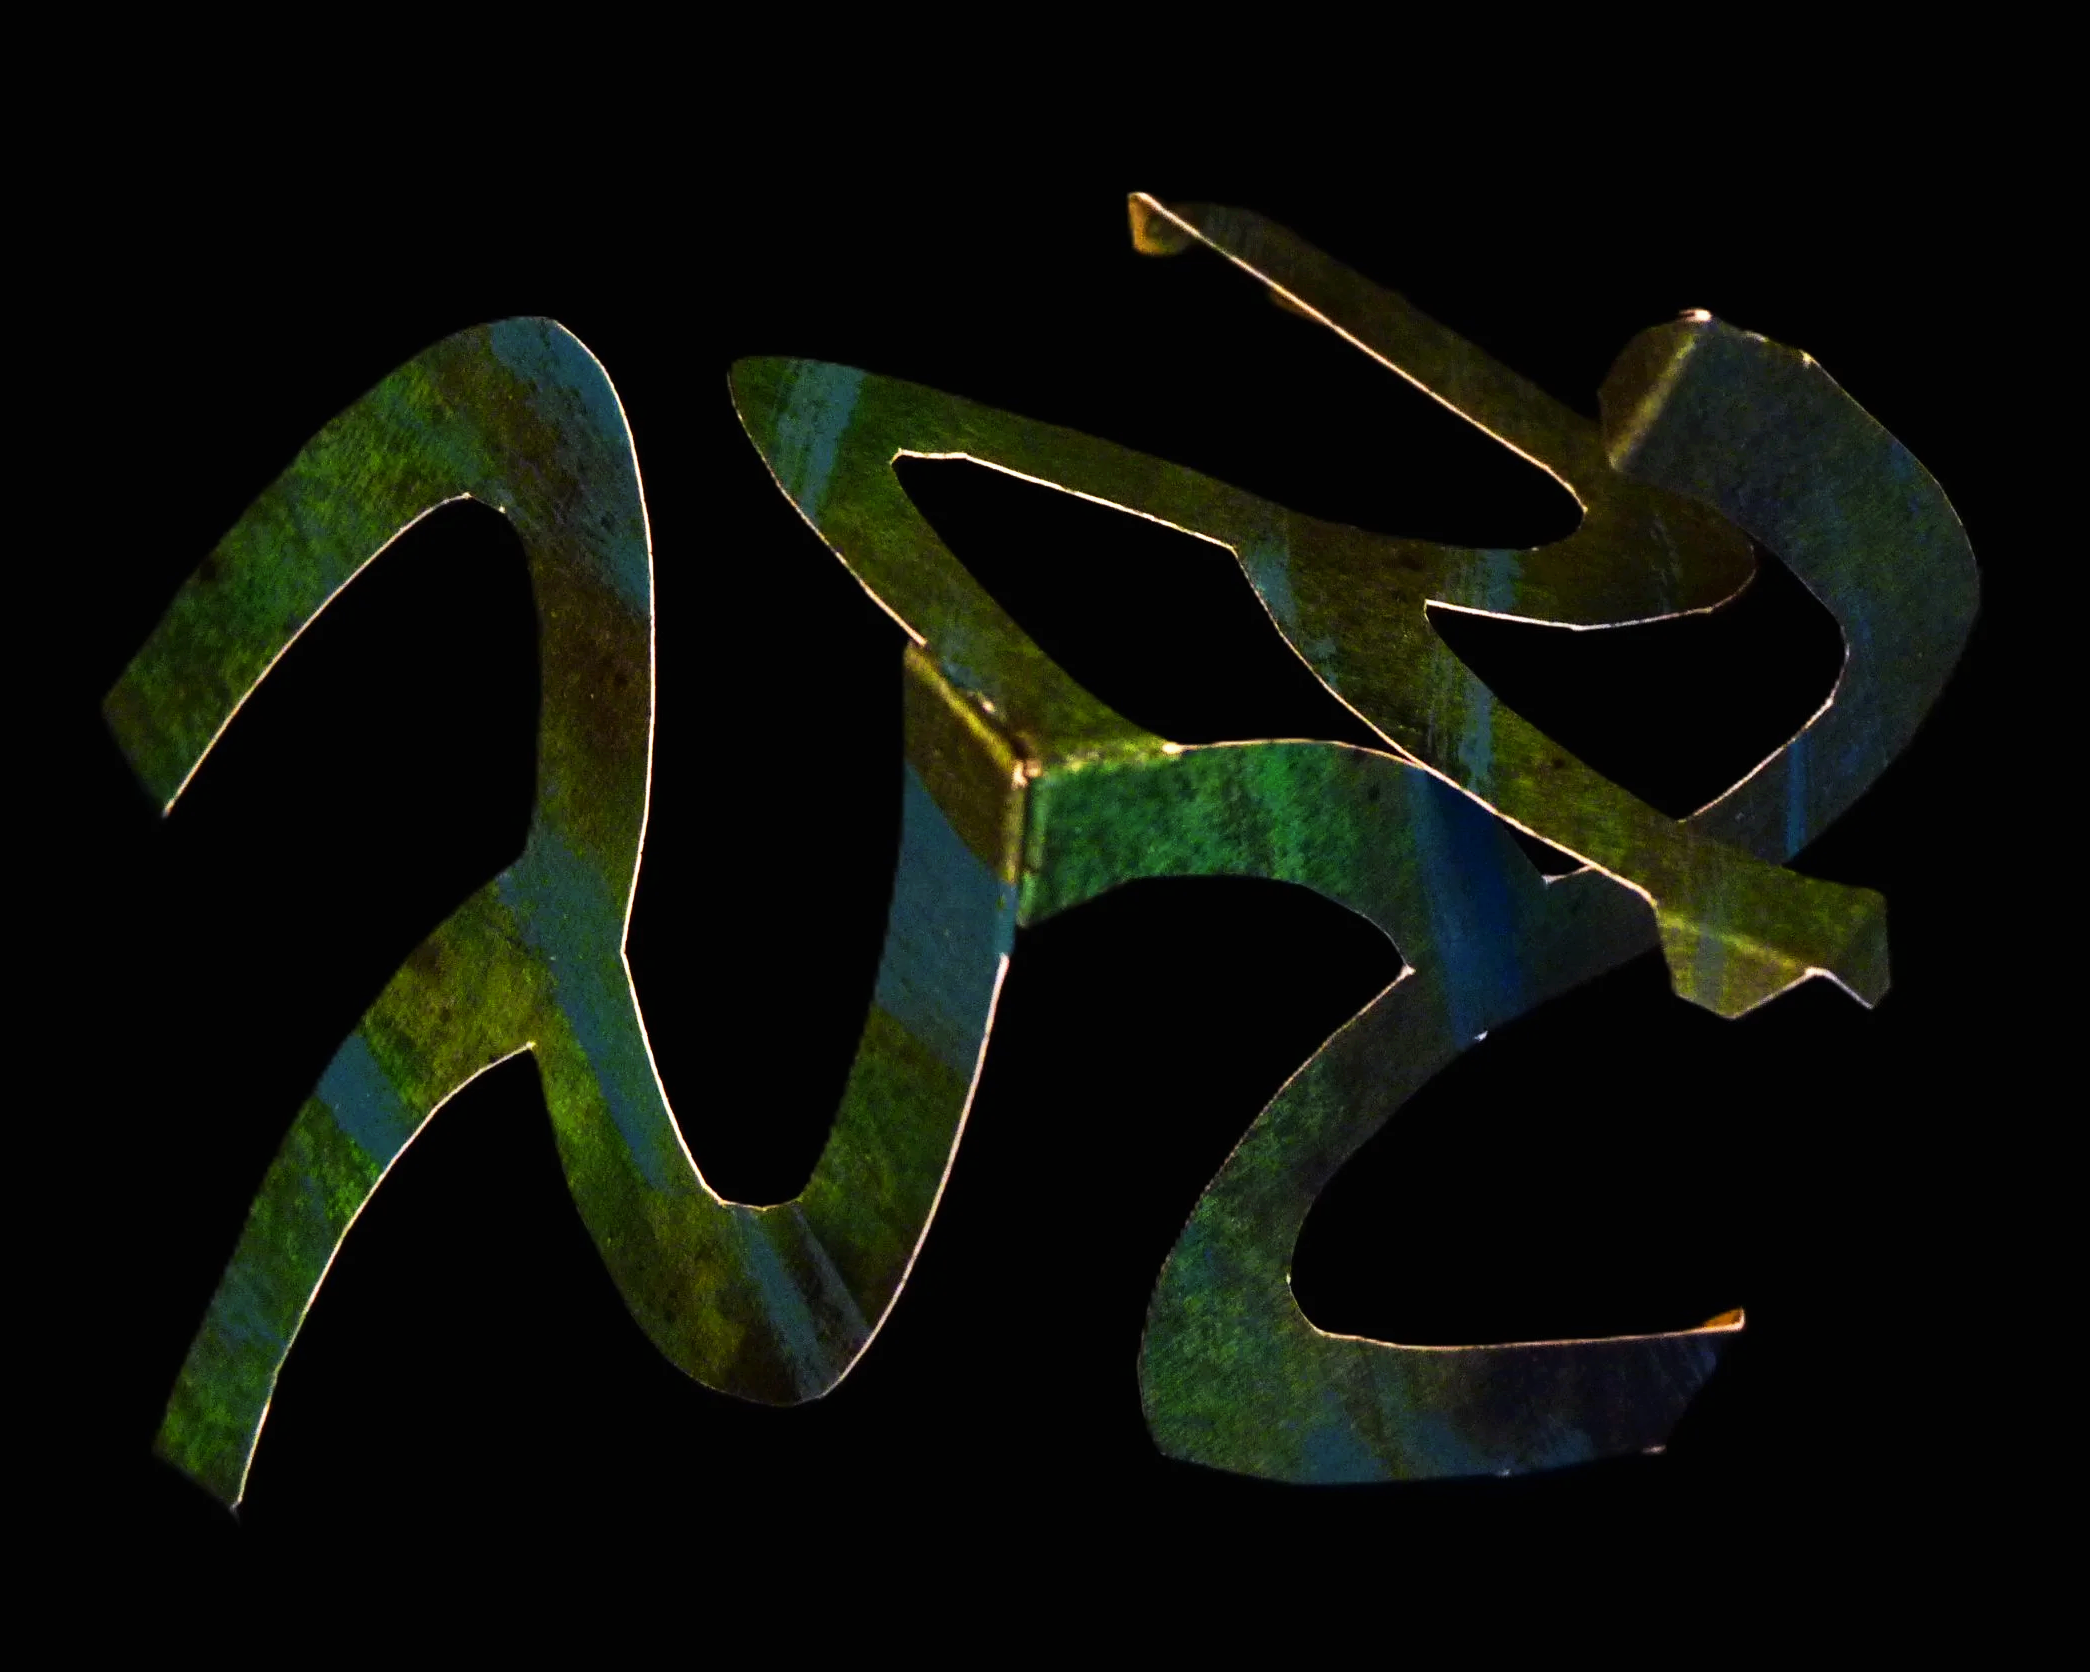
Photo 4. Outside of Project after Step 3
Step 4
Add Parts 2, 6, and 10 to the project.
Add Part 2 by gluing the following glue flaps together:
Part 2 Flap 3A to Part 1 Flap 3B
Part 2 Flap 1B to Part 3 Flap 1A
Add Part 6 by gluing the following glue flaps together:
Part 6 Flap 3B to Part 1 Flap 3A
Part 6 Flap 3A to Part 2 Flap 3B
Add Part 10 by gluing the following glue flaps together:
Part 10 Flap 1B to Part 2 Flap 1A
Part 10 Flap 1A to Part 3 Flap 1B
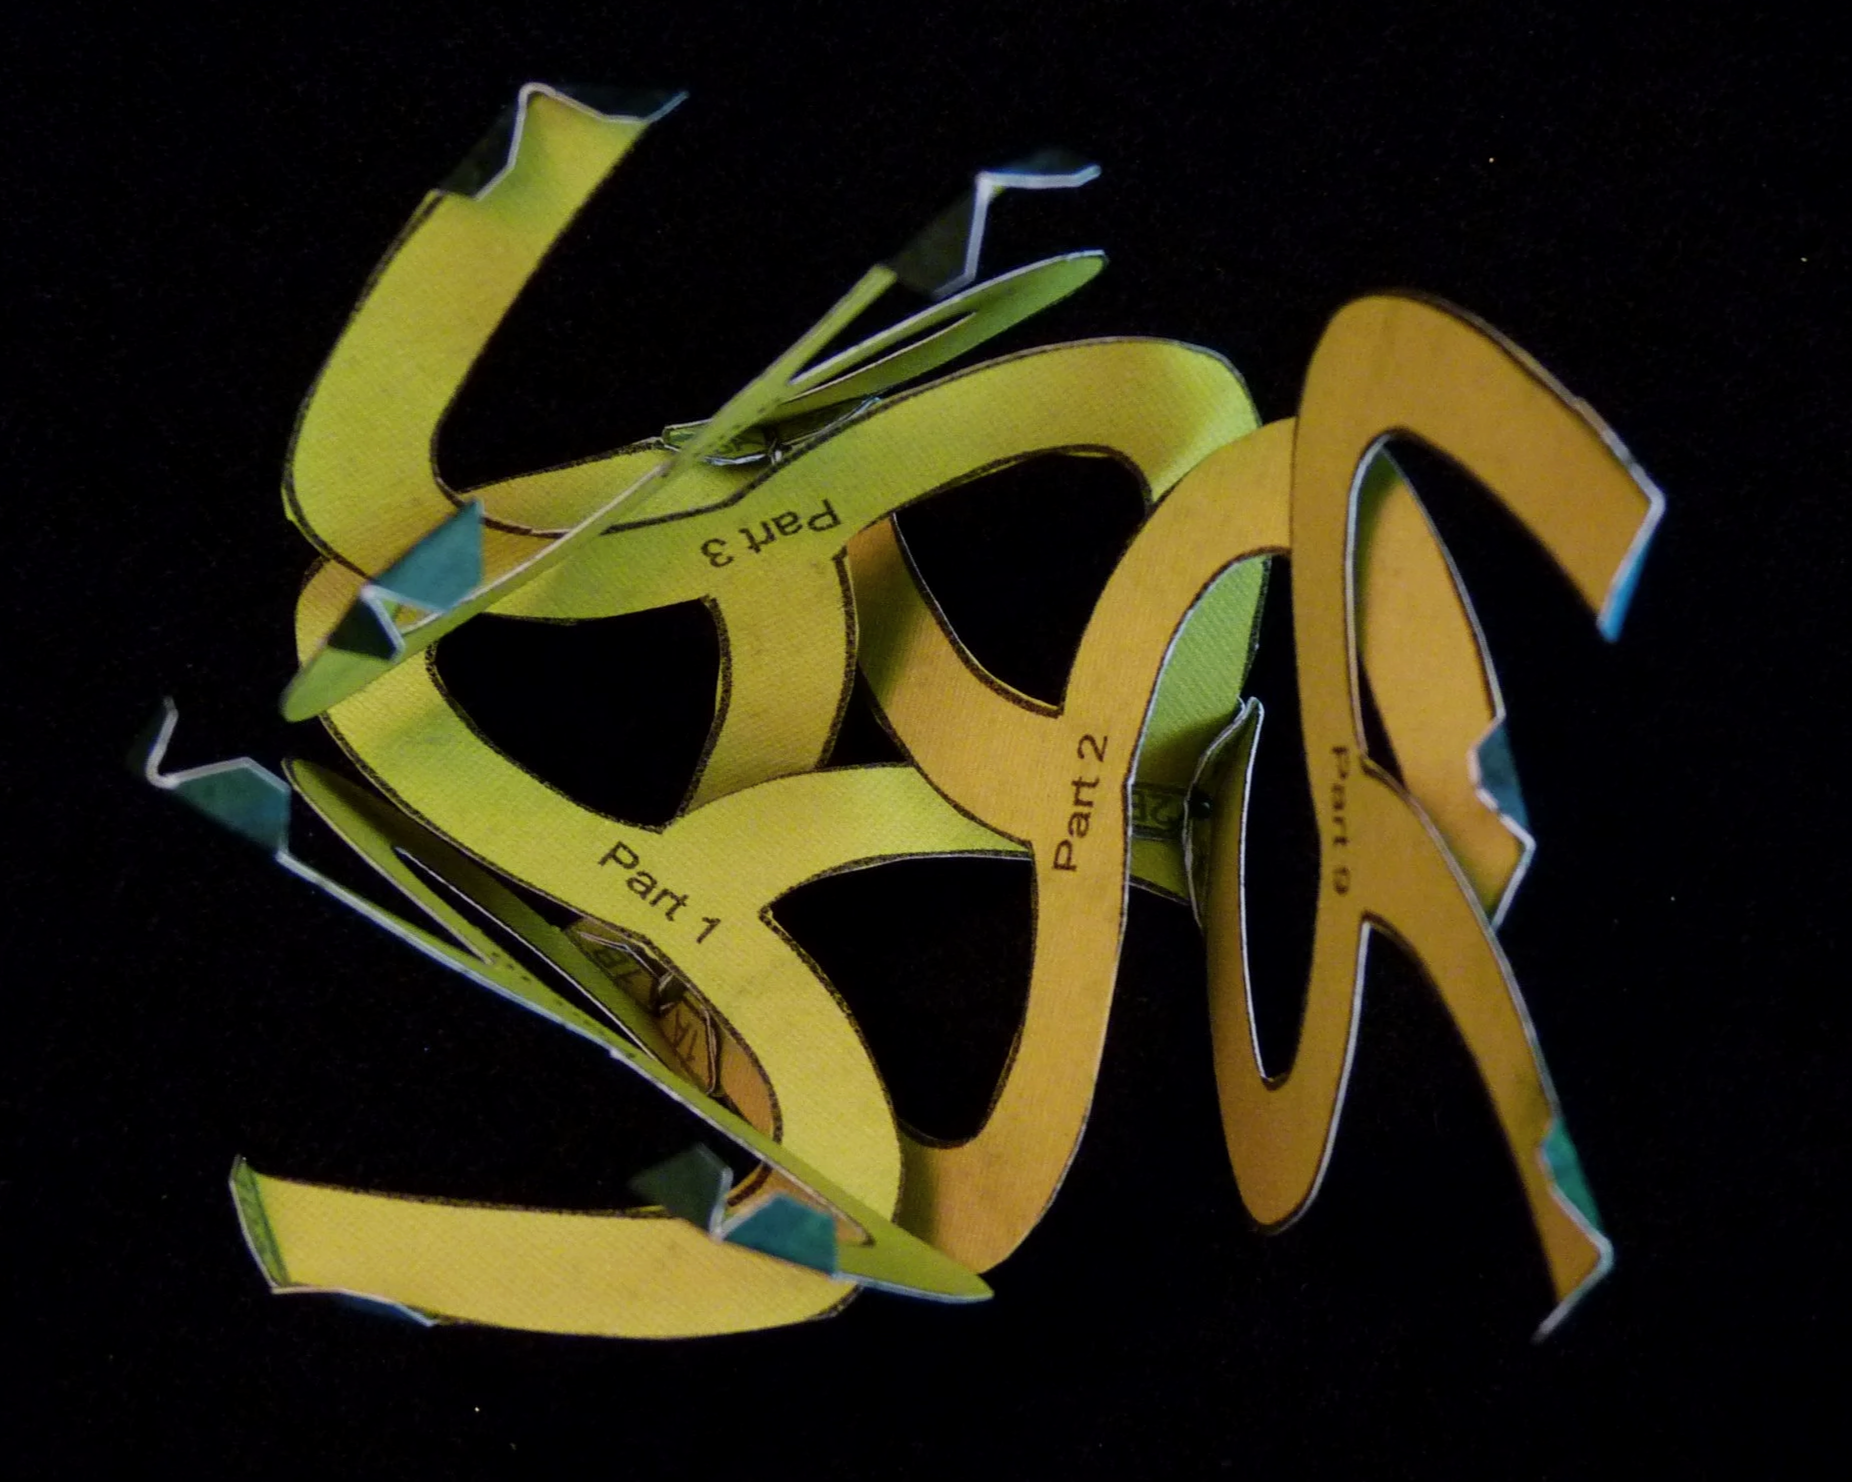
Photo 5. Inside of Project after Step 4
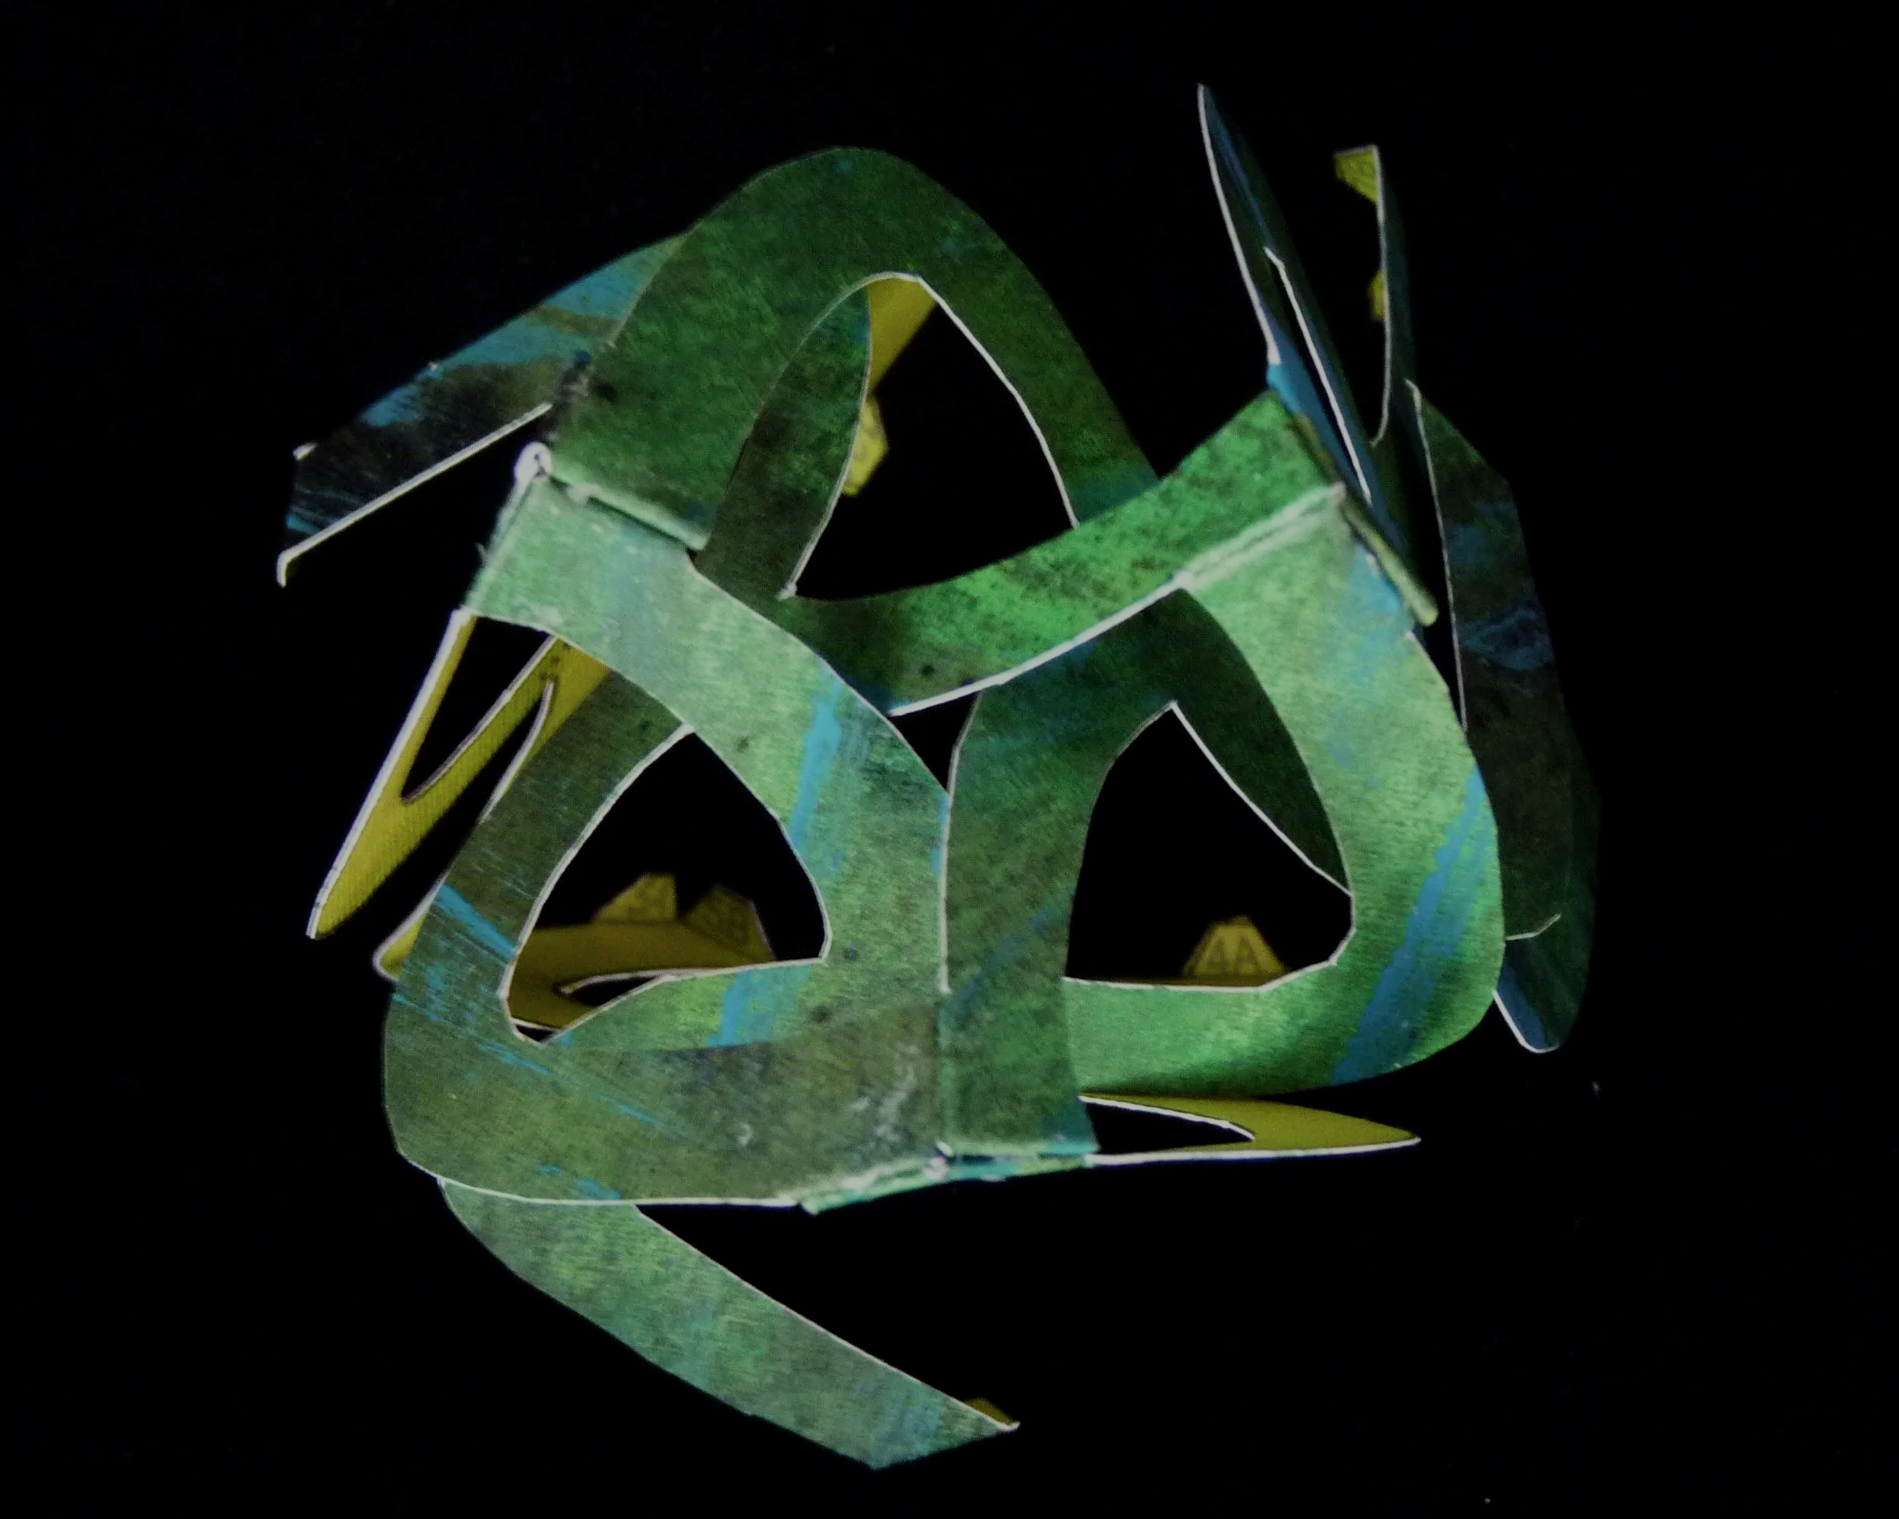
Photo 6. Outside of Project after Step 4
Step 5
Add Parts 4, 5, and 8 to the project.
Add Part 4 by gluing the following glue flaps together:
Part 4 Flap 6A to Part 3 Flap 6B
Part 4 Flap 8B to Part 9 Flap 8A
Part 4 Flap 5A to Part 6 Flap 5B
Add Part 5 by gluing the following glue flaps together:
Part 5 Flap 6B to Part 3 Flap 6A
Part 5 Flap 6A to Part 4 Flap 6B
Part 5 Flap 4B to Part 6 Flap 4A
Part 5 Flap 11A to Part 10 Flap 11B
Add Part 8 by gluing the following glue flaps together:
Part 8 Flap 4B to Part 5 Flap 4A
Part 8 Flap 4A to Part 6 Flap 4B
Part 8 Flap 9B to Part 2 Flap 9A
Part 8 Flap 7B to Part 9 Flap 7A
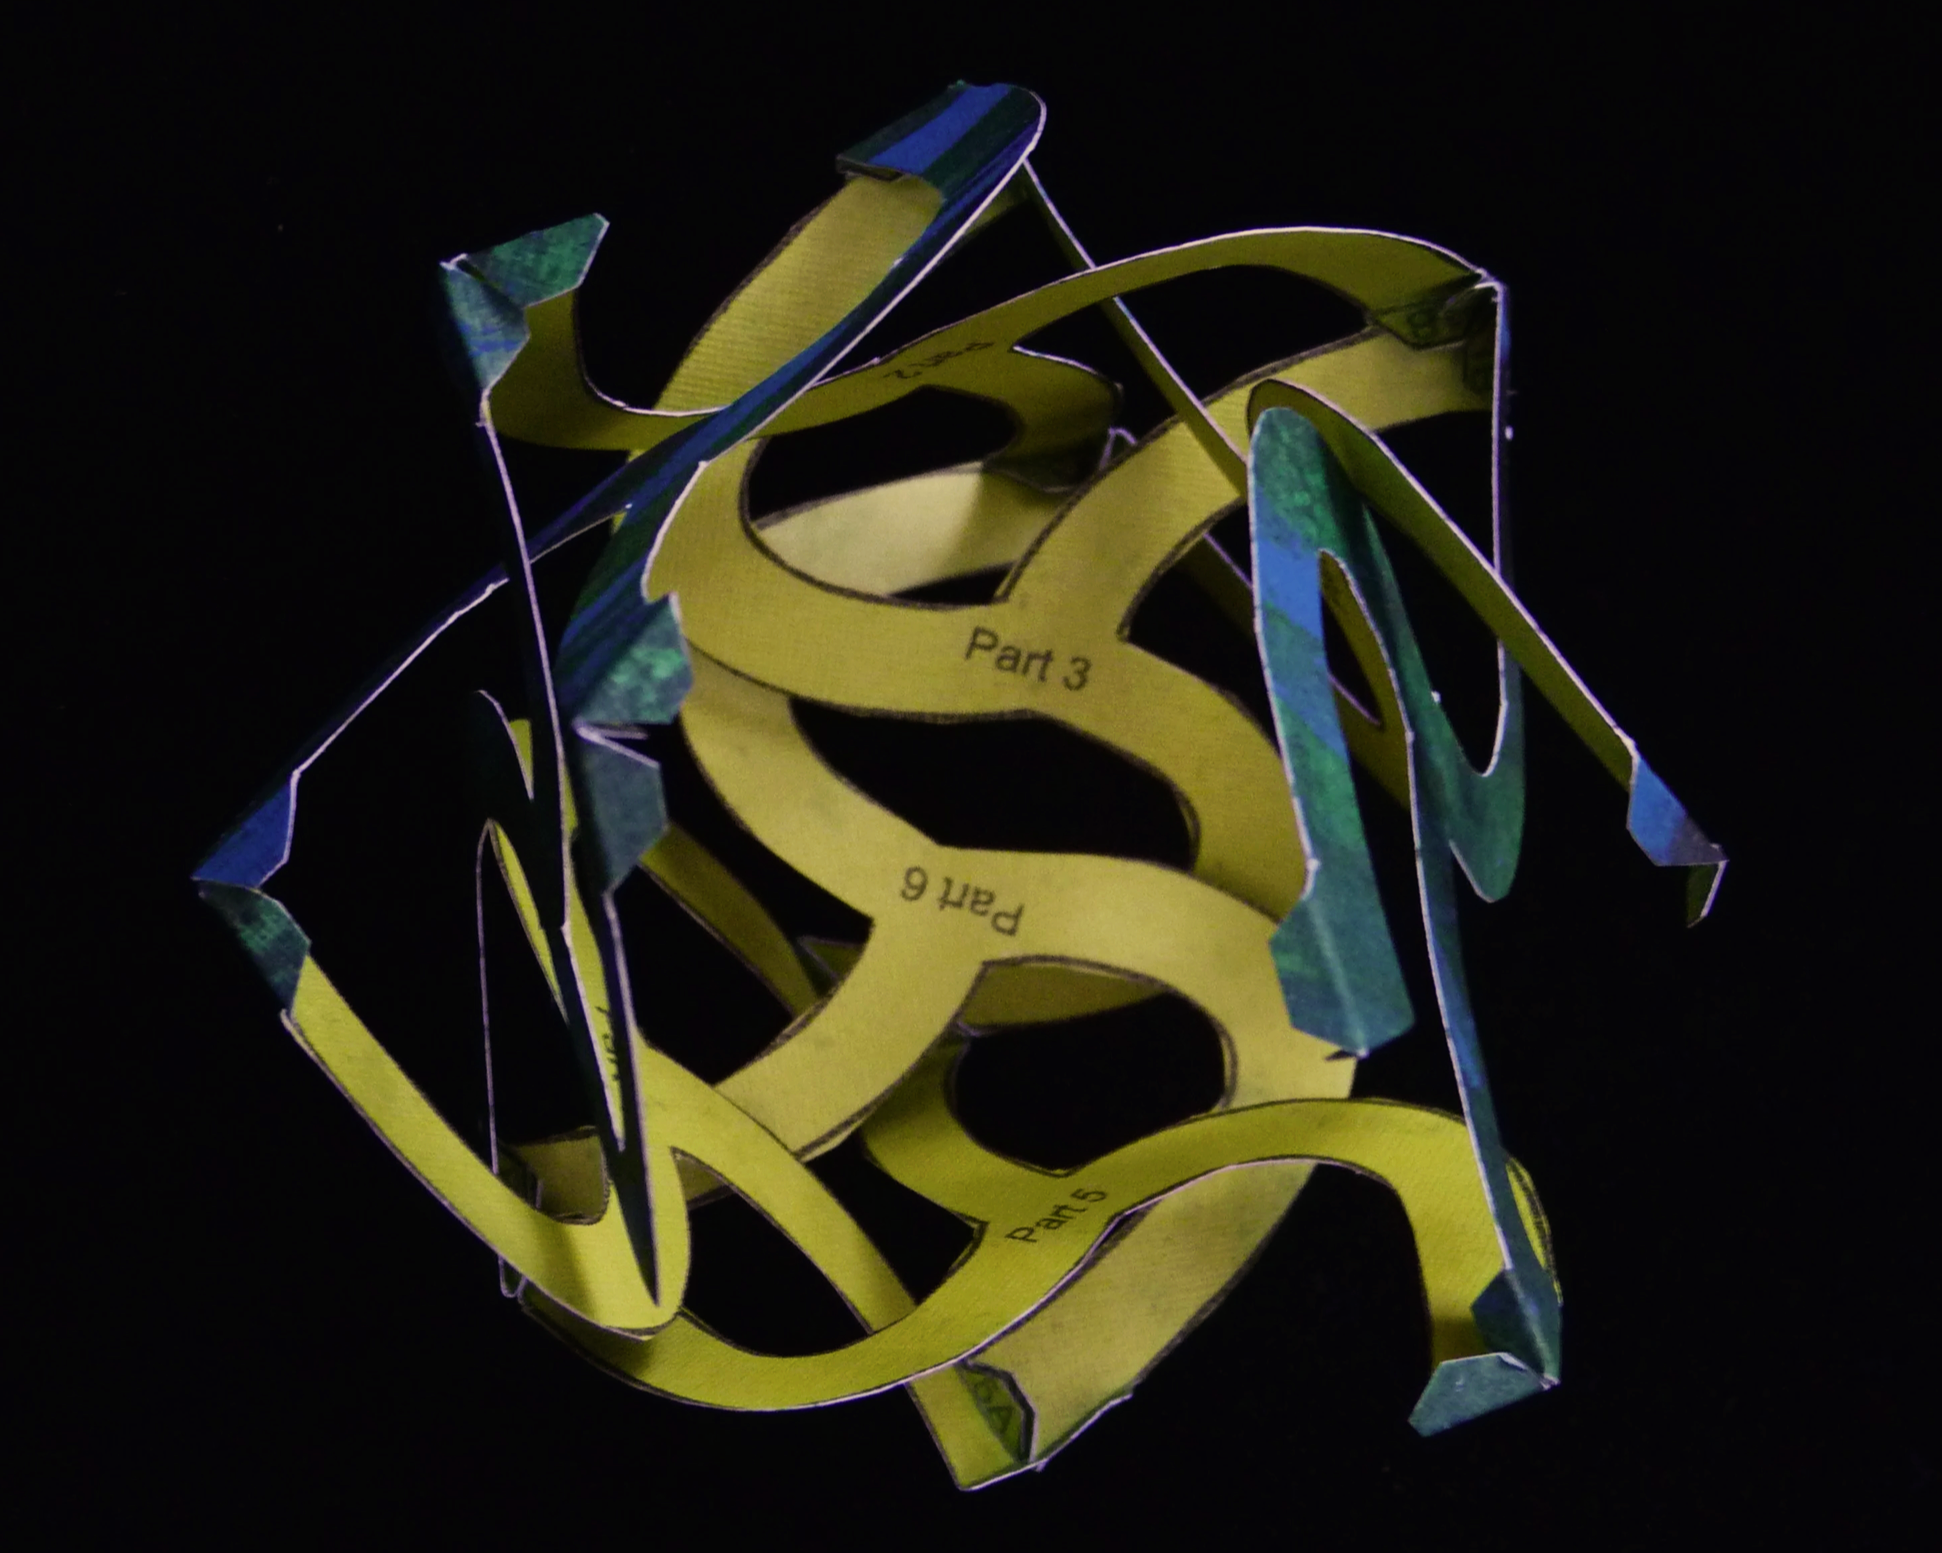
Photo 7. Inside of Project after Step 5
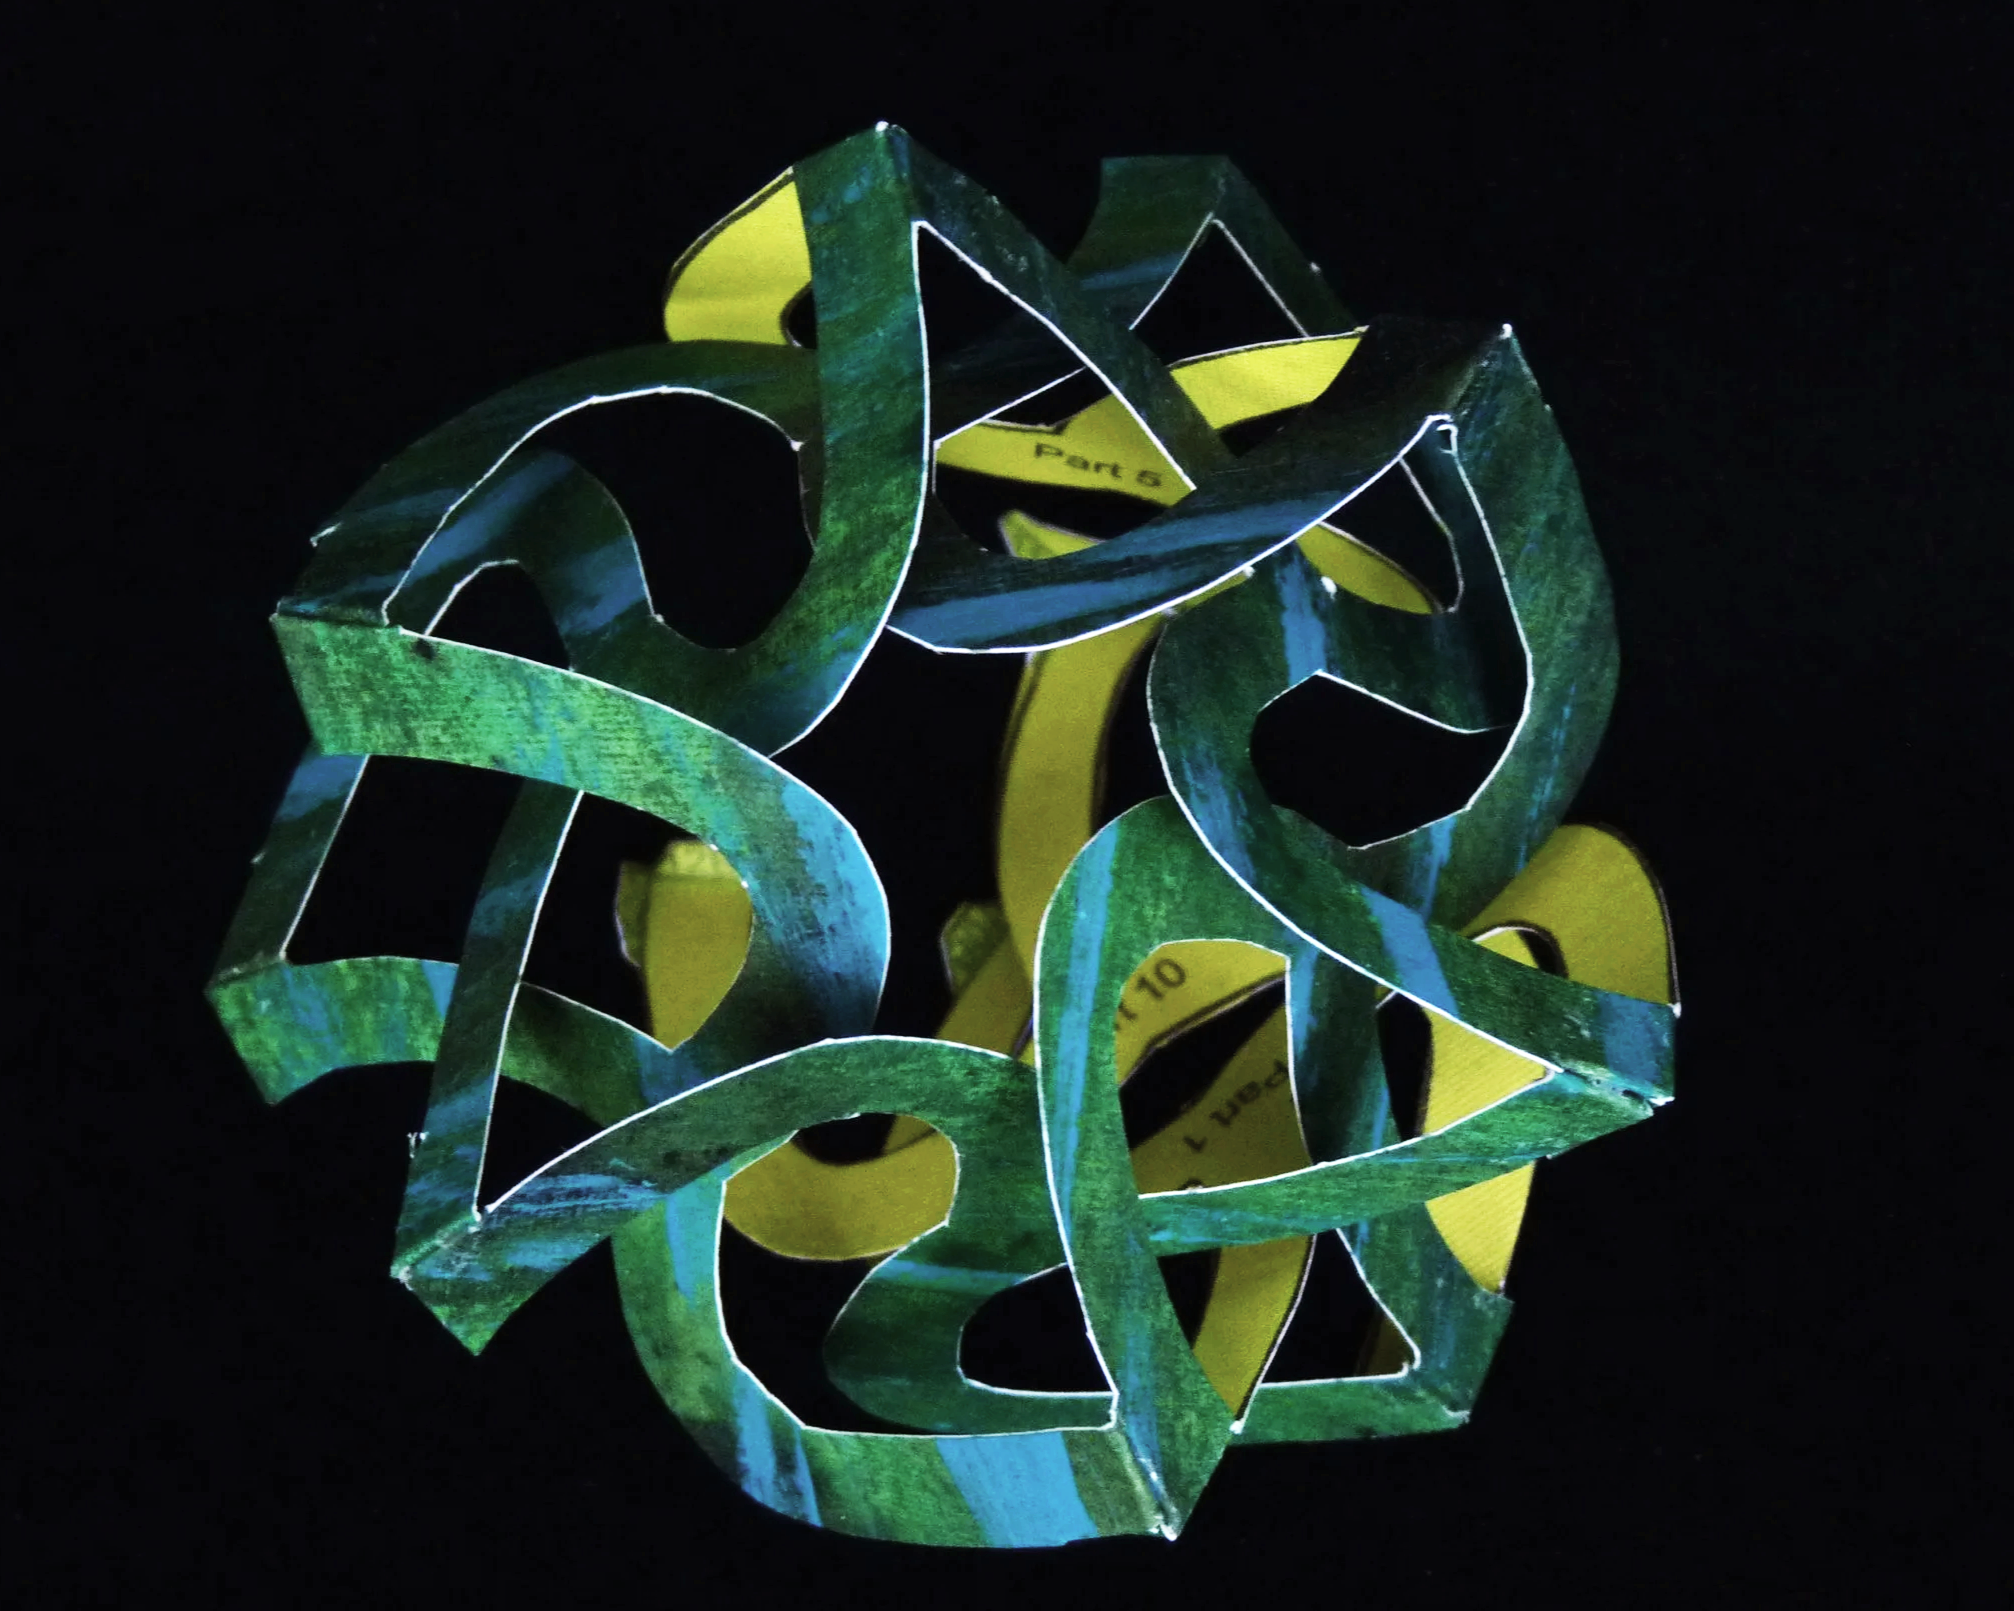
Photo 8. Outside of Project after Step 5
Step 6
Add Parts 7, 11, and 12 to the project.
Add Part 7 by gluing the following glue flaps together:
Part 7 Flap 9B to Part 8 Flap 9A
Part 7 Flap 9A to Part 2 Flap 9B
Part 7 Flap 8A to Part 9 Flap 8B
Part 7 Flap 8B to Part 4 Flap 8A
Part 7 Flap 12B to Part 10 Flap 12A
Add Part 11 by gluing the following glue flaps together:
Part 11 Flap 5B to Part 6 Flap 5A
Part 11 Flap 5A to Part 4 Flap 5B
Part 11 Flap 12A to Part 10 Flap 12B
Part 11 Flap 12B to Part 7 Flap 12A
Part 11 Flap 10A to Part 1 Flap 10B
Add Part 12 by gluing the following glue flaps together:
Part 12 Flap 10B to Part 1 Flap 10A
Part 12 Flap 10A to Part 11 Flap 10B
Part 12 Flap 7B to Part 8 Flap 7A
Part 12 Flap 7A to Part 9 Flap 7B
Part 12 Flap 11A to Part 5 Flap 11B
Part 12 Flap 11B to Part 10 Flap 11A
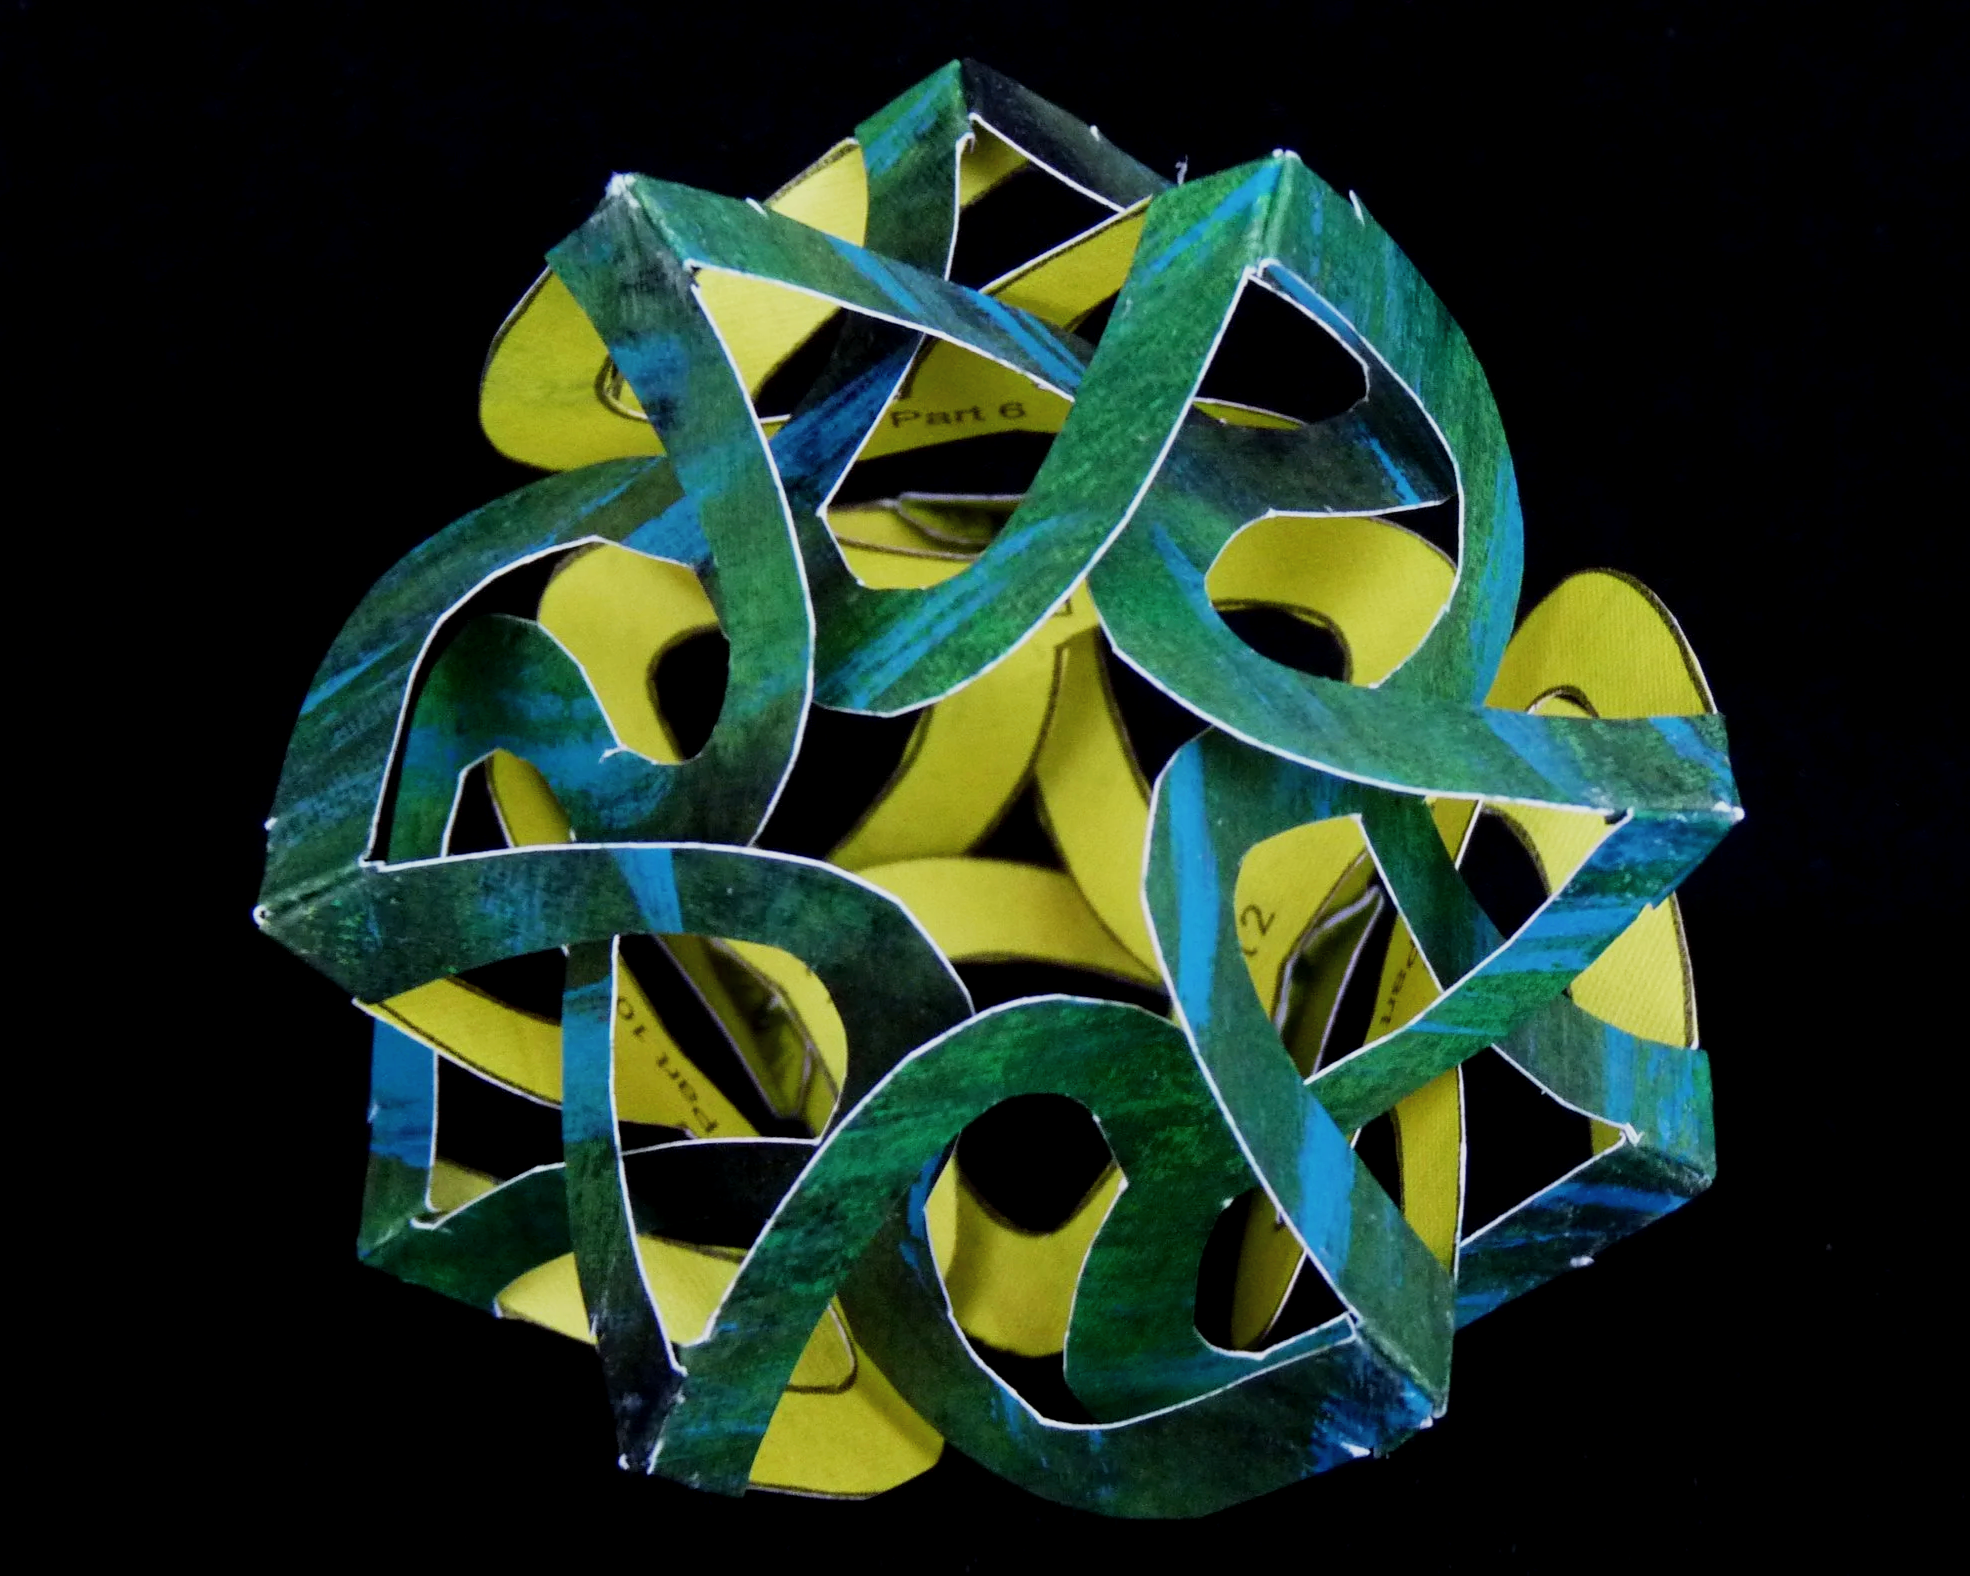
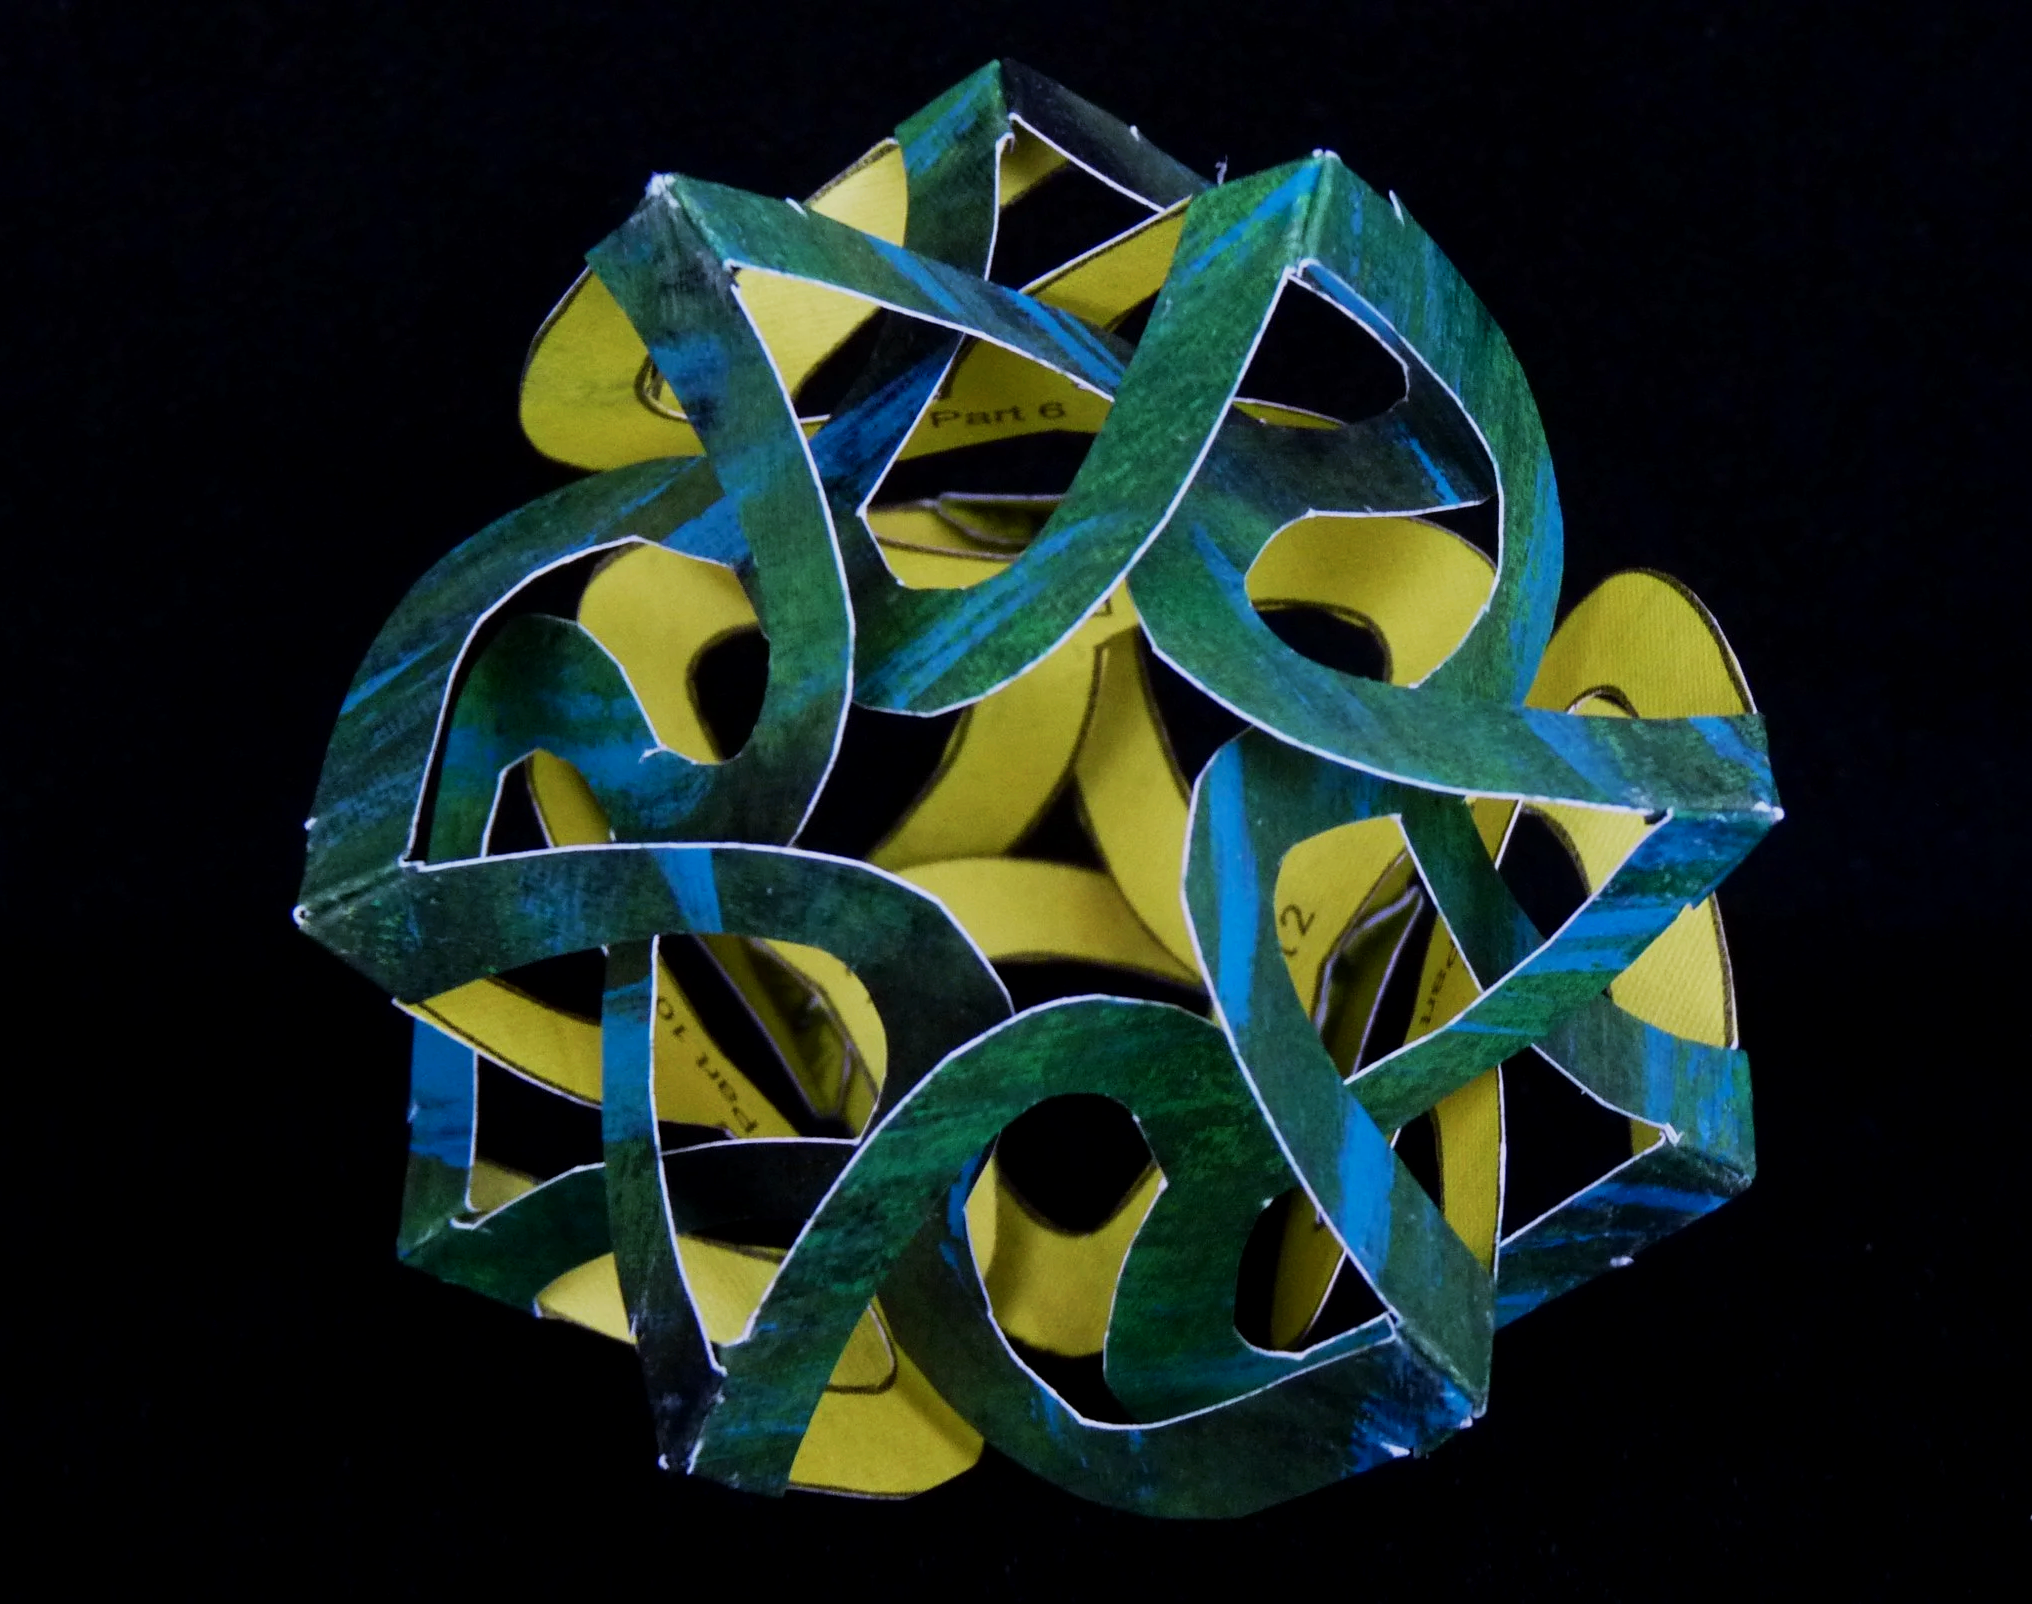
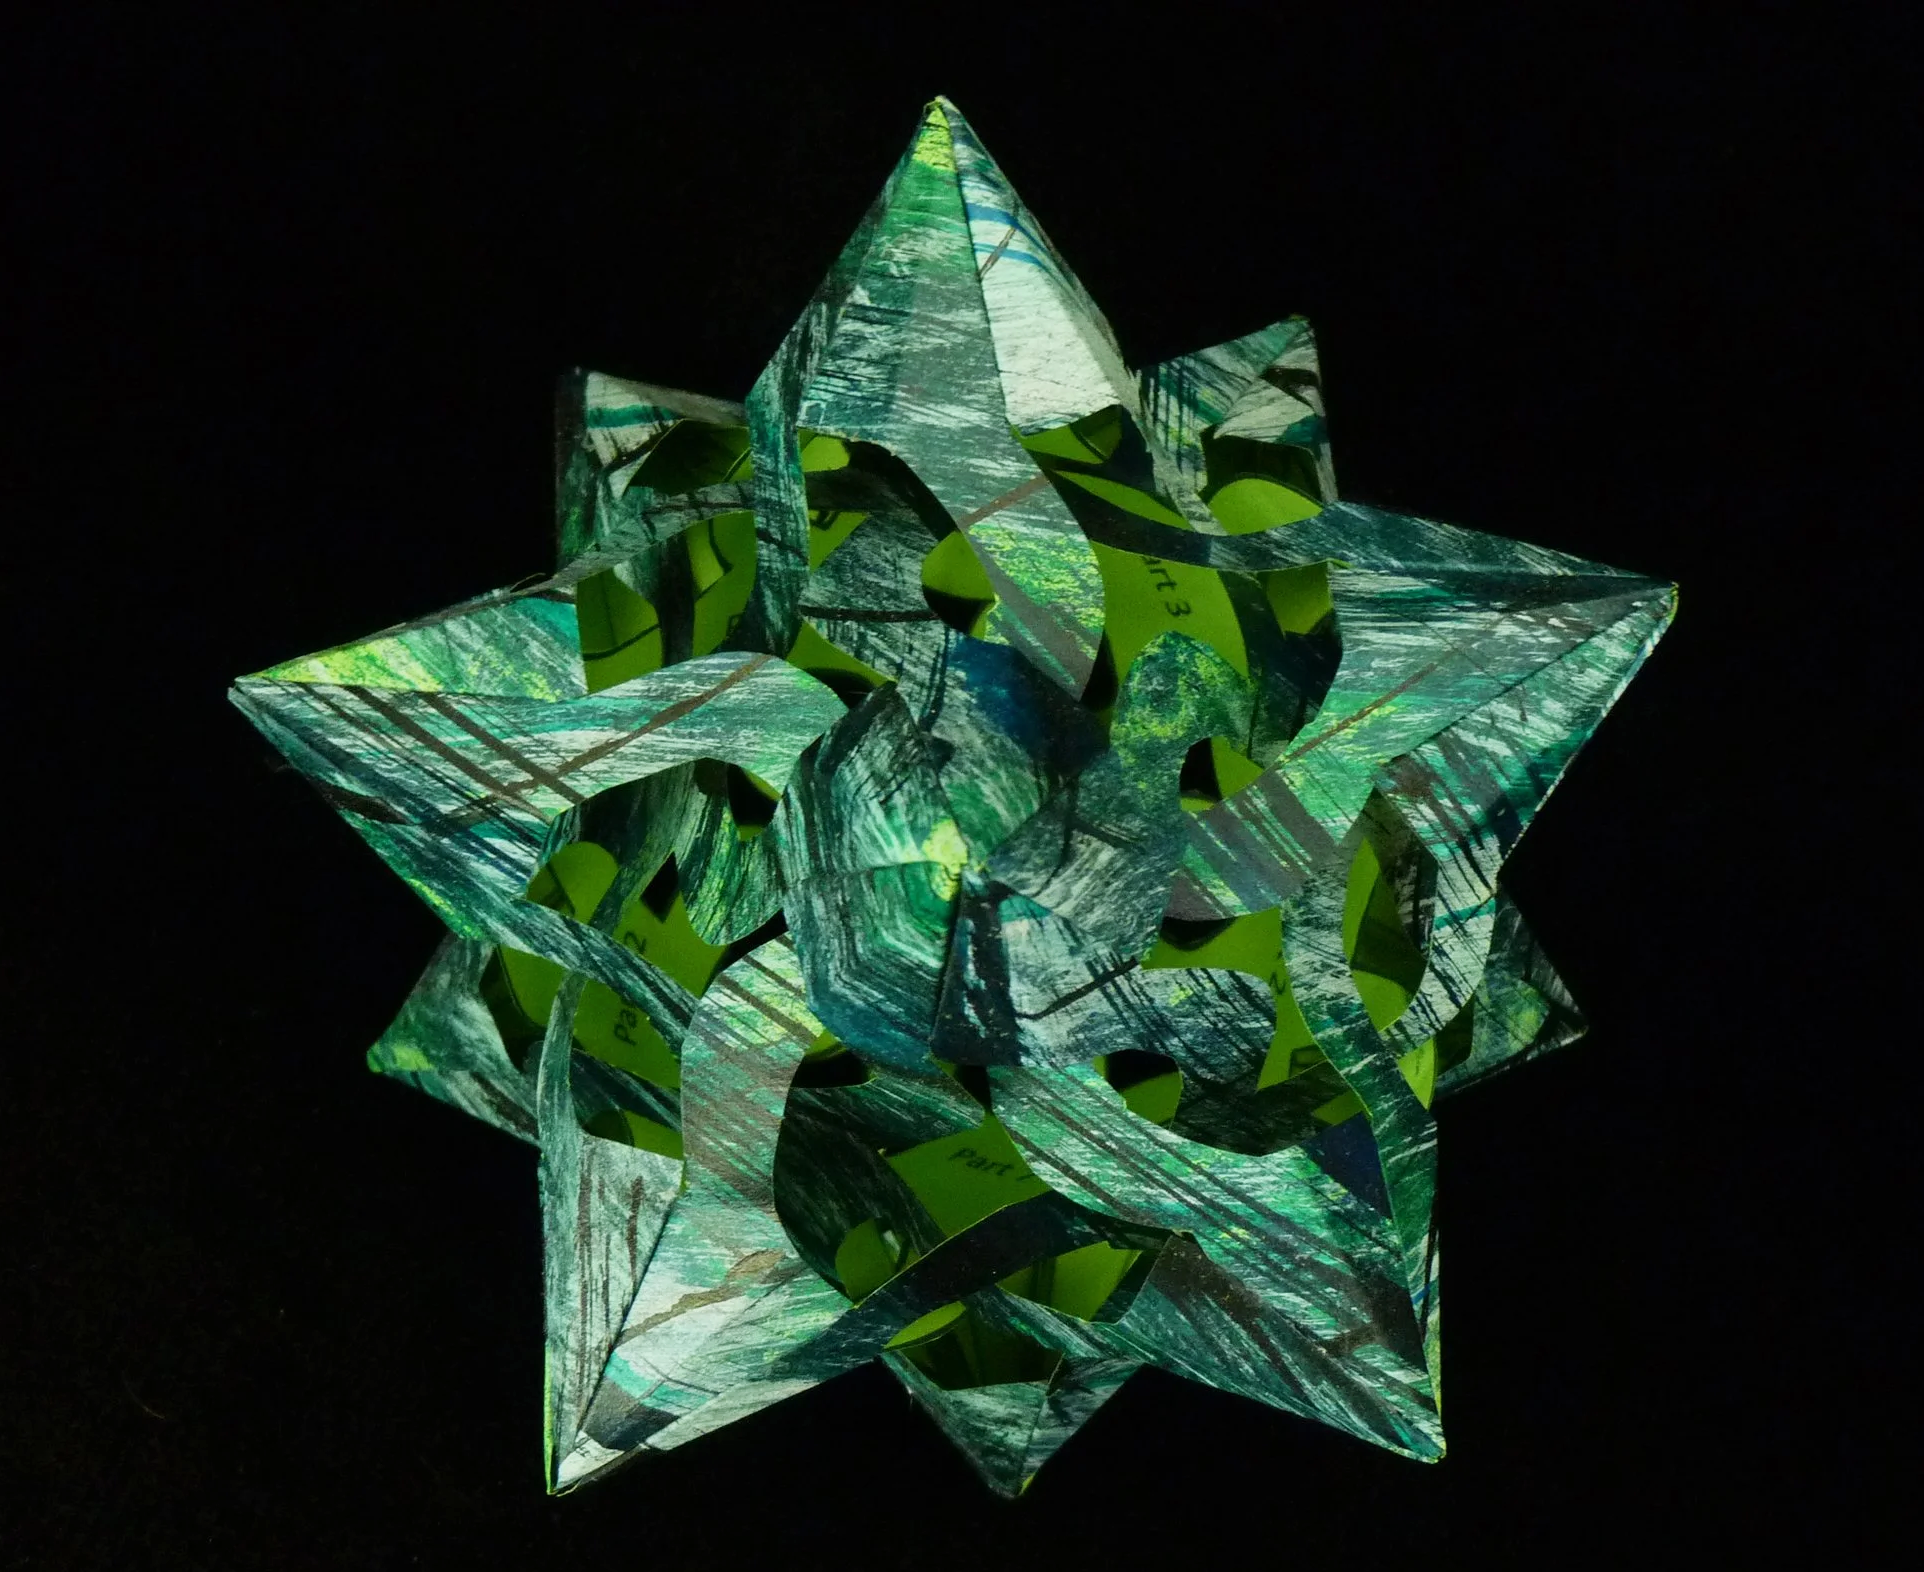
Photo 9. Completed Triakis - View 1
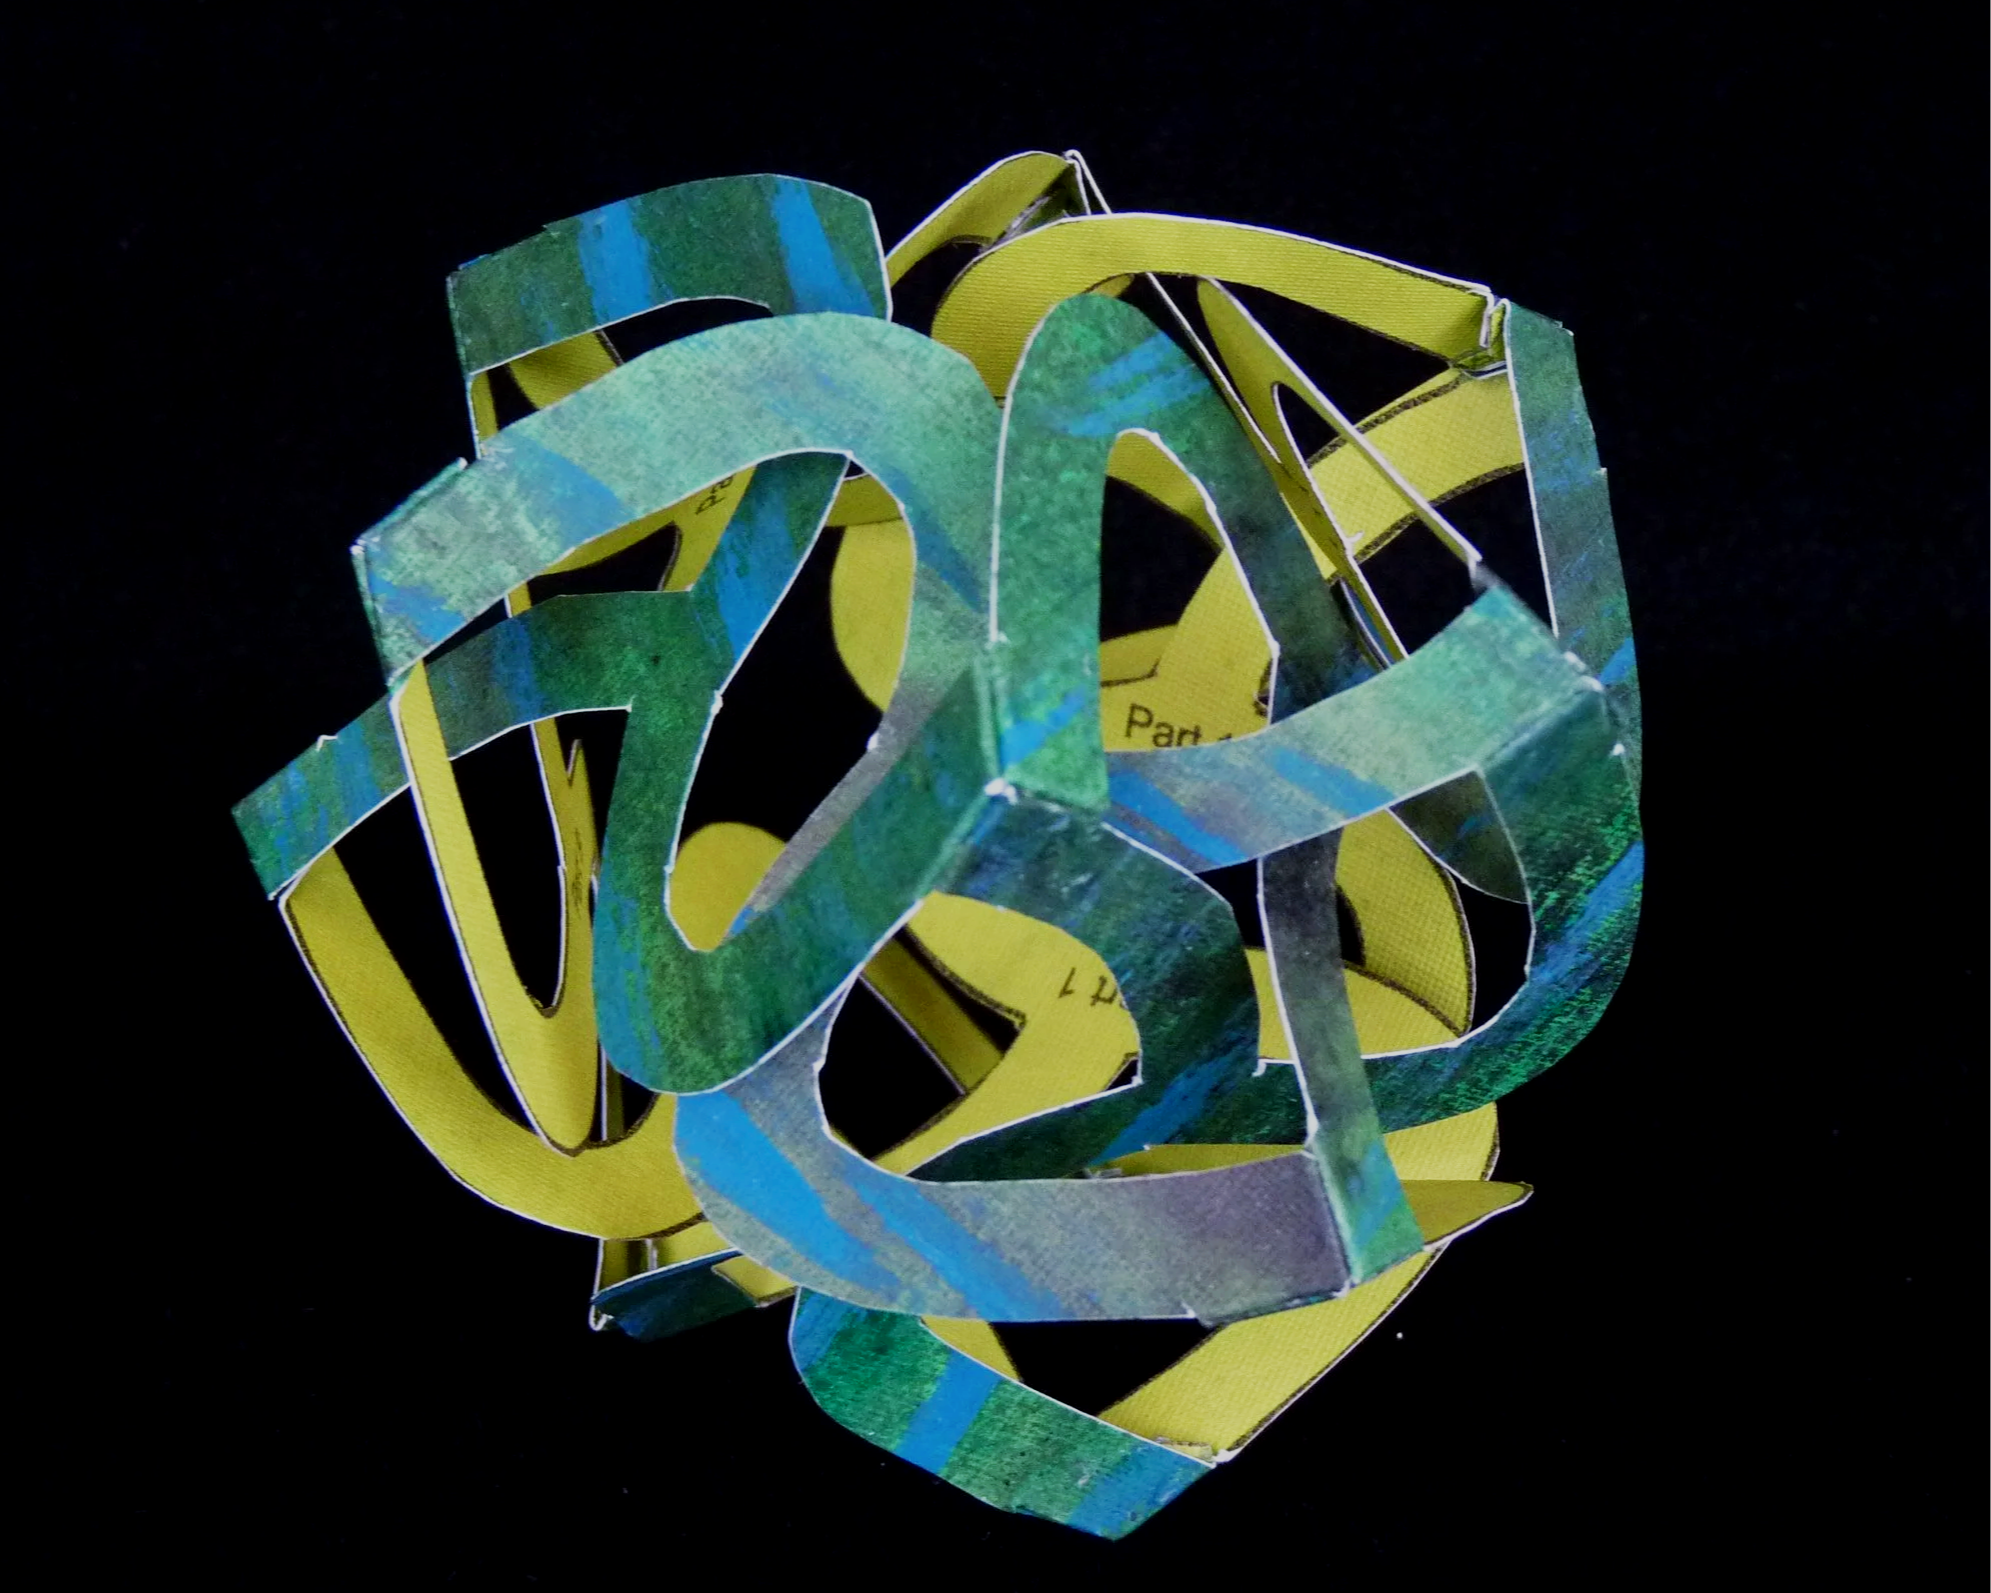
Photo 10. Completed Triakis - View 2
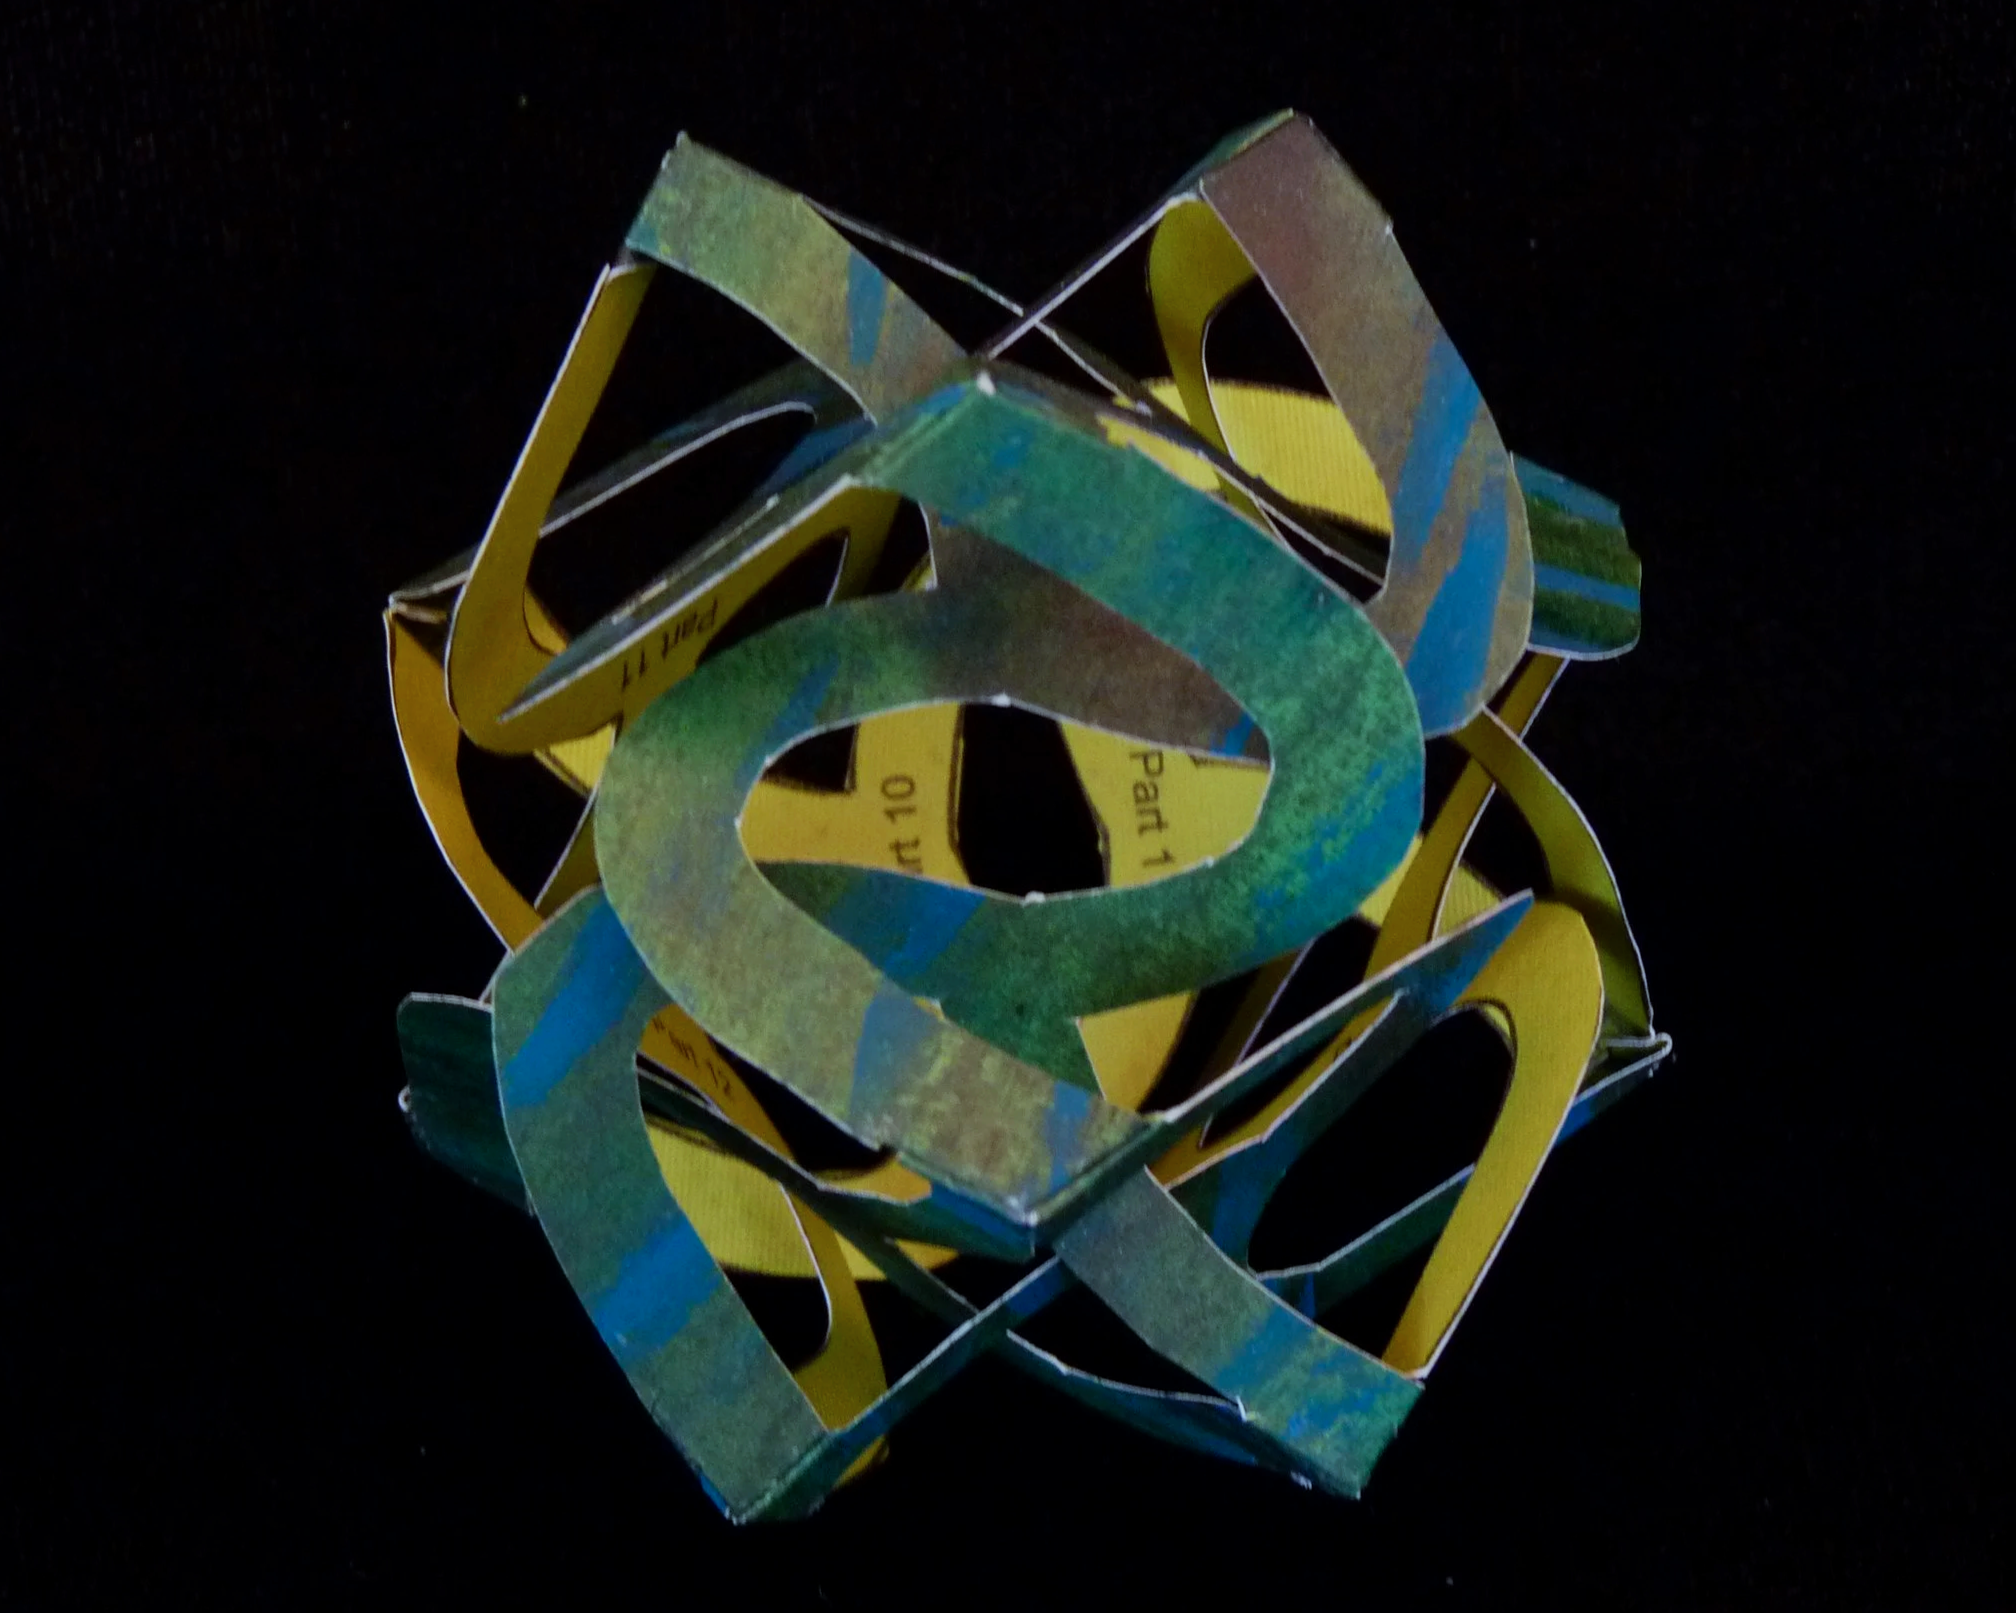
Photo 11. Completed Triakis - View 3

Photo 12. Completed Triakis - View 4
This interlocking arm paper star is in the form of a stellated triakis tetrahedron.
Interlocking arm paper stars are interesting and fun. Try the others on this website, like Hyper Nova.
Hyper Nova Interlocking Arm Paper Star