Zaniah
This fabulous and complex looking star is actually just a cube nested inside an octahedron. Give it a try today!

Project Info
Paper required: Two sheets 8.5 x 11 inch (or A4)
Finished Project size: 3.5 inches (9cm)
Difficulty Level: Intermediate
Click button below to get your free printable pattern !
Click button below to get your free printable pattern !
INSTRUCTIONS
STEP 1
Print the pattern onto the two matching paper sheets of your choice.
Read the pattern key included in the General Instructions.
Step 2
Cut out the fourteen parts by cutting on all black lines. On all fourteen parts, fold the green lines at the glue flaps as valley folds.

Photo 1. Back of Two Parts after Step 2

Photo 2. Front of Two Parts after Step 2
STEP 3
Connect Parts 1, 2, 3, and 4. Note that the glue flaps in this project are each labelled with a number plus the letter A or B. The number is the number of the point being formed, so all glue flaps at a point should have the same number. Also, A flaps are always glued to a B flaps. For this step, glue the following flaps to each other:
Part 1 Flap 9A to Part 2 Flap 9B
Part 2 Flap 9A to Part 3 Flap 9B
Part 3 Flap 9A to Part 4 Flap 9B
Part 4 Flap 9A to Part 1 Flap 9B
Part 1 Flap 10B to Part 2 Flap 10A
Part 2 Flap 11B to Part 3 Flap 11A
Part 3 Flap 12B to Part 4 Flap 12A
Part 4 Flap 13B to Part 1 Flap 13A

Photo 3. Inside of Project after Step 3
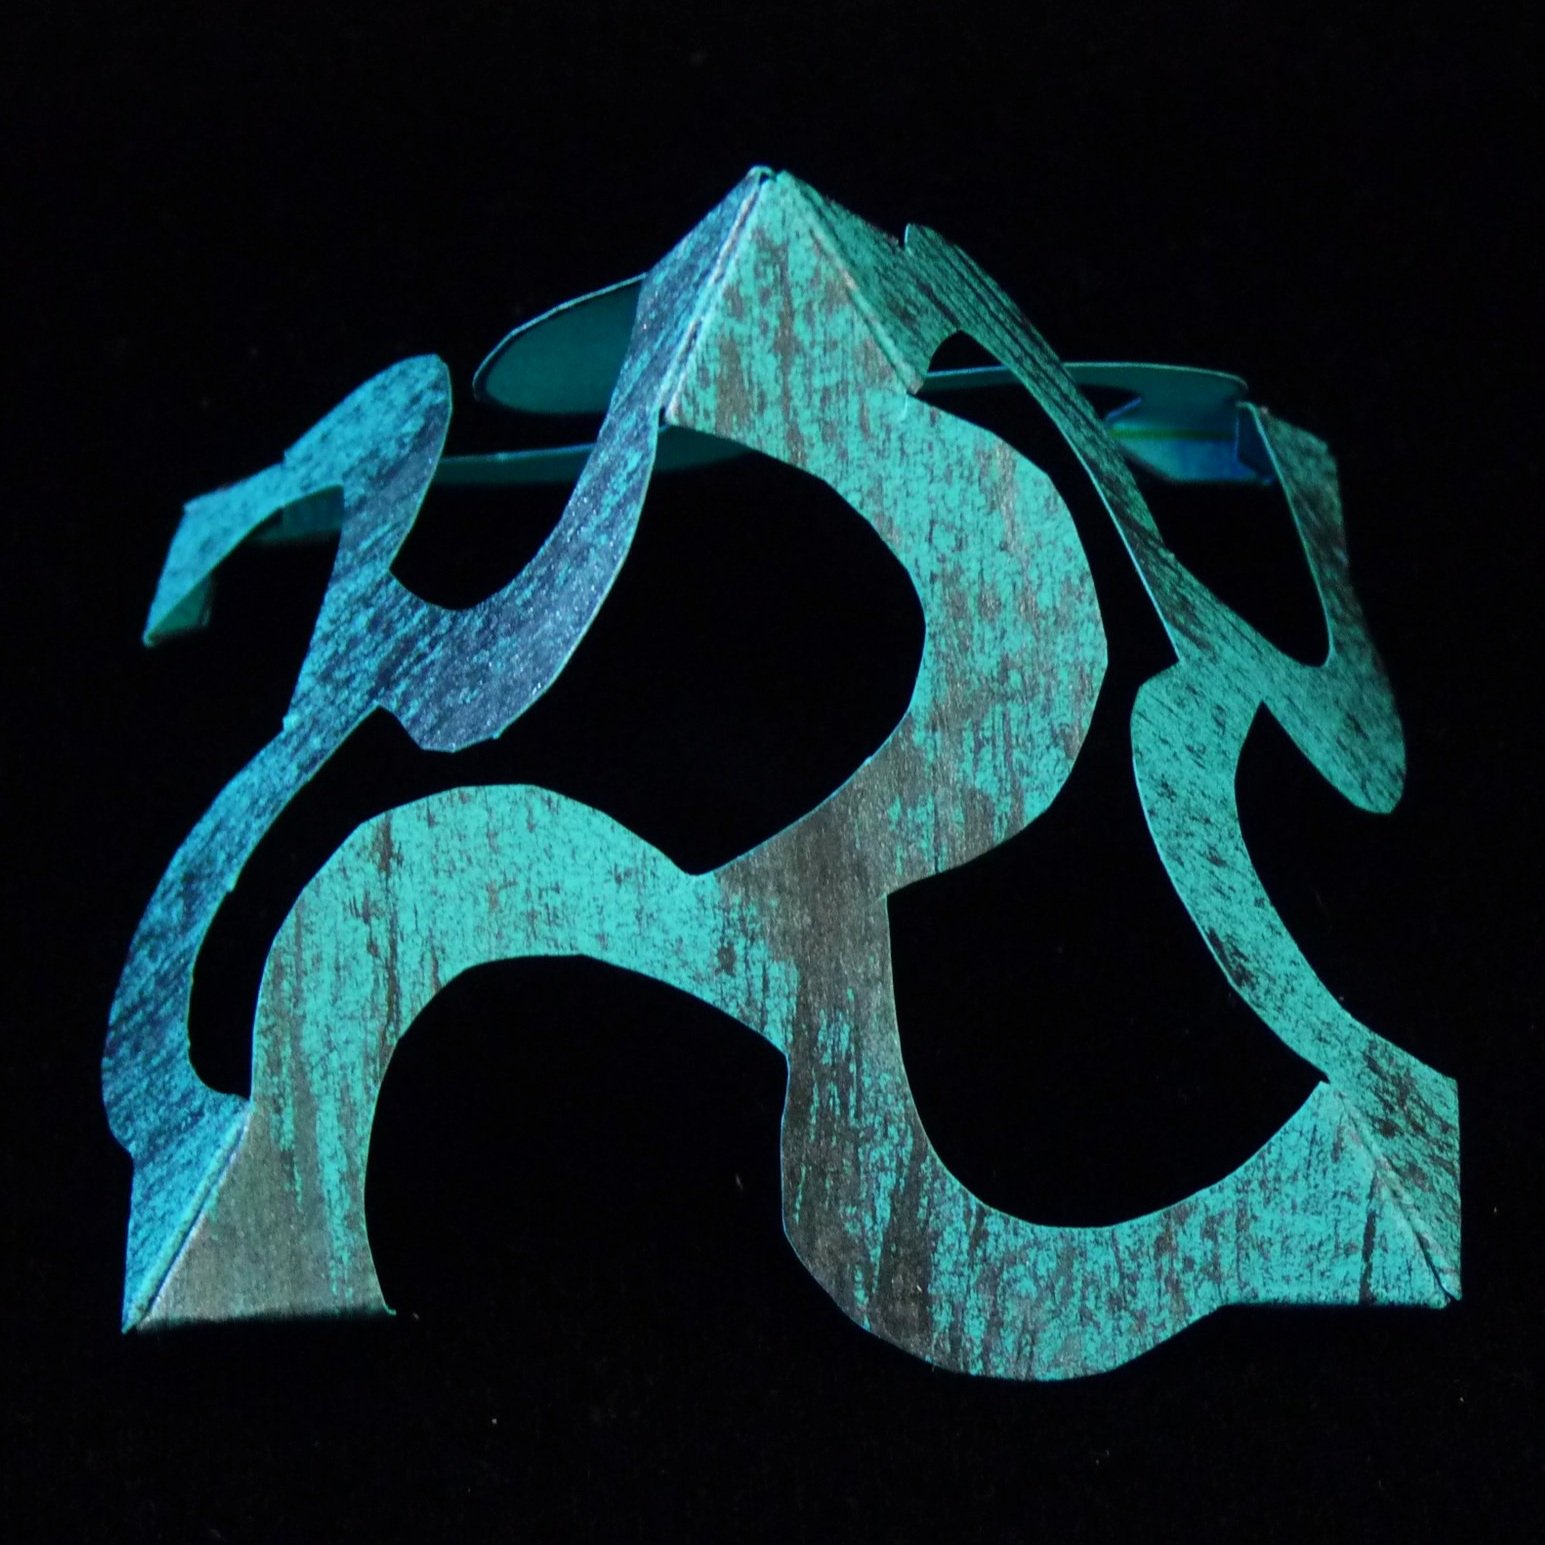
Photo 4. Outside of Project after Step 3
Step 4
Add Parts 9, 10 , 11, 12, and 13 to the project. Start by placing Part 9 just below the point formed in Step 3 with each arm through a gap, and Flaps 1A and 1B above Part 1. See Photos 5 and 6. In the same way insert Part 10 with arms through existing gaps. Then, glue the following flaps to each other:
Part 9 Flap 1B to Part 10 Flap 1A
Part 10 Flap 2B to Part 9 Flap 2A
Insert Part 11 in a similar way, then glue flaps:
Part 11 Flap 2B to Part 10 Flap 2A
Part 11 Flap 2A to Part 9 Flap 2B
Part 11 Flap 3B to Part 9 Flap 3A
Part 11 Flap 6A to Part 10 Flap 6B
Insert Part 12 in a similar way, then glue flaps:
Part 12 Flap 3B to Part 11 Flap 3A
Part 12 Flap 3A to Part 9 Flap 3B
Part 12 Flap 4B to Part 9 Flap 4A
Part 12 Flap 7A to Part 11 Flap 7B
Insert Part 13 in a similar way, then glue flaps:
Part 13 Flap 4A to Part 9 Flap 4B
Part 13 Flap 4B to Part 12 Flap 4A
Part 13 Flap 1B to Part 9 Flap 1A
Part 13 Flap 1A to Part 10 Flap 1B
Part 13 Flap 5A to Part 10 Flap 5B
Part 13 Flap 8A to Part 12 Flap 8B

Photo 5. Step 4 - Part 9 Inserted

Photo 6. Step 4 - Part 9 Inserted

Photo 7. Step 4 Completed

Photo 8. Step 4 Completed
Step 5
Add Parts 5, 6, 7, and 8. Insert Part 5, then glue the following flaps to each other:
Part 5 Flap 10B to Part 1 Flap 10A
Part 5 Flap 13A to Part 1 Flap 13B
Insert Part 6, then glue flaps:
Part 6 Flap 10A to Part 2 Flap 10B
Part 6 Flap 10B to Part 5 Flap 10A
Part 6 Flap 11B to Part 2 Flap 11A
Insert Part 7, then glue flaps:
Part 7 Flap 11A to Part 3 Flap 11B
Part 7 Flap 11B to Part 6 Flap 11A
Part 7 Flap 12B to Part 3 Flap 12A
Insert Part 8, then glue flaps:
Part 8 Flap 12B to Part 7 Flap 12A
Part 8 Flap 12A to Part 4 Flap 12B
Part 8 Flap 13B to Part 4 Flap 13A
Part 8 Flap 13A to Part 5 Flap 13B
Note that Flaps labelled 14A and 14B remain disconnected for now.text

Photo 9. Project after Step 5
Step 6
Insert Part 14 below the unglued point, then glue the following flaps to each other:
Part 14 Flap 5A to Part 10 Flap 5B
Part 14 Flap 5B to Part 13 Flap 5A
Part 14 Flap 6A to Part 11 Flap 6B
Part 14 Flap 6B to Part 10 Flap 6A
Part 14 Flap 7A to Part 12 Flap 7B
Part 14 Flap 7B to Part 11 Flap 7A
Part 14 Flap 8A to Part 13 Flap 8B
Part 14 Flap 8B to Part 12 Flap 8A
And finally, complete Point 14 by gluing the following flaps:
Part 5 Flap 14A to Part 8 Flap 14B
Part 5 Flap 14B to Part 6 Flap 14A
Part 6 Flap 14B to Part 7 Flap 14A
Part 8 Flap 14A to Part 7 Flap 14B

Photo 10. Completed Zaniah - View 1

Photo 11. Completed Zaniah - View 2
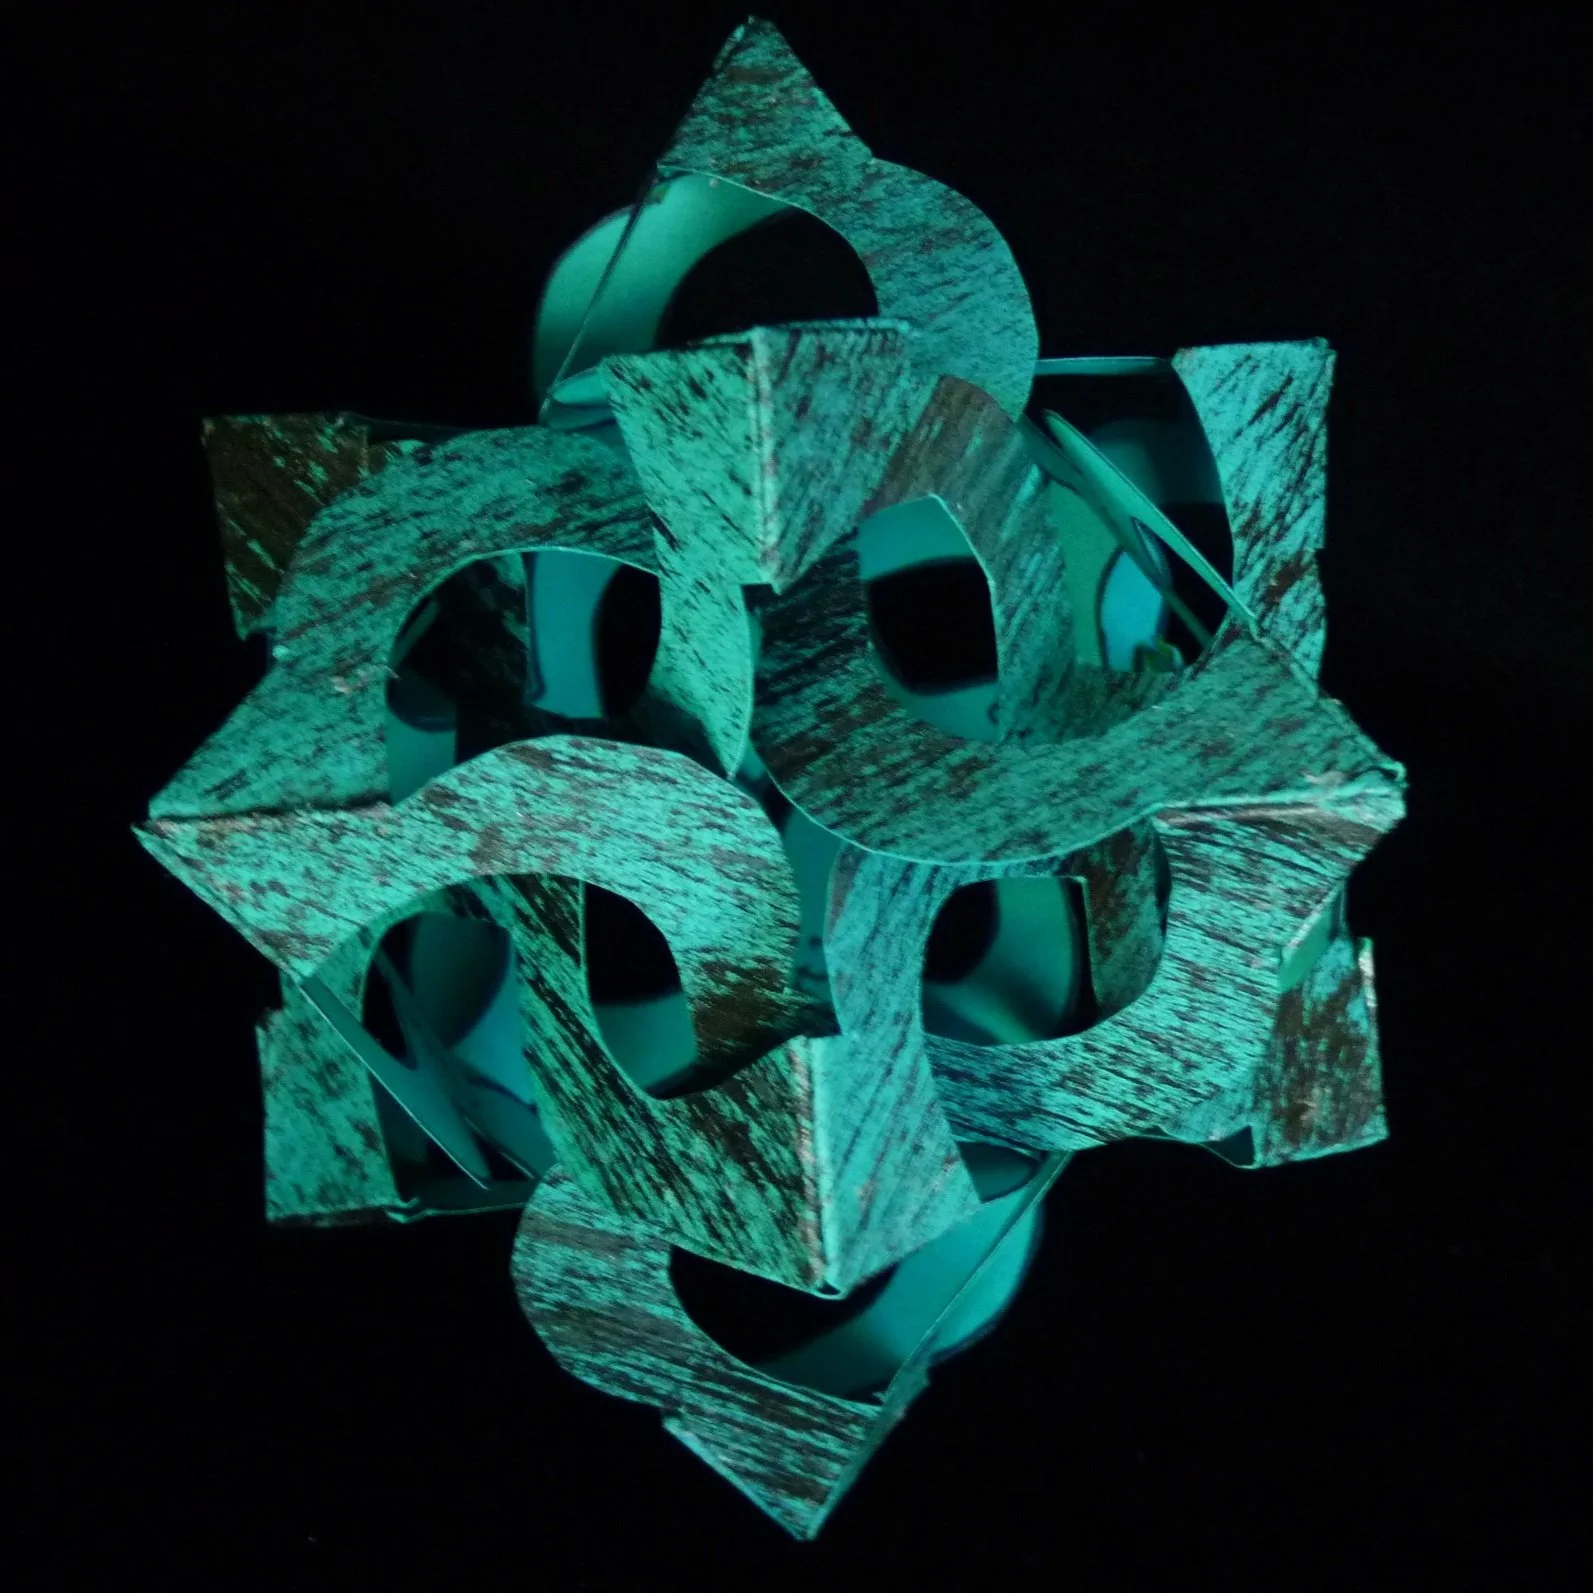
Photo 12. Completed Zaniah - View 3

Photo 13. Completed Zaniah - View 4
The octahedron is formed by Parts 1 through 8, and the Cube is formed by Parts 9 through 14. They are nested together but not actually connected.
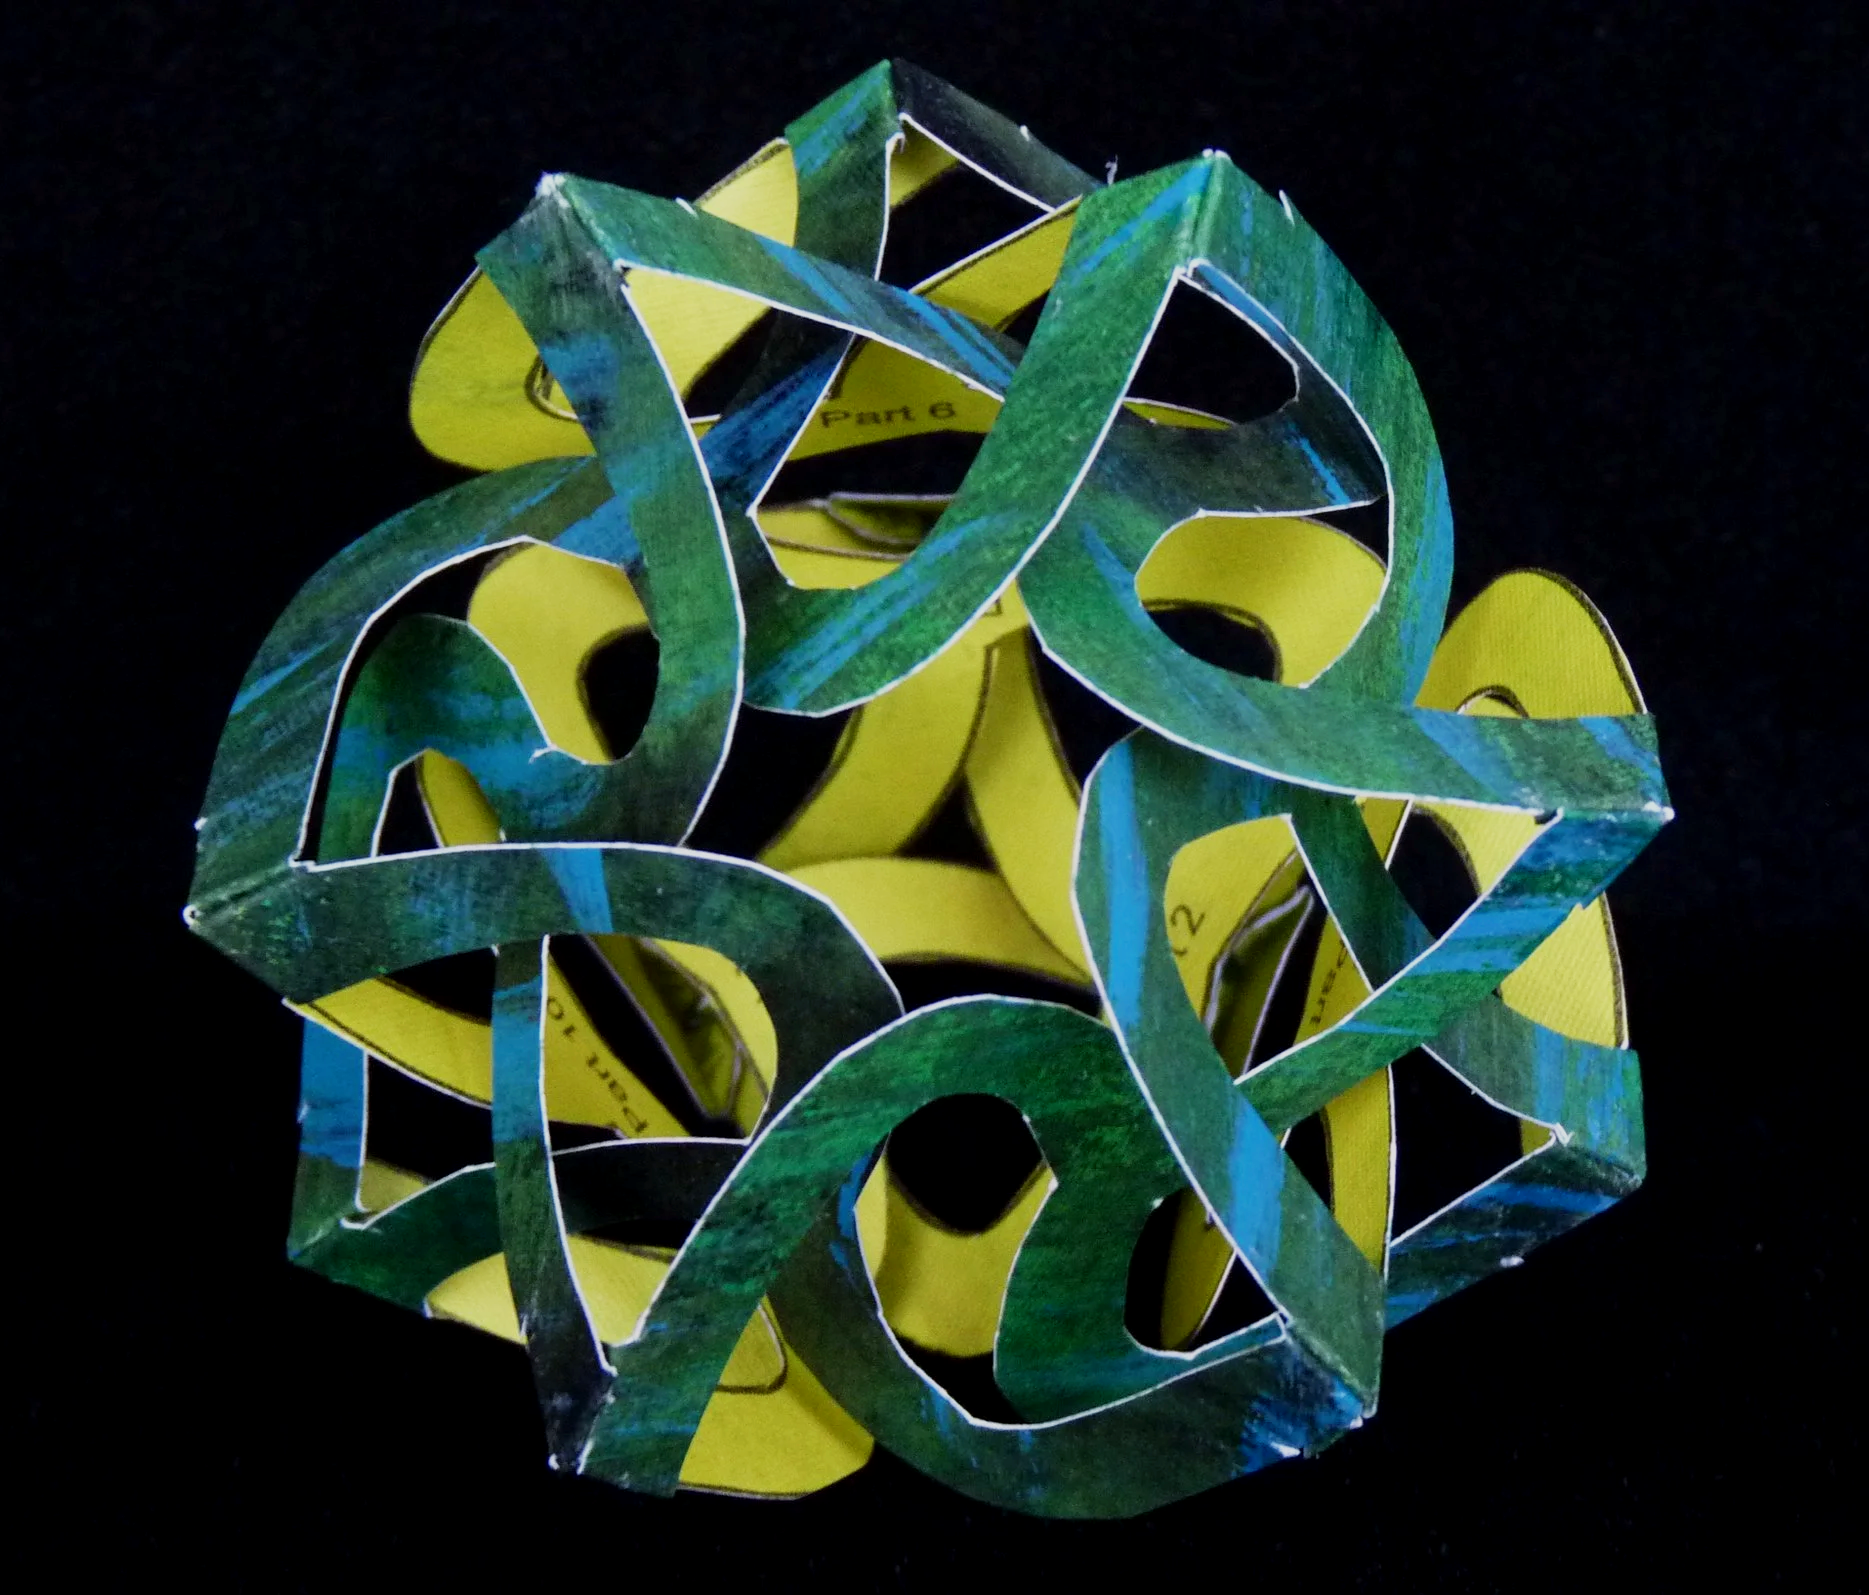
Another Example
In this example, the cube is yellow (pattern Sheet 2) and the octahedron is green on the outside (pattern Sheet 1).
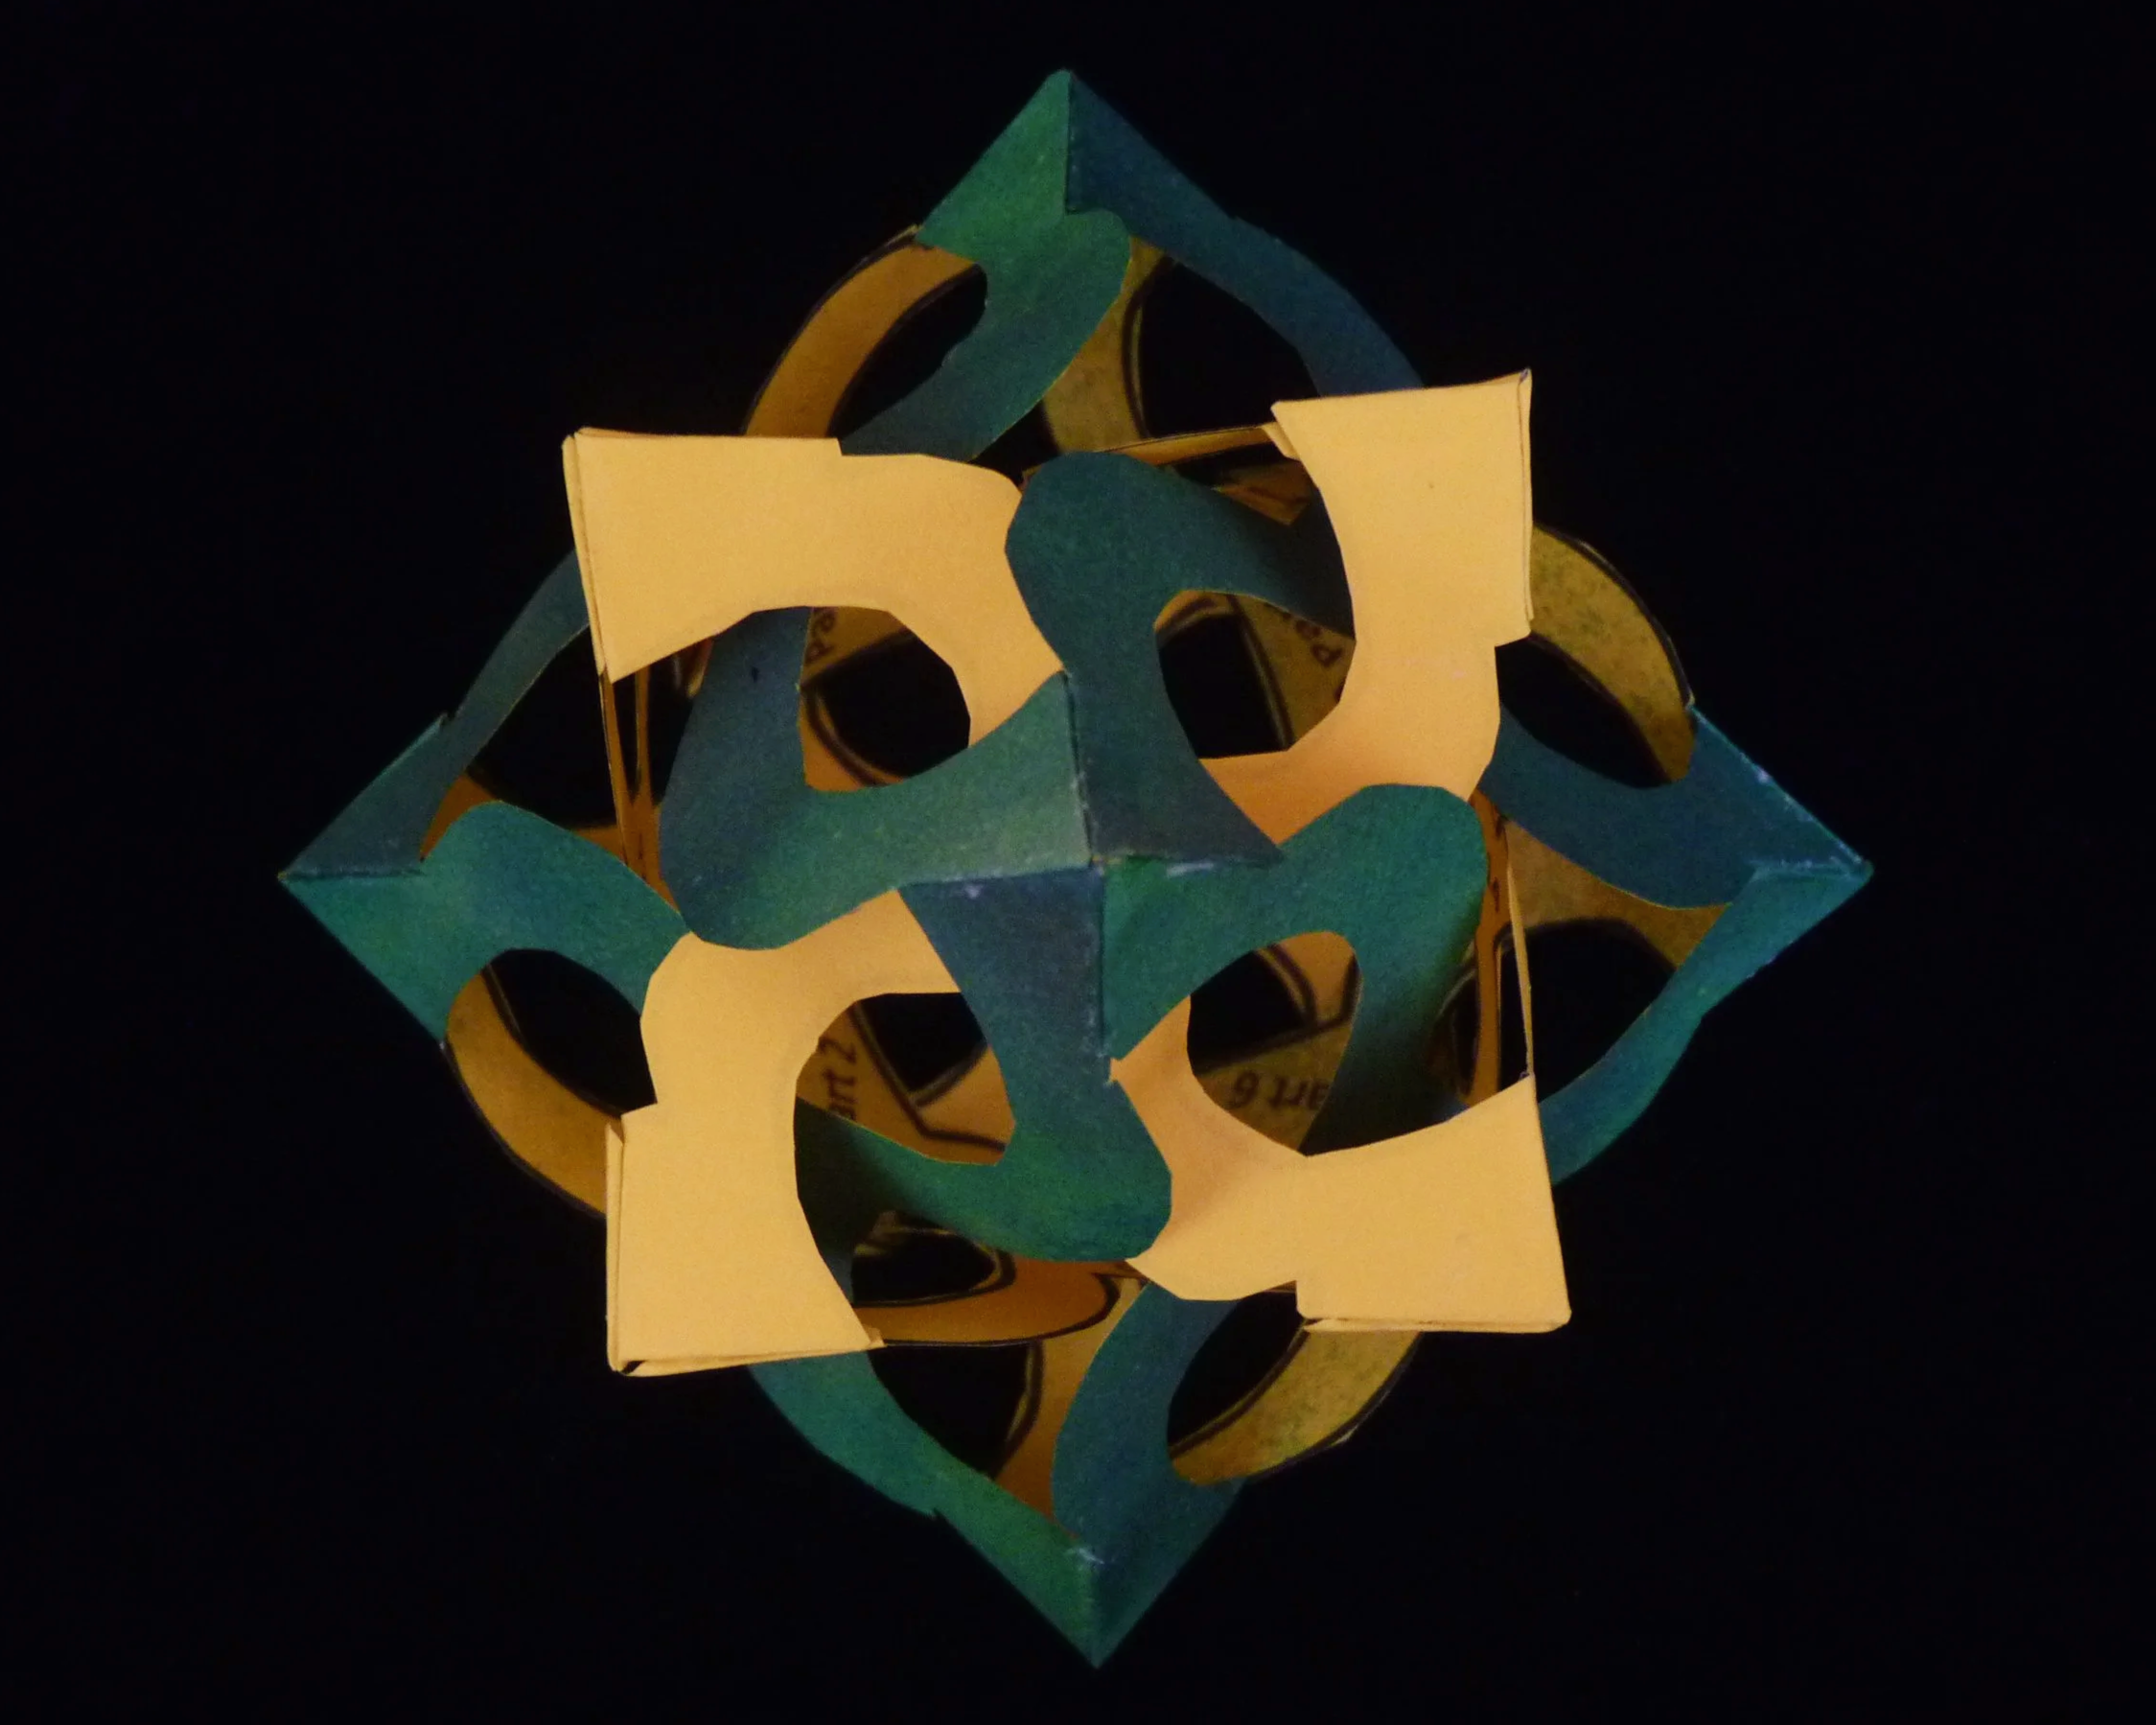
Photo 14. Another Completed Zaniah - View 1
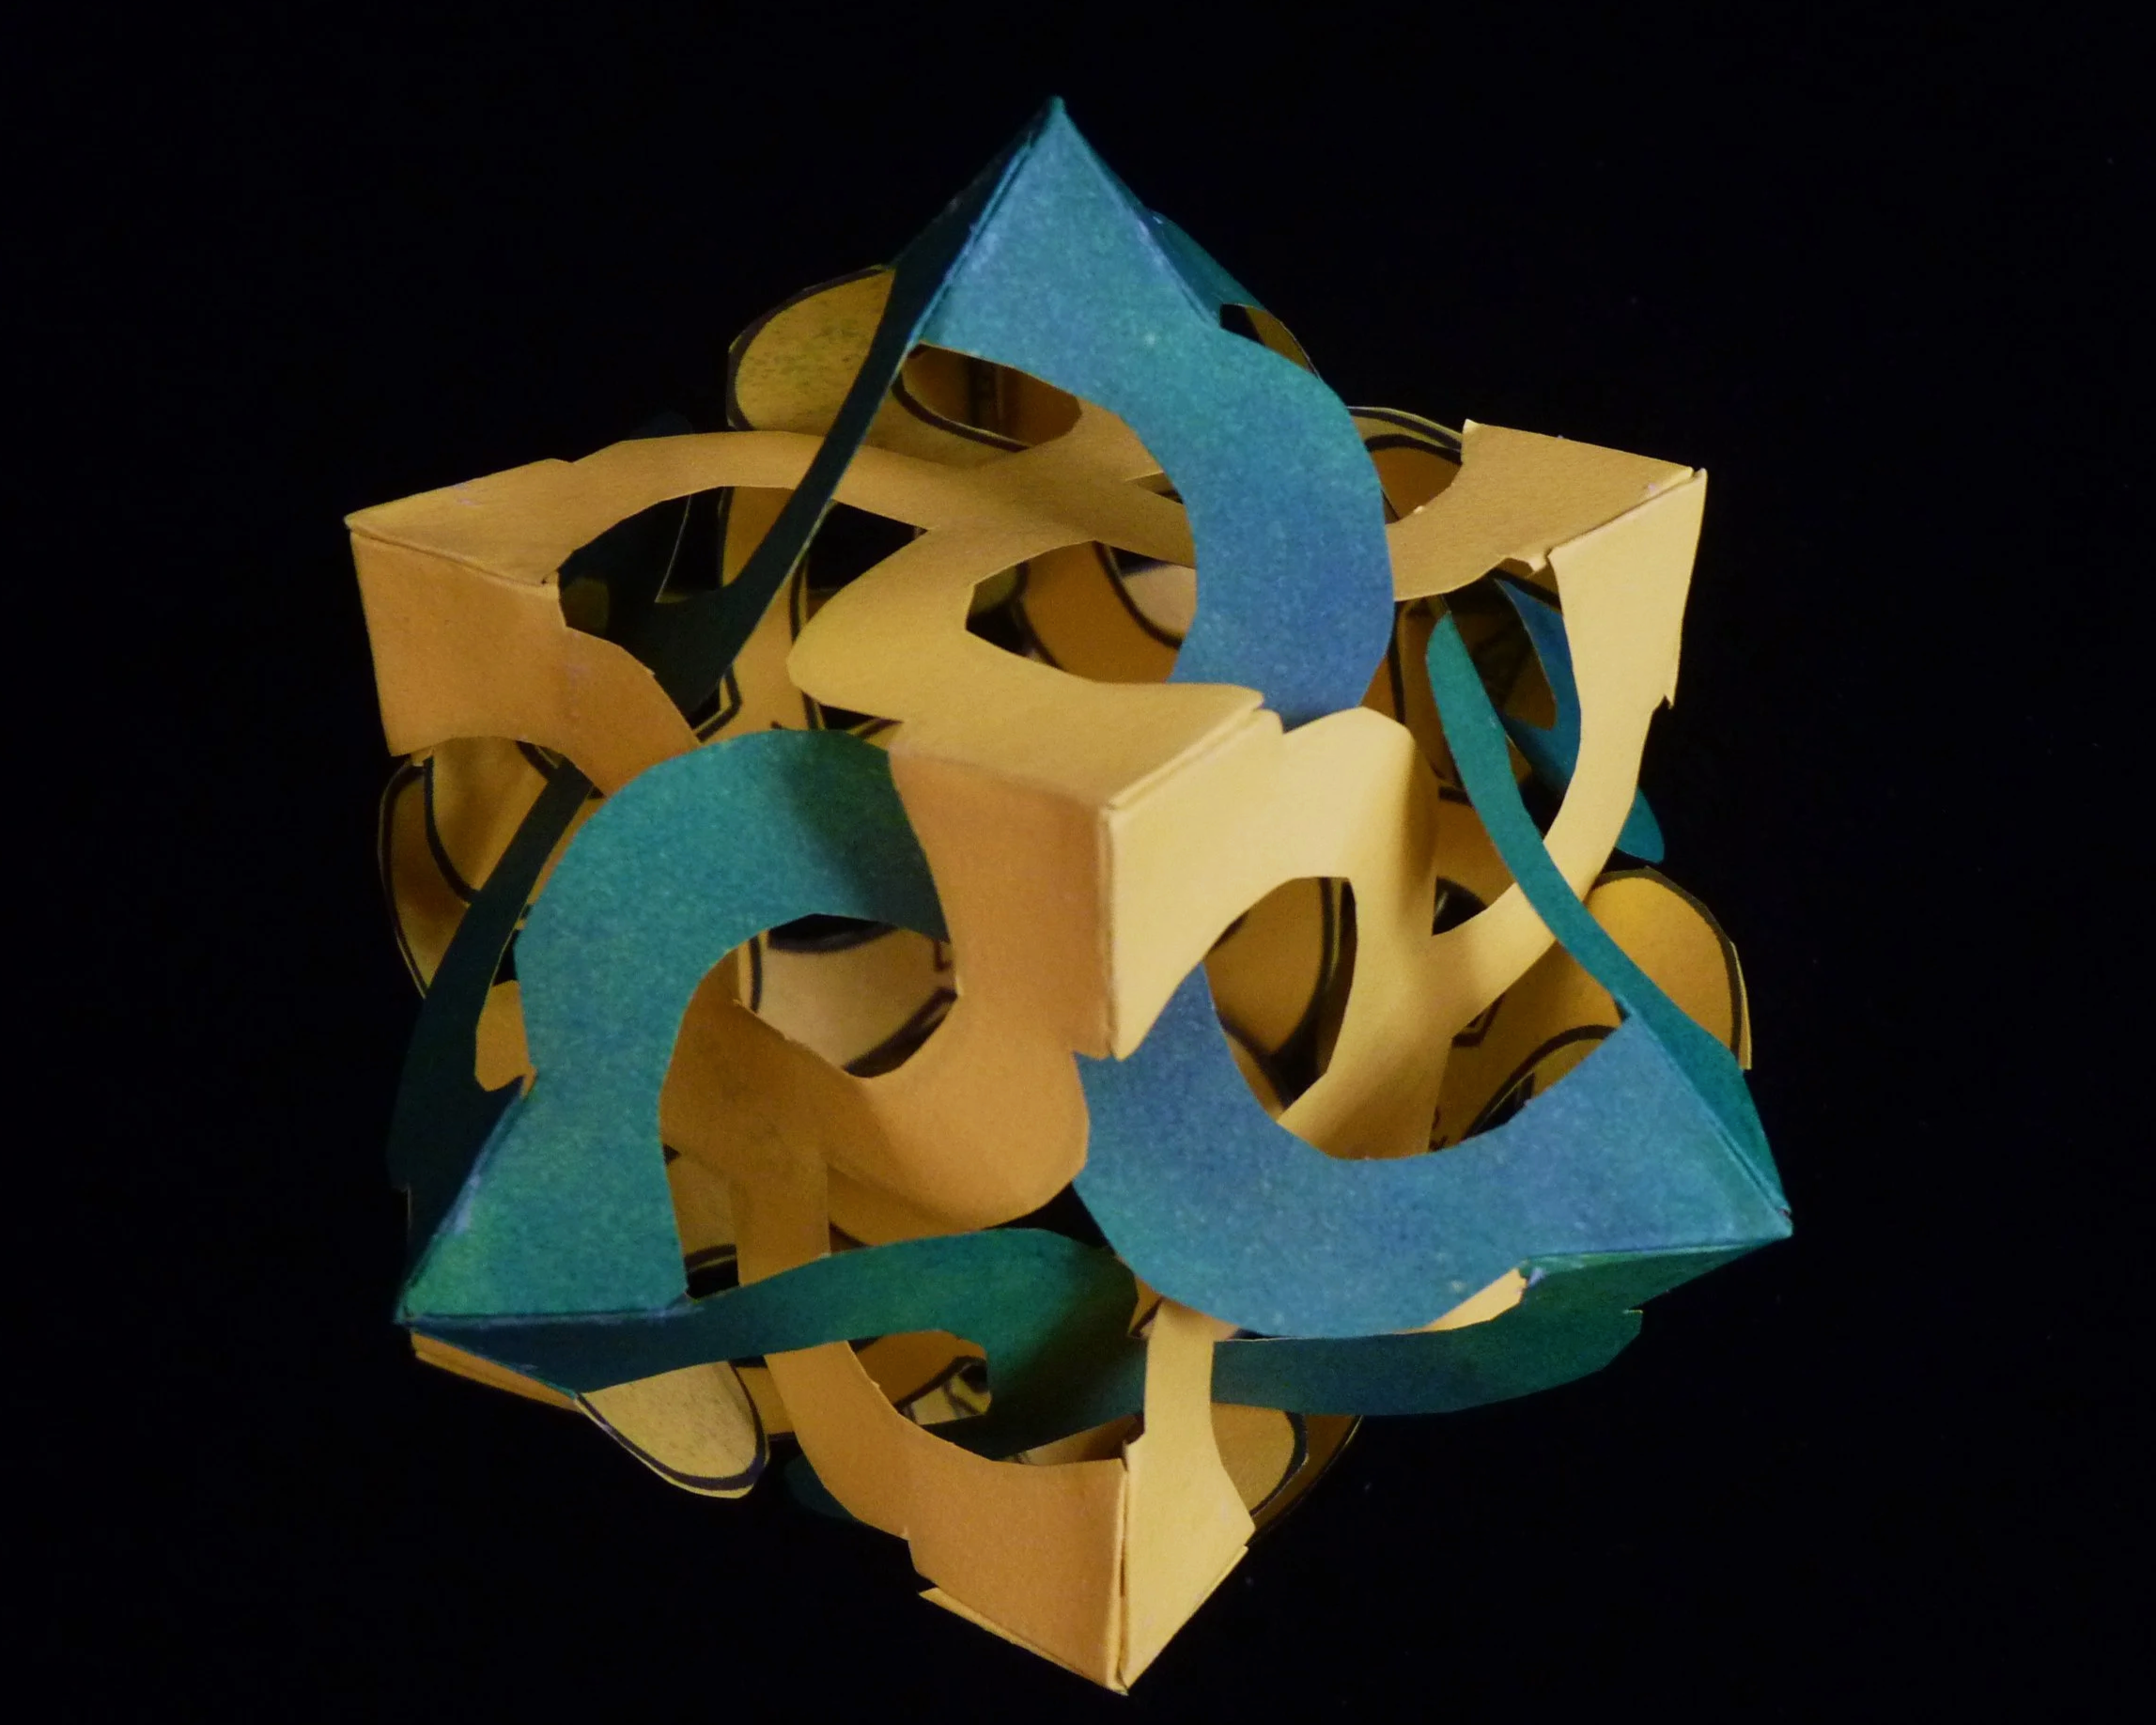
Photo 15. Another Completed Zaniah - VIew 2
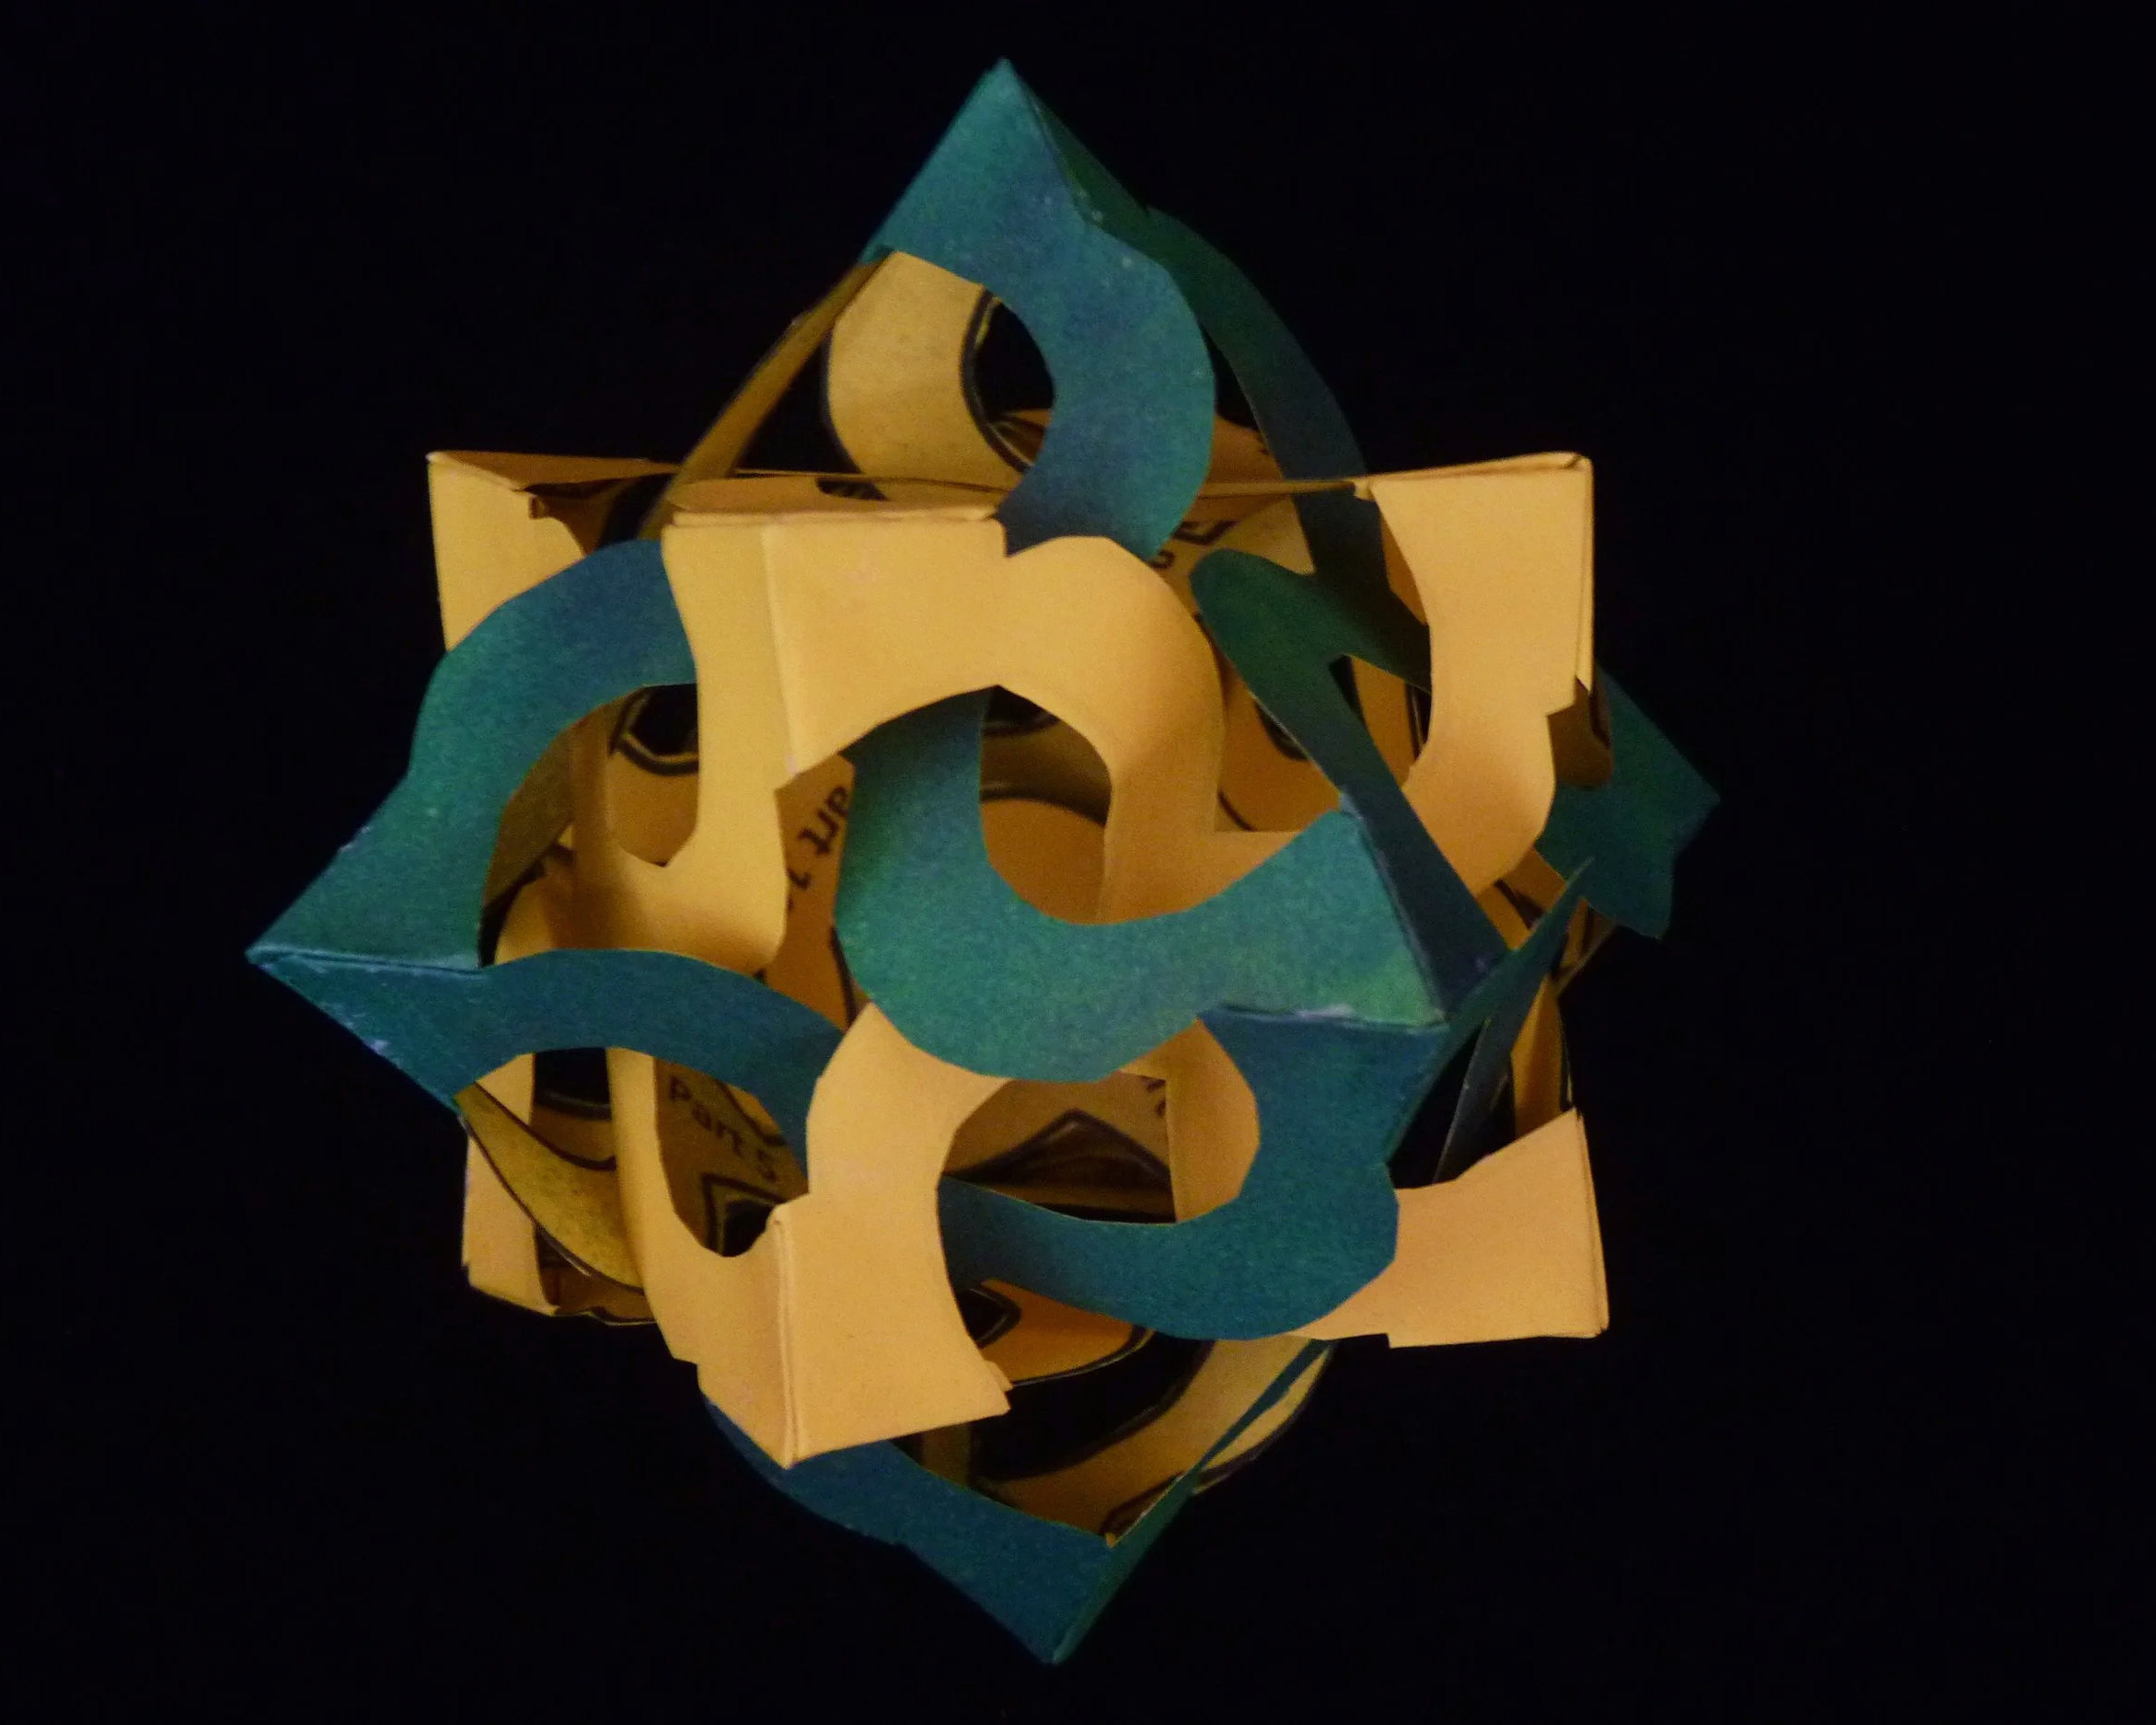
Photo 16. Another Completed Zaniah - View 3
Interlocking arm paper stars are fun and amazing. Try the others on this website, like Triakis.
Triakis Interlocking Arm Paper Star