Estrella Tejida
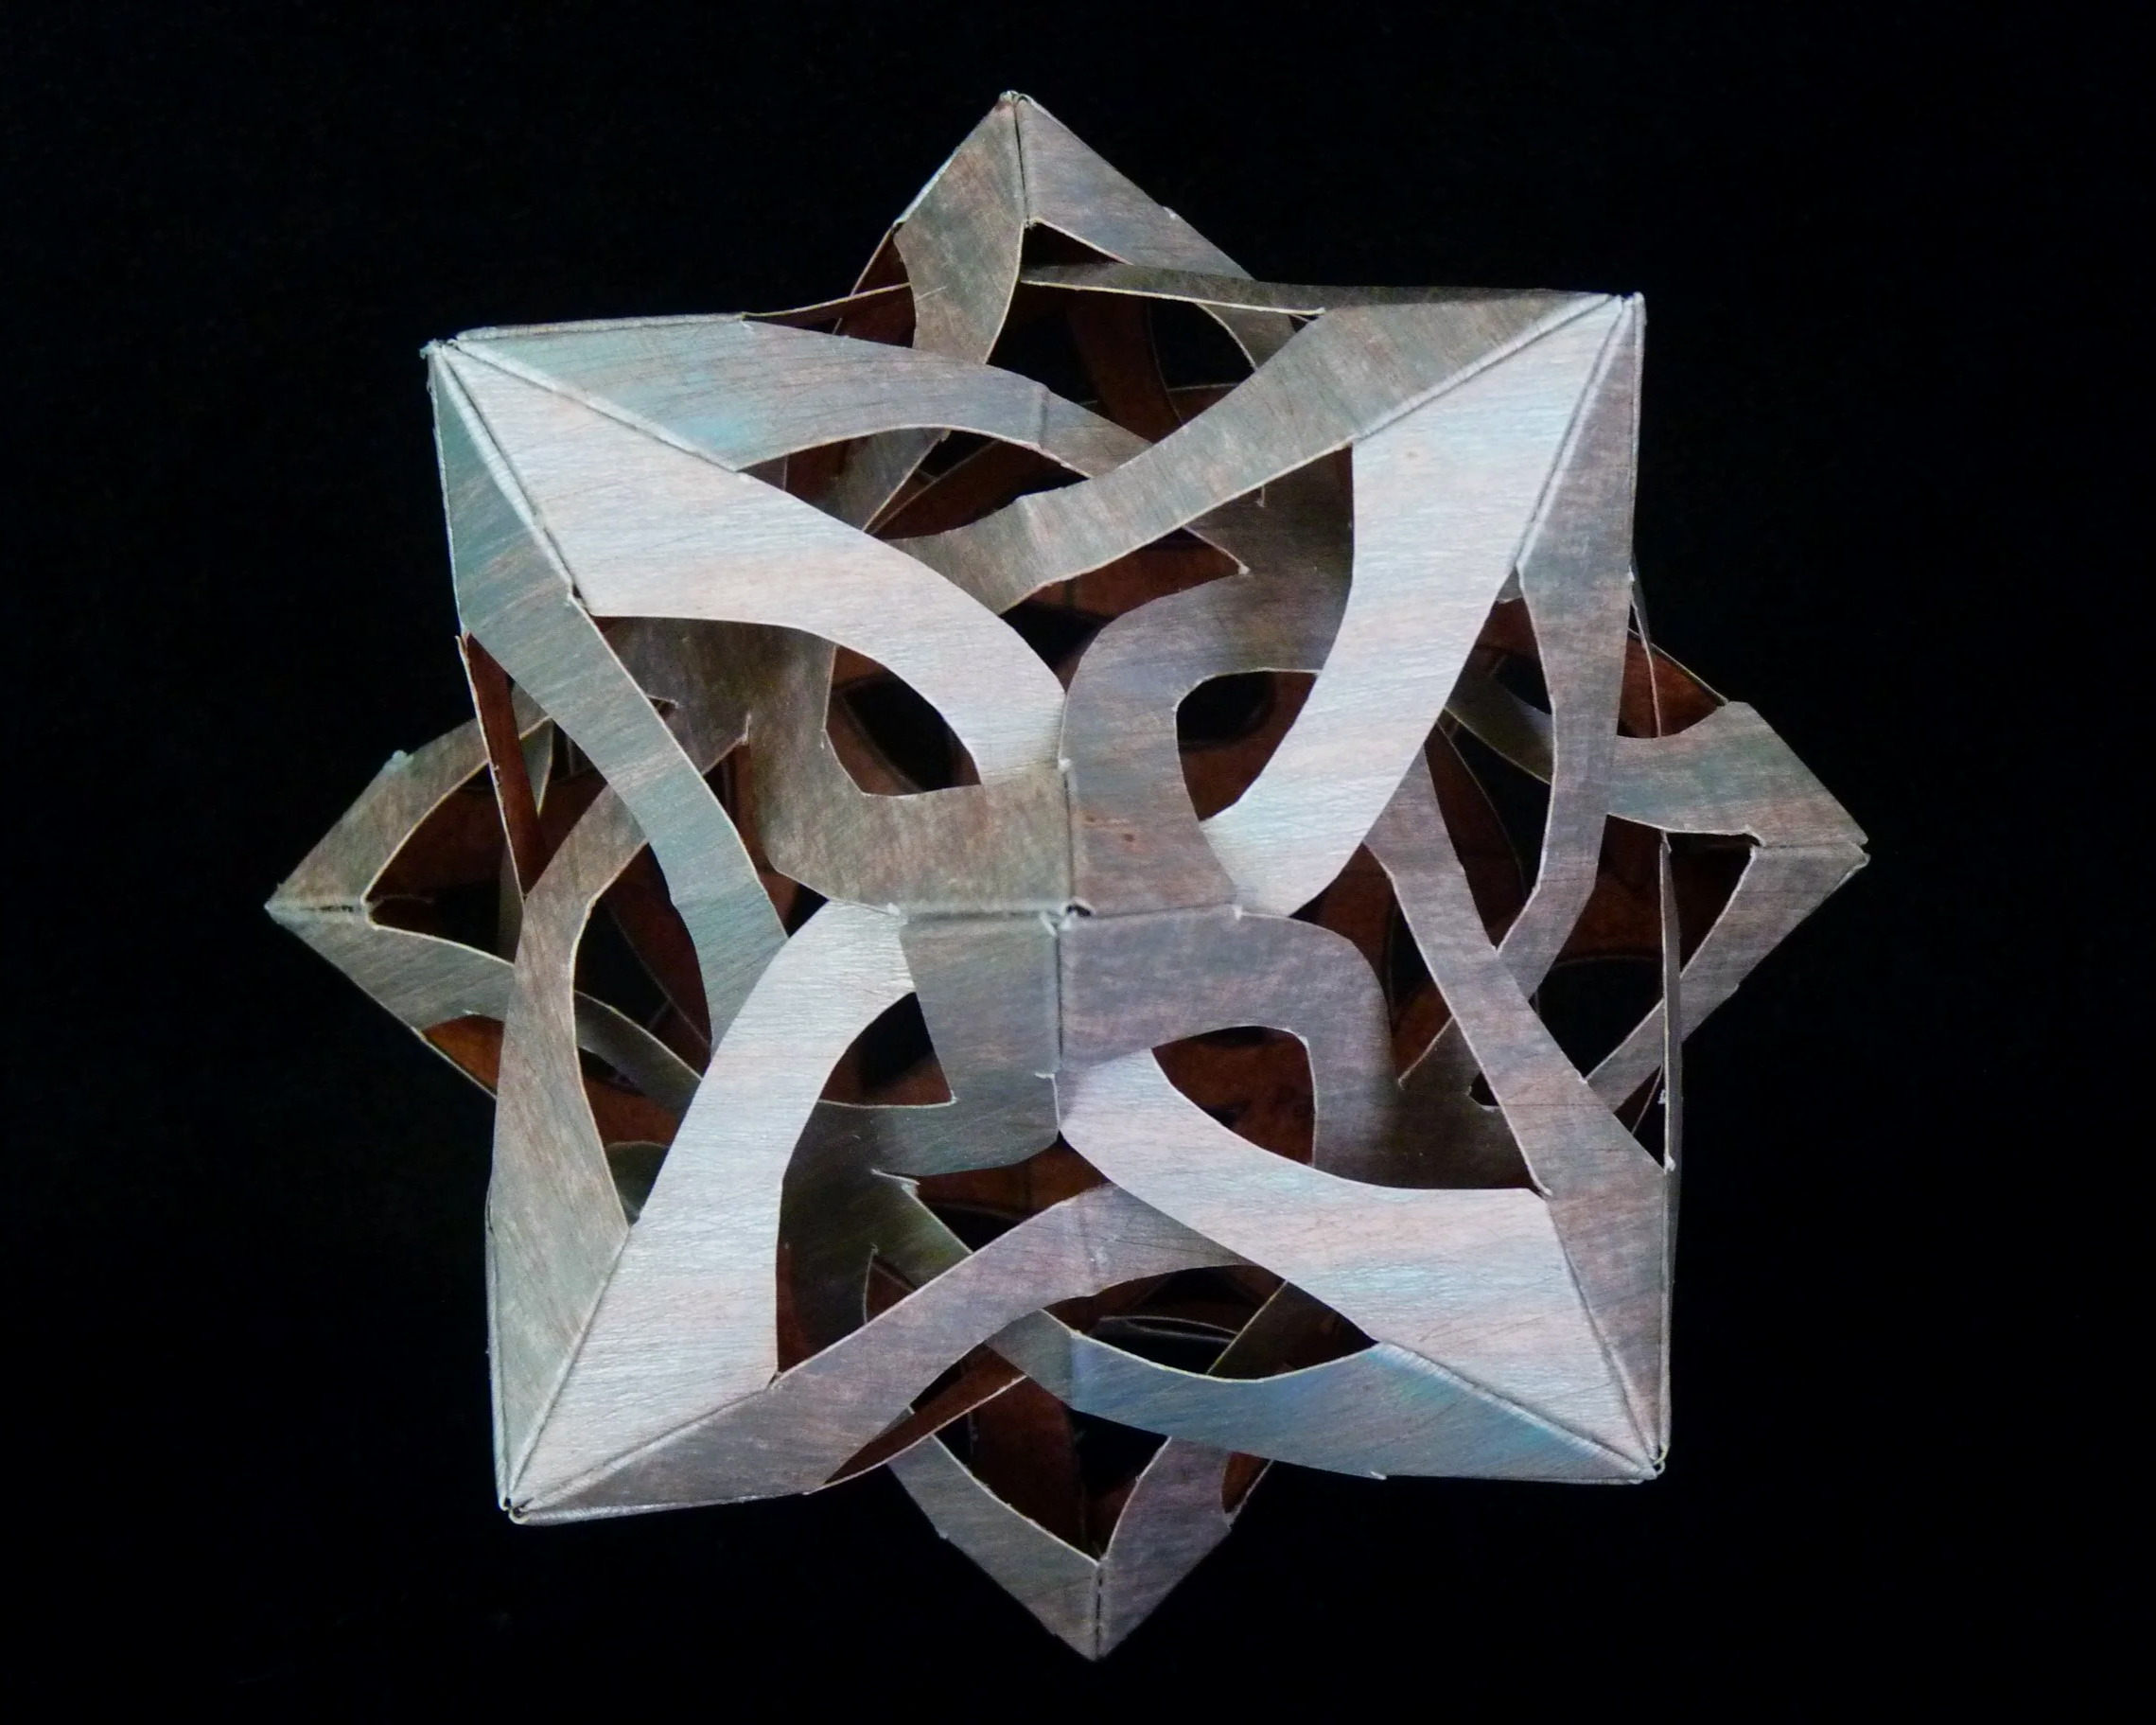
Weave your 3D paper star today.
Project Info
Paper required: Three sheets 8 ½ x 11 inch (or A4)
Finished Project size: 5 inches (12 cm)
Difficulty Level: Intermediate
Click button below to get your free printable pattern !
Click button below to get your free printable pattern !
INSTRUCTIONS
STEP 1
Print the pattern onto the paper of your choice. Both sides of the paper will show in this project.
Read the pattern key included in the General Instructions.
Step 2
Cut out the fourteen parts by cutting on all black lines. On all fourteen parts, fold the green lines as valley folds.
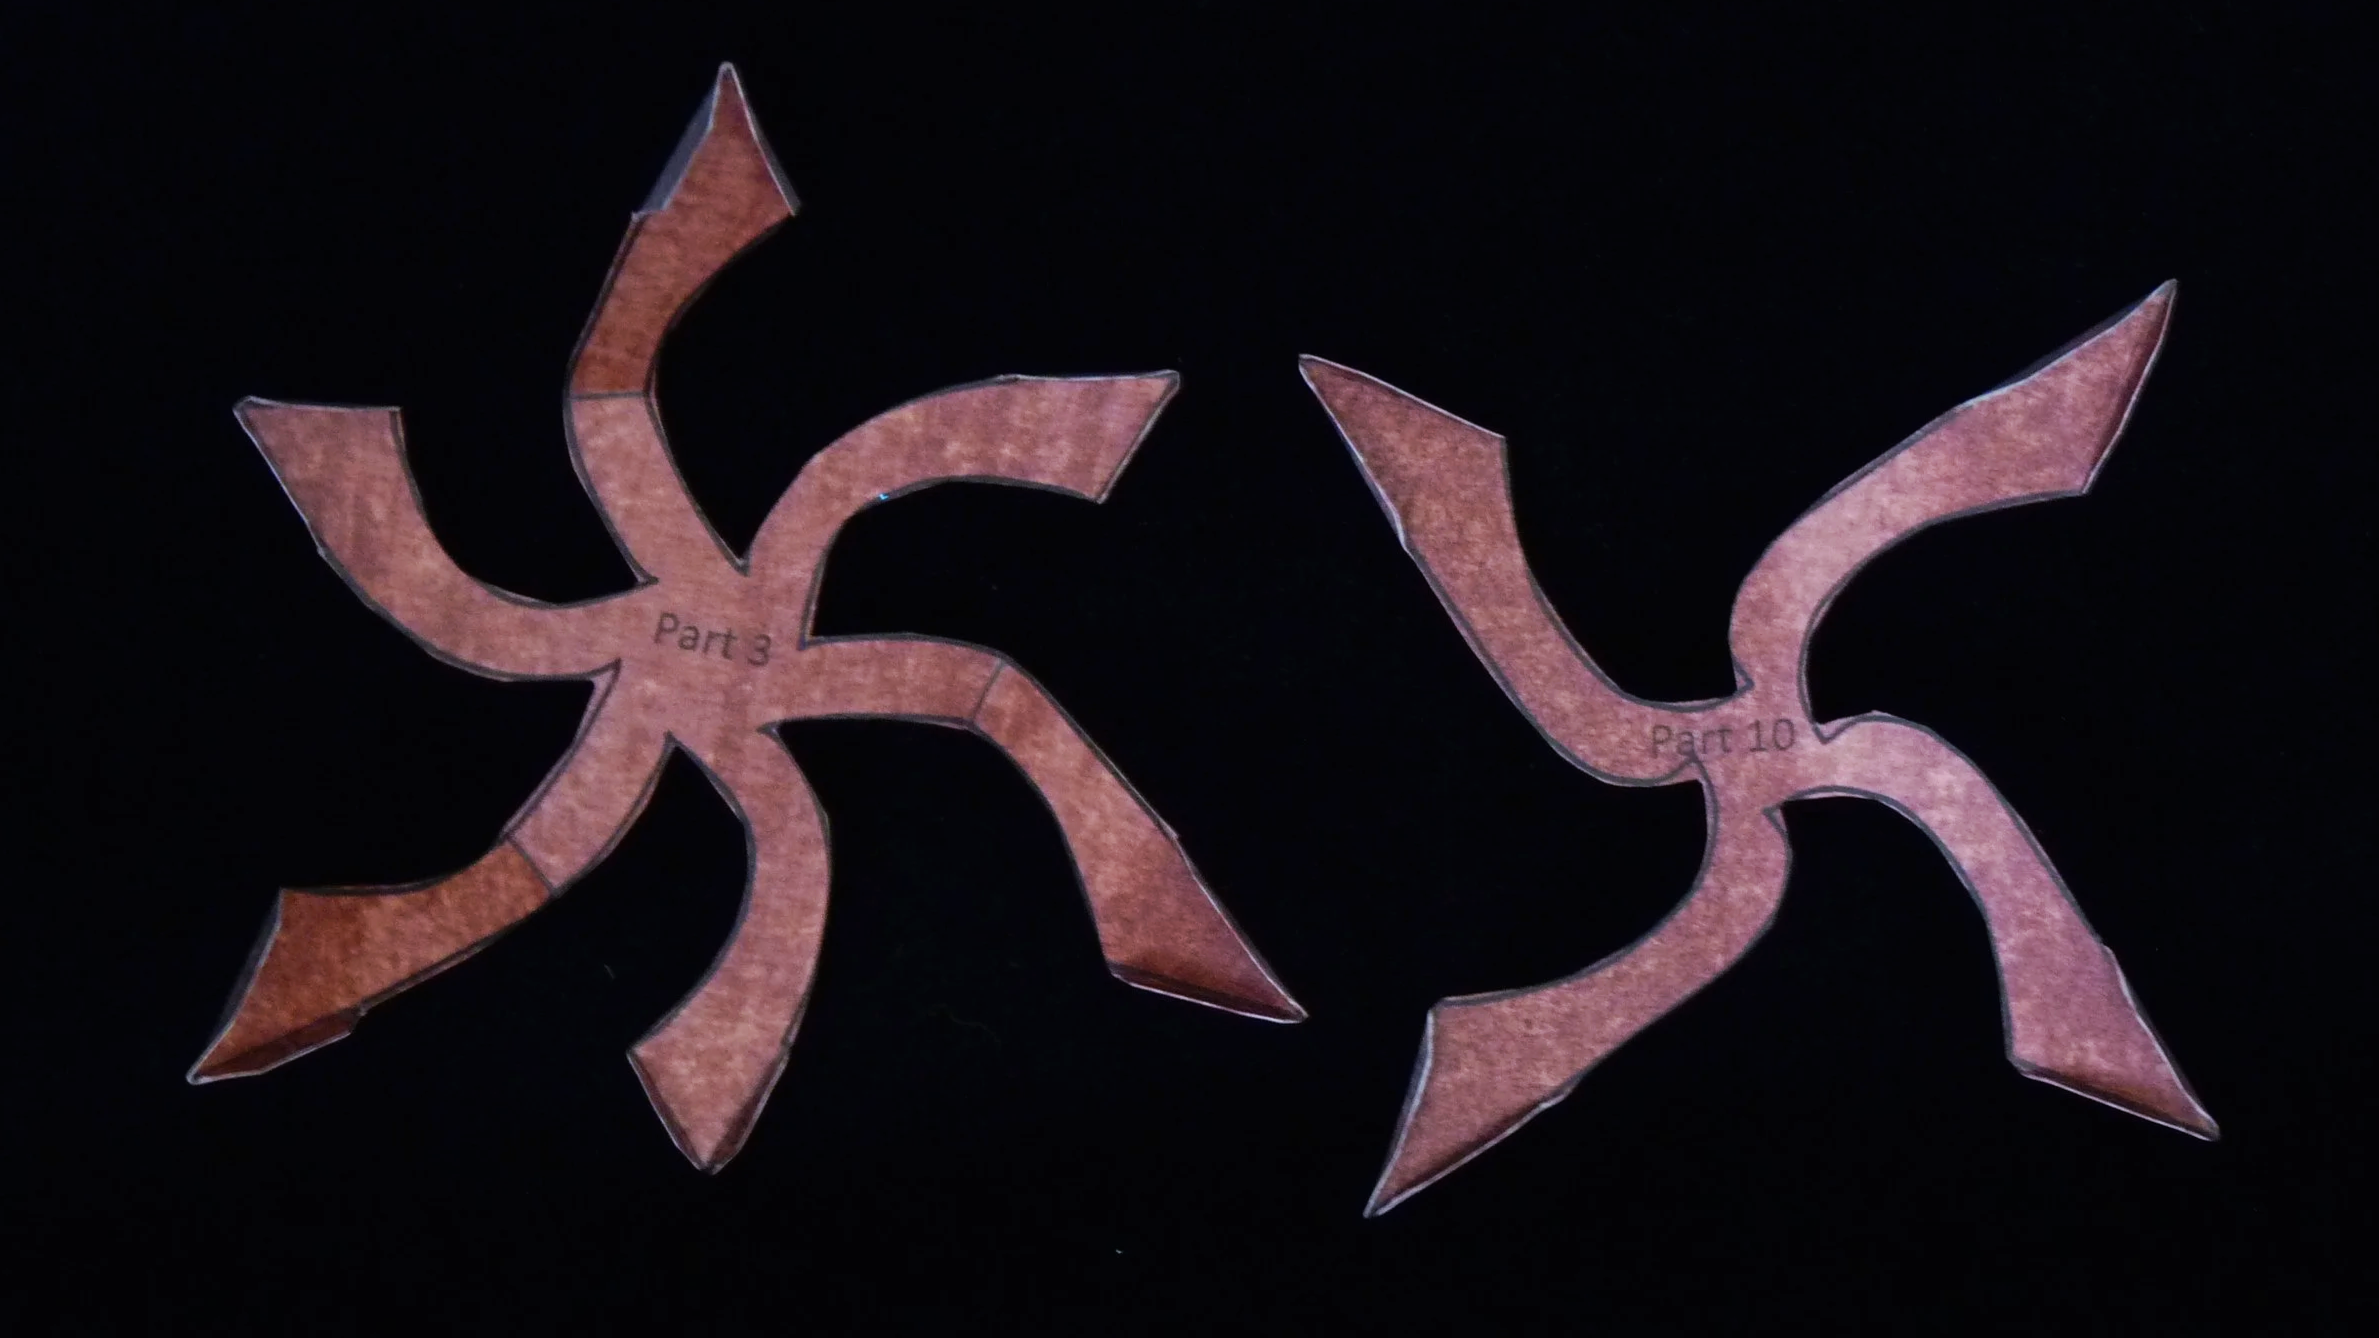
Photo 1. Back of Two Parts after Step 2
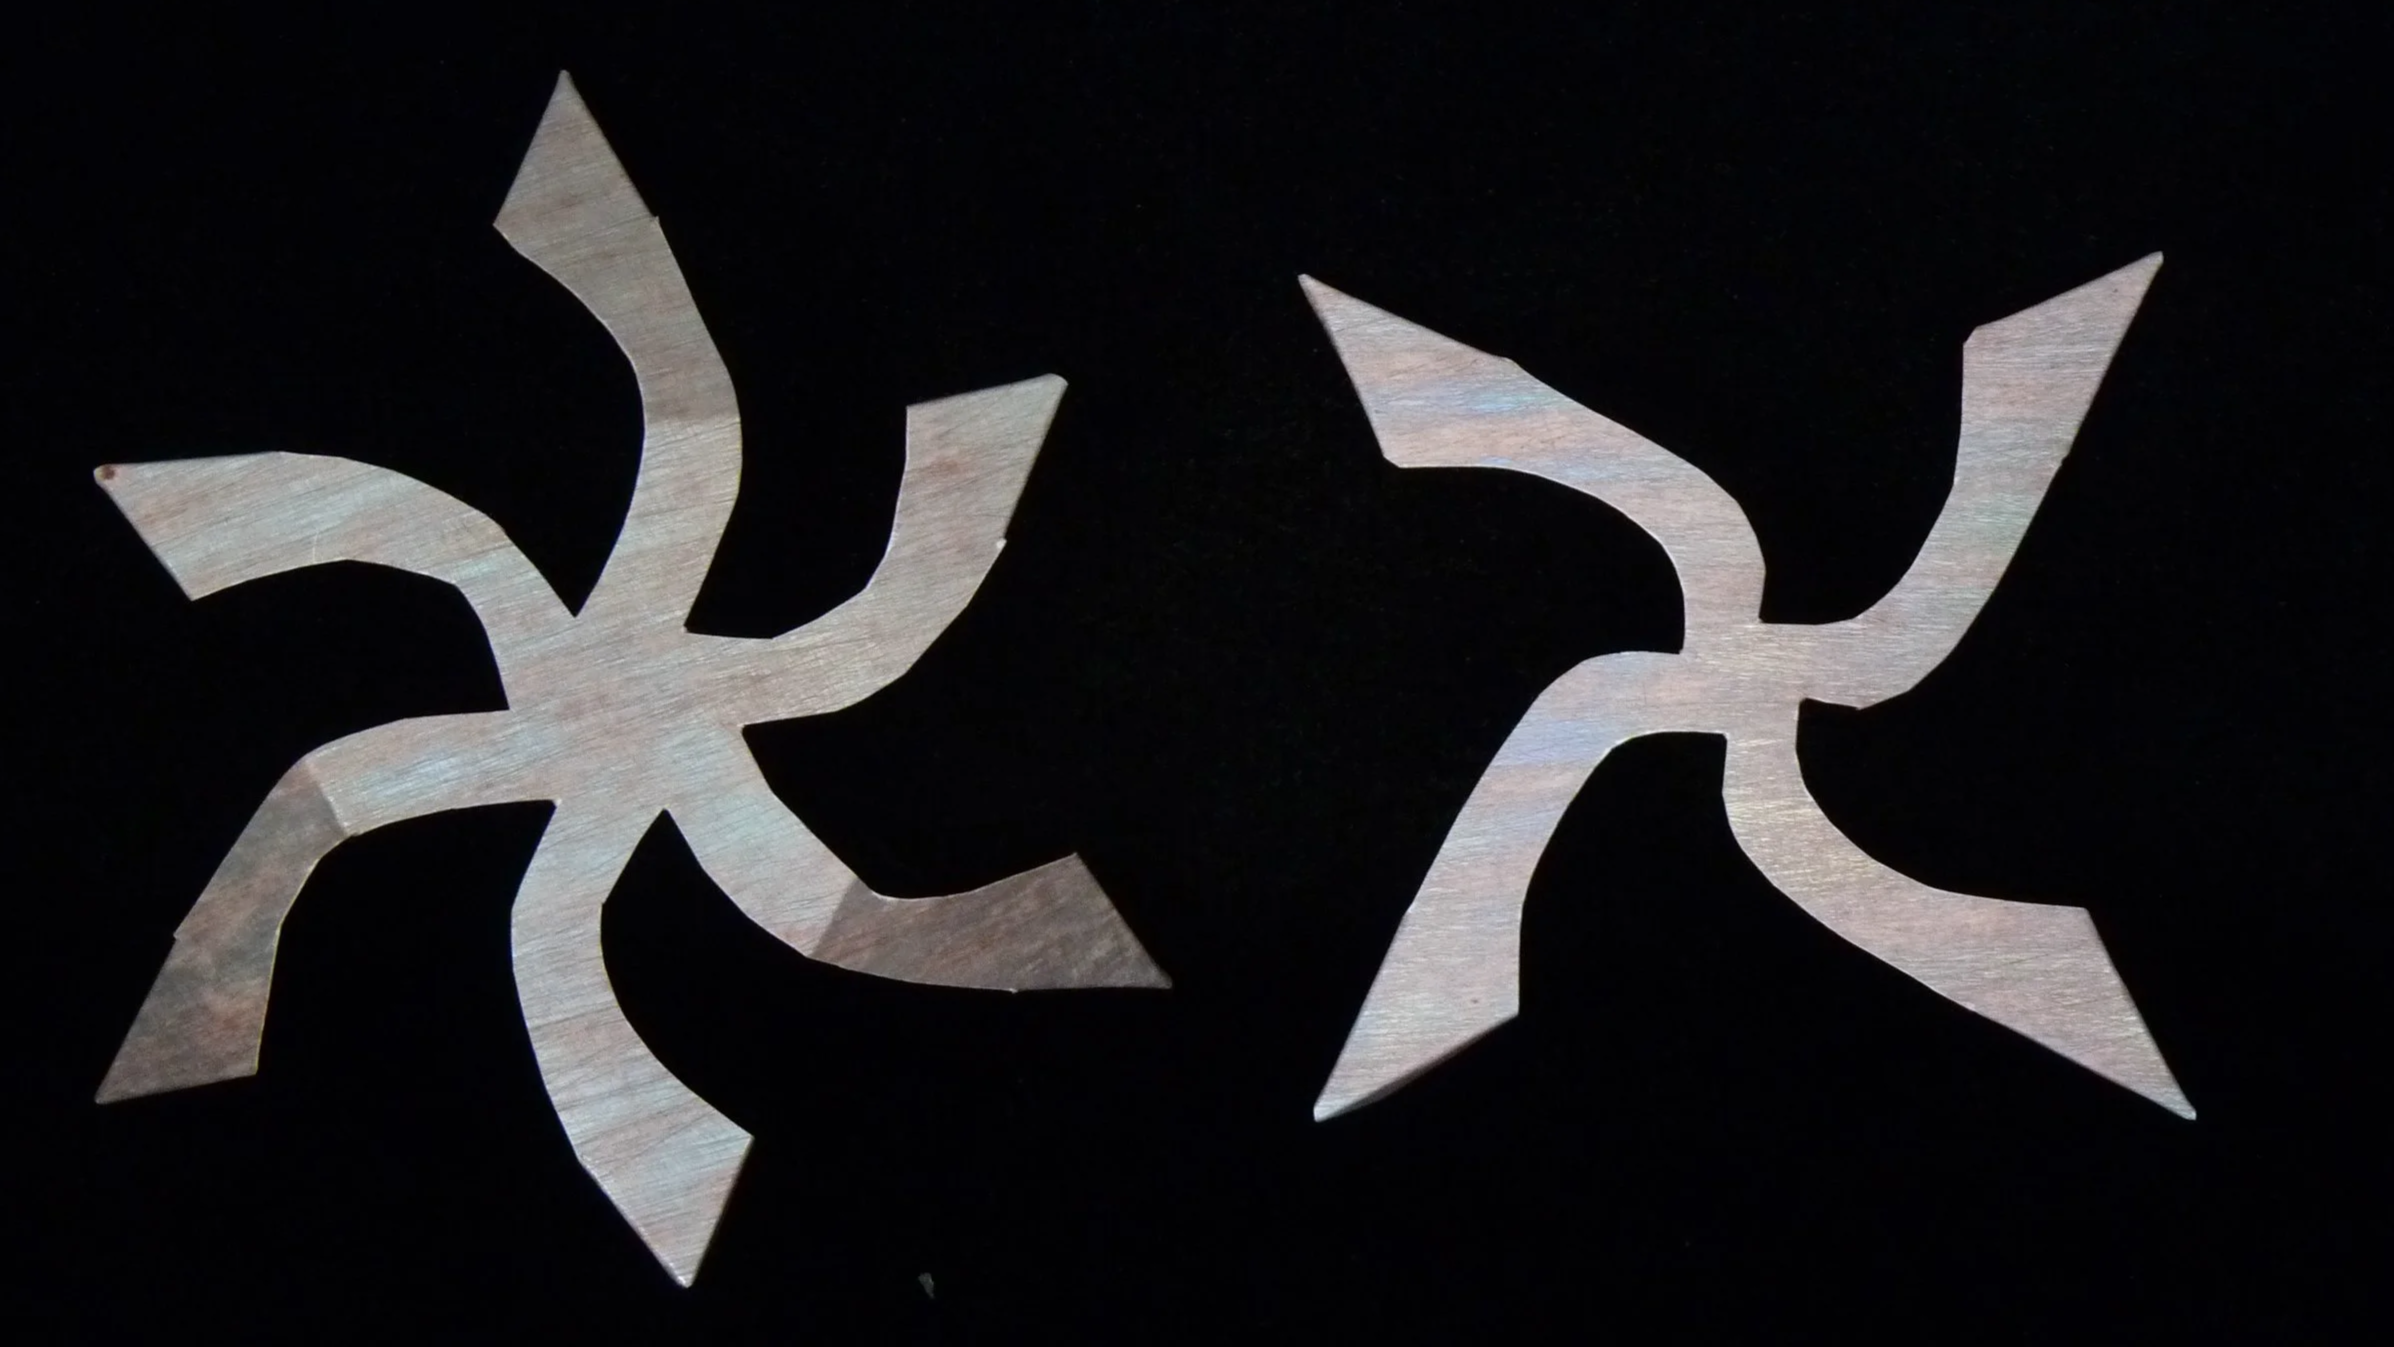
Photo 2. Front of Two Parts after Step 2
STEP 3
Connect Parts 2, 9, 3, 10, 4, and 11. Note that the glue flaps in this project are each labelled with a number plus the letter A or B. The number is the number of the point being formed, so all glue flaps at a point should have the same number. Also, A flaps are always glued to a B flaps. For this step, glue the following flaps to each other:
Part 2 Flap 1A to Part 9 Flap 1B
Part 9 Flap 1A to Part 3 Flap 1B
Part 3 Flap 1A to Part 10 Flap 1B
Part 10 Flap 1A to Part 4 Flap 1B
Part 4 Flap 1A to Part 11 Flap 1B
Part 11 Flap 1A to Part 2 Flap 1B
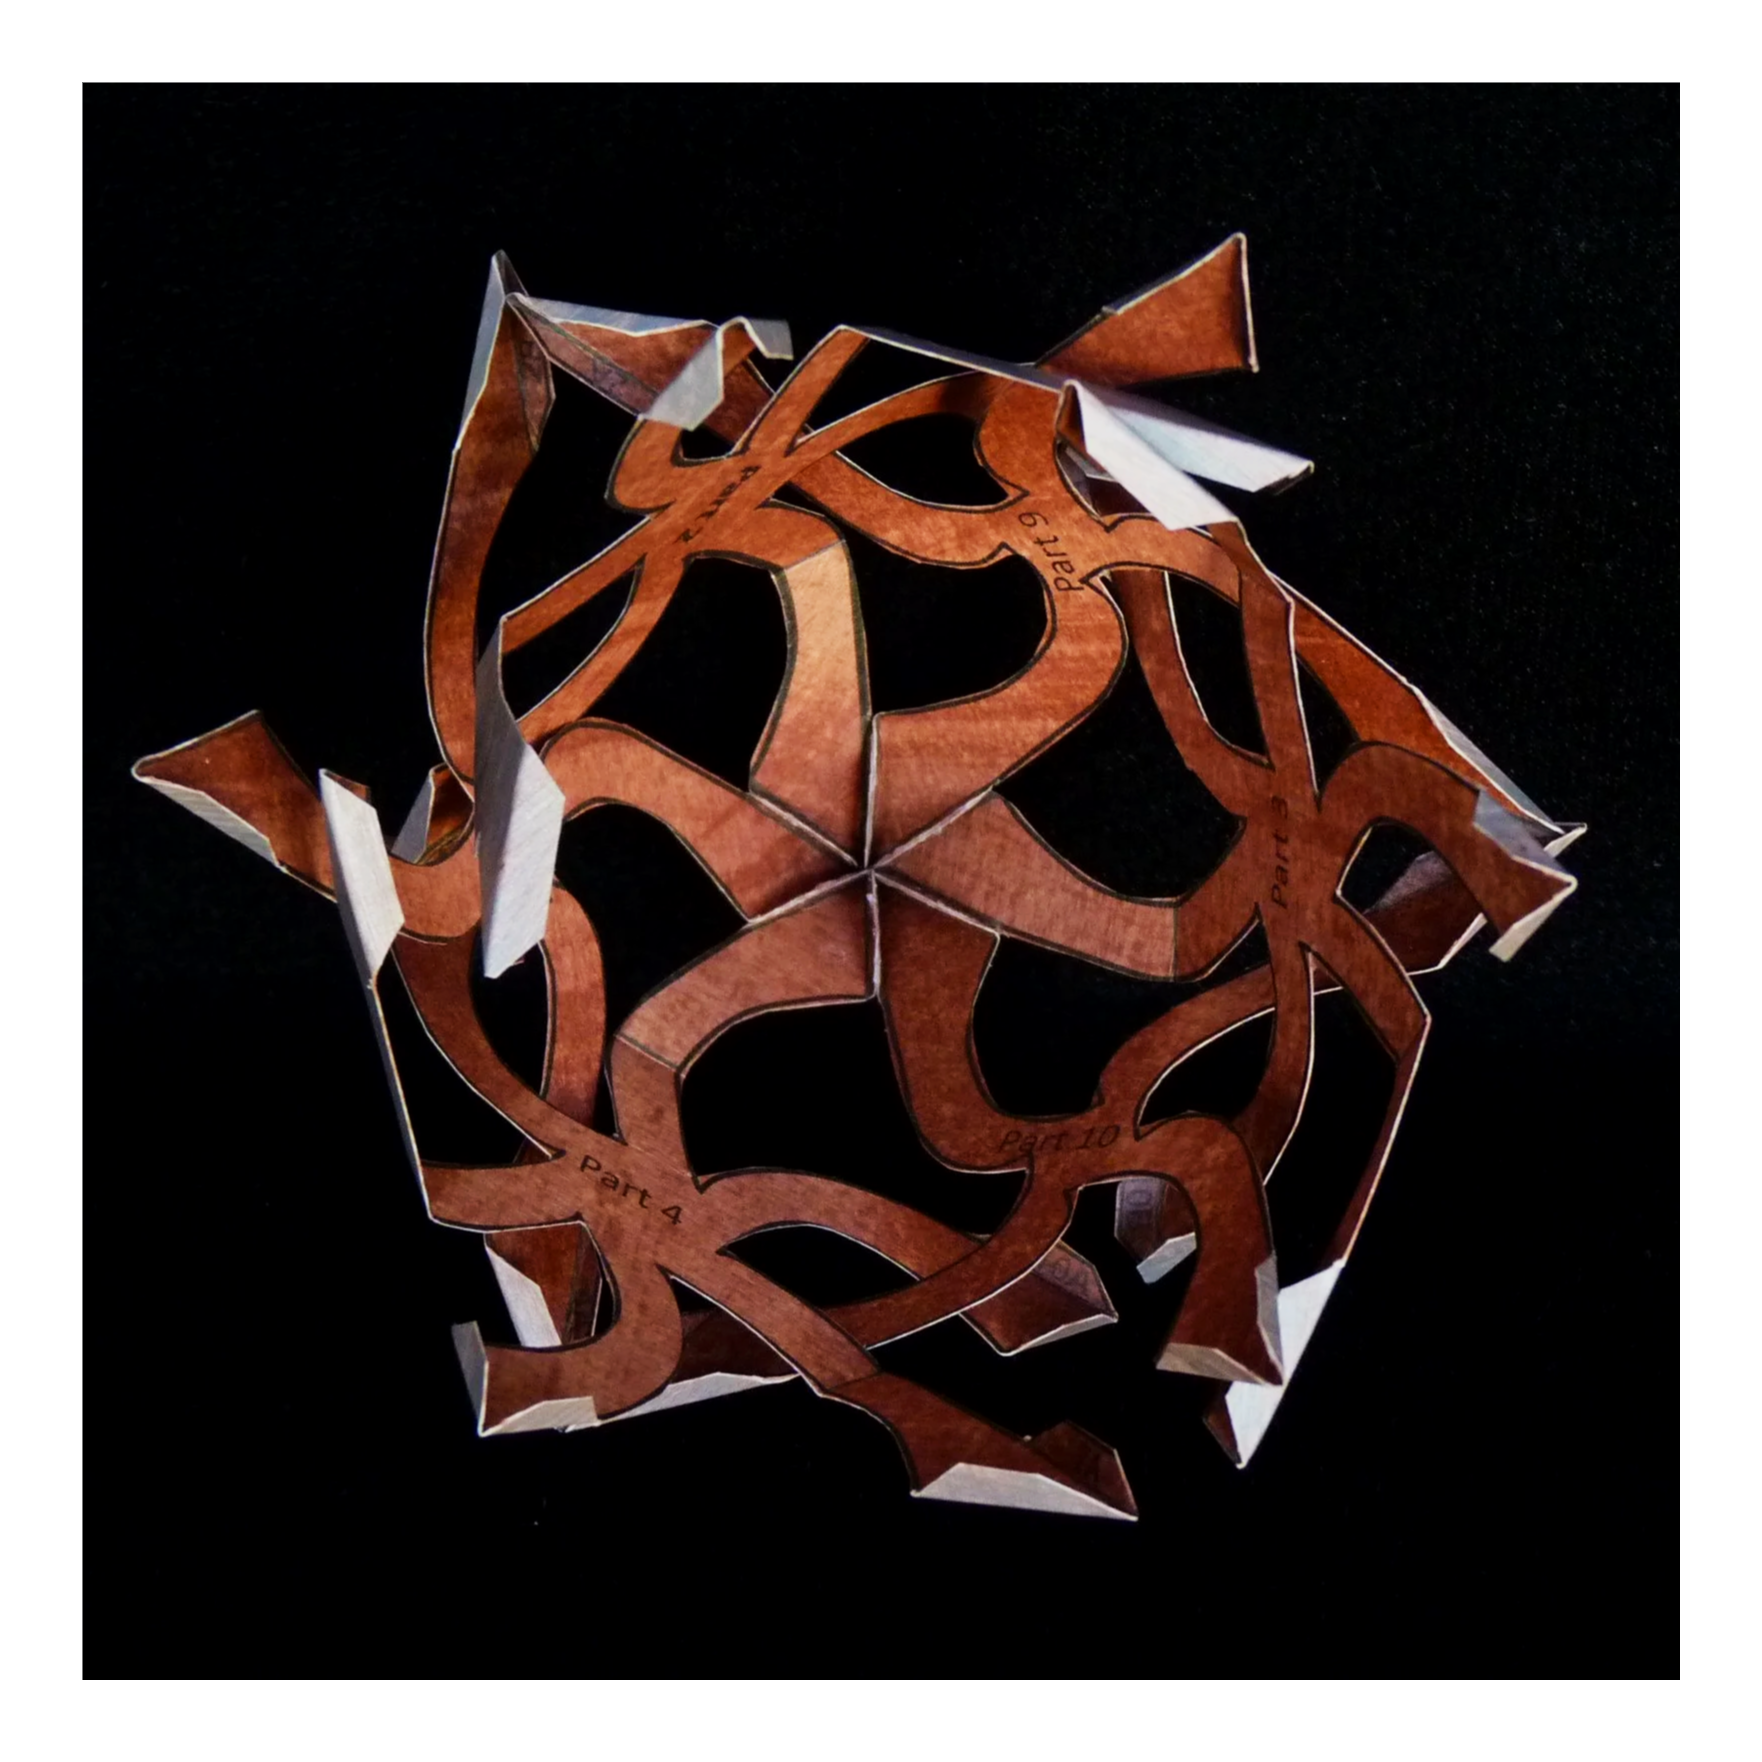
Photo 3. Inside of Project after Step 3
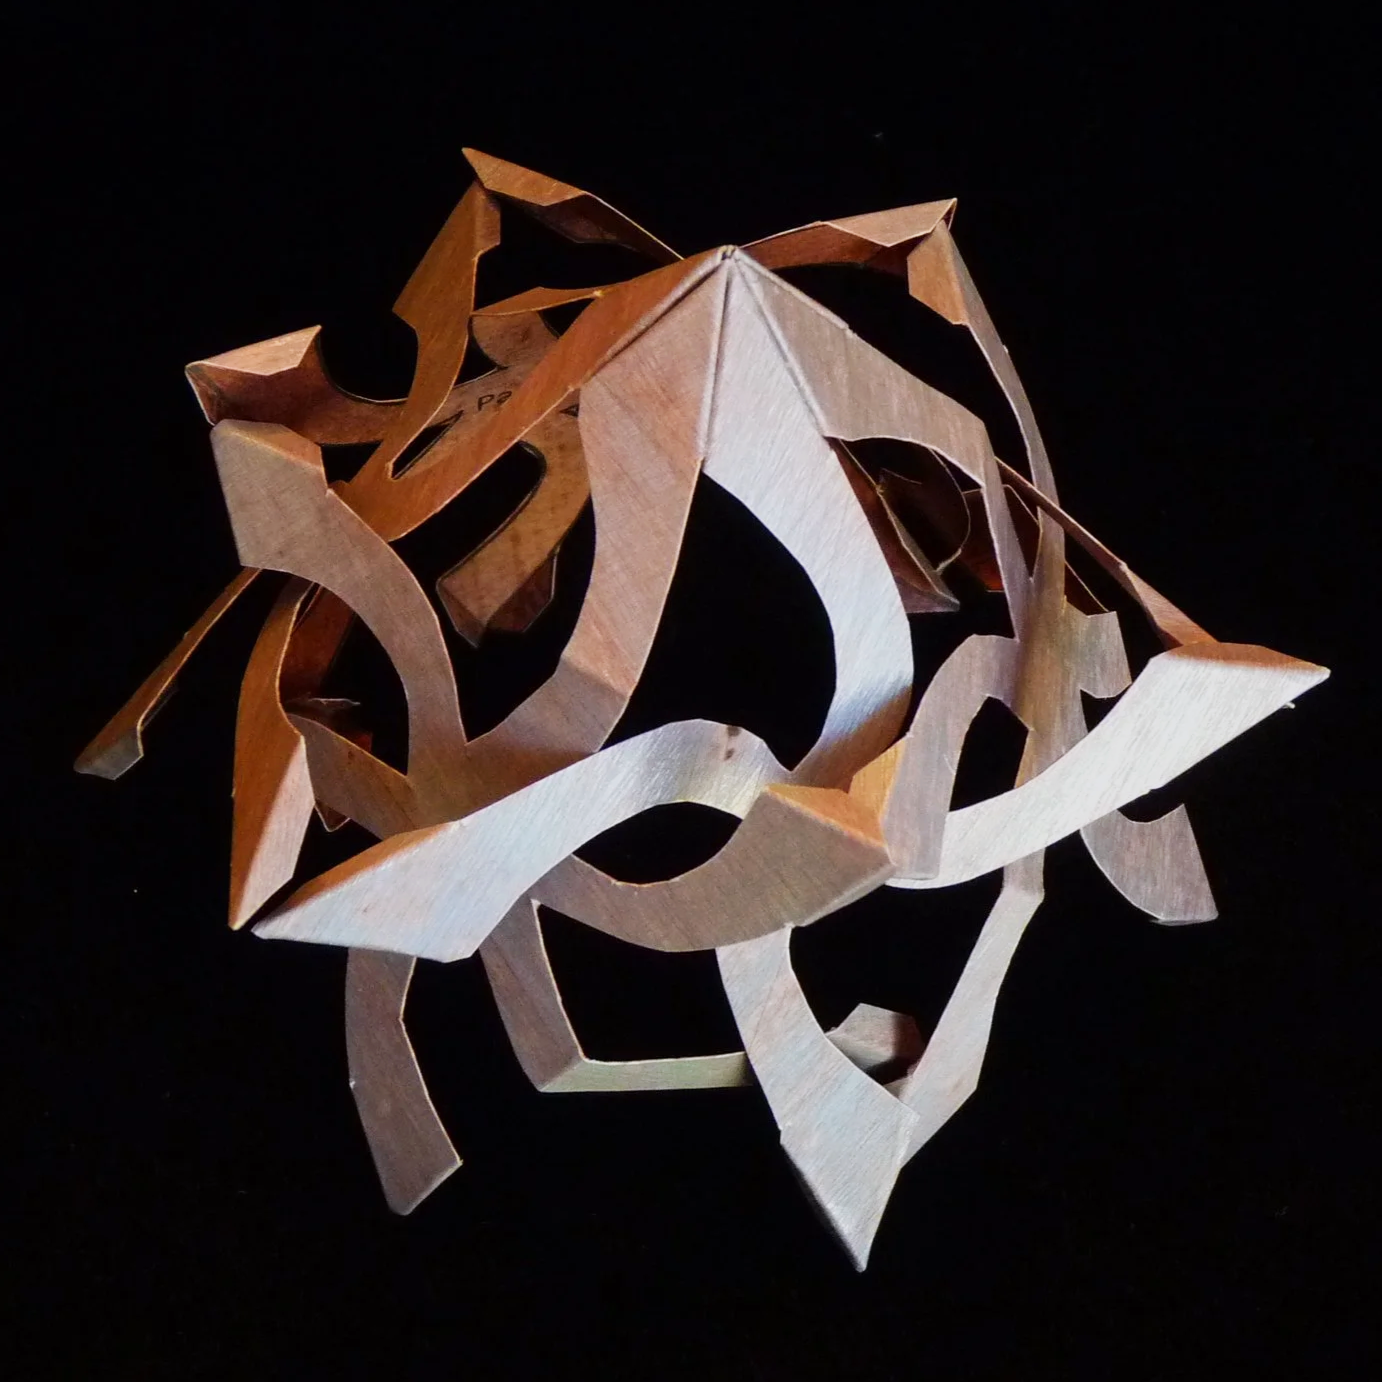
Photo 4. Outside of Project after Step 3
Step 4
Add Part 1 with the center below the 6-sided point formed in Step 3. Start by gluing the following flaps together:
Part 1 Flap 4A to Part 10 Flap 4B
Part 1 Flap 4B to Part 11 Flap 4A
Part 1 Flap 11A to Part 4 Flap 11B
Part 1 Flap 11B to Part 2 Flap 11A
Part 1 Flap 2A to Part 11 Flap 2B
Part 1 Flap 2B to Part 9 Flap 2A
Part 1 Flap 9A to Part 2 Flap 9B
Part 1 Flap 9B to Part 3 Flap 9A
Part 1 Flap 3A to Part 9 Flap 3B
Part 1 Flap 3B to Part 10 Flap 3A
Part 1 Flap 10A to Part 3 Flap 10B
Part 1 Flap 10B to Part 4 Flap 10A
Next glue the following flaps together.
Part 11 Flap 5A to Part 4 Flap 5B
Part 11 Flap 5B to Part 2 Flap 5A
Part 9 Flap 6A to Part 2 Flap 6B
Part 9 Flap 6B to Part 3 Flap 6A
Part 10 Flap 7A to Part 3 Flap 7B
Part 10 Flap 7B to Part 4 Flap 7A
Above looks like a lot of detailed instructions, but after you do a few parts, you will understand the pattern and will be able to assemble the project without referring to these details.
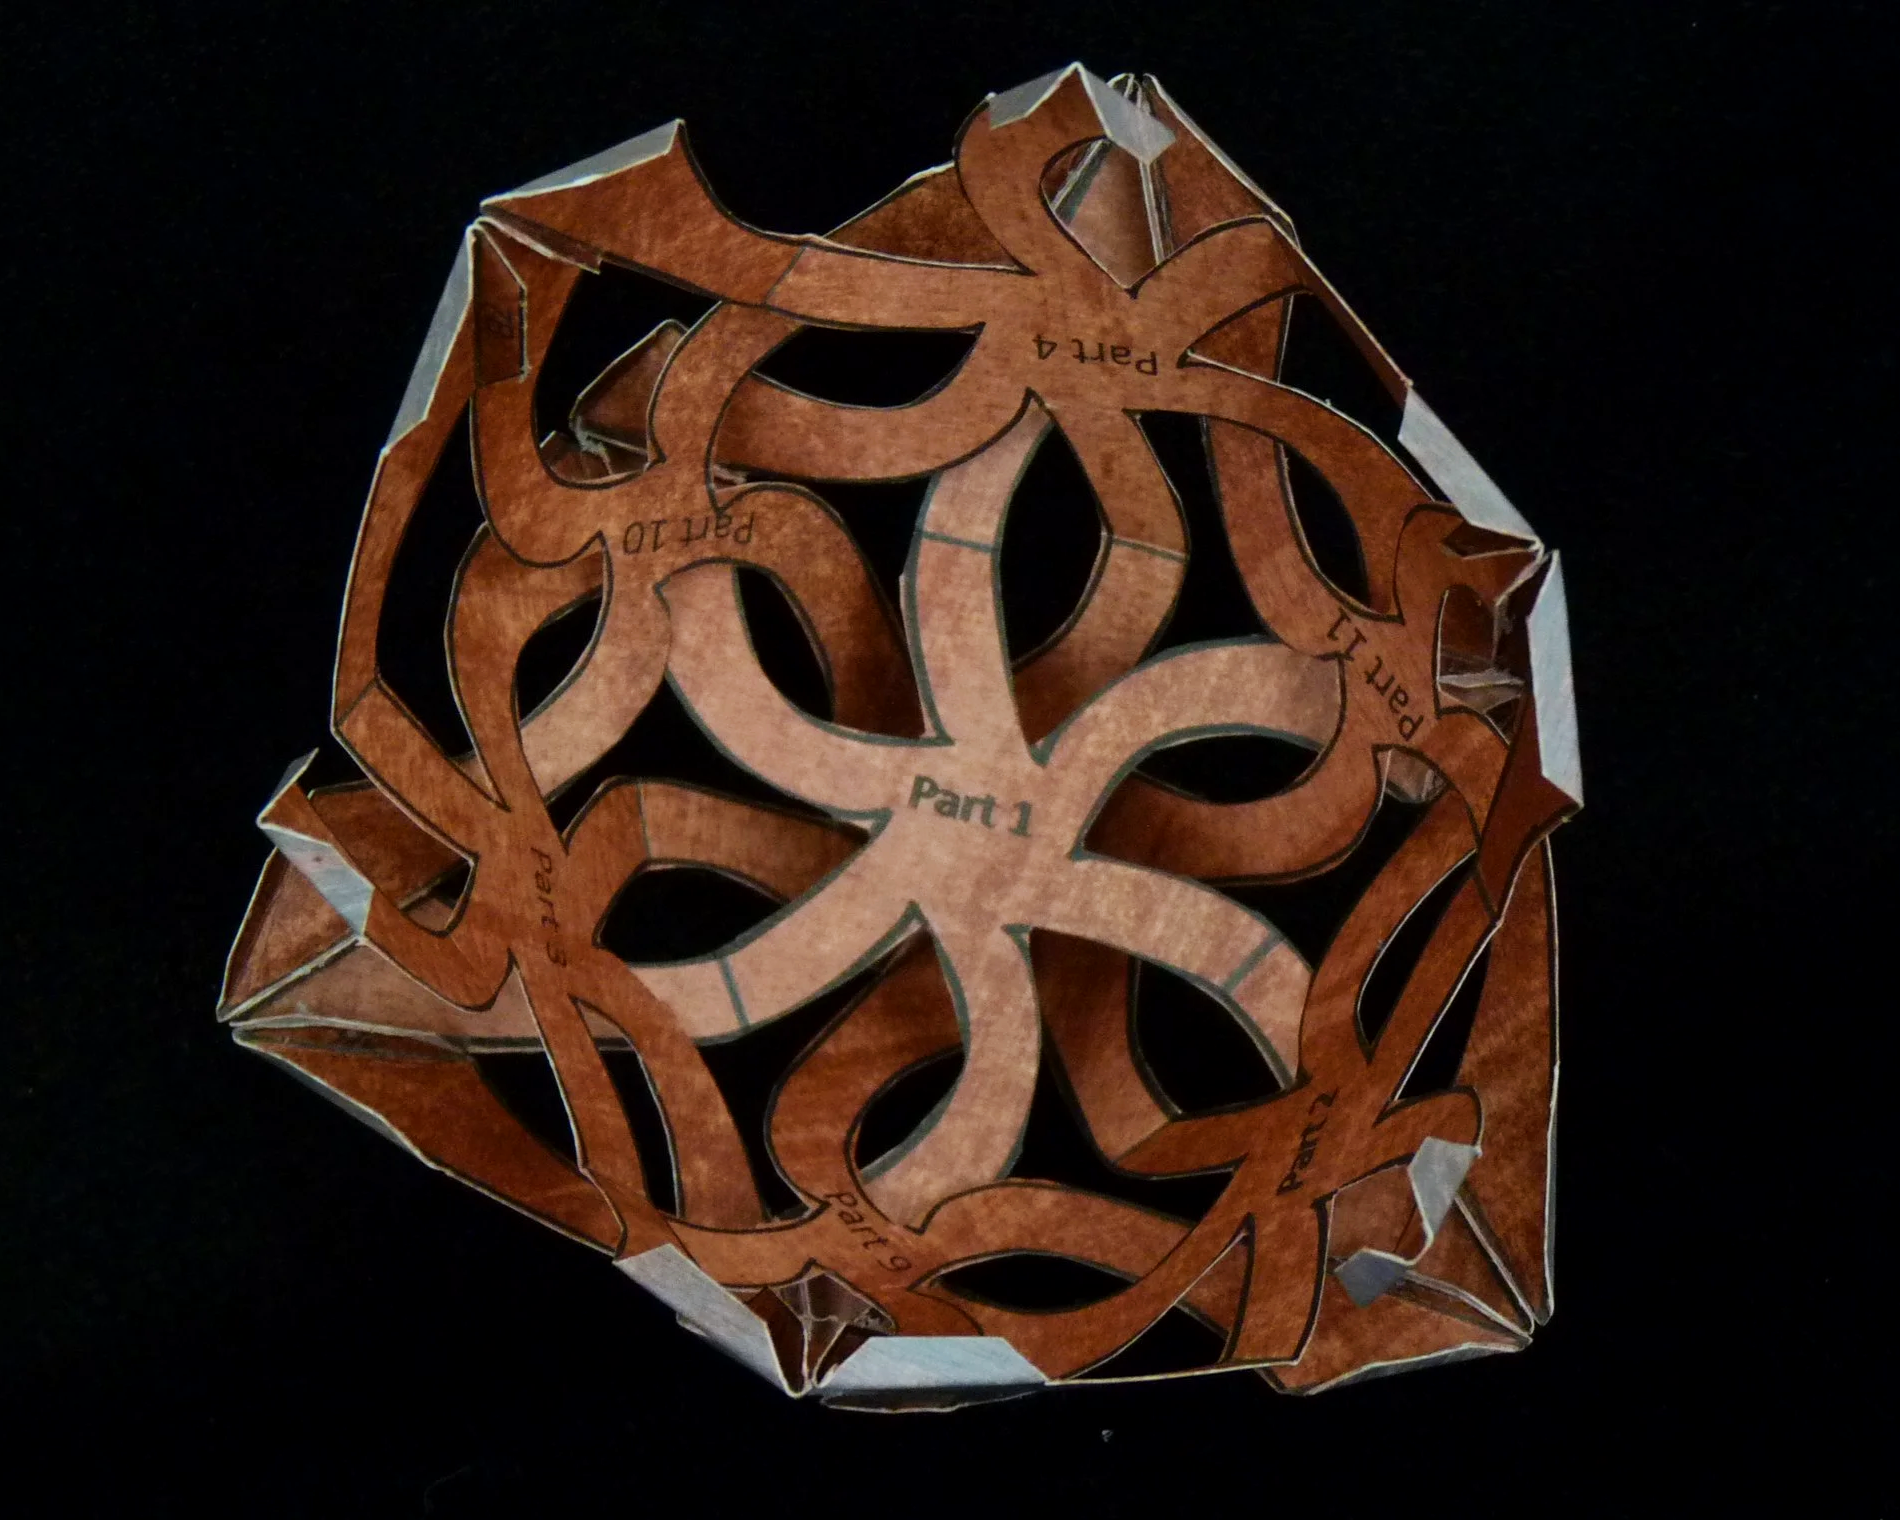
Photo 5. Inside of Project after Step 4
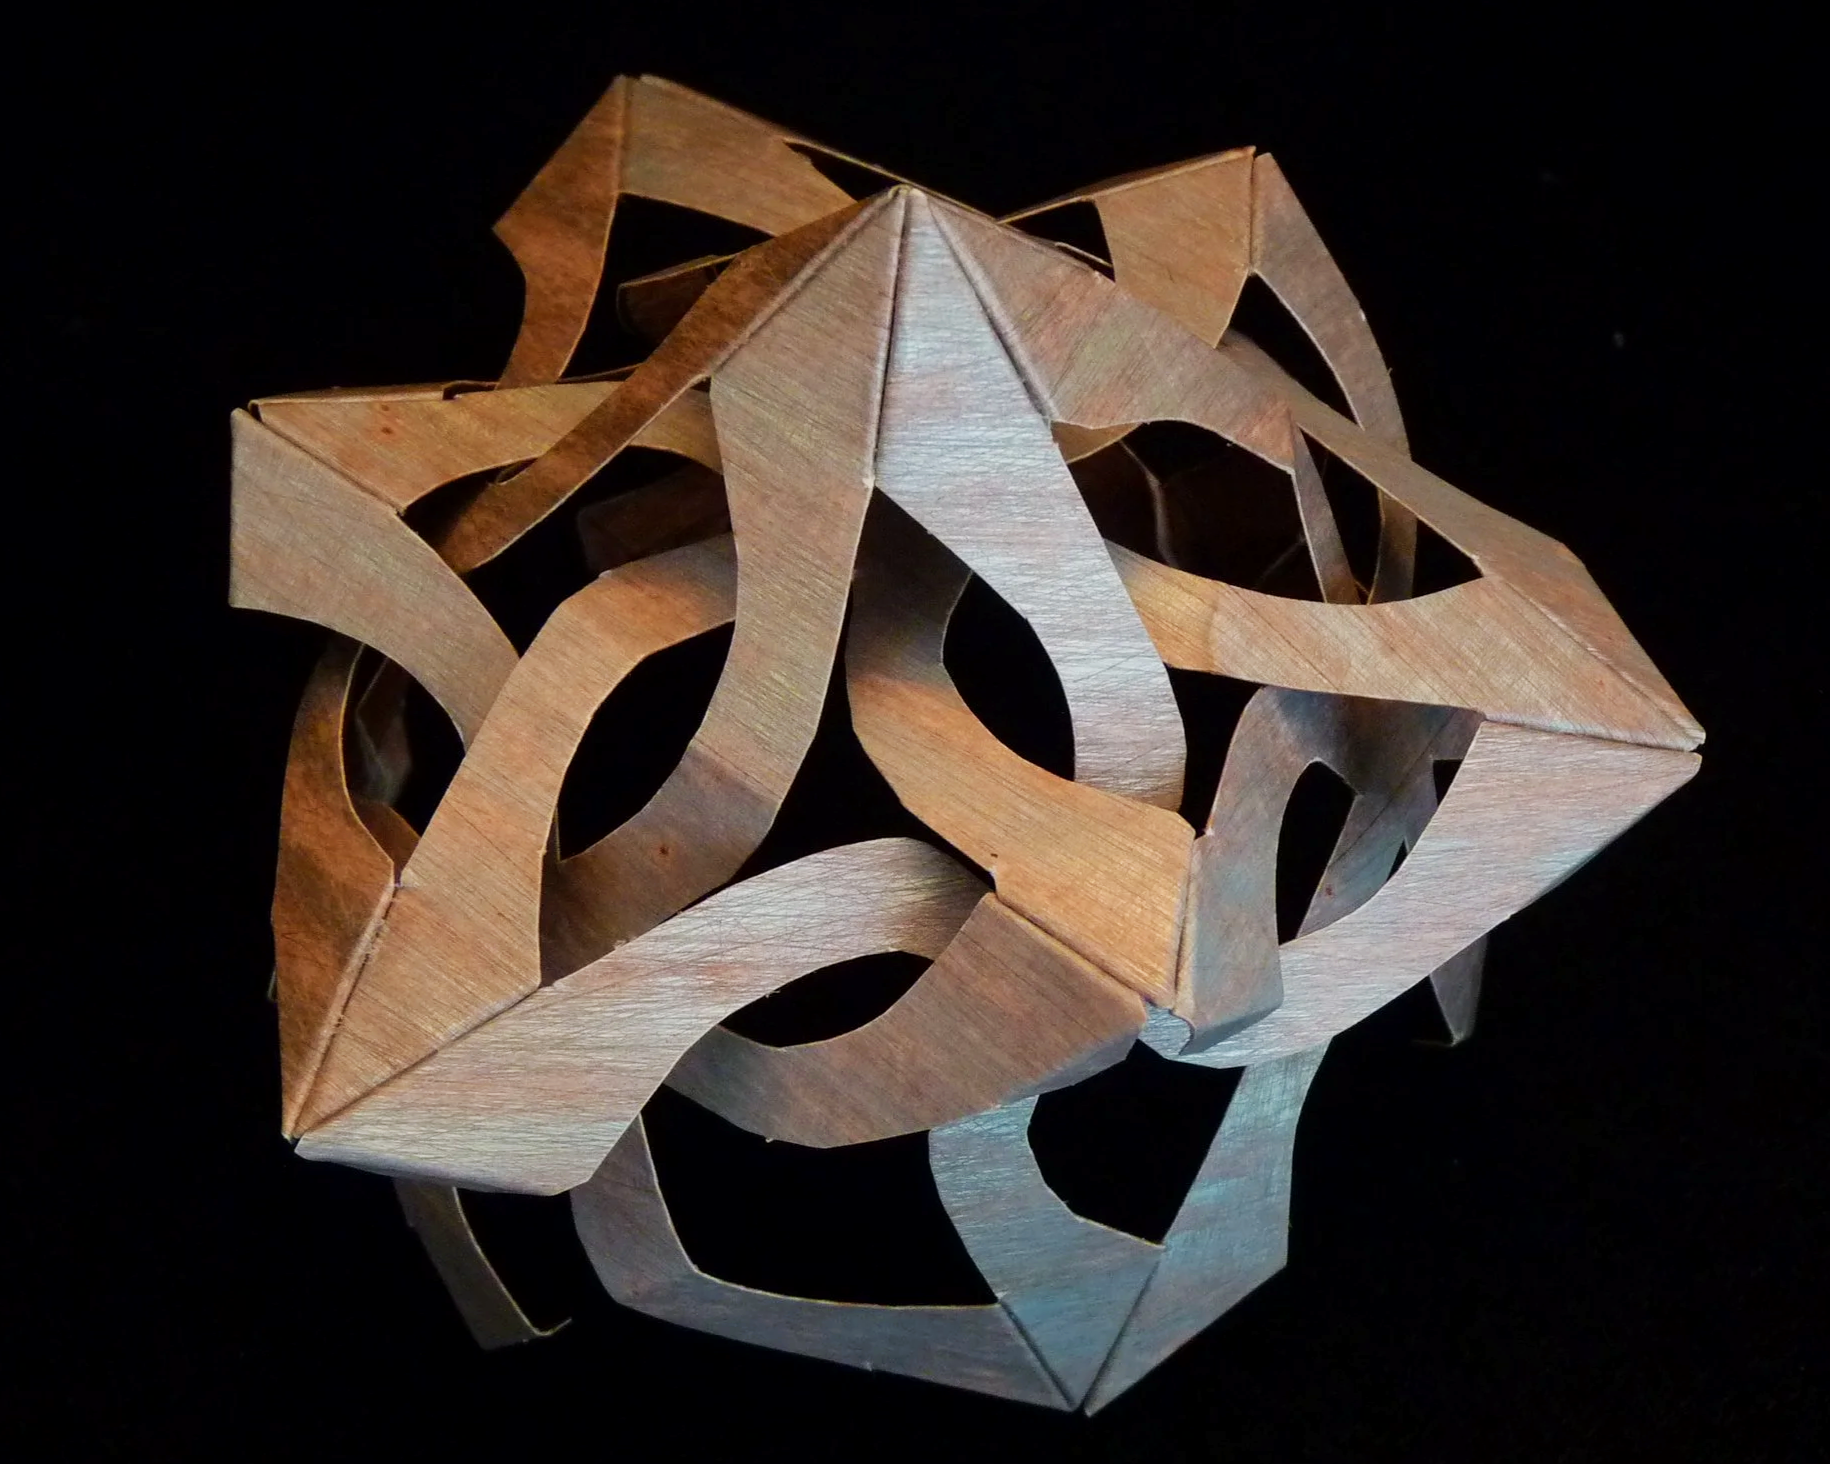
Photo 6. Outside of Project after Step 4
Step 5
Add Parts 5, 6, and 7.
Add Part 5 by gluing the following glue flaps together:
Part 5 Flap 4A to Part 11 Flap 4B
Part 5 Flap 14A to Part 4 Flap 14B
Part 5 Flap 11A to Part 2 Flap 11B
Part 5 Flap 11B to Part 4 Flap 11A
Part 5 Flap 2B to Part 11 Flap 2A
Part 5 Flap 12B to Part 2 Flap 12A
Add Part 6 by gluing the following glue flaps together:
Part 6 Flap 2A to Part 9 Flap 2B
Part 6 Flap 9B to Part 2 Flap 9A
Part 6 Flap 9A to Part 3 Flap 9B
Part 6 Flap 3B to Part 9 Flap 3A
Part 6 Flap 12A to Part 2 Flap 12B
Part 6 Flap 13B to Part 3 Flap 13A
Add Part 7 by gluing the following glue flaps together:
Part 7 Flap 3A to Part 10 Flap 3B
Part 7 Flap 10B to Part 3 Flap 10A
Part 7 Flap 10A to Part 4 Flap 10B
Part 7 Flap 4B to Part 10 Flap 4A
Part 7 Flap 14B to Part 4 Flap 14A
Part 7 Flap 13A to Part 3 Flap 13B
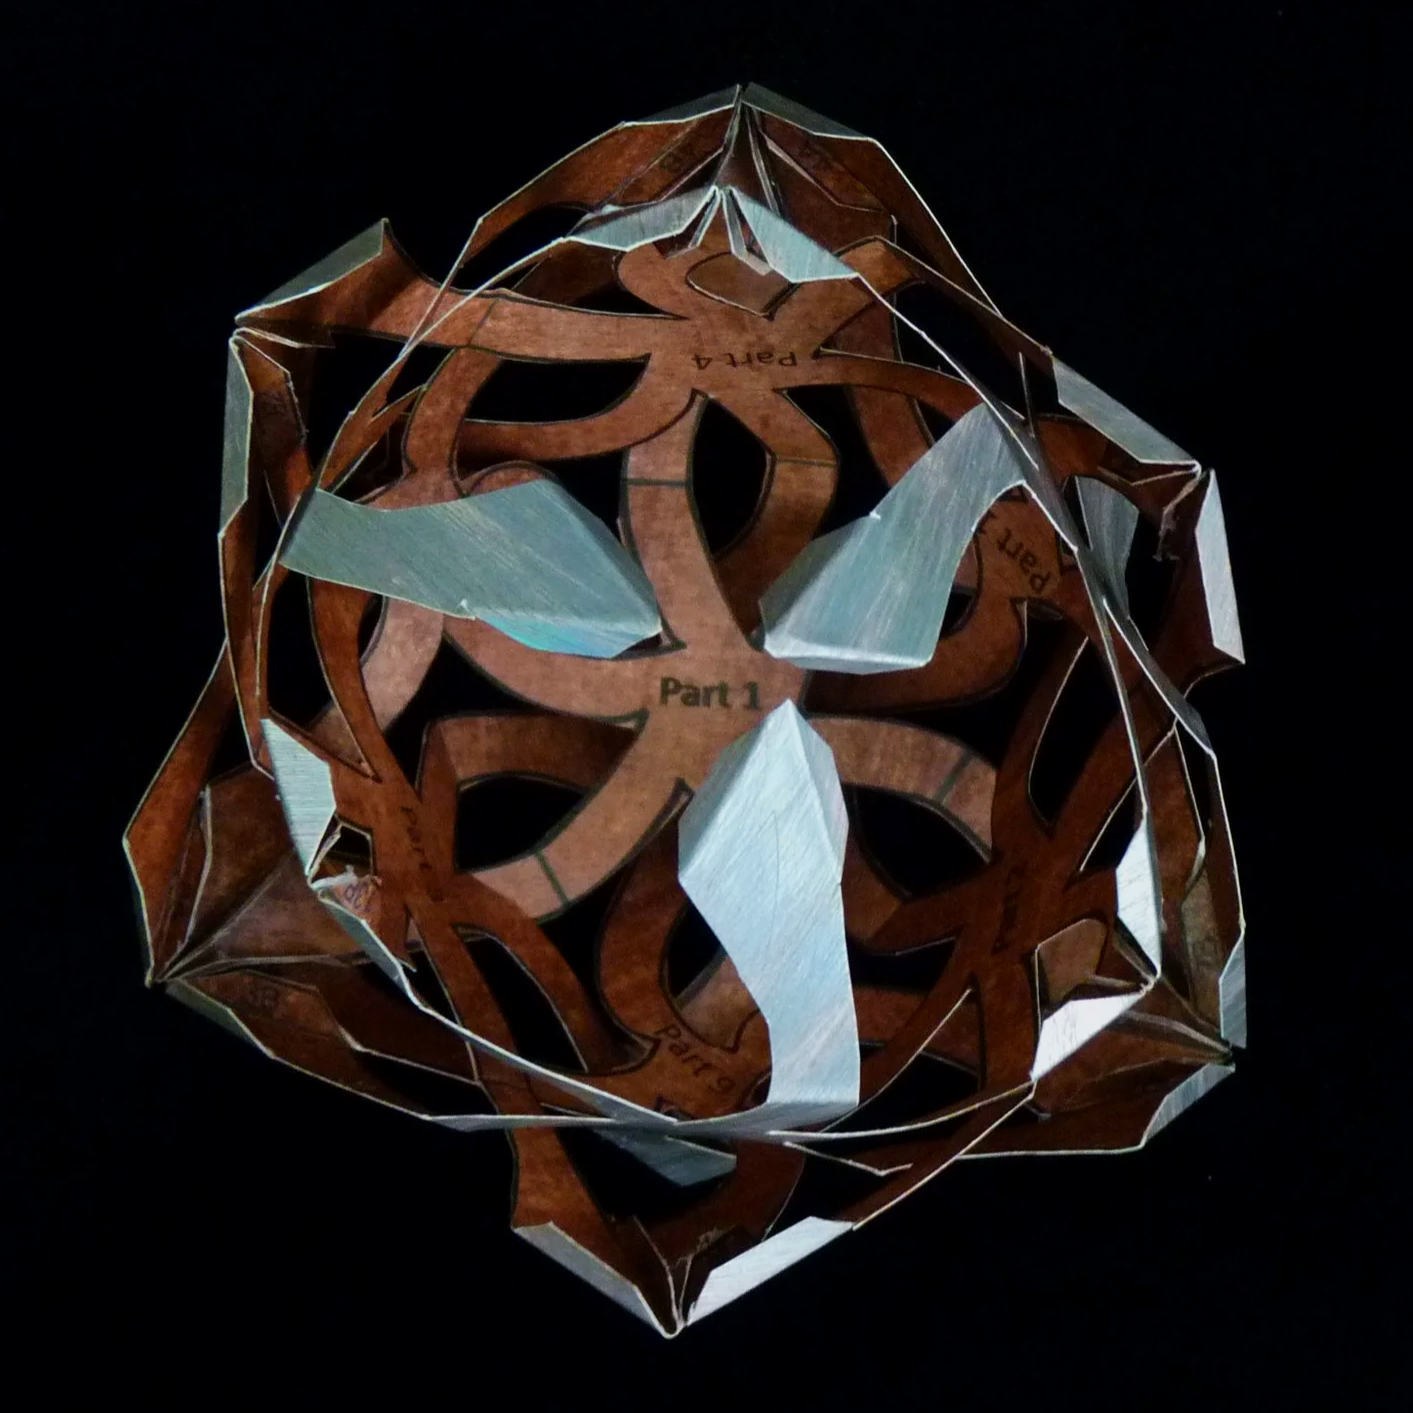
Photo 7. Project after Step 5
Step 6
Add Parts 12, 13, 14, and 8 to the project.
Add Part 12 by gluing the following glue flaps together:
Part 12 Flap 5A to Part 2 Flap 5B
Part 12 Flap 2B to Part 5 Flap 2A
Part 12 Flap 2A to Part 6 Flap 2B
Part 12 Flap 6B to Part 2 Flap 6A
Add Part 13 by gluing the following glue flaps together:
Part 13 Flap 6A to Part 3 Flap 6B
Part 13 Flap 3B to Part 6 Flap 3A
Part 13 Flap 3A to Part 7 Flap 3B
Part 13 Flap 7B to Part 3 Flap 7A
Add Part 14 by gluing the following glue flaps together:
Part 14 Flap 7A to Part 4 Flap 7B
Part 14 Flap 5B to Part 4 Flap 5A
Part 14 Flap 4A to Part 5 Flap 4B
Part 14 Flap 4B to Part 7 Flap 4B
Insert Part 8 below the unglued point parts with the “8” labelled glue flaps. Then glue the following flaps together:
Part 8 Flap 12B to Part 5 Flap 12A
Part 8 Flap 12A to Part 6 Flap 12B
Part 8 Flap 13B to Part 6 Flap 13A
Part 8 Flap 13A to Part 7 Flap 13B
Part 8 Flap 14B to Part 7 Flap 14A
Part 8 Flap 14A to Part 5 Flap 14B
Part 8 Flap 5B to Part 12 Flap 5A
Part 8 Flap 5A to Part 12 Flap 5B
Part 8 Flap 7B to Part 13 Flap 7A
Part 8 Flap 7A to Part 14 Flap 7B
Part 8 Flap 6B to Part 12 Flap 6A
Part 8 Flap 6A to Part 13 Flap 6B
And lastly, glue the following flaps together:
Part 6 Flap 8B to Part 13 Flap 8A
Part 13 Flap 8B to Part 7 Flap 8A
Part 7 Flap 8B to Part 14 Flap 8A
Part 14 Flap 8B to Part 5 Flap 8A
Part 5 Flap 8B to Part 12 Flap 8A
Part 12 Flap 8B to Part 6 Flap 8A
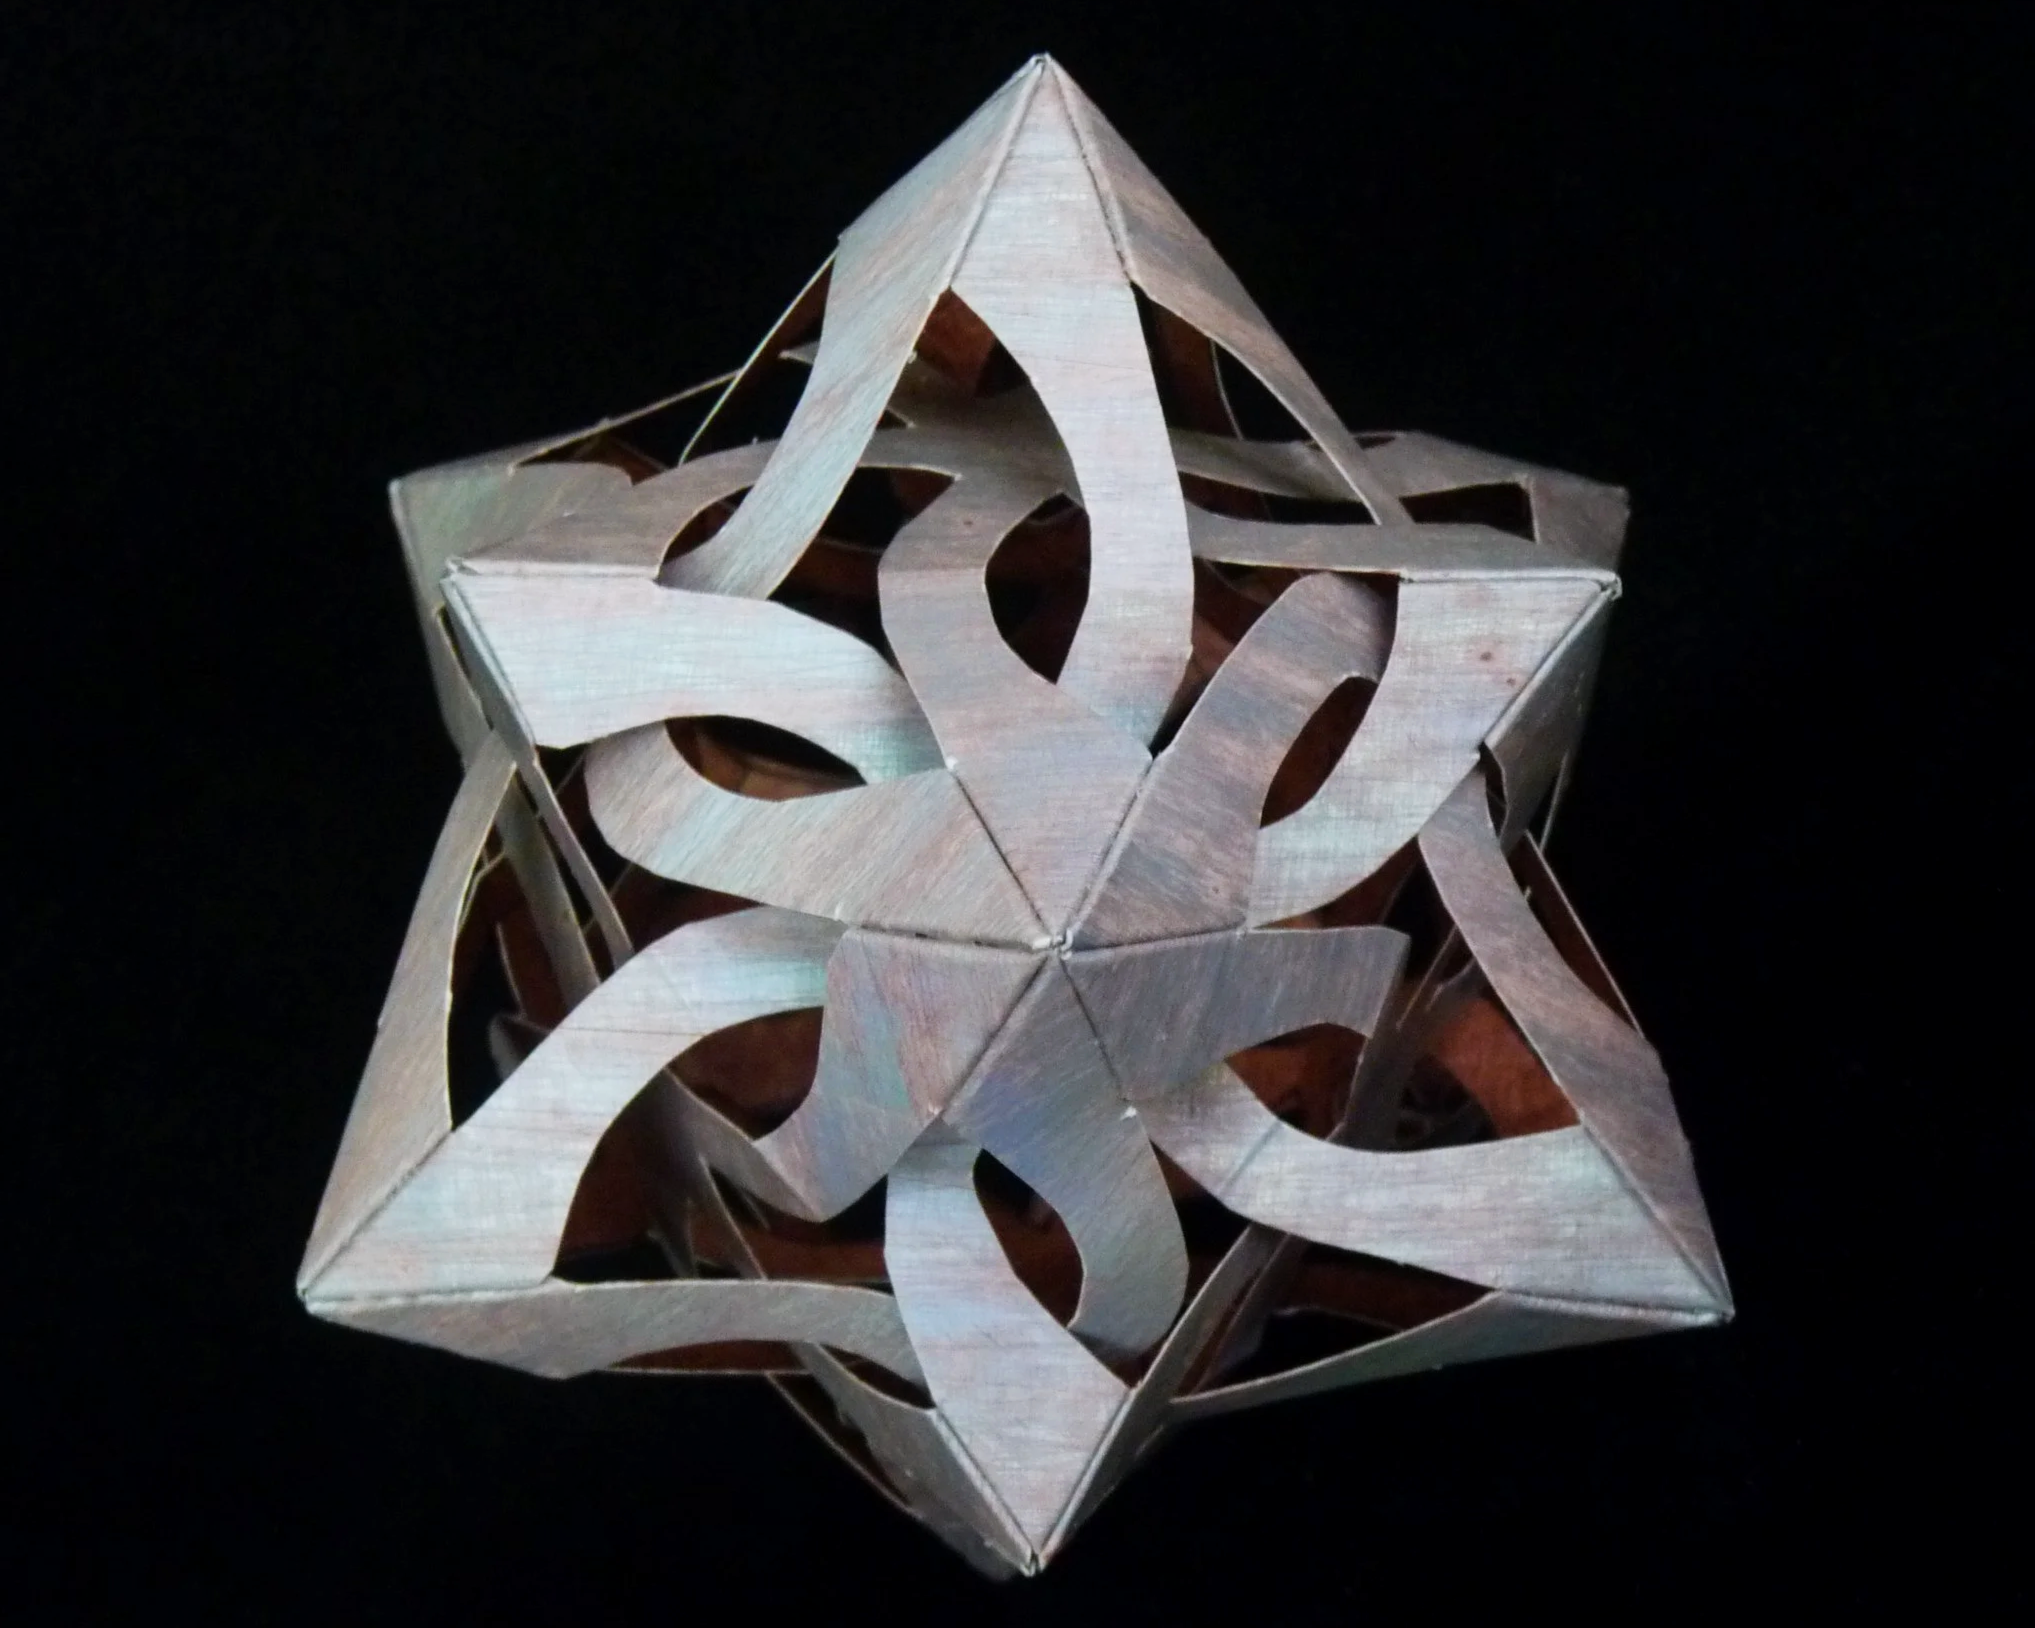
Photo 8. Completed Estrella Tejida - View 1
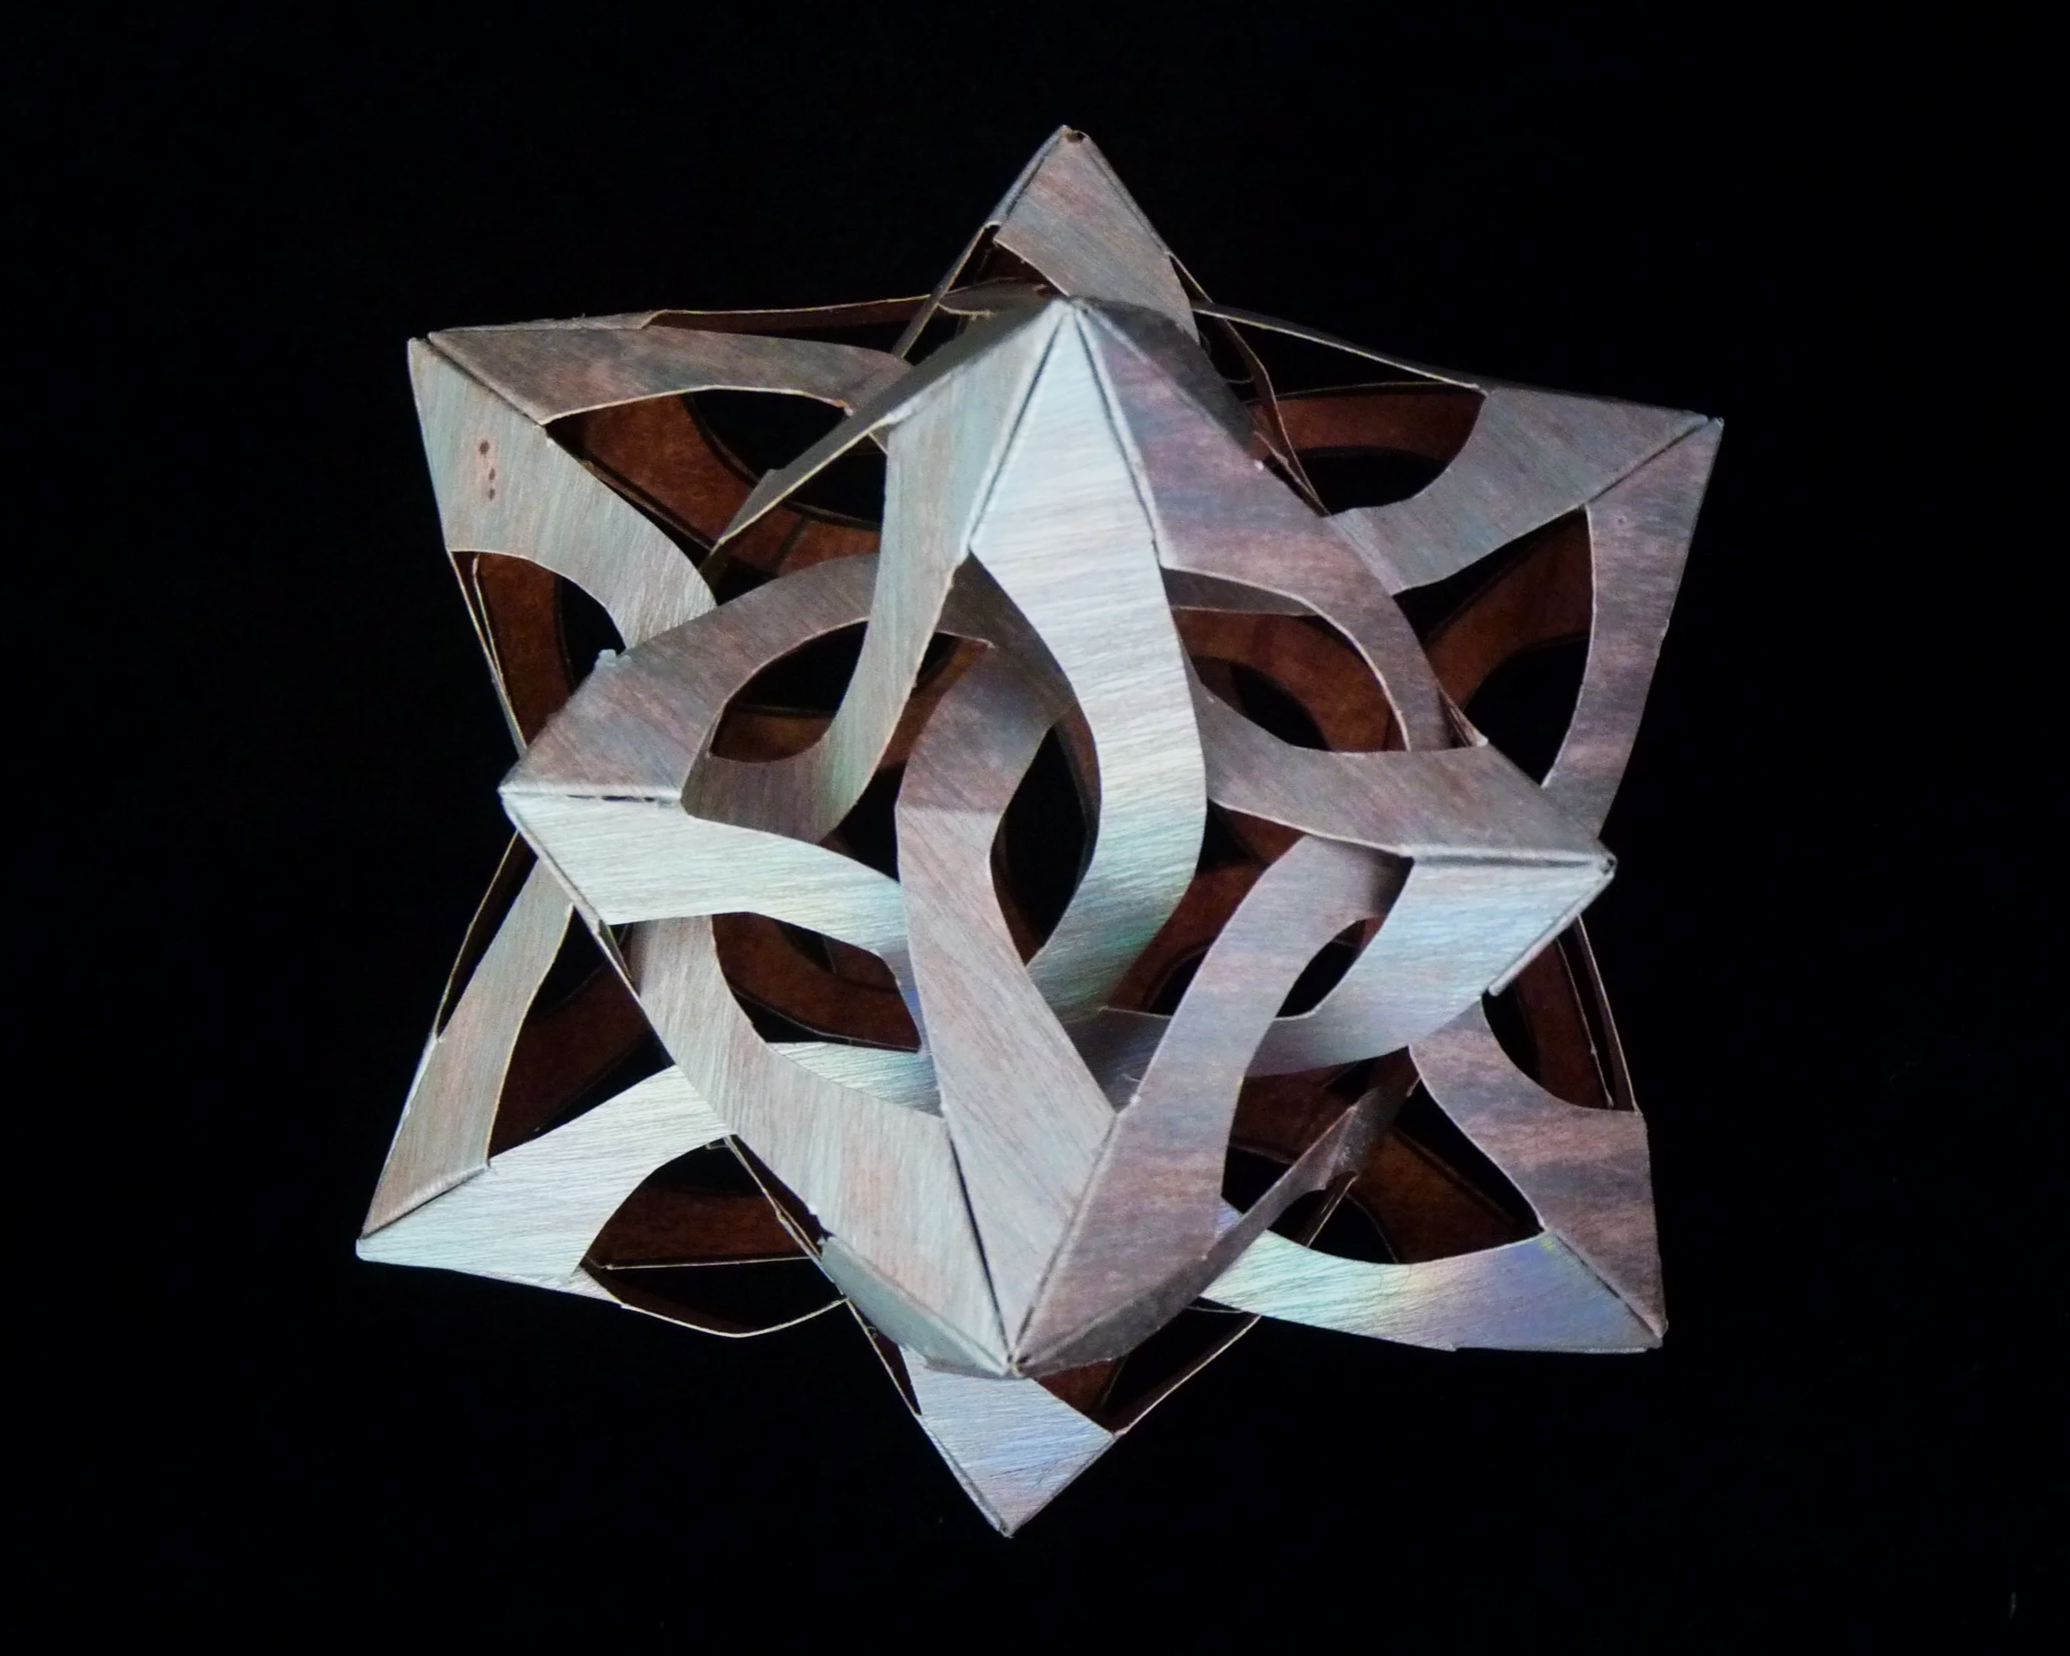
Photo 9. Completed Estrella Tejida - View 2
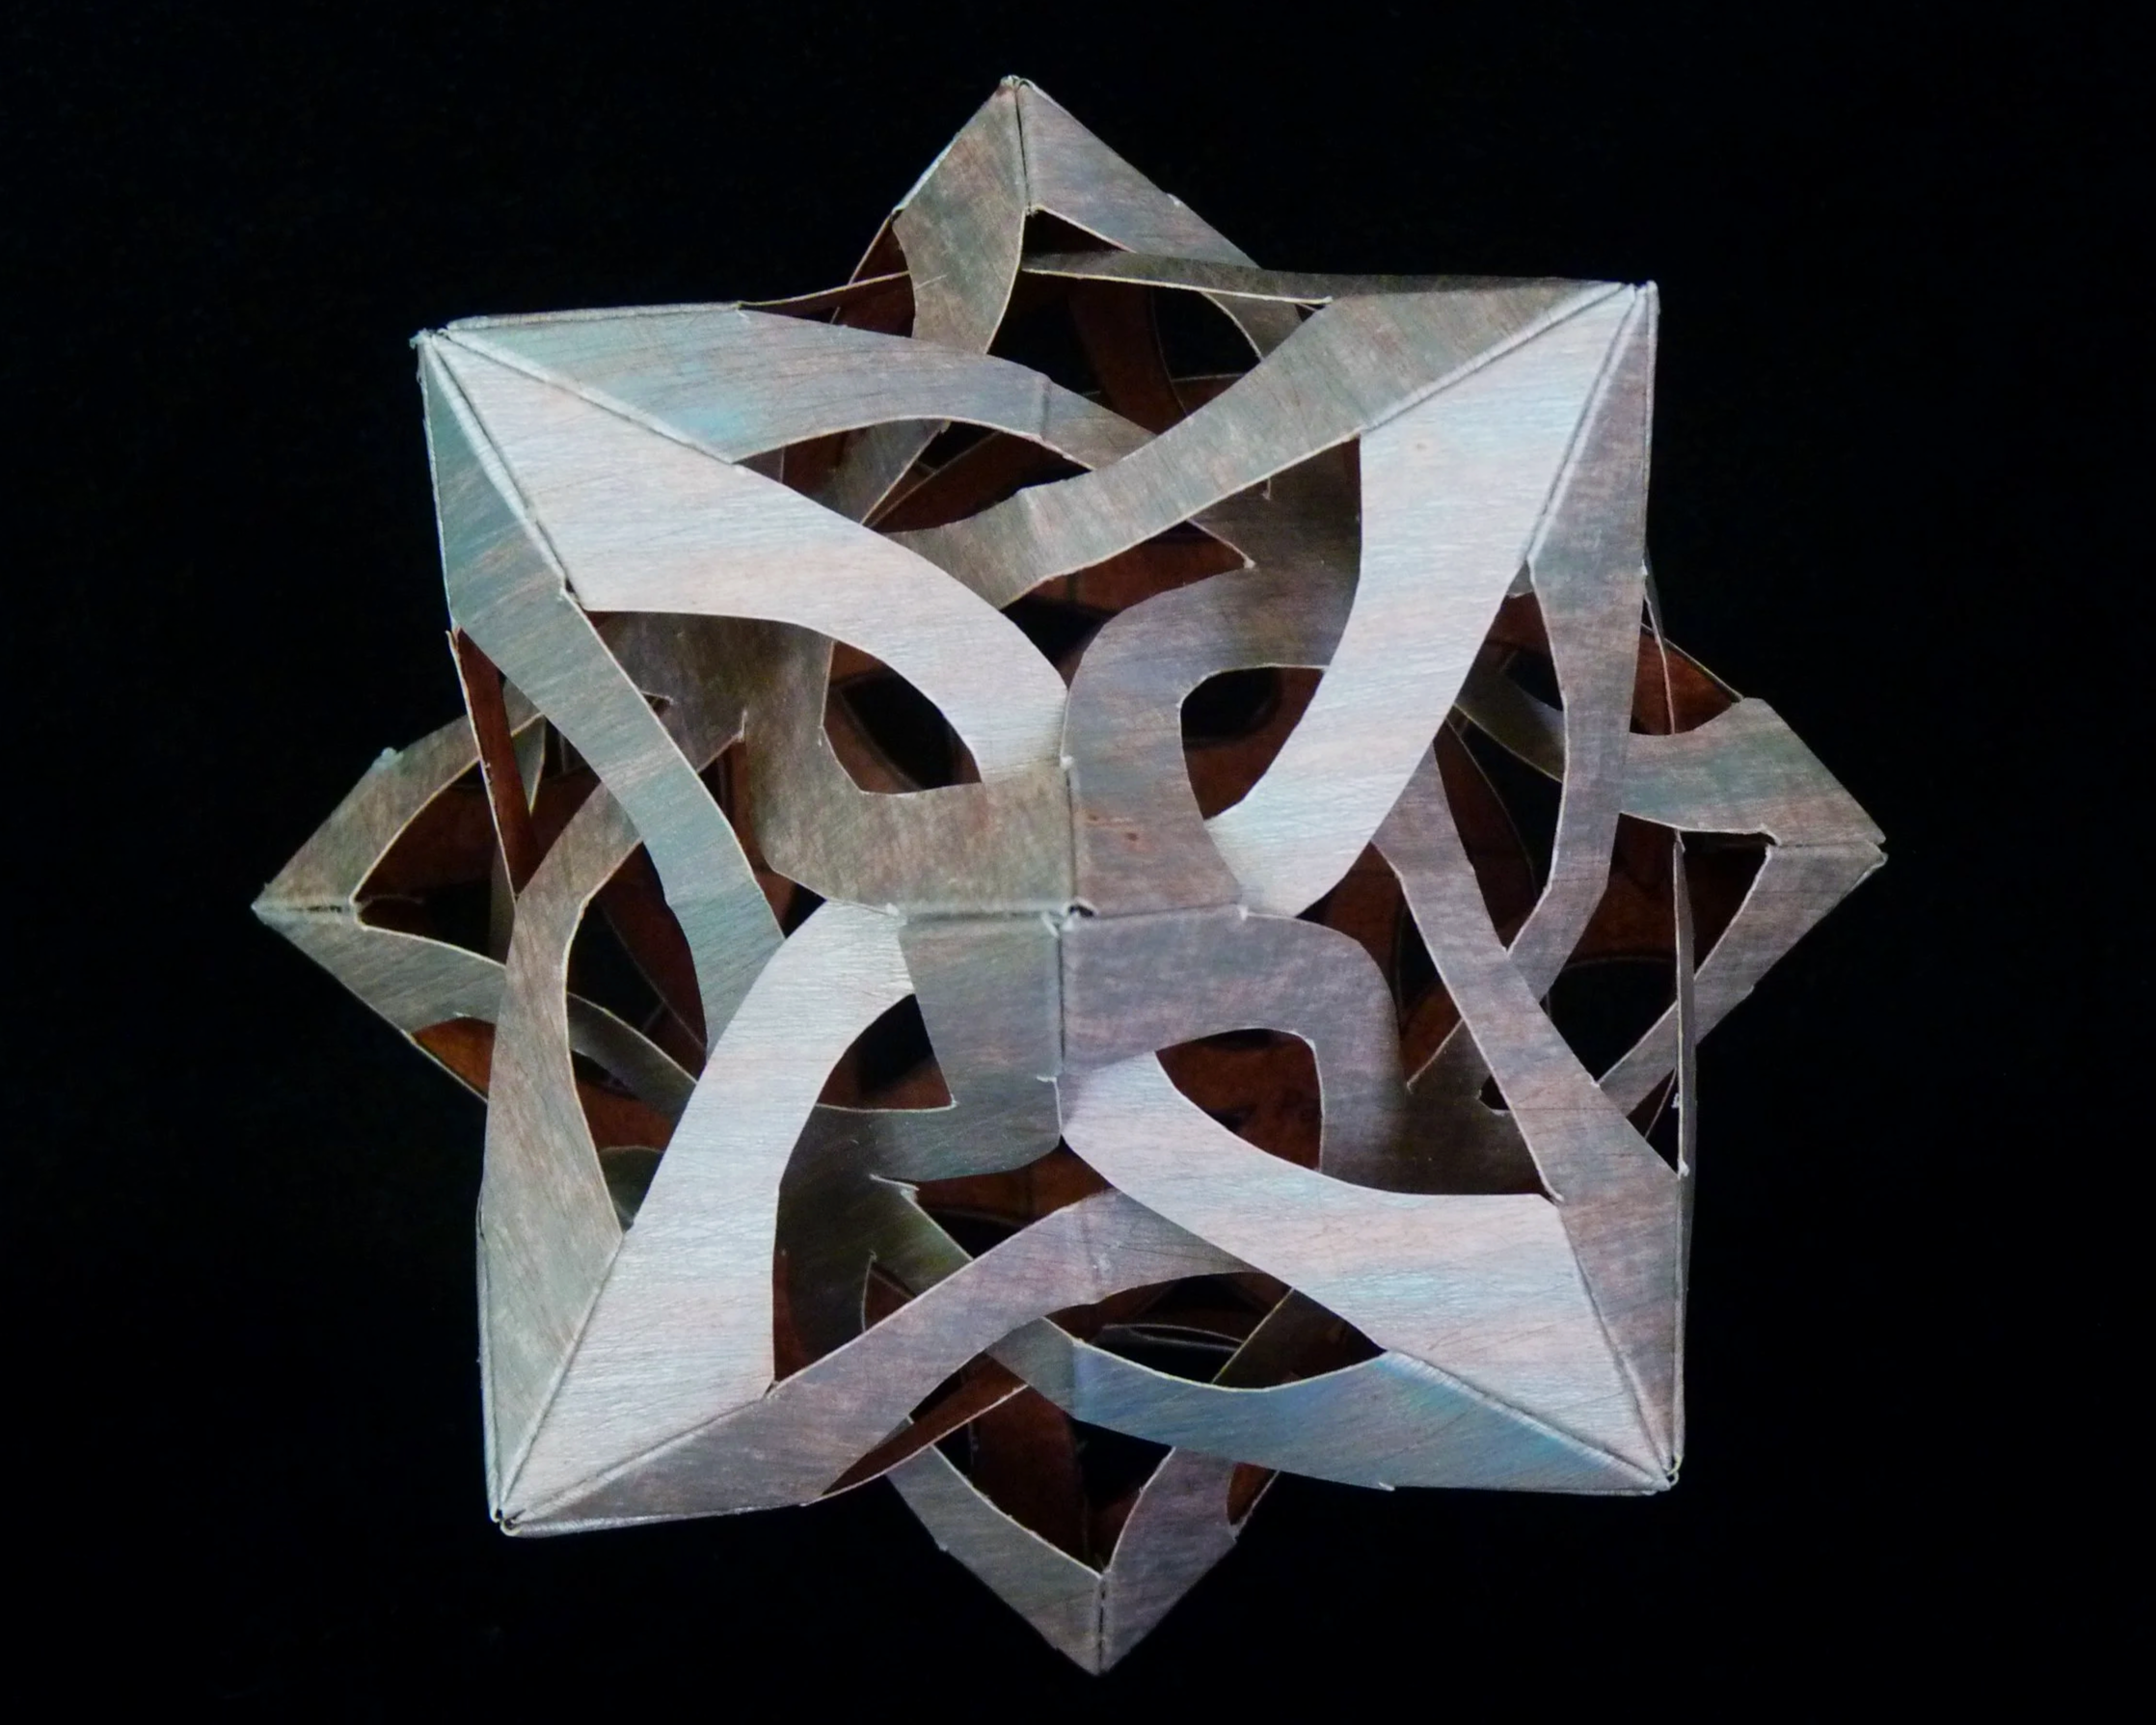
Photo 10. Completed Estrella Tejida - View 3
The Estrella Tejida is based on the a truncated octahedron, an Archimedian Solid with eight hexagon faces and 6 square faces.
Interlocking arm 3D paper stars are amazing and fun to build. See the others on this website by clicking on the buttons below.